
SpeedKing Shovel | H-D Shovelhead Custom
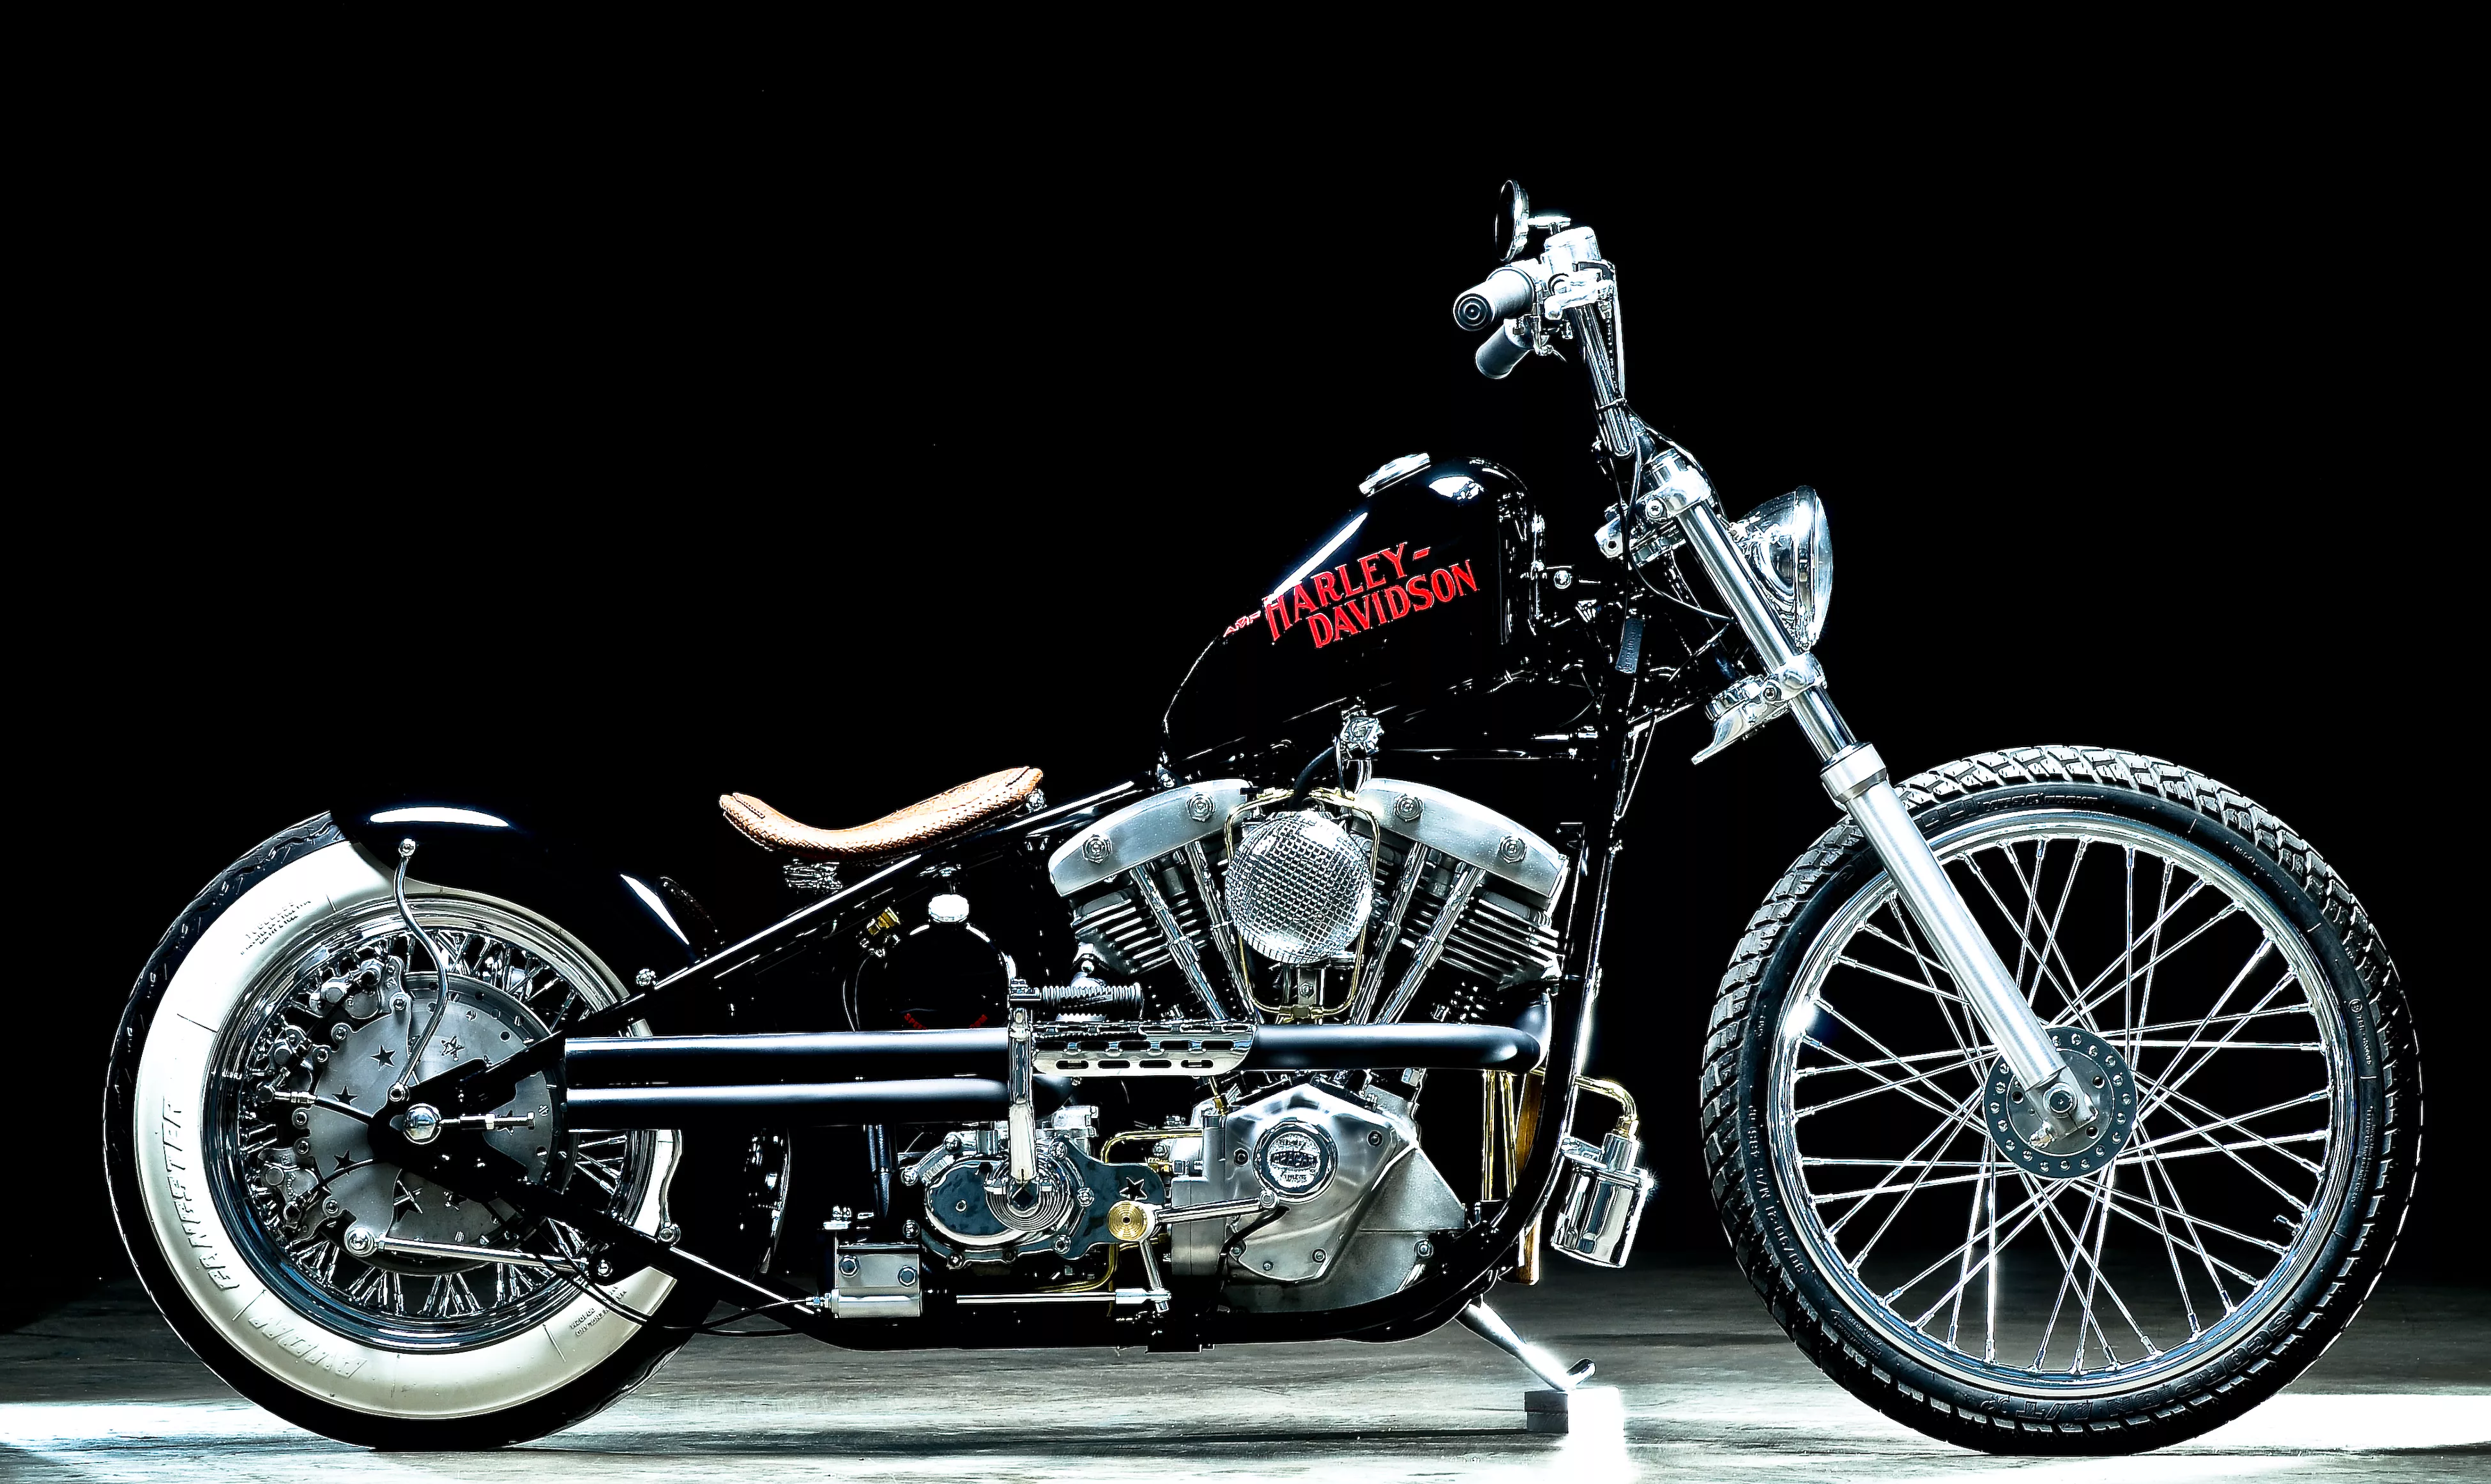
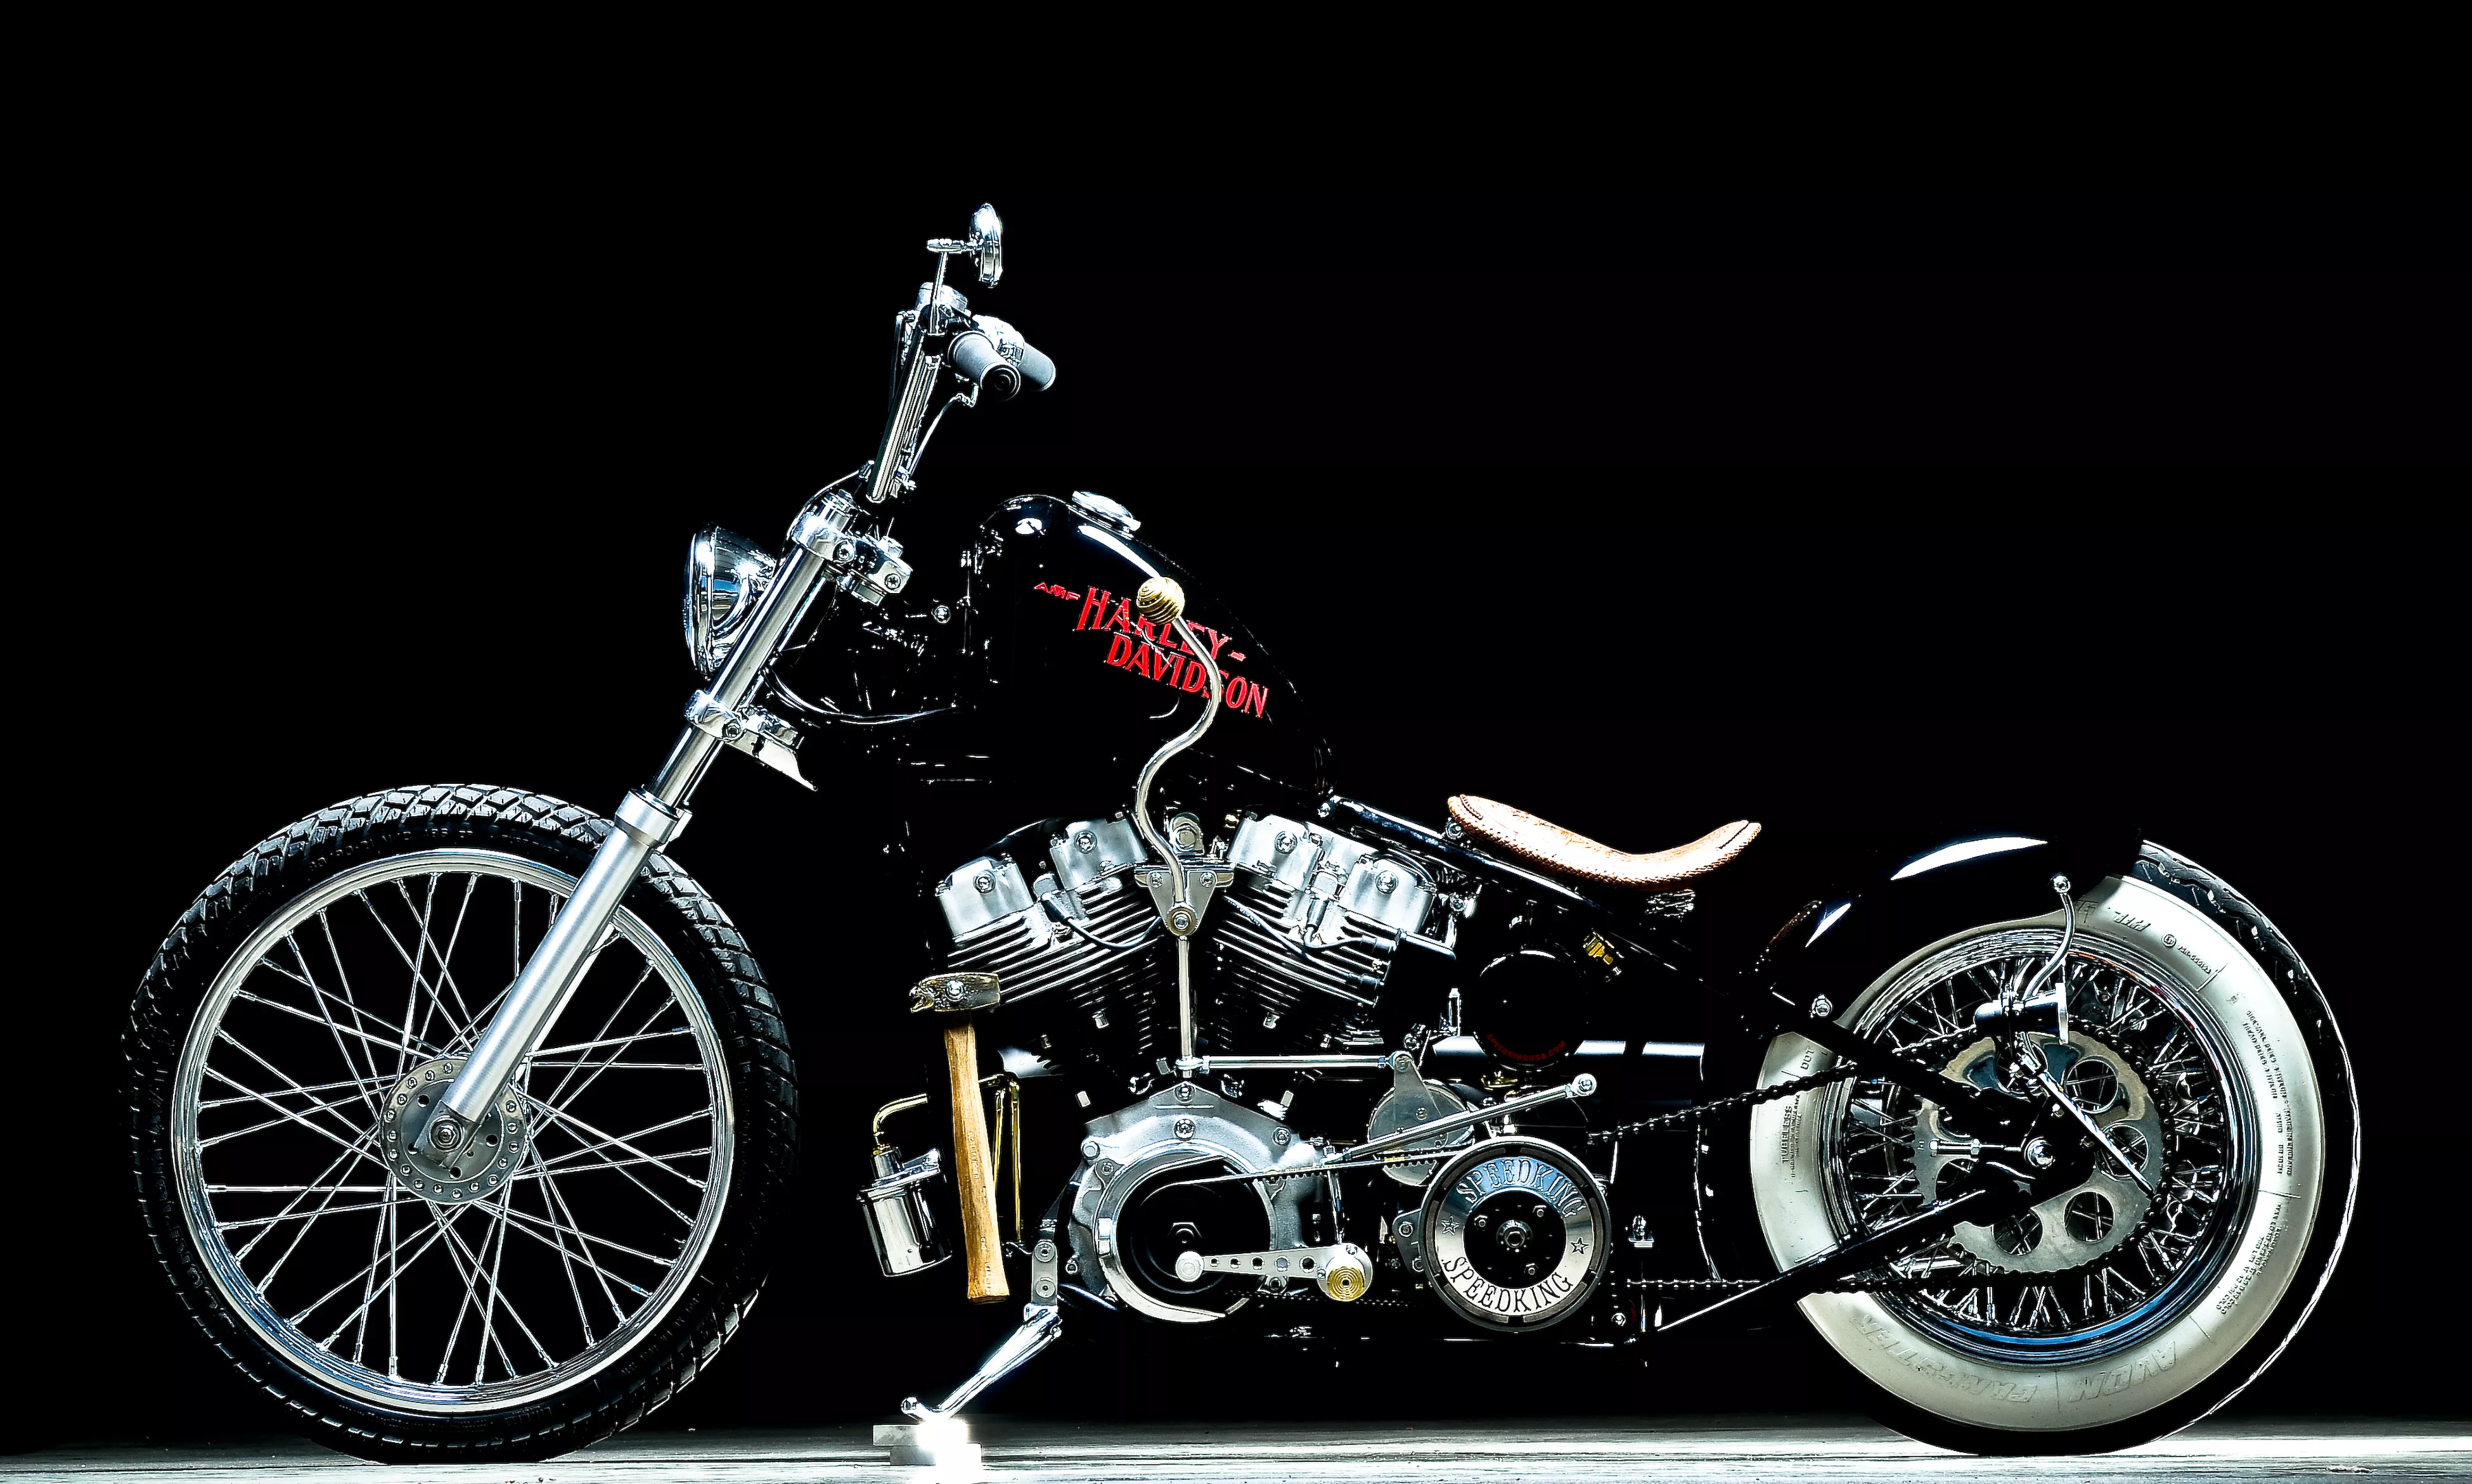
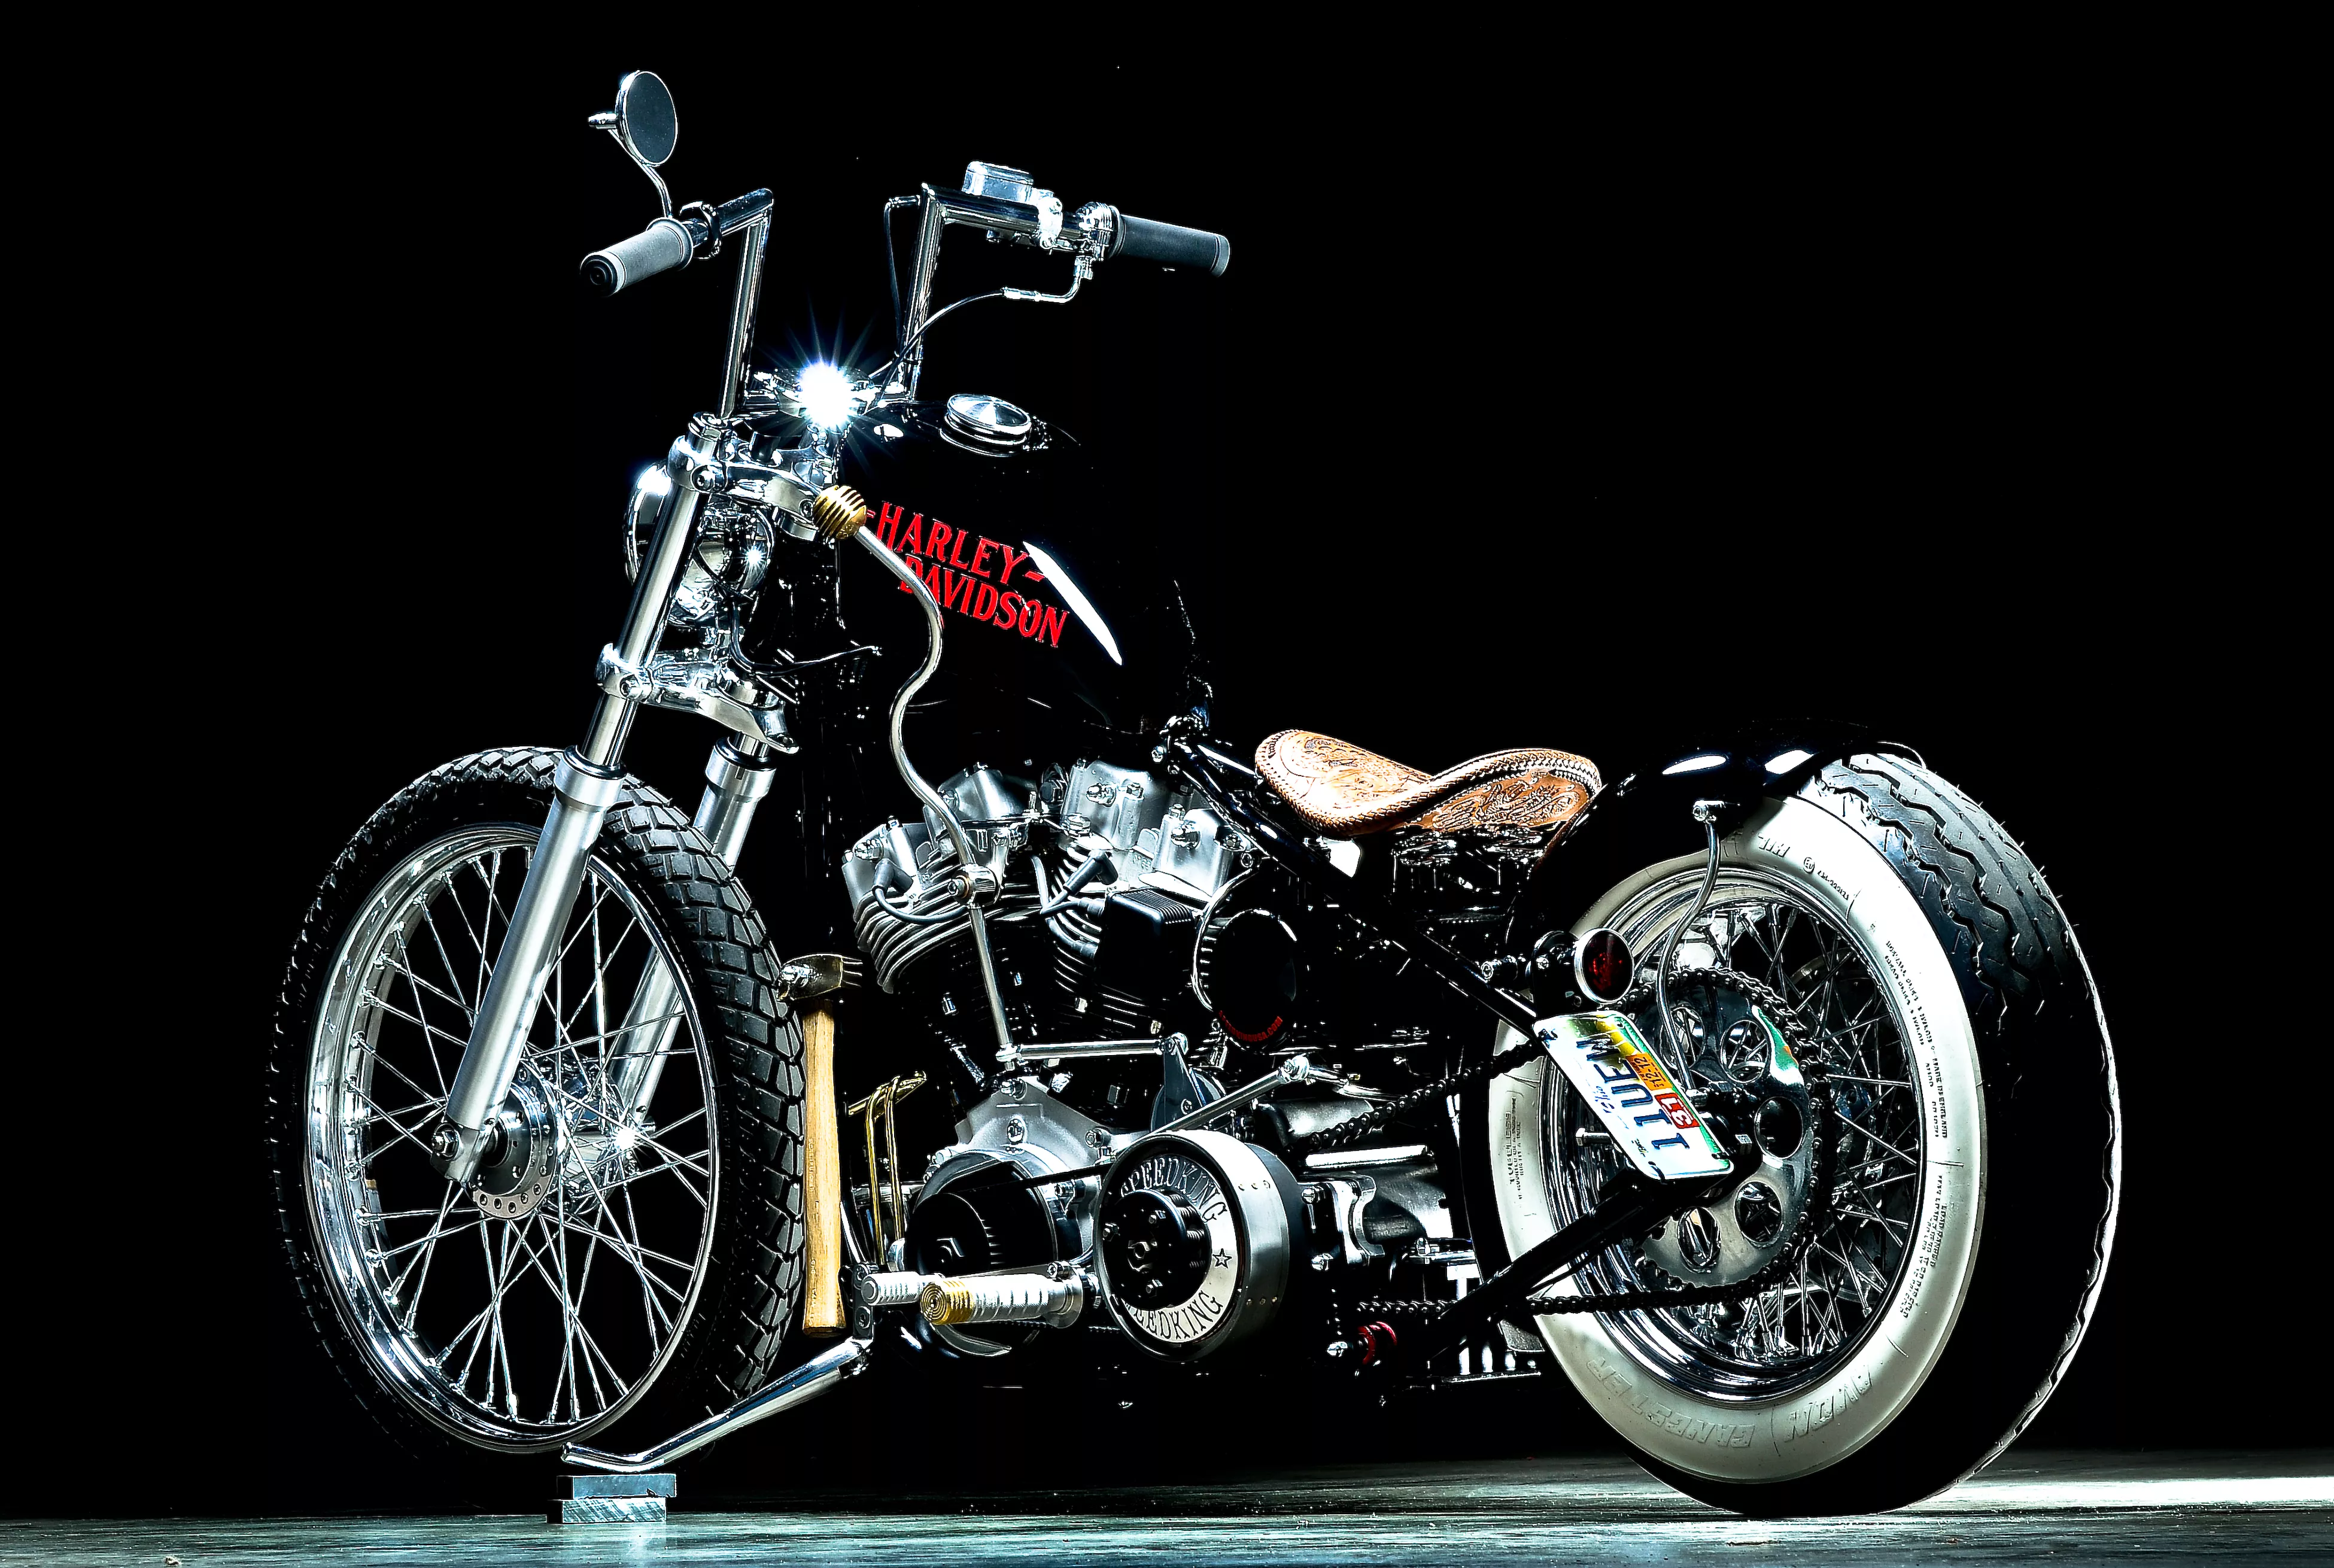
I originally built this bike to ride and take to a few events. I like to keep my bikes simple but still show as much talent as I can without overdoing it. This one started as what I refer to as a donor: an ugly old stock H-D swingarm FX that had been obviously neglected for a decade or two.
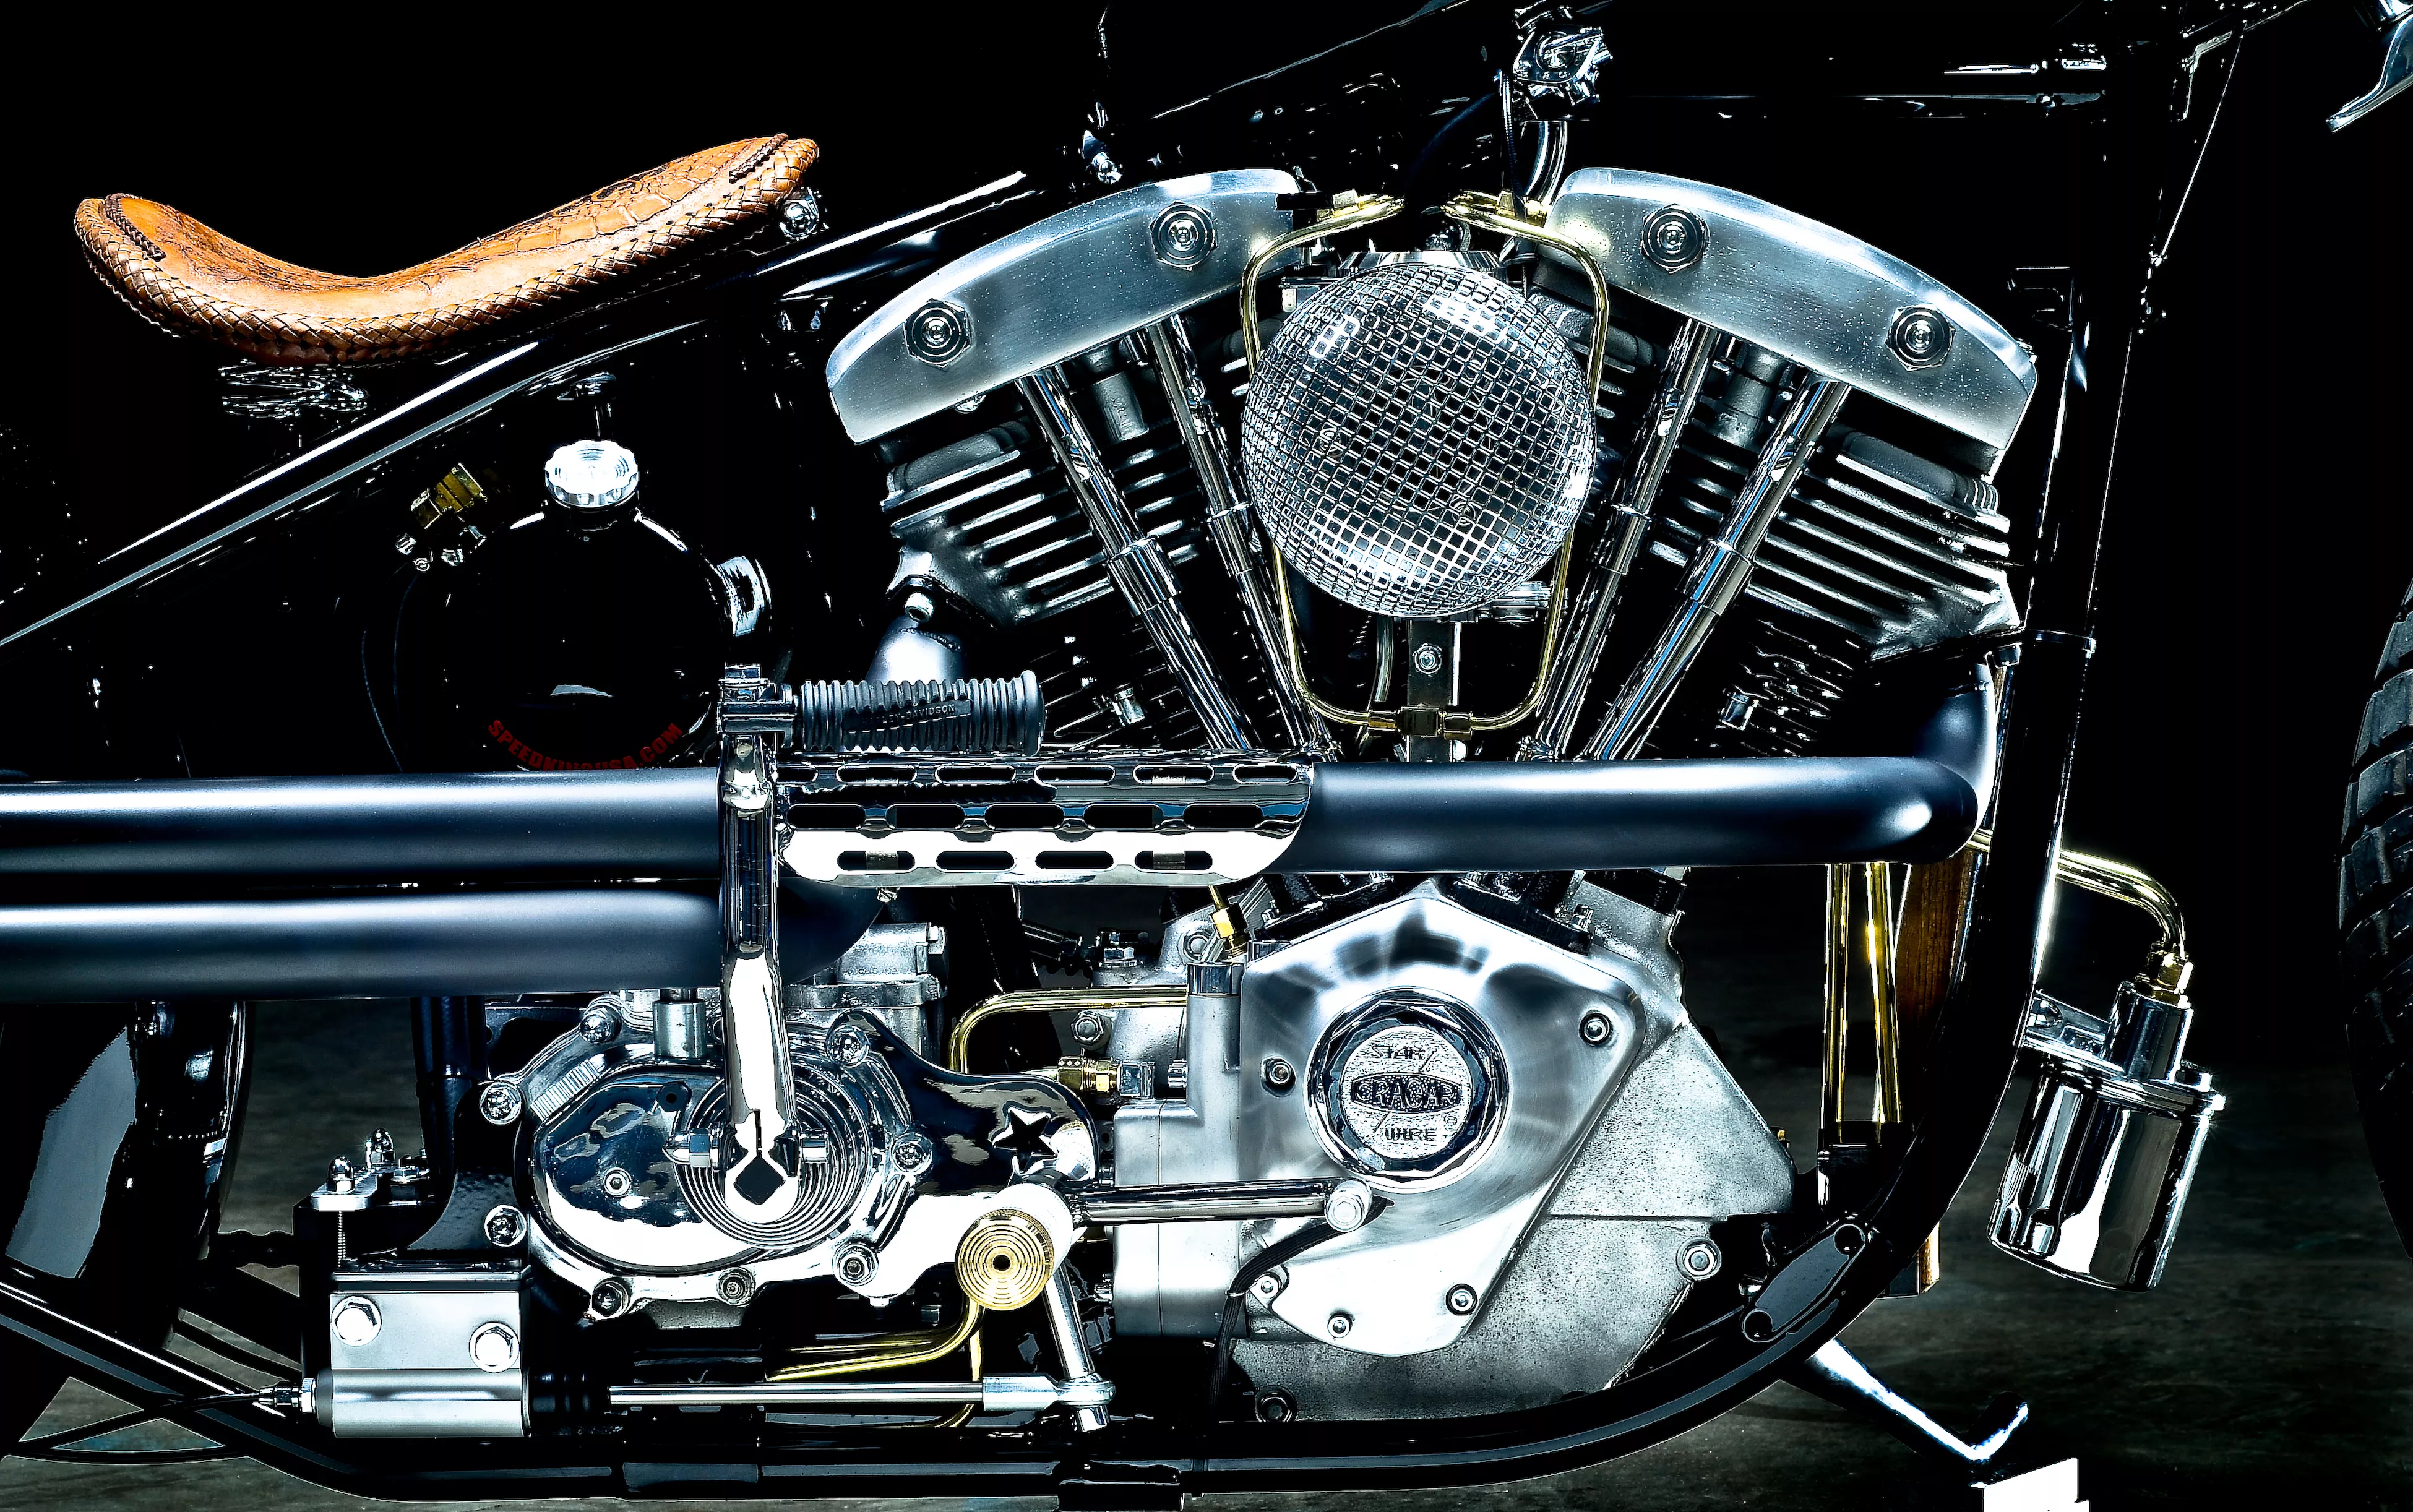
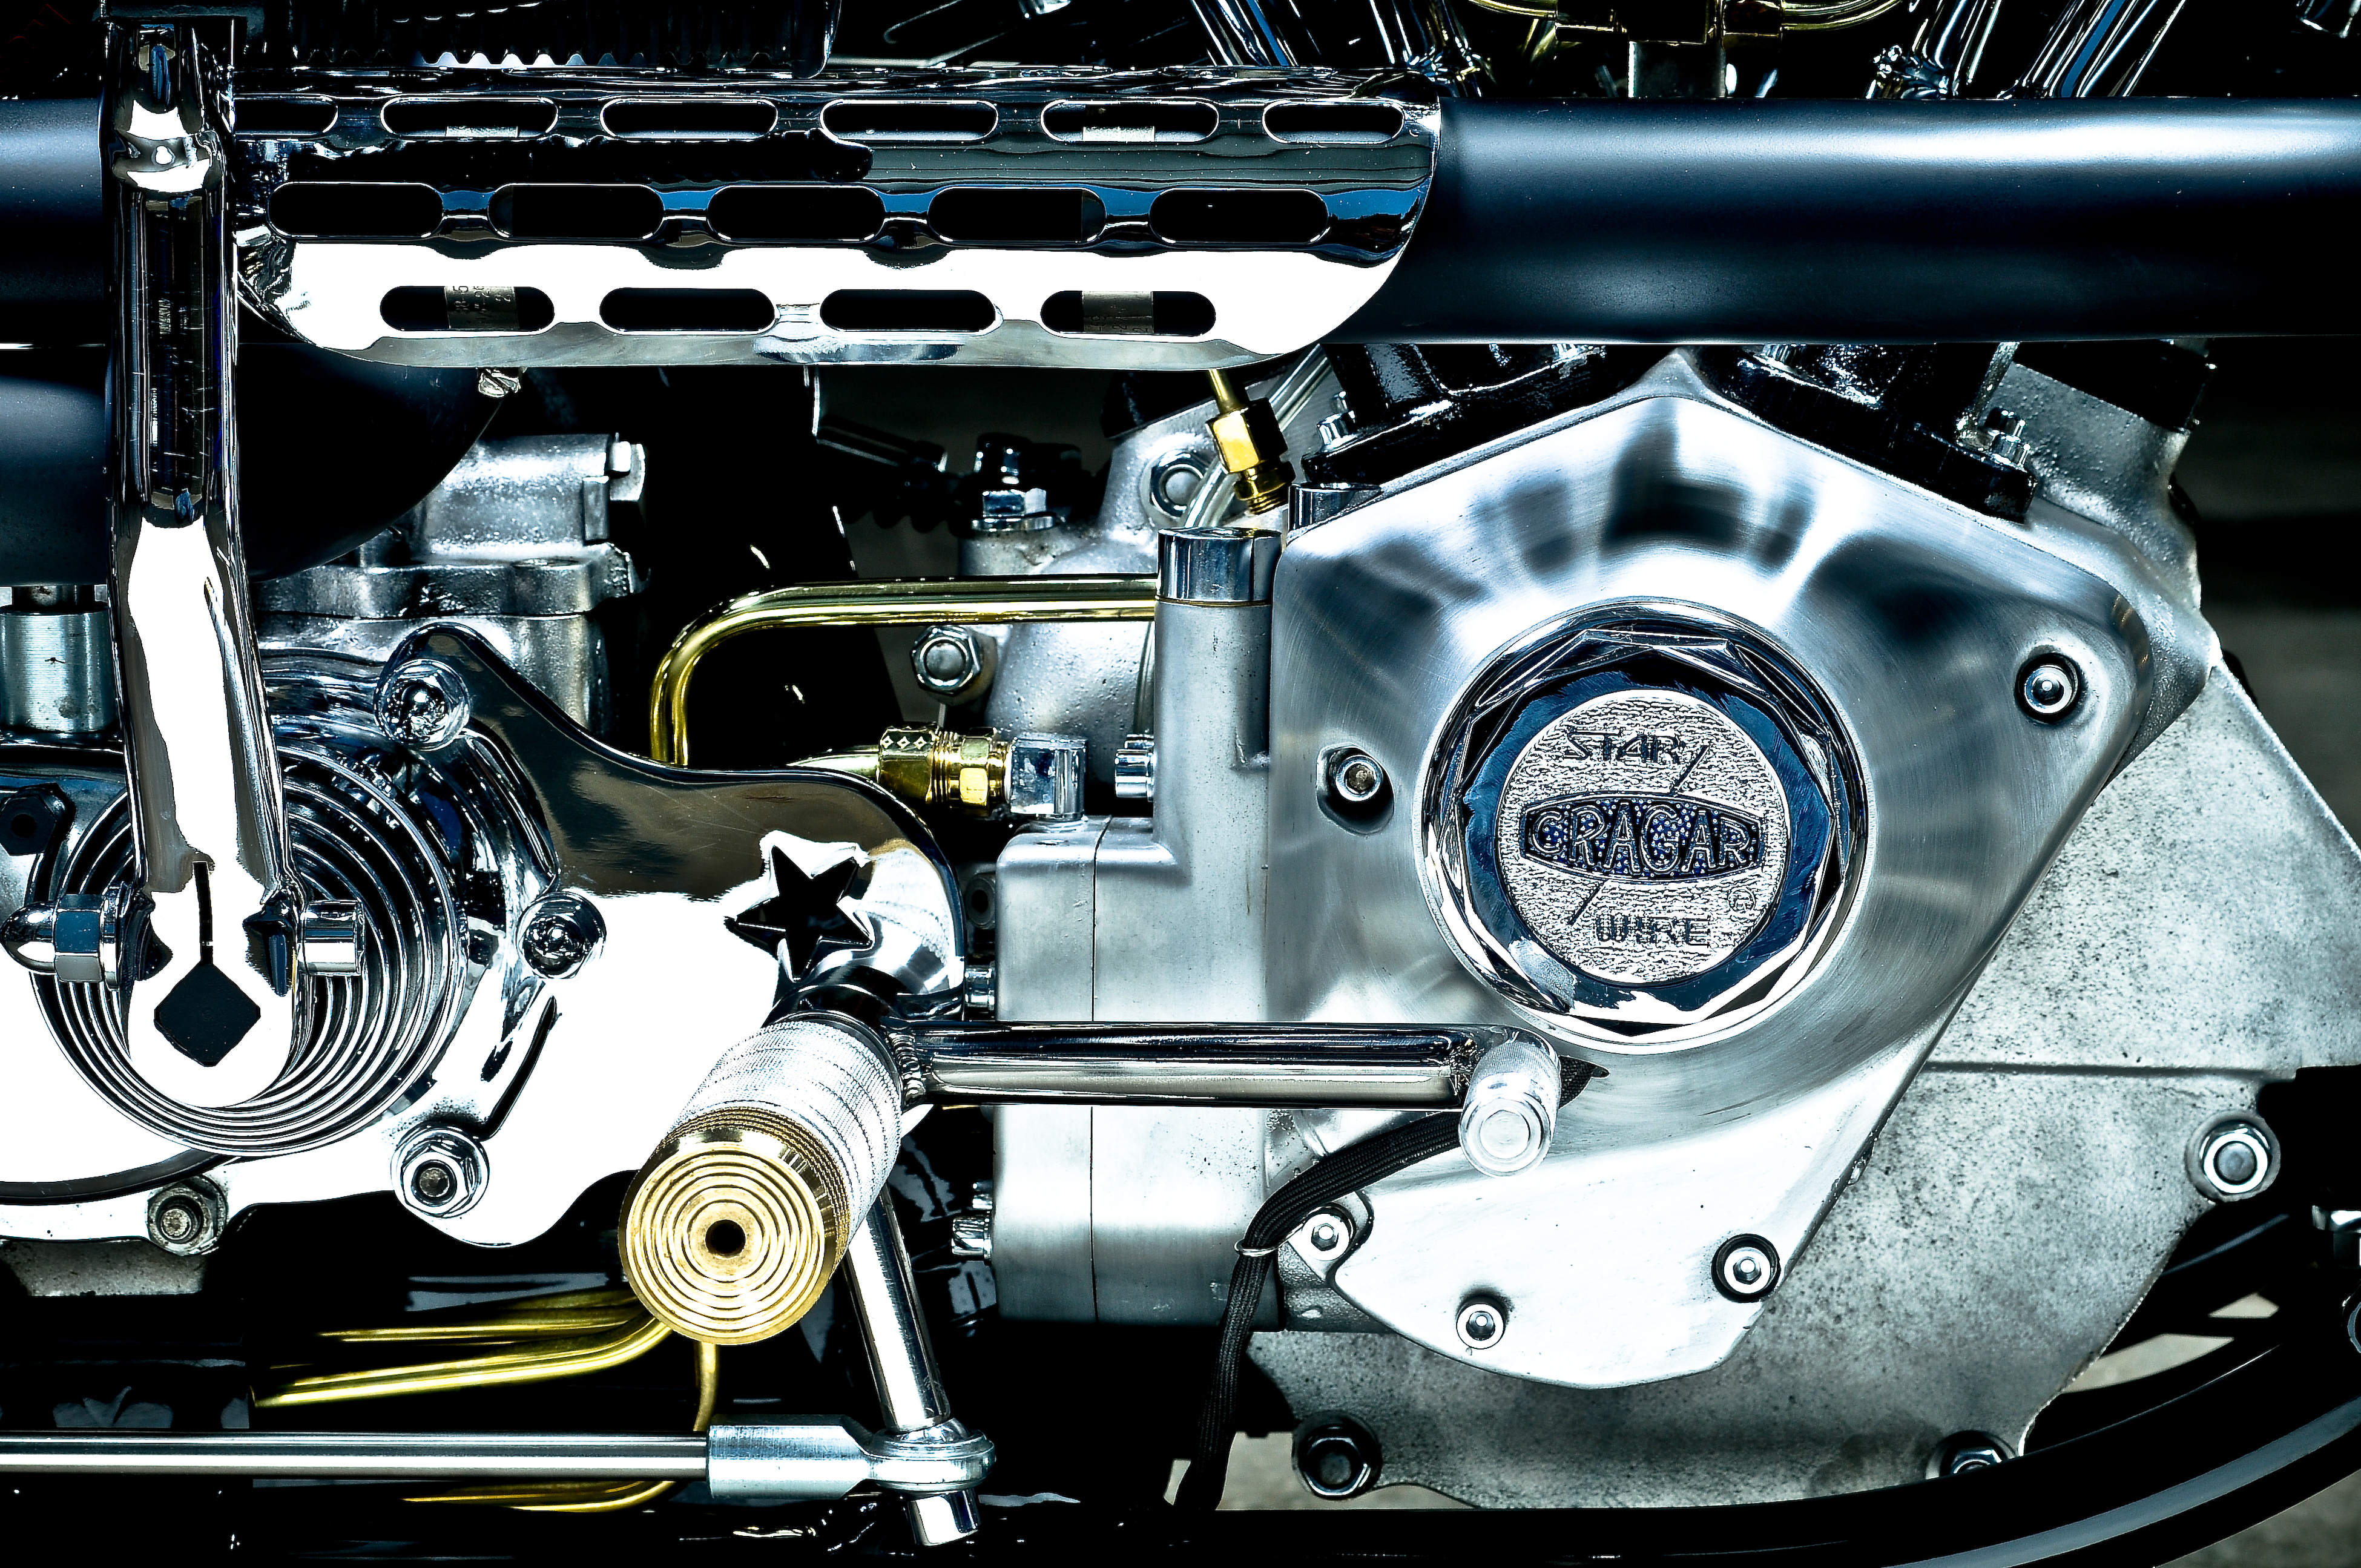
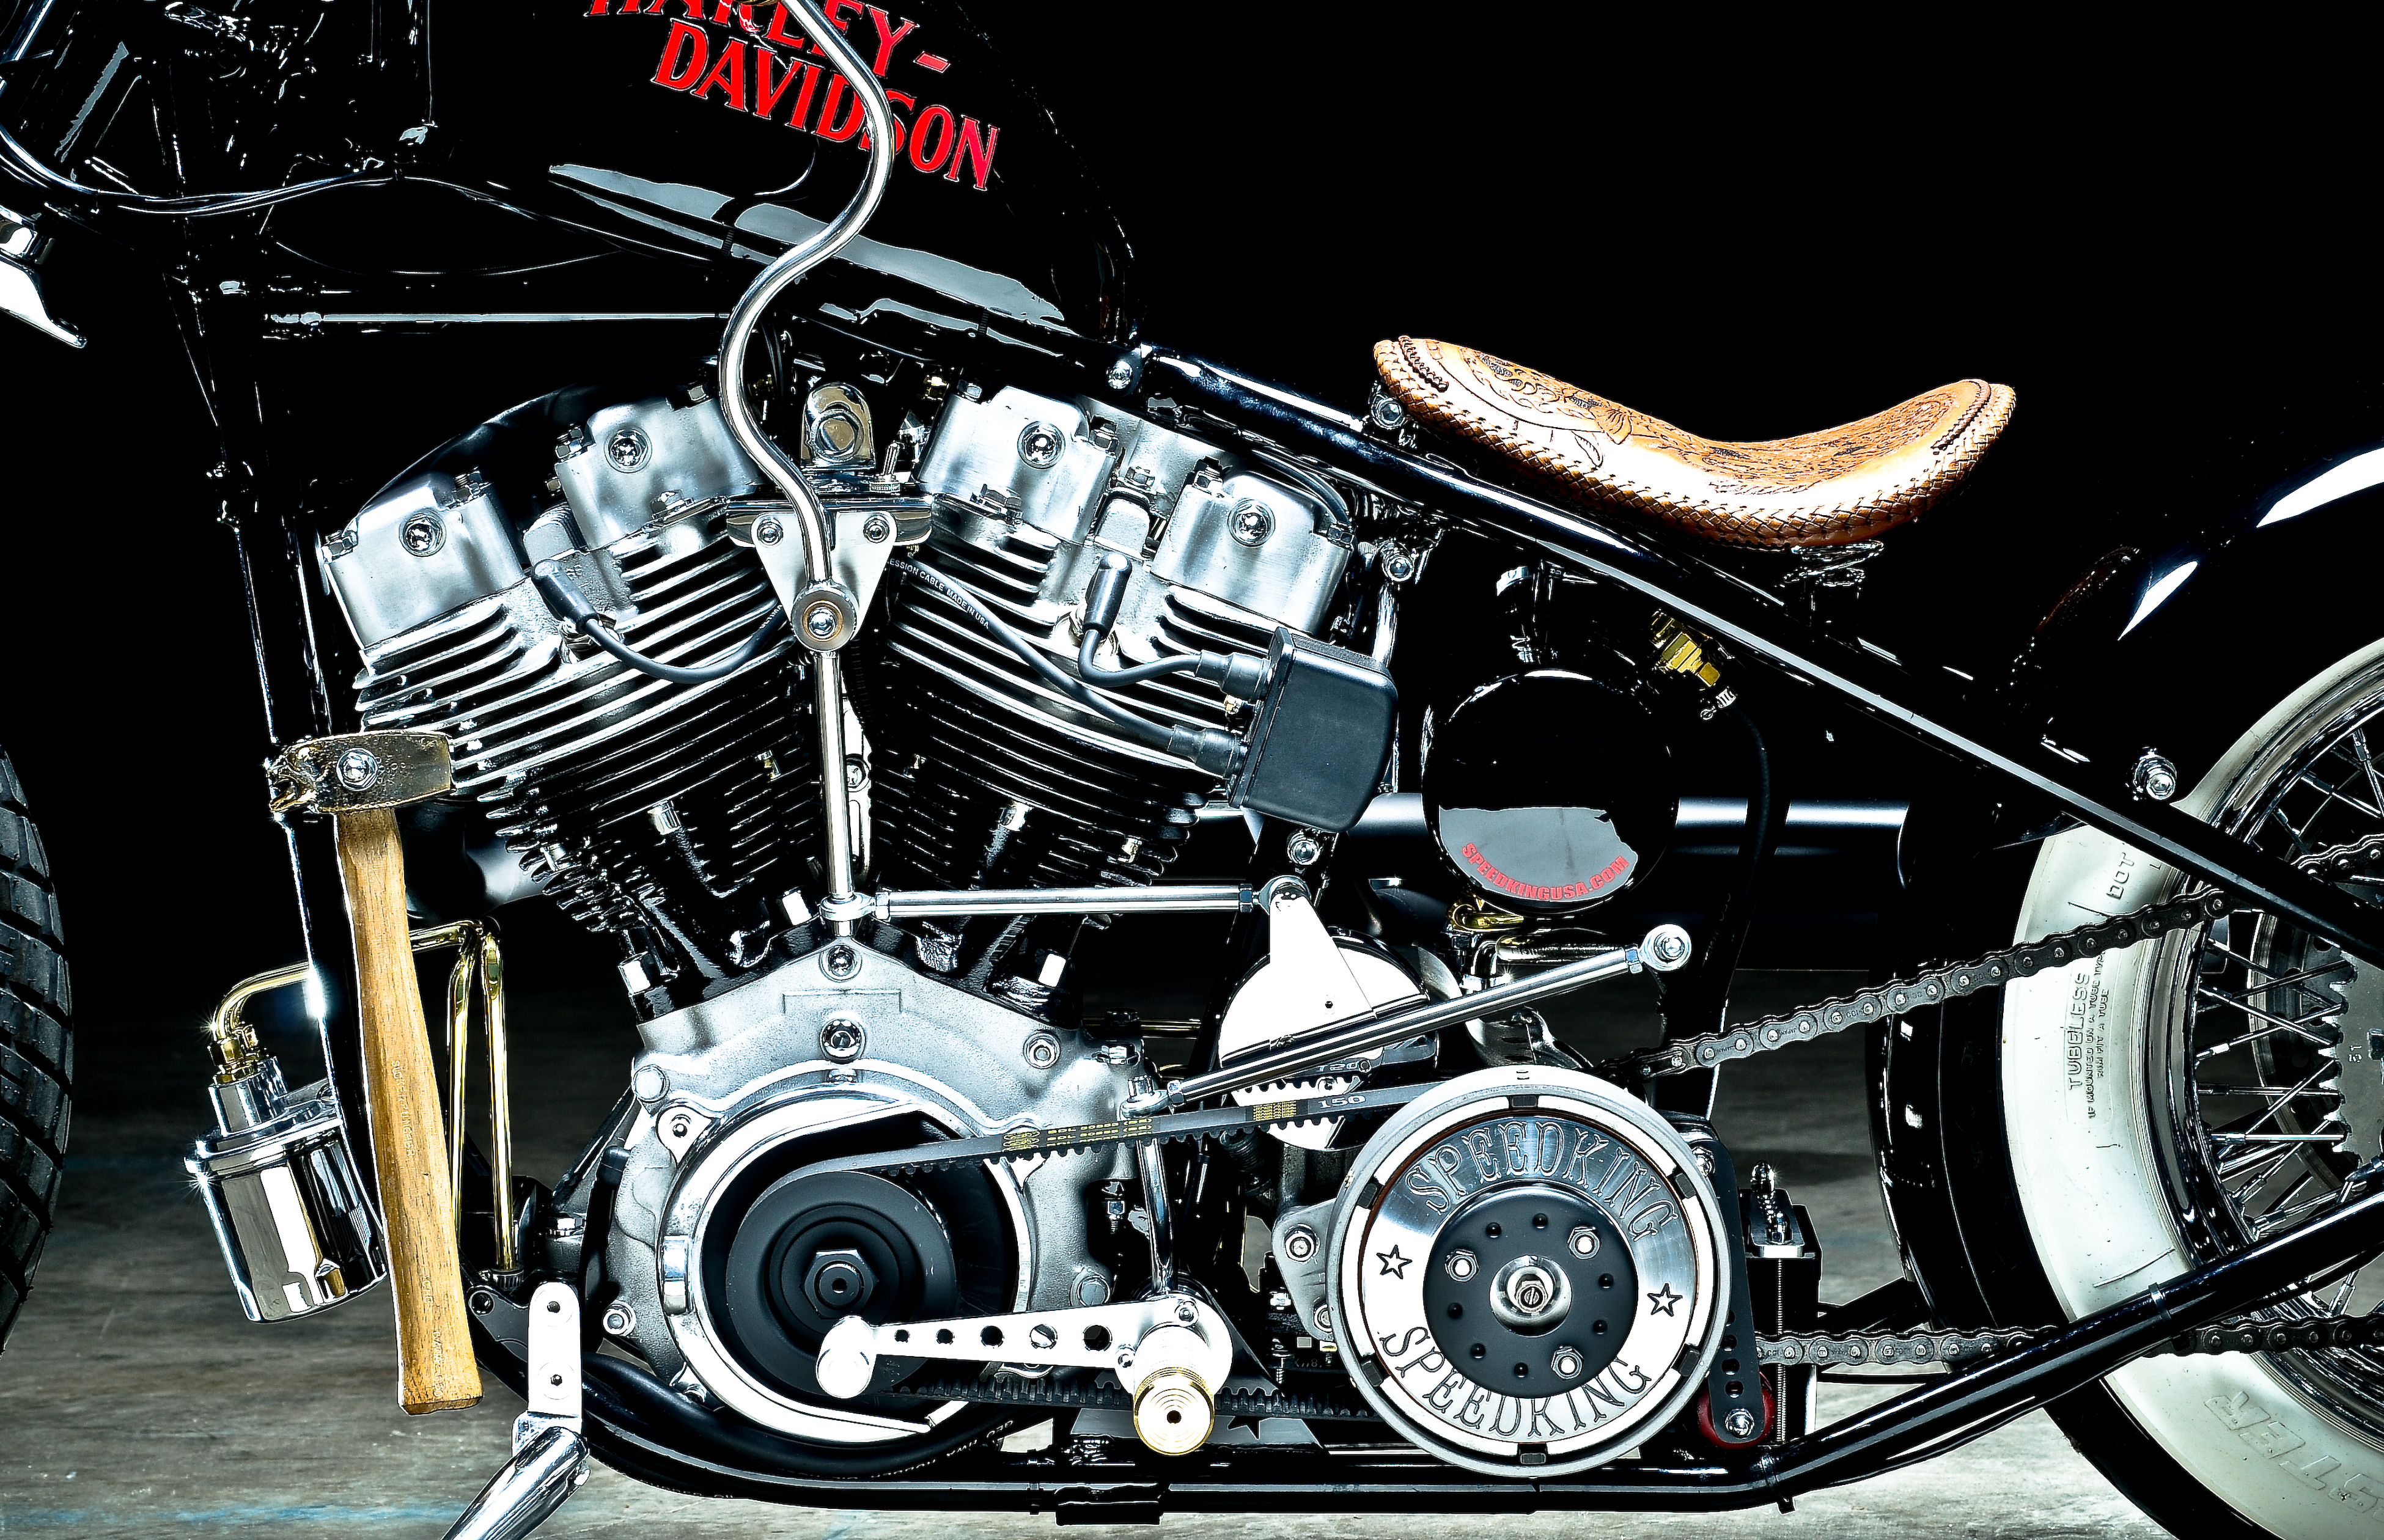
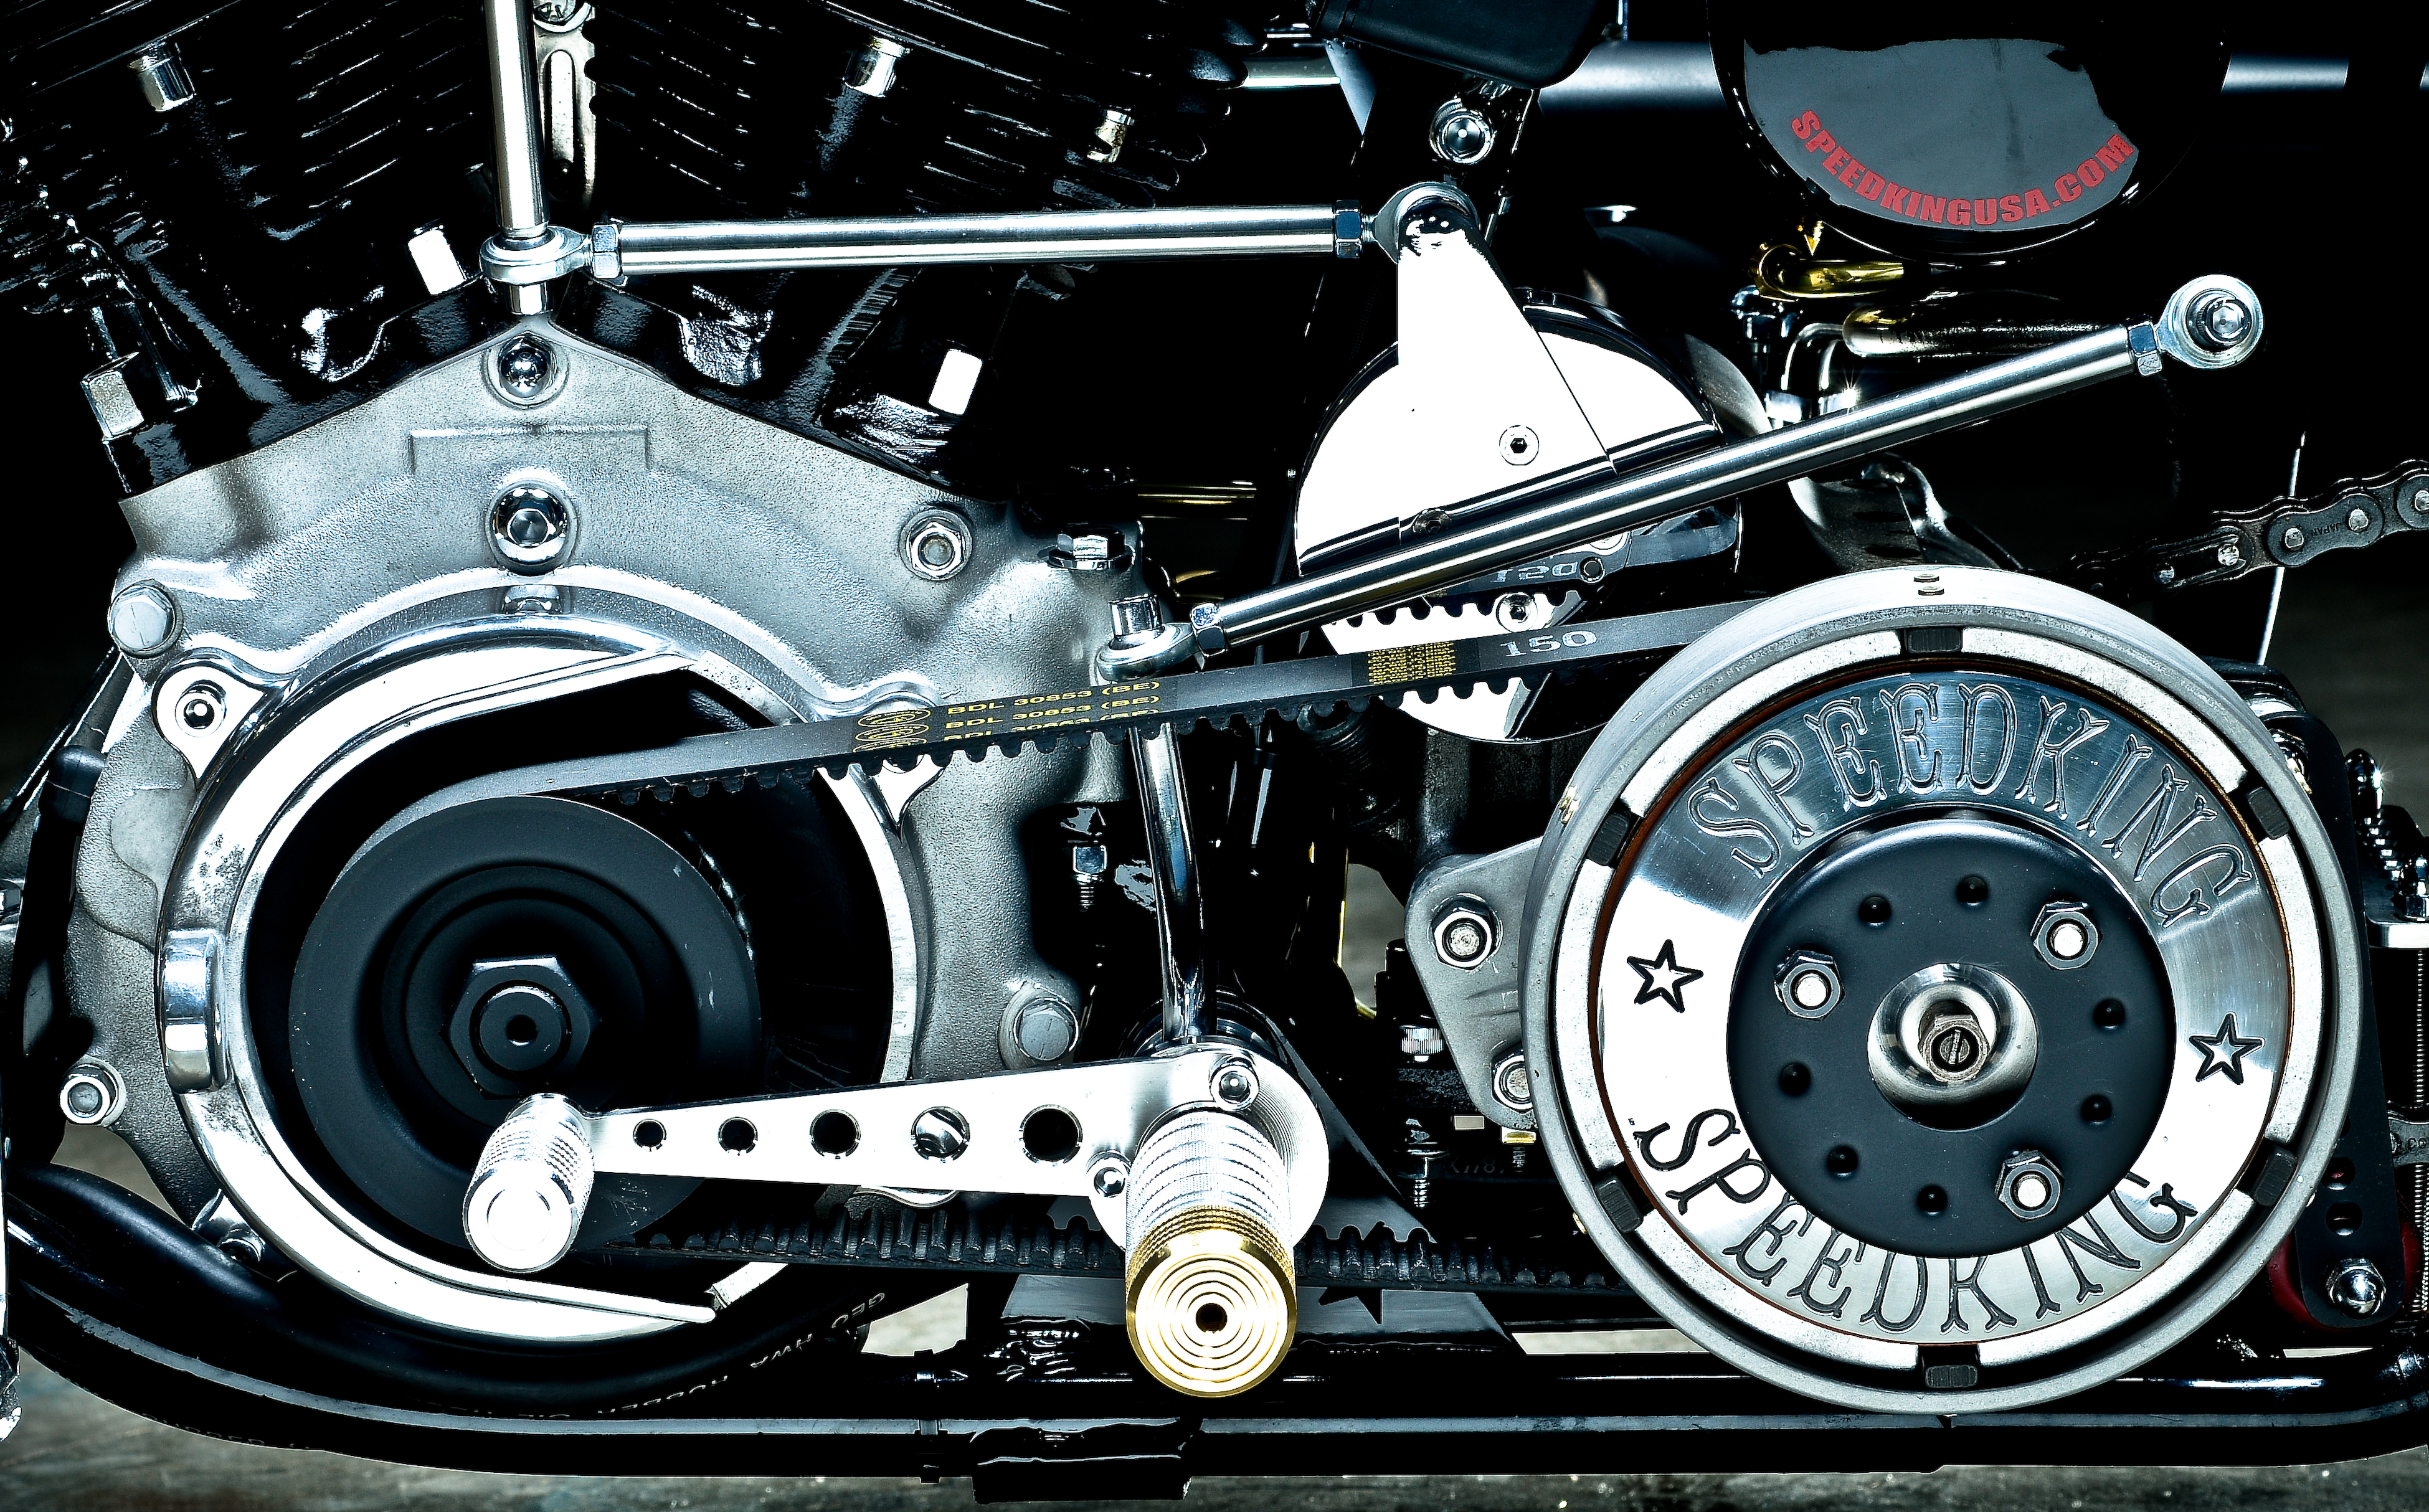
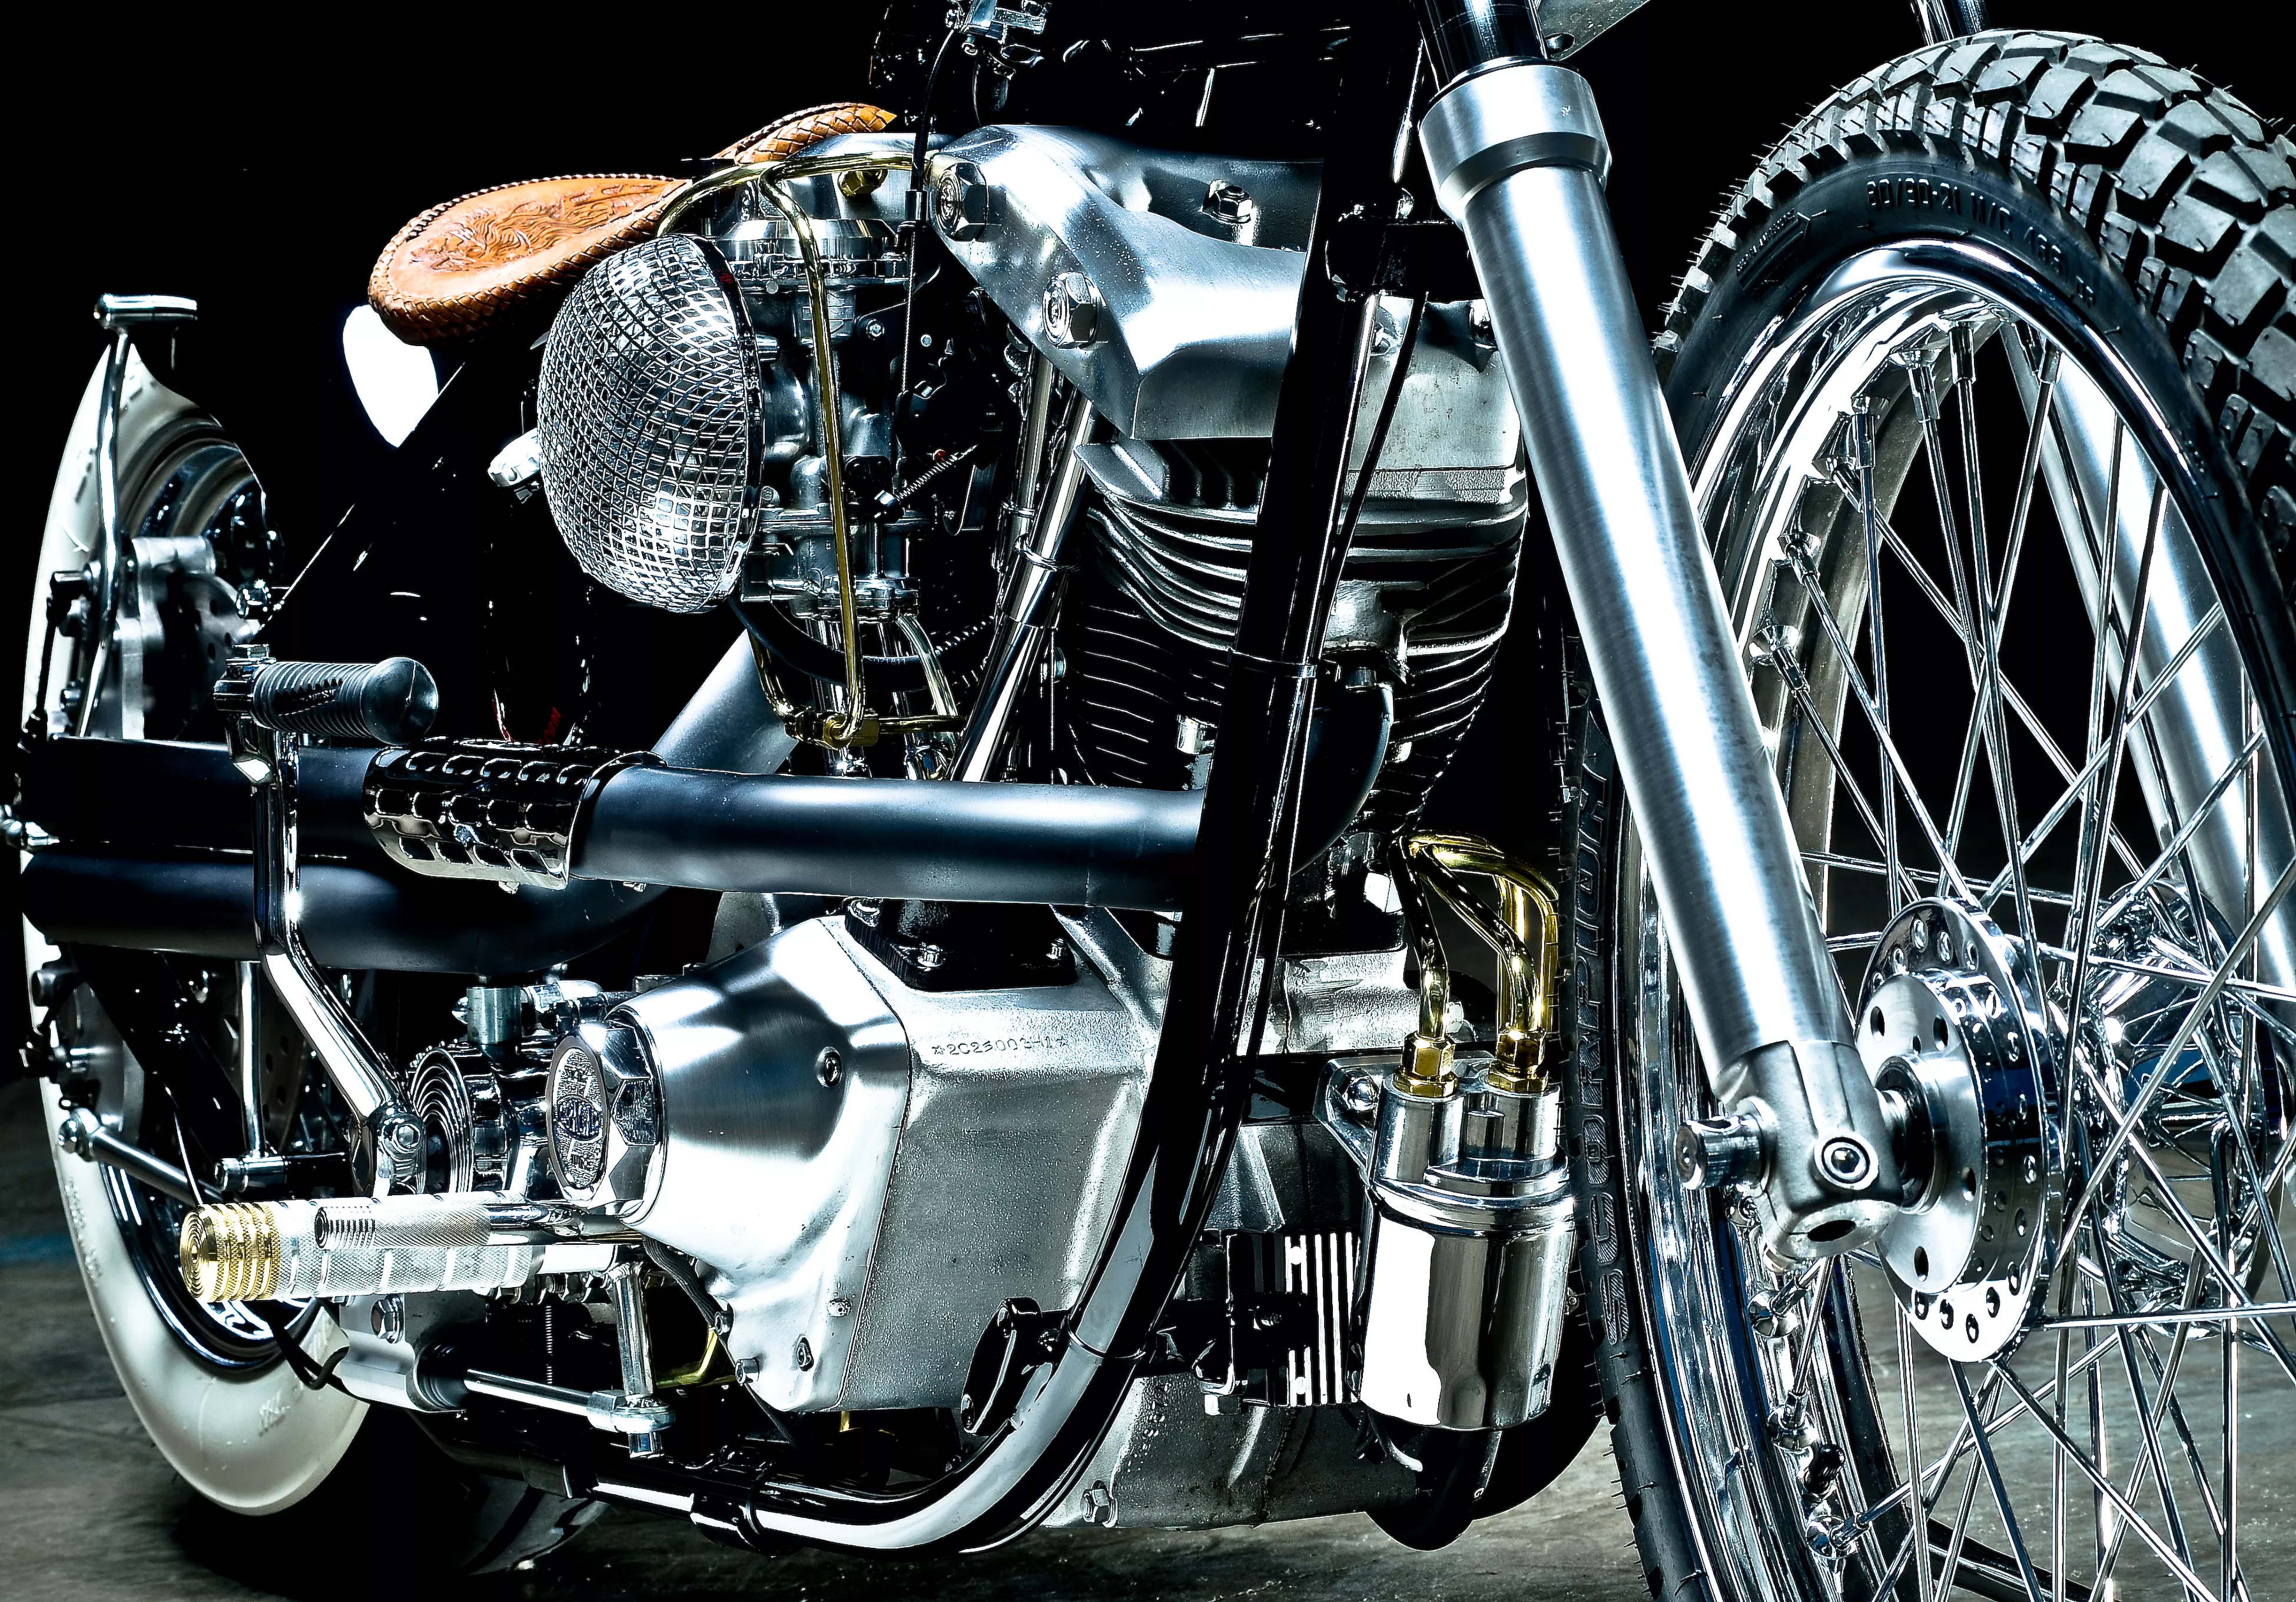
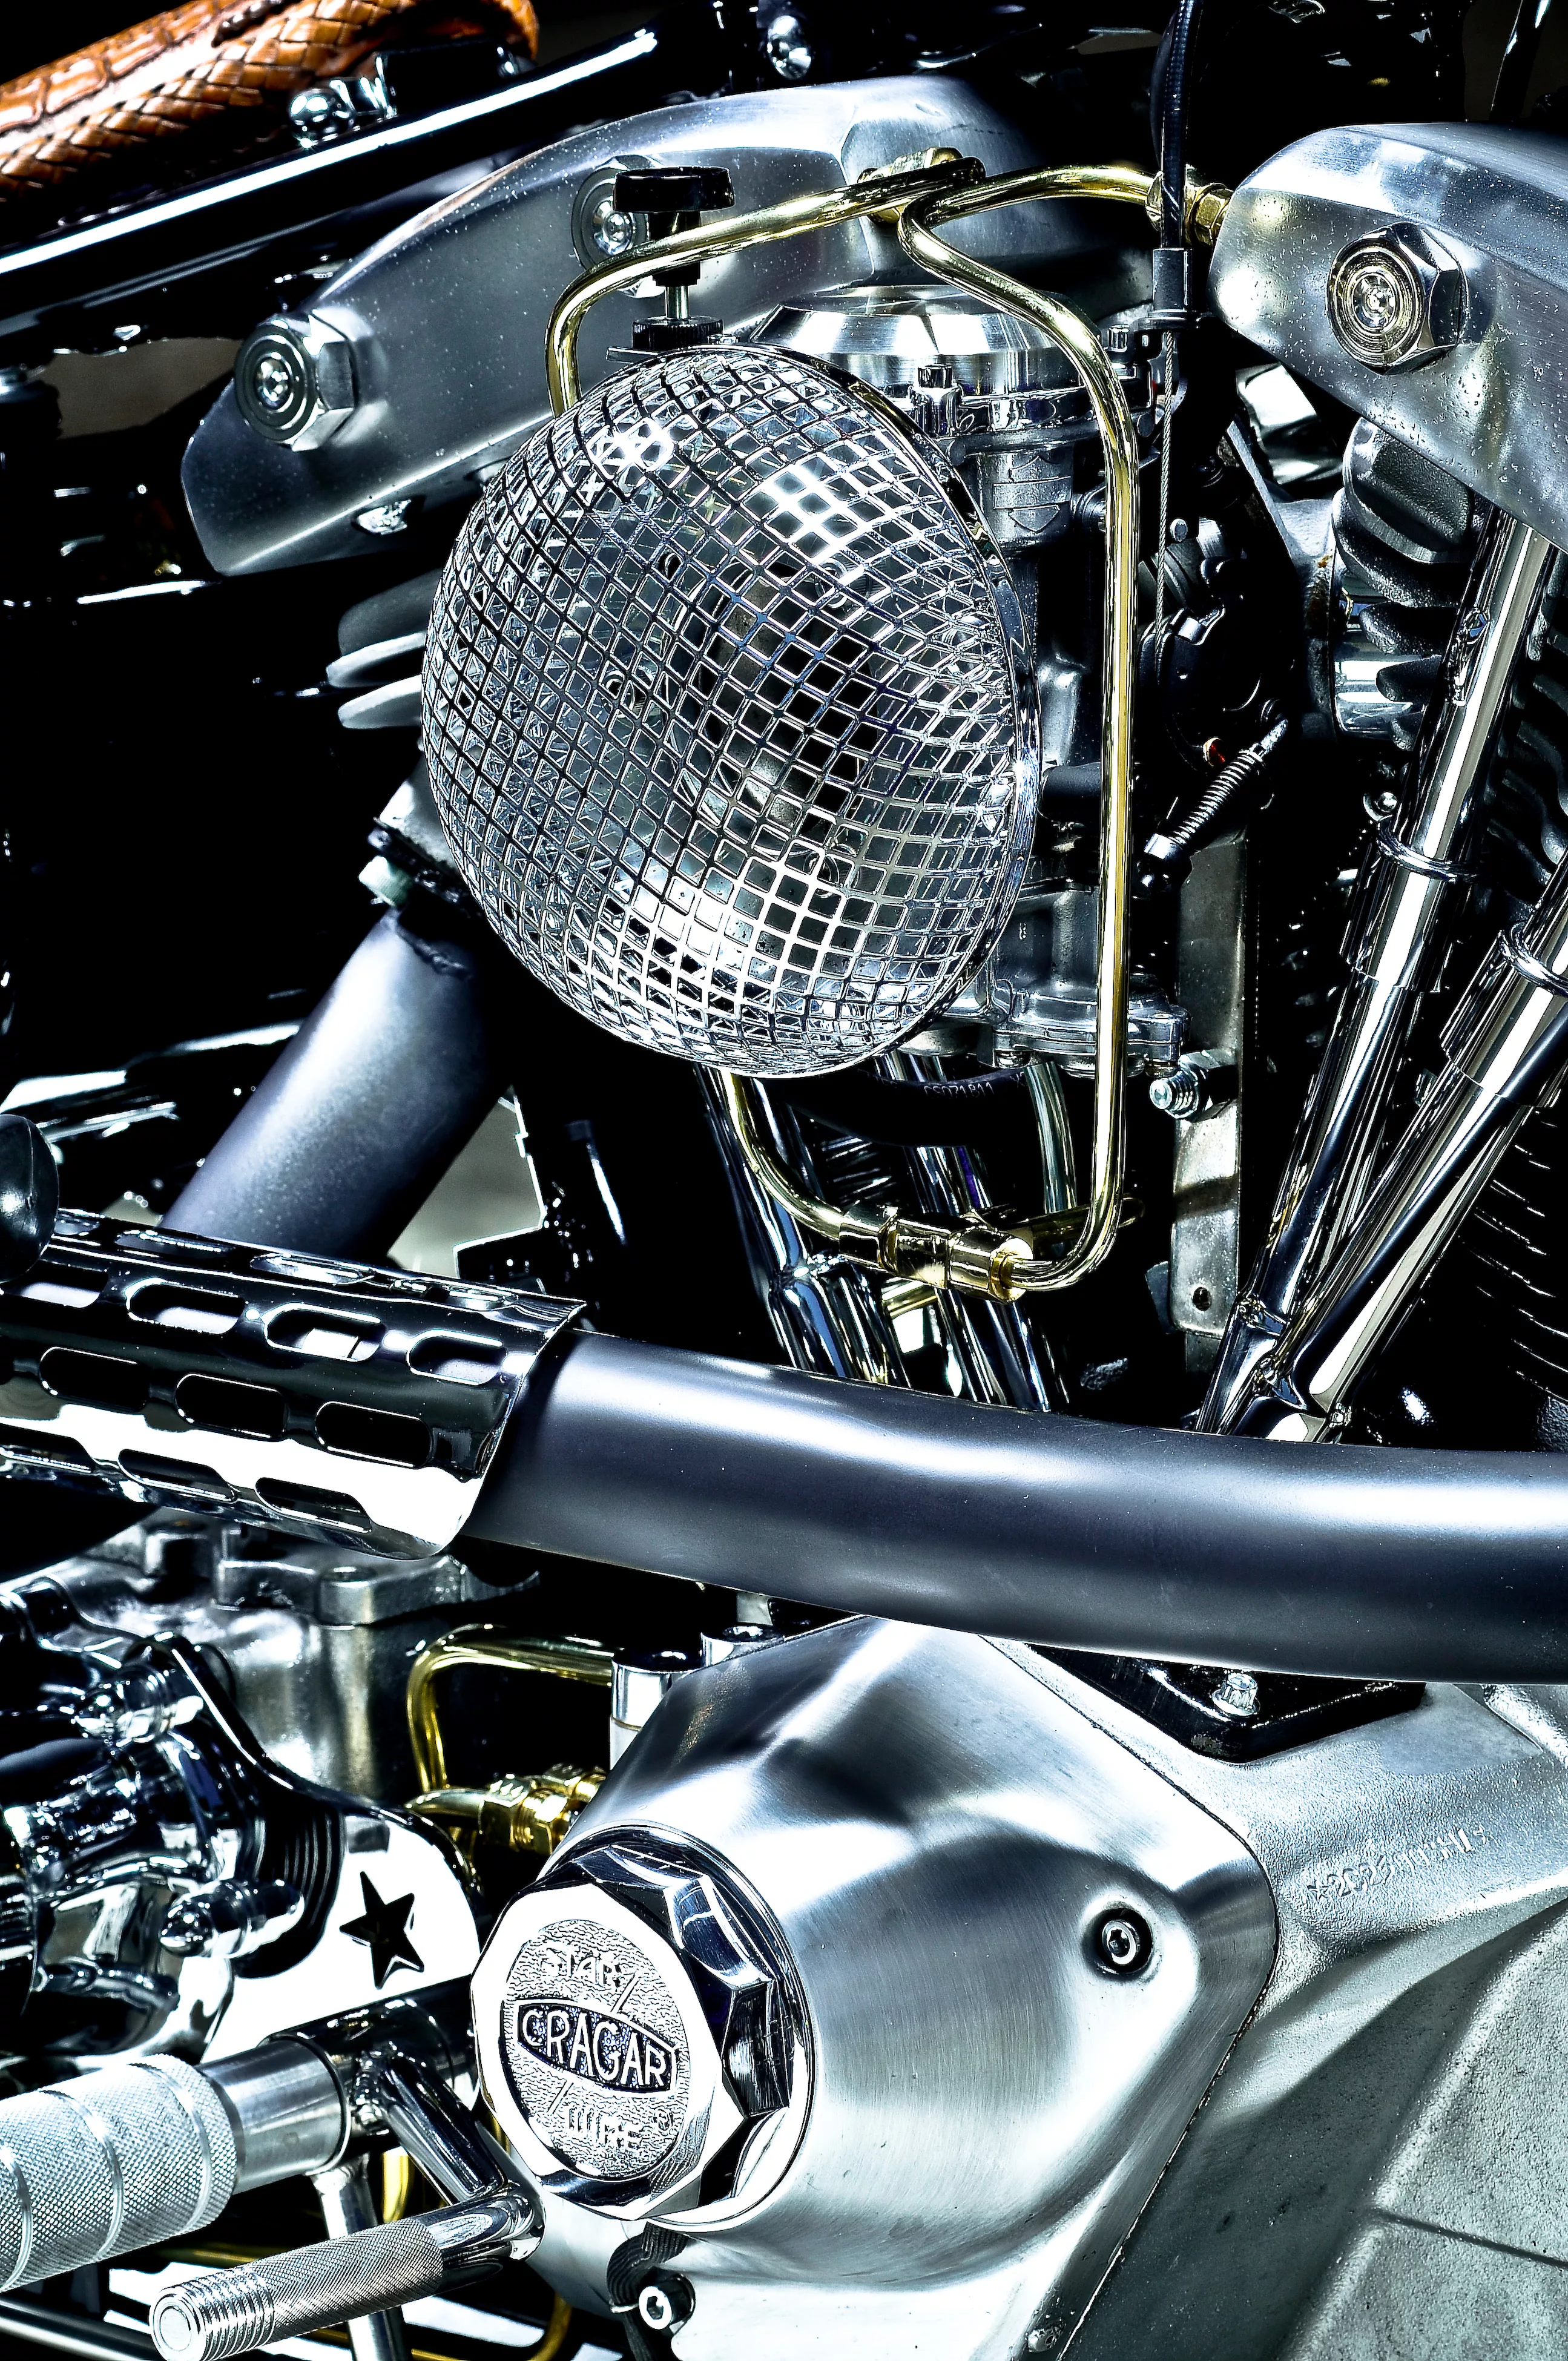
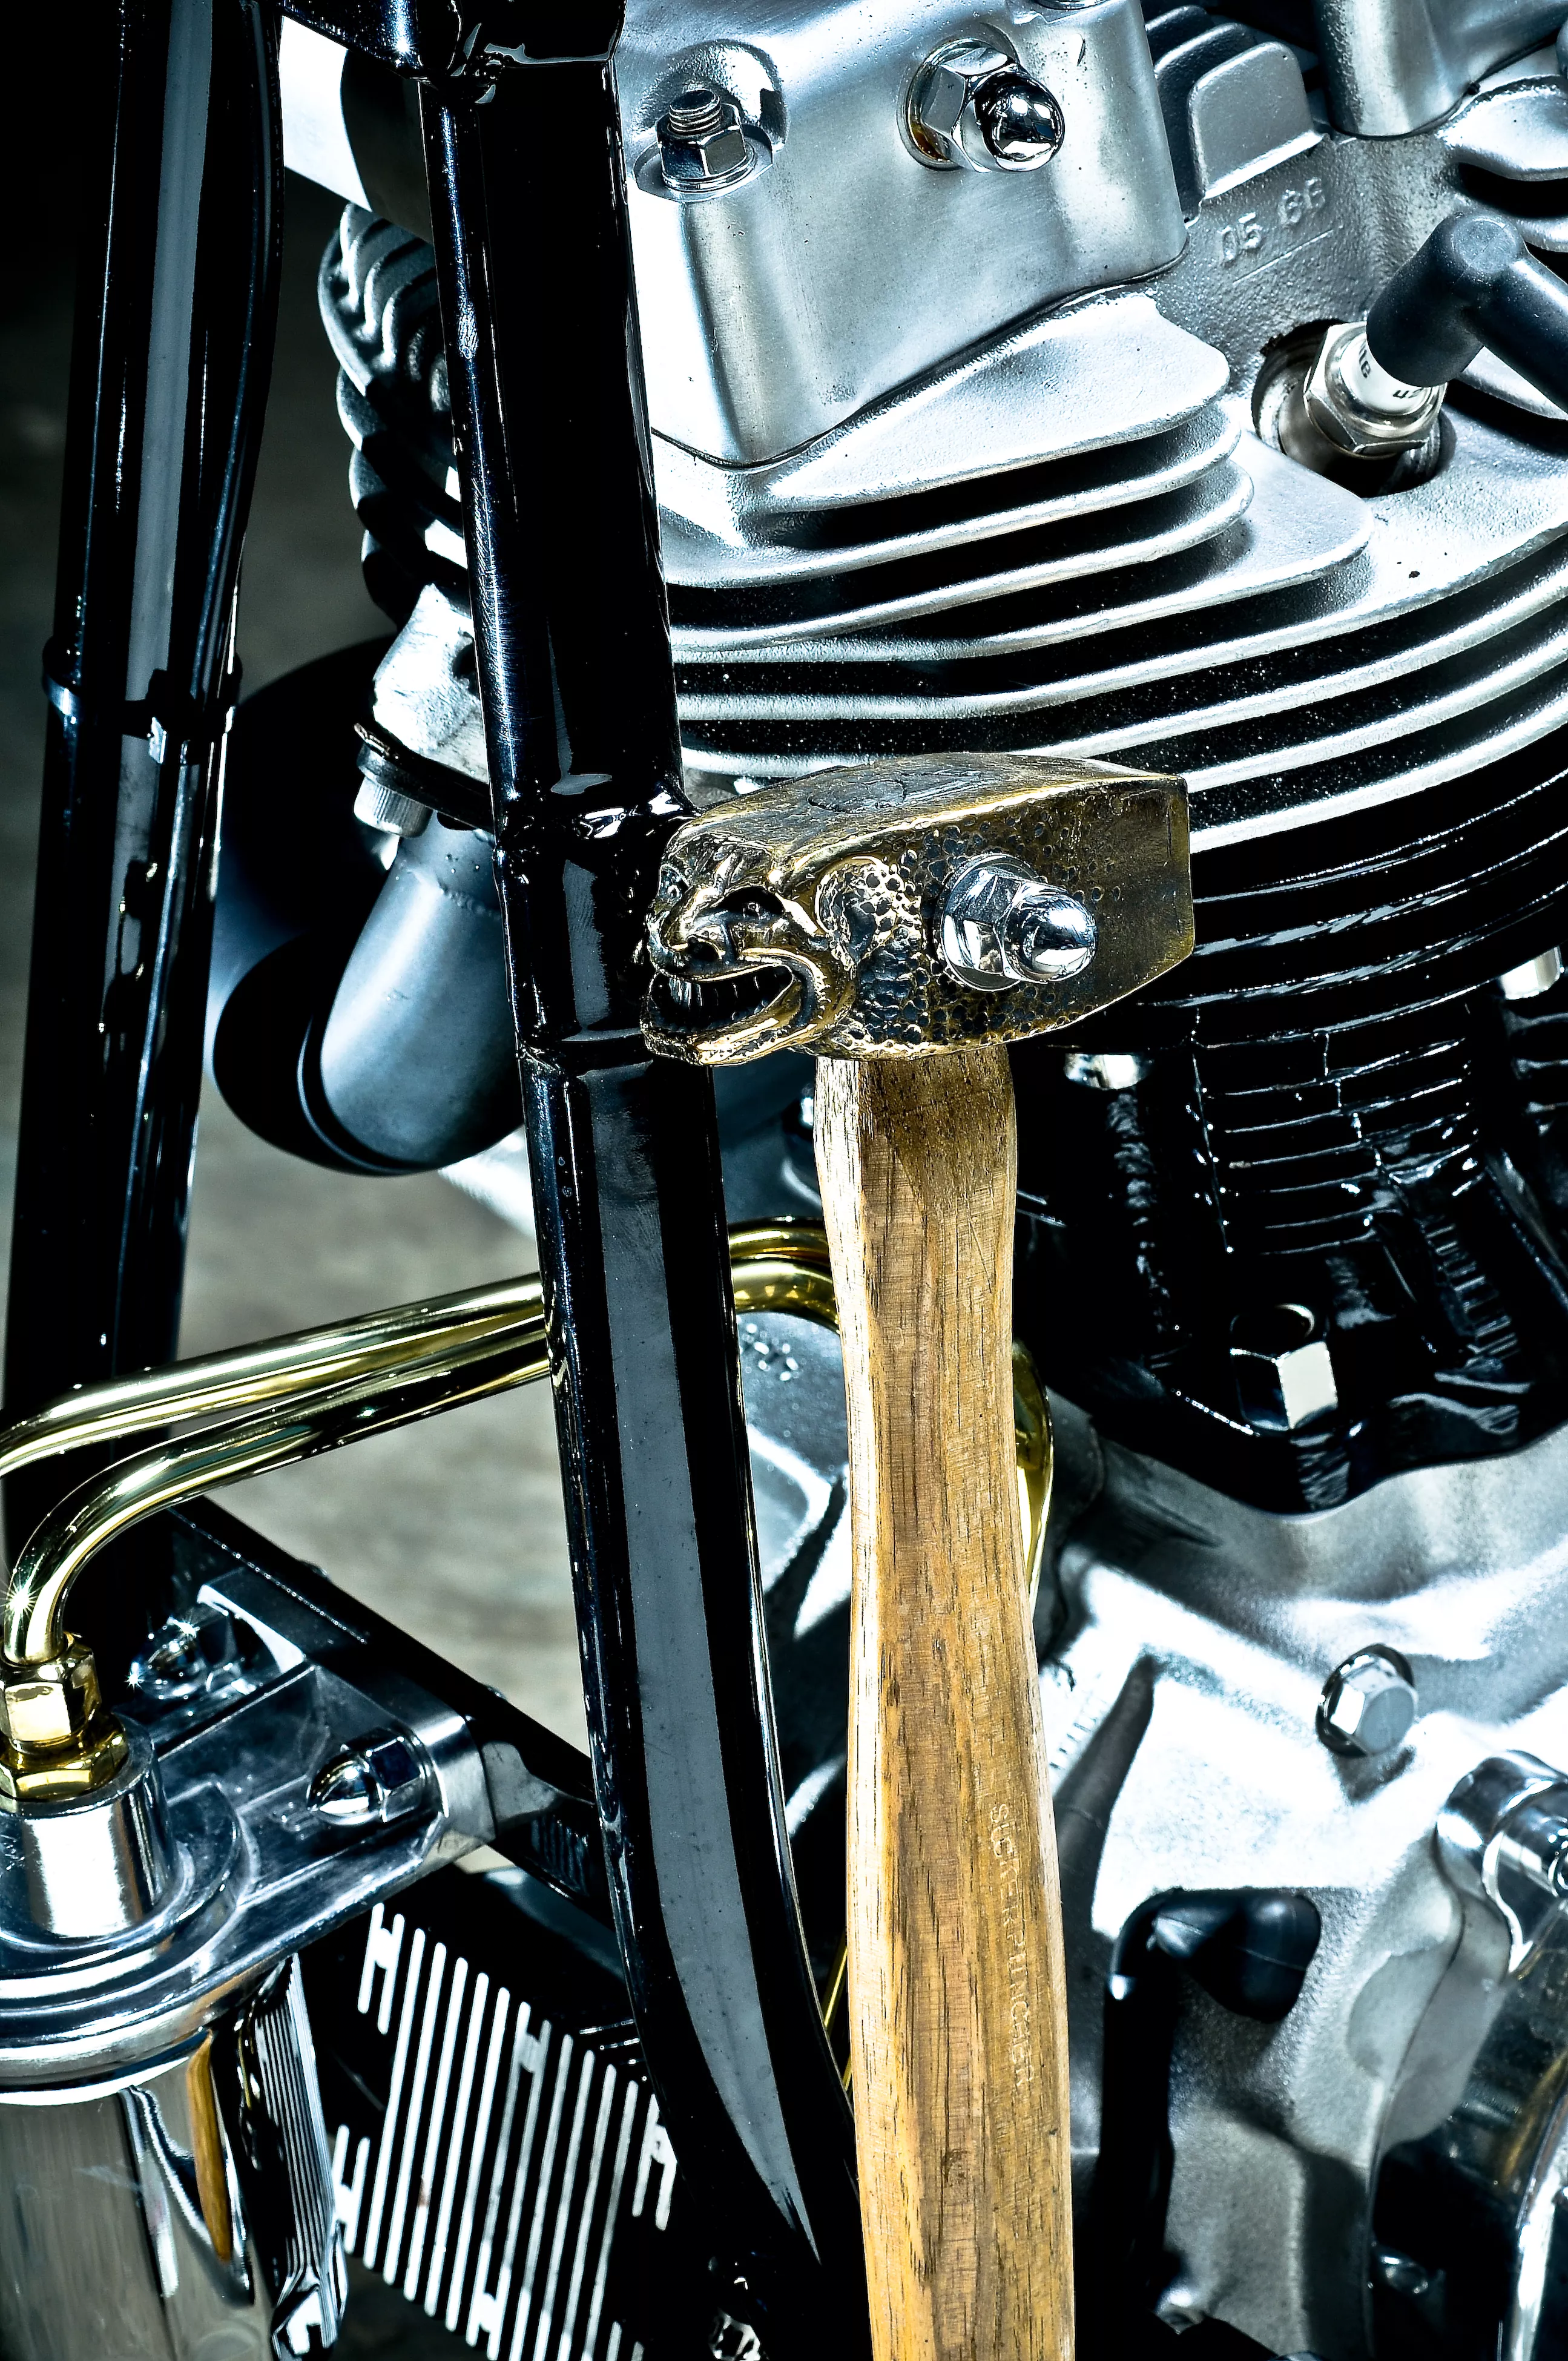
While I was chopping and doing the frame, I sent the motor over to my old friend Donny Loos to be rebuilt because from the flywheels up it had lots of issues. While he was doing that, I was also working on the rocker boxes and cone, lapping, wet sanding, and putting a final satin finish on them. I also machined a set of my rocker nuts in 304 stainless, reworked an intake so I could run the CV carb on the old-style heads, and bent up some brass lines to feed both rockers evenly at start-up. Other than using a little hotter cam, I prefer to keep the motor as stock as possible.
<div class="st-block quote text-
Notice: Undefined index: st_text_align in C:laragonwwwhotbike-importblocksquote.php on line 1
“>
I like to keep my bikes simple but still show as much talent as I can without overdoing it
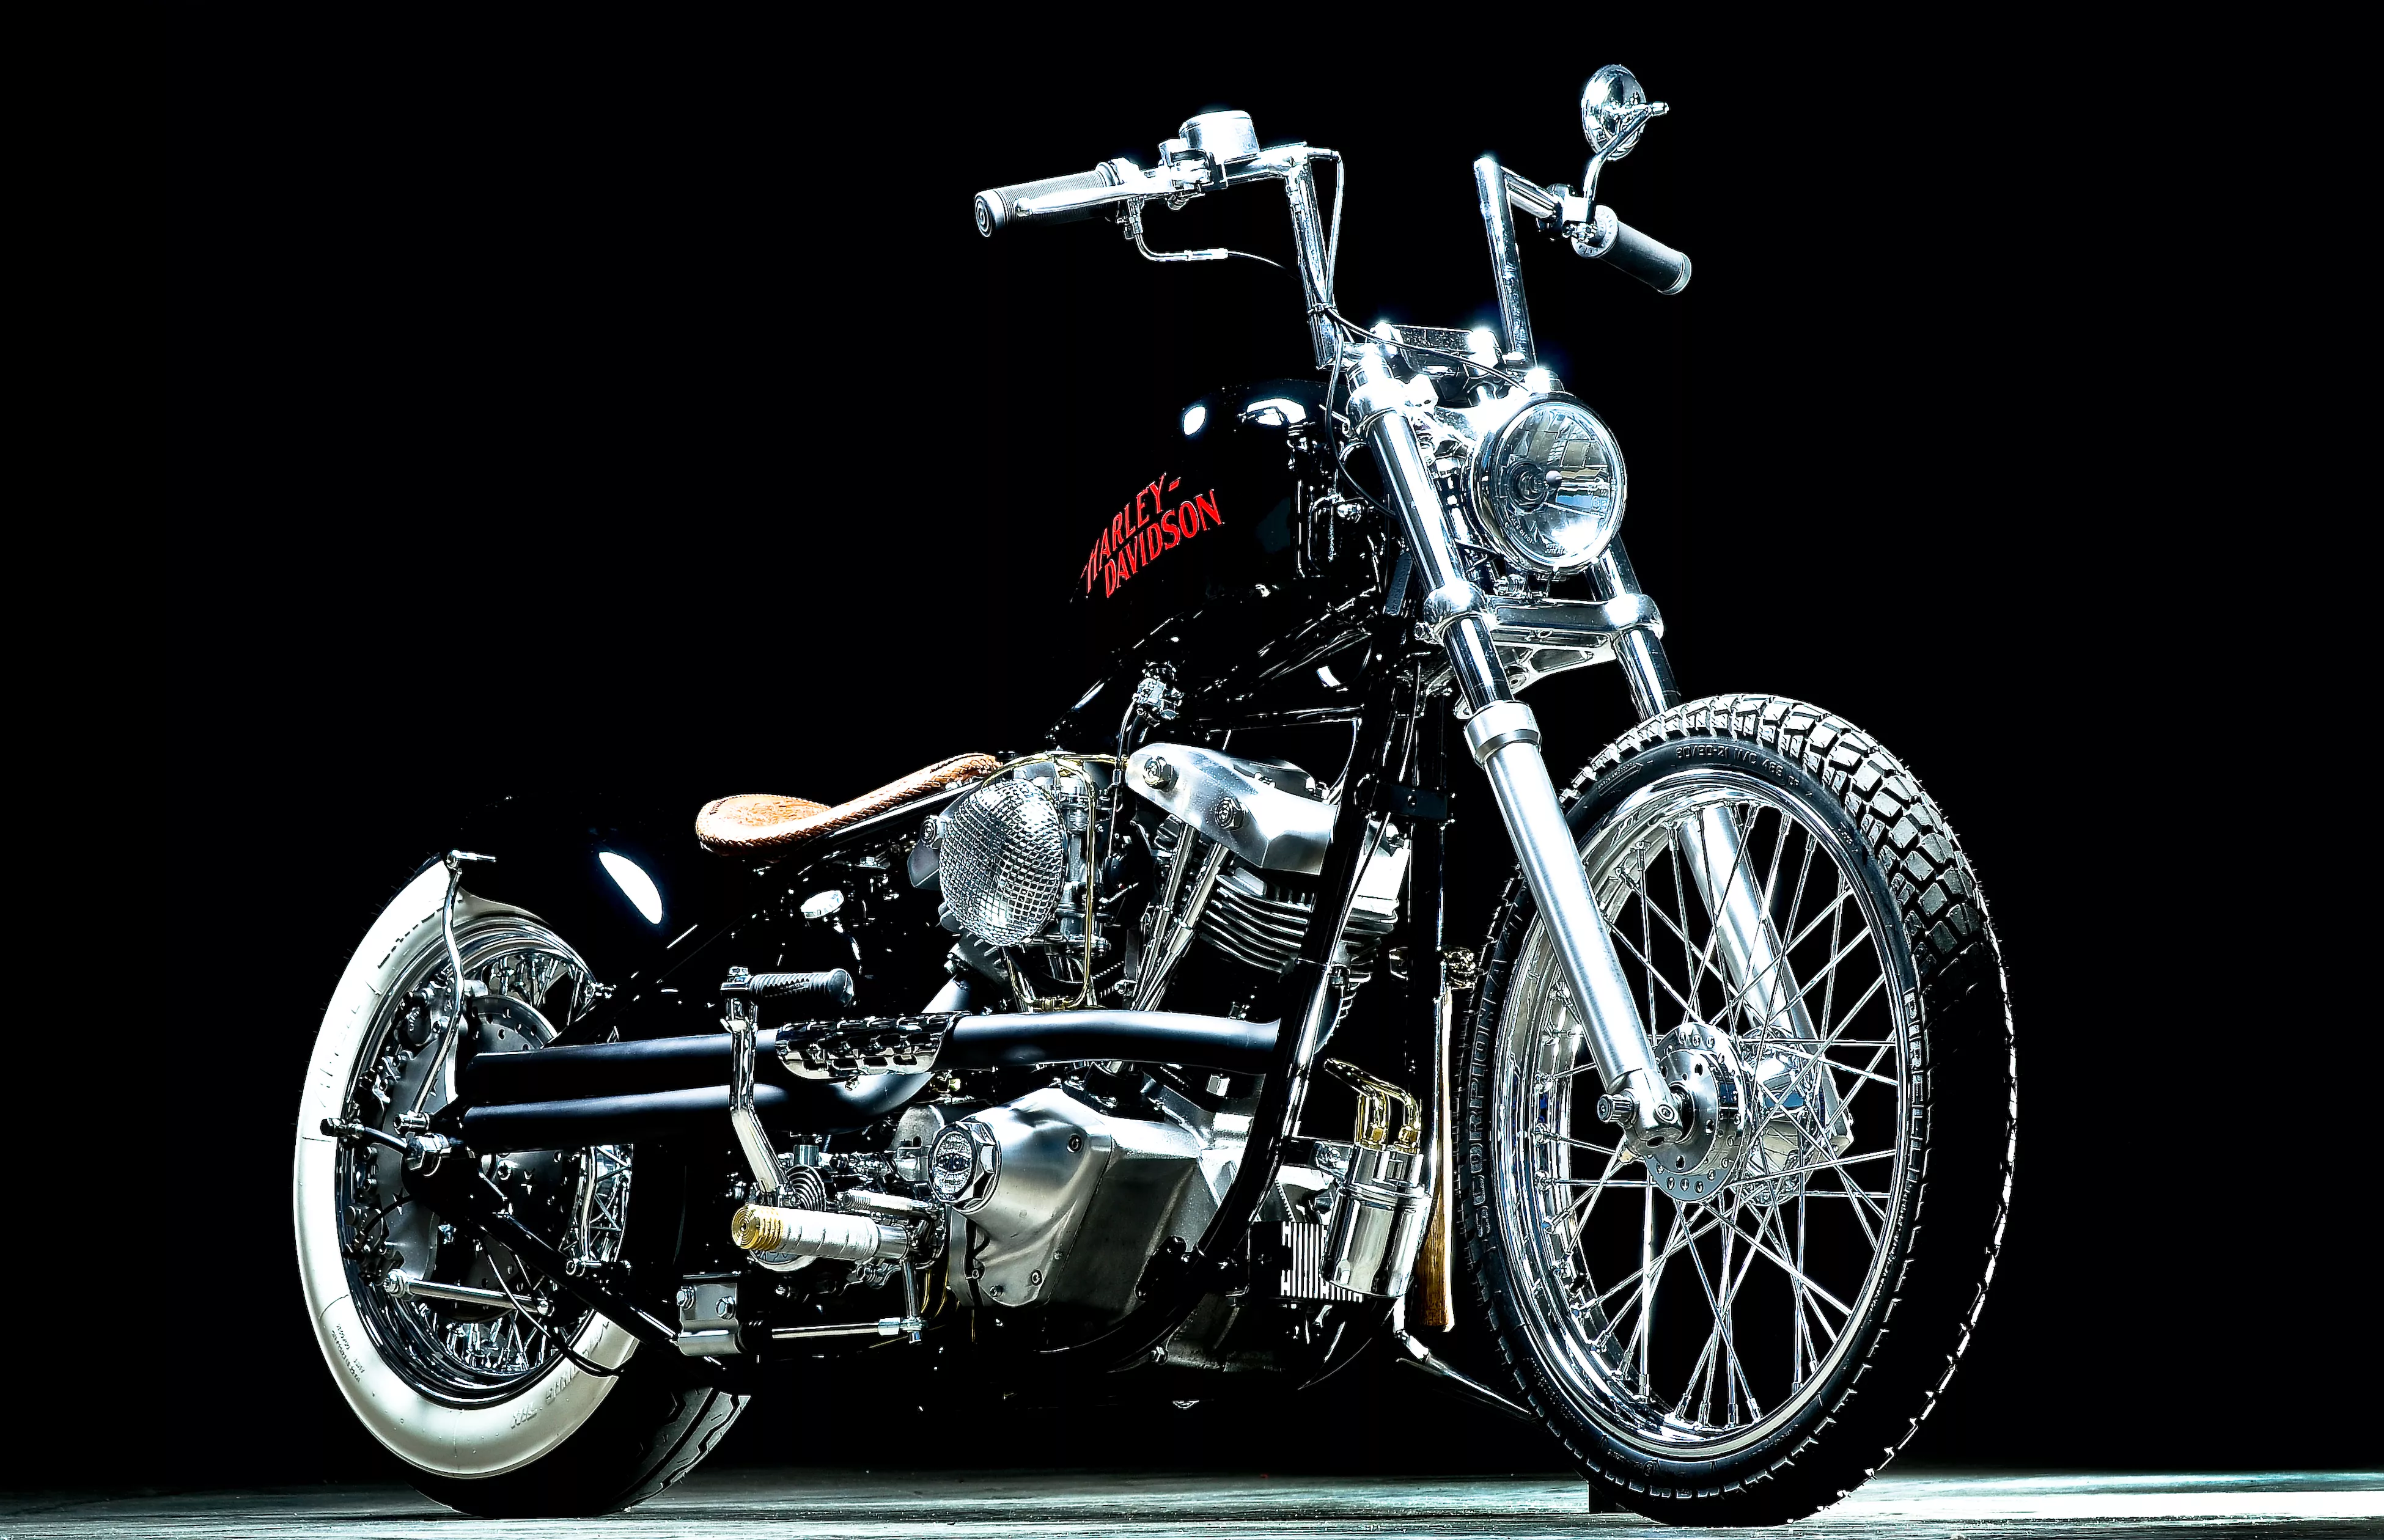
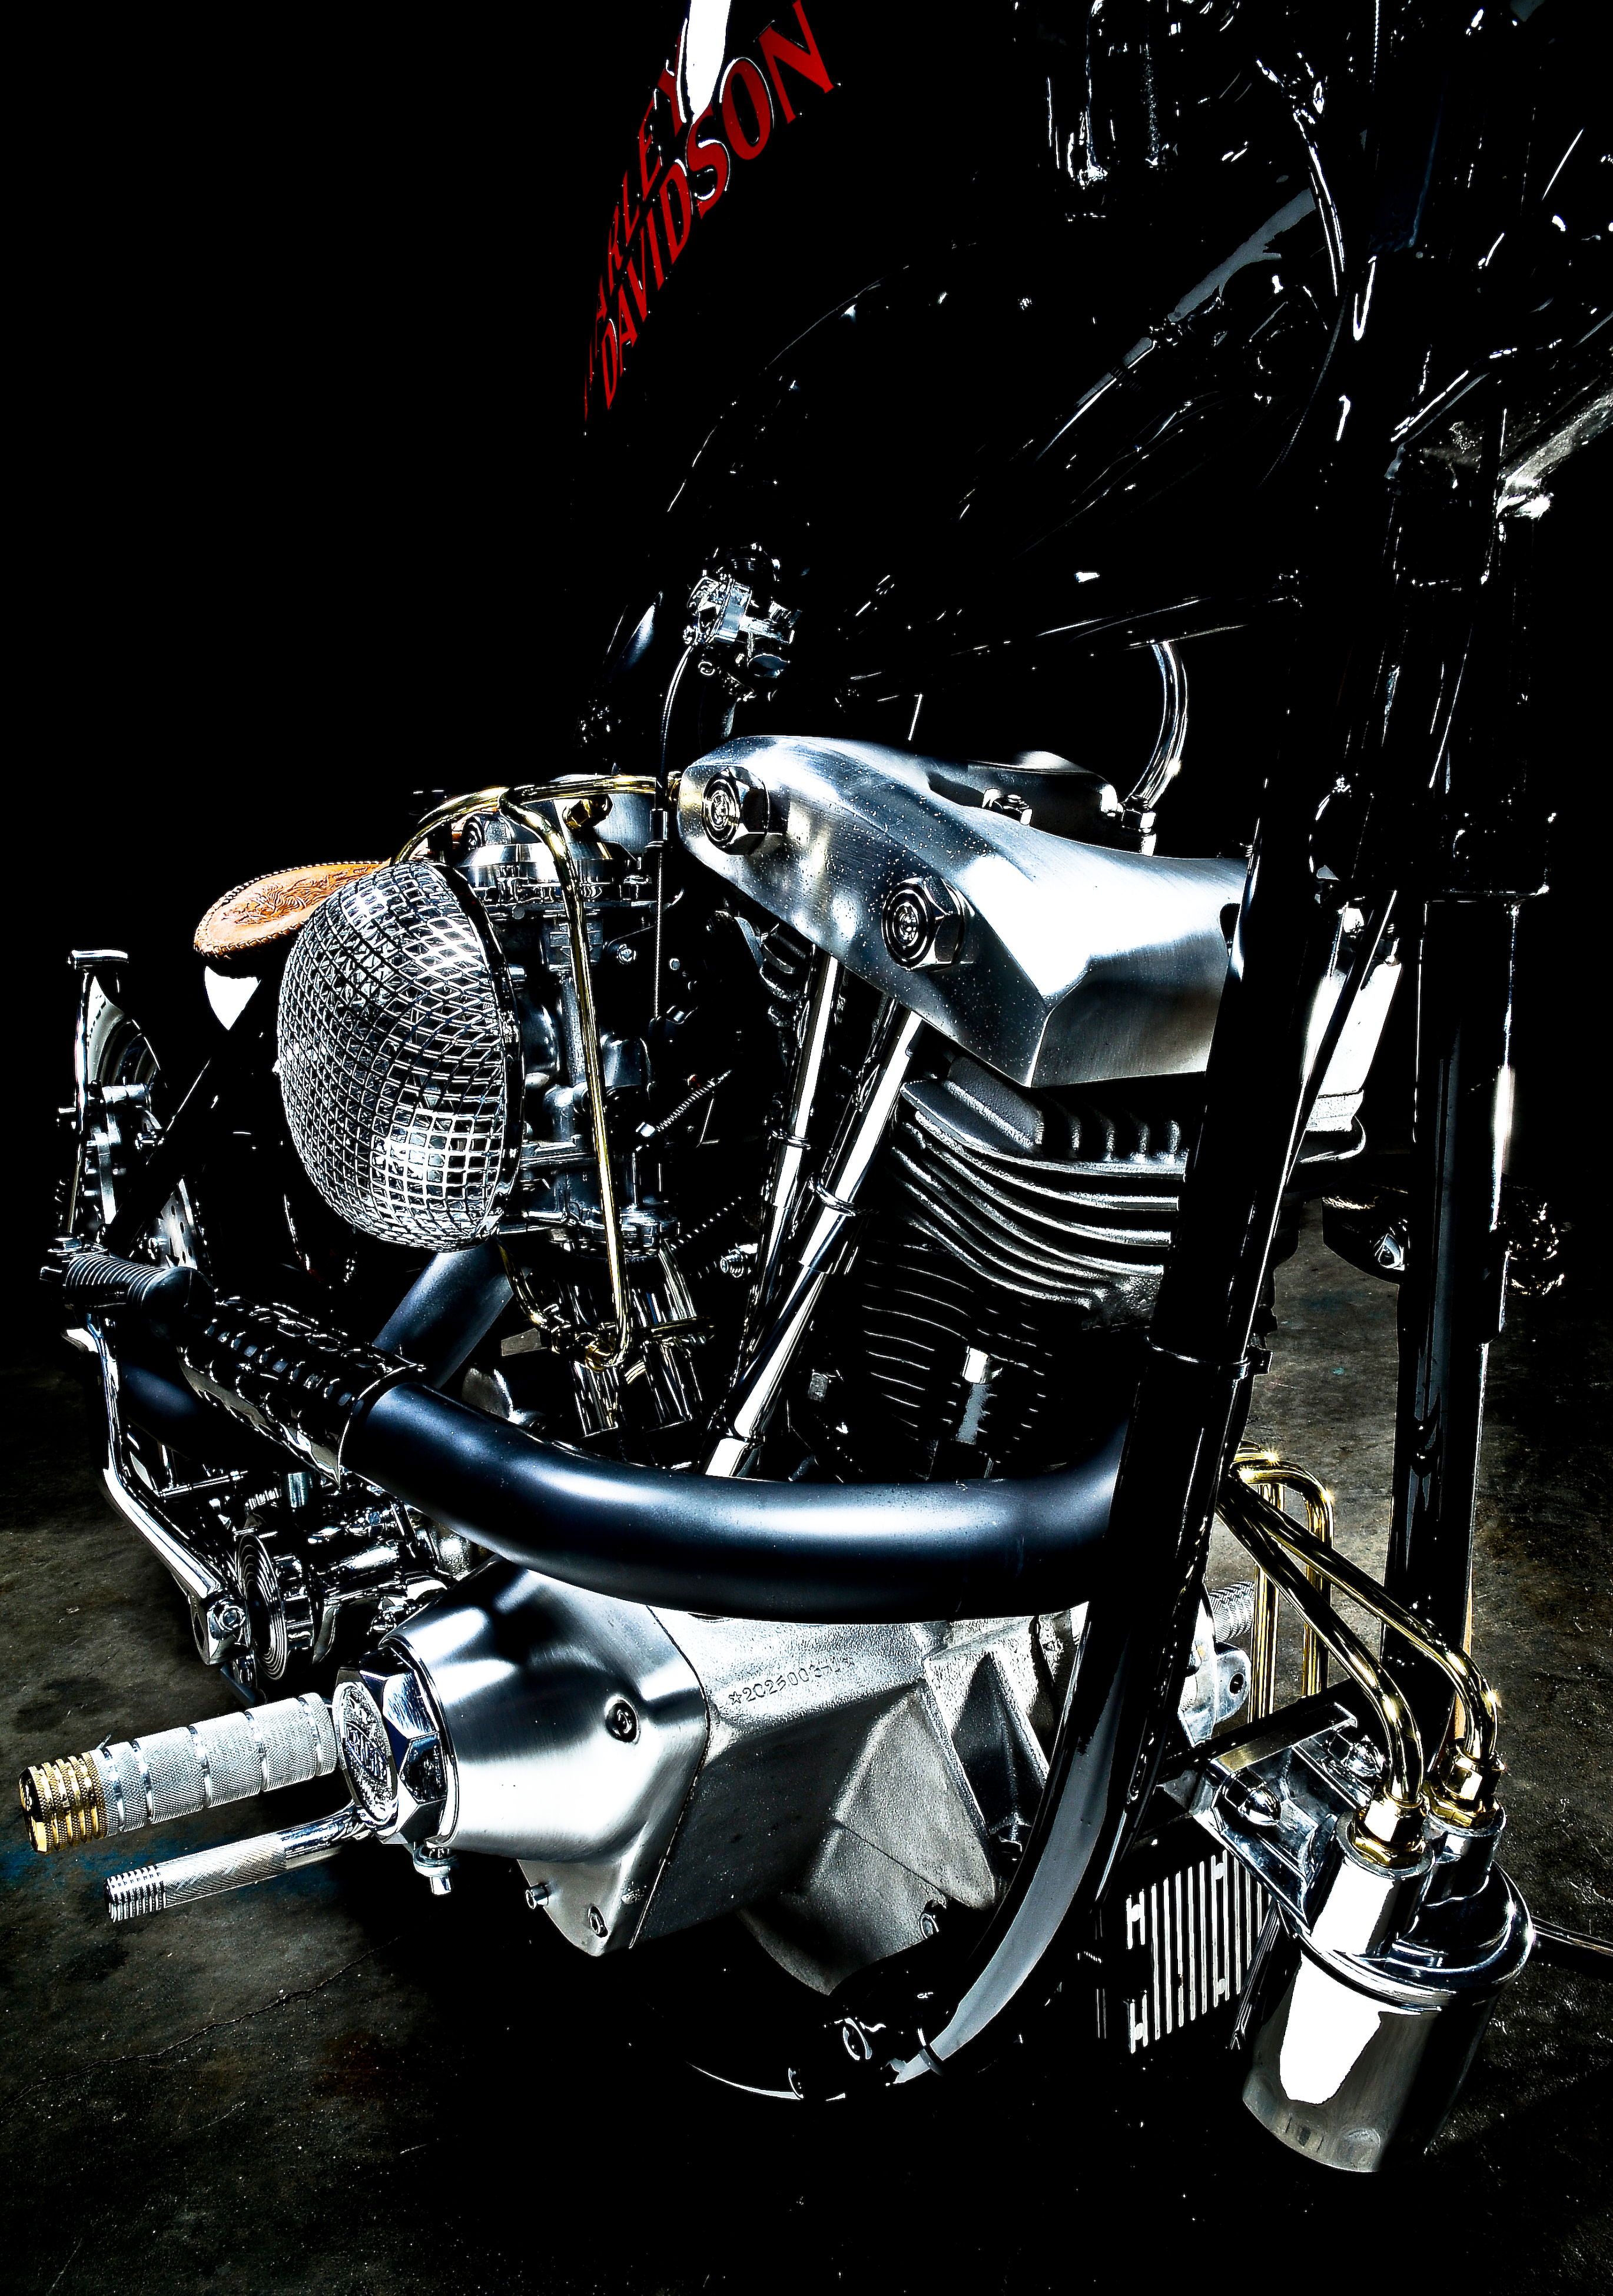
Most of my personal bikes I just do kick only. If a motor is timed and tuned right, it should start effortlessly every time, so not having a button does not bother me. After I decided what wheel and tire combination I was going to use, I cut the tail section off the stock frame and put it in the jig—setting up the ride height and stance I like to use on my bikes. I also extended it a bit to give it a little extra wheelbase so at high speeds it handles better than stock. I hand bent all my tails out of American-made DOM tubing, so I know it’s going to withstand any riding conditions. The front end is just a stock 39mm. I shaved the legs and redid the tubes and dampers so it would still work properly even though the bike was lightened by 100 pounds or so from its original stock state. I mounted the oil filter out front and hand bent brass lines to everything for two reasons: first to give it extra oil volume and second to keep it away from the heat of the motor and make sure it’s getting plenty of airflow.
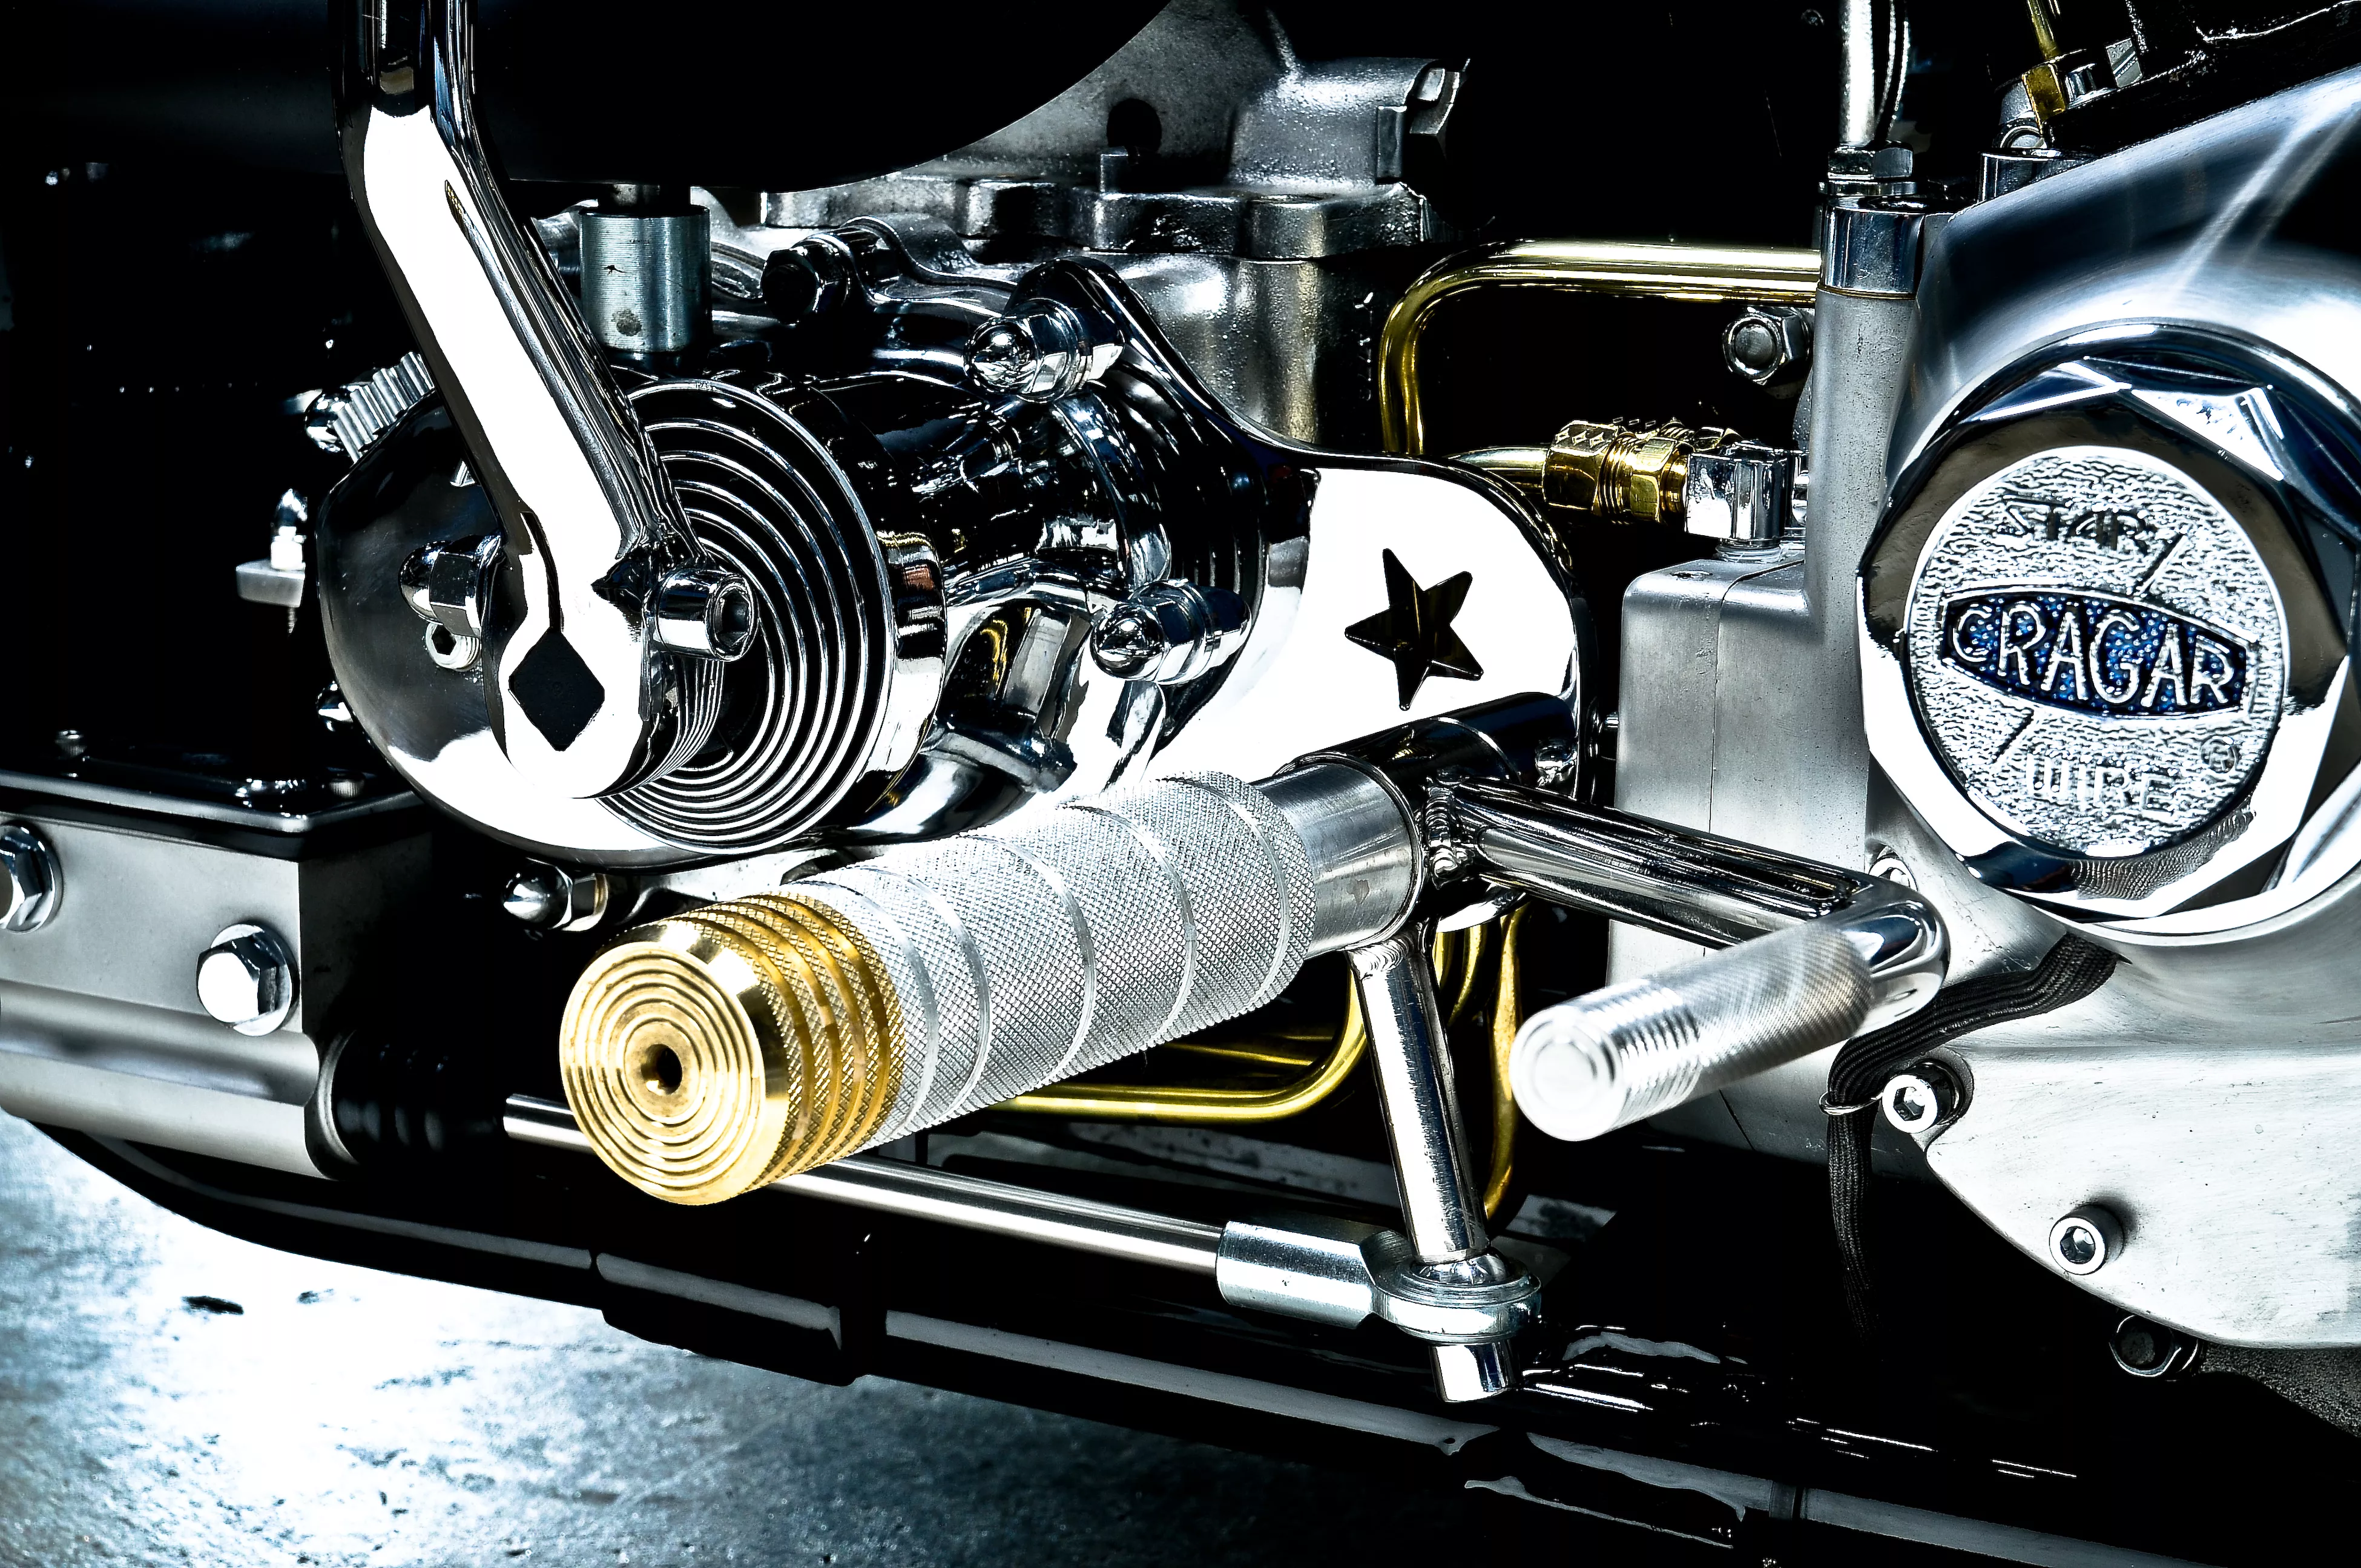
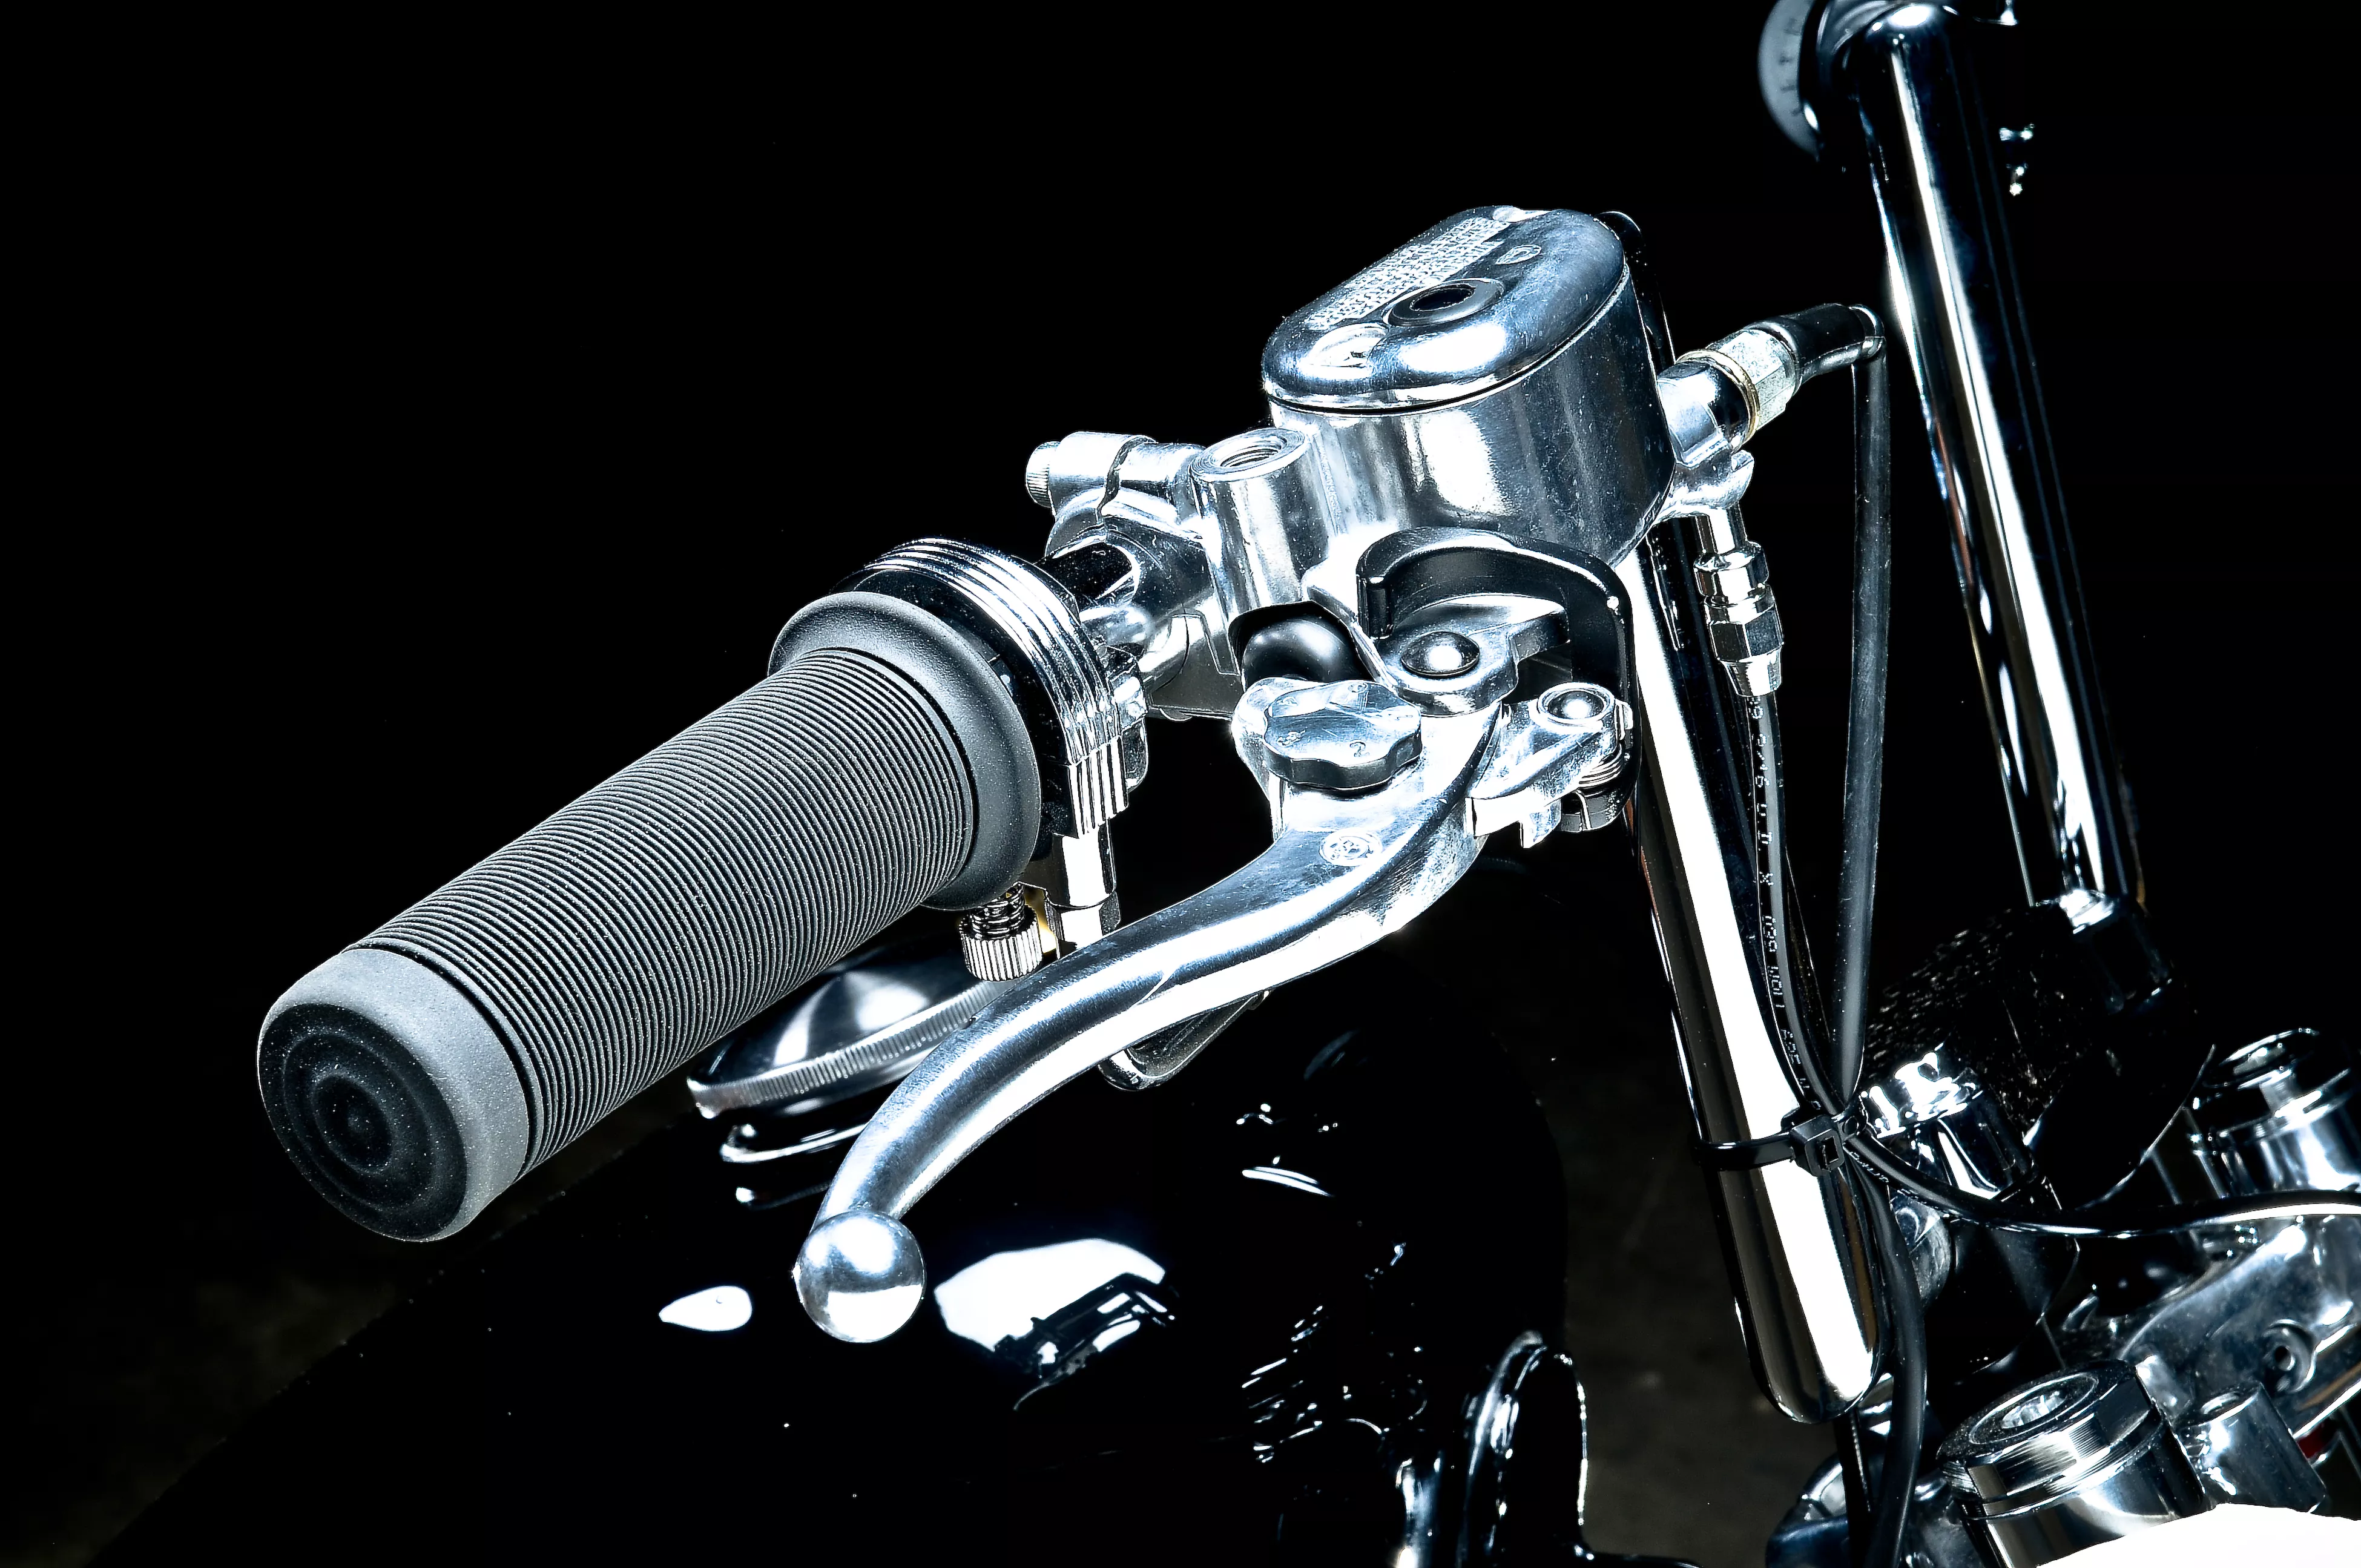
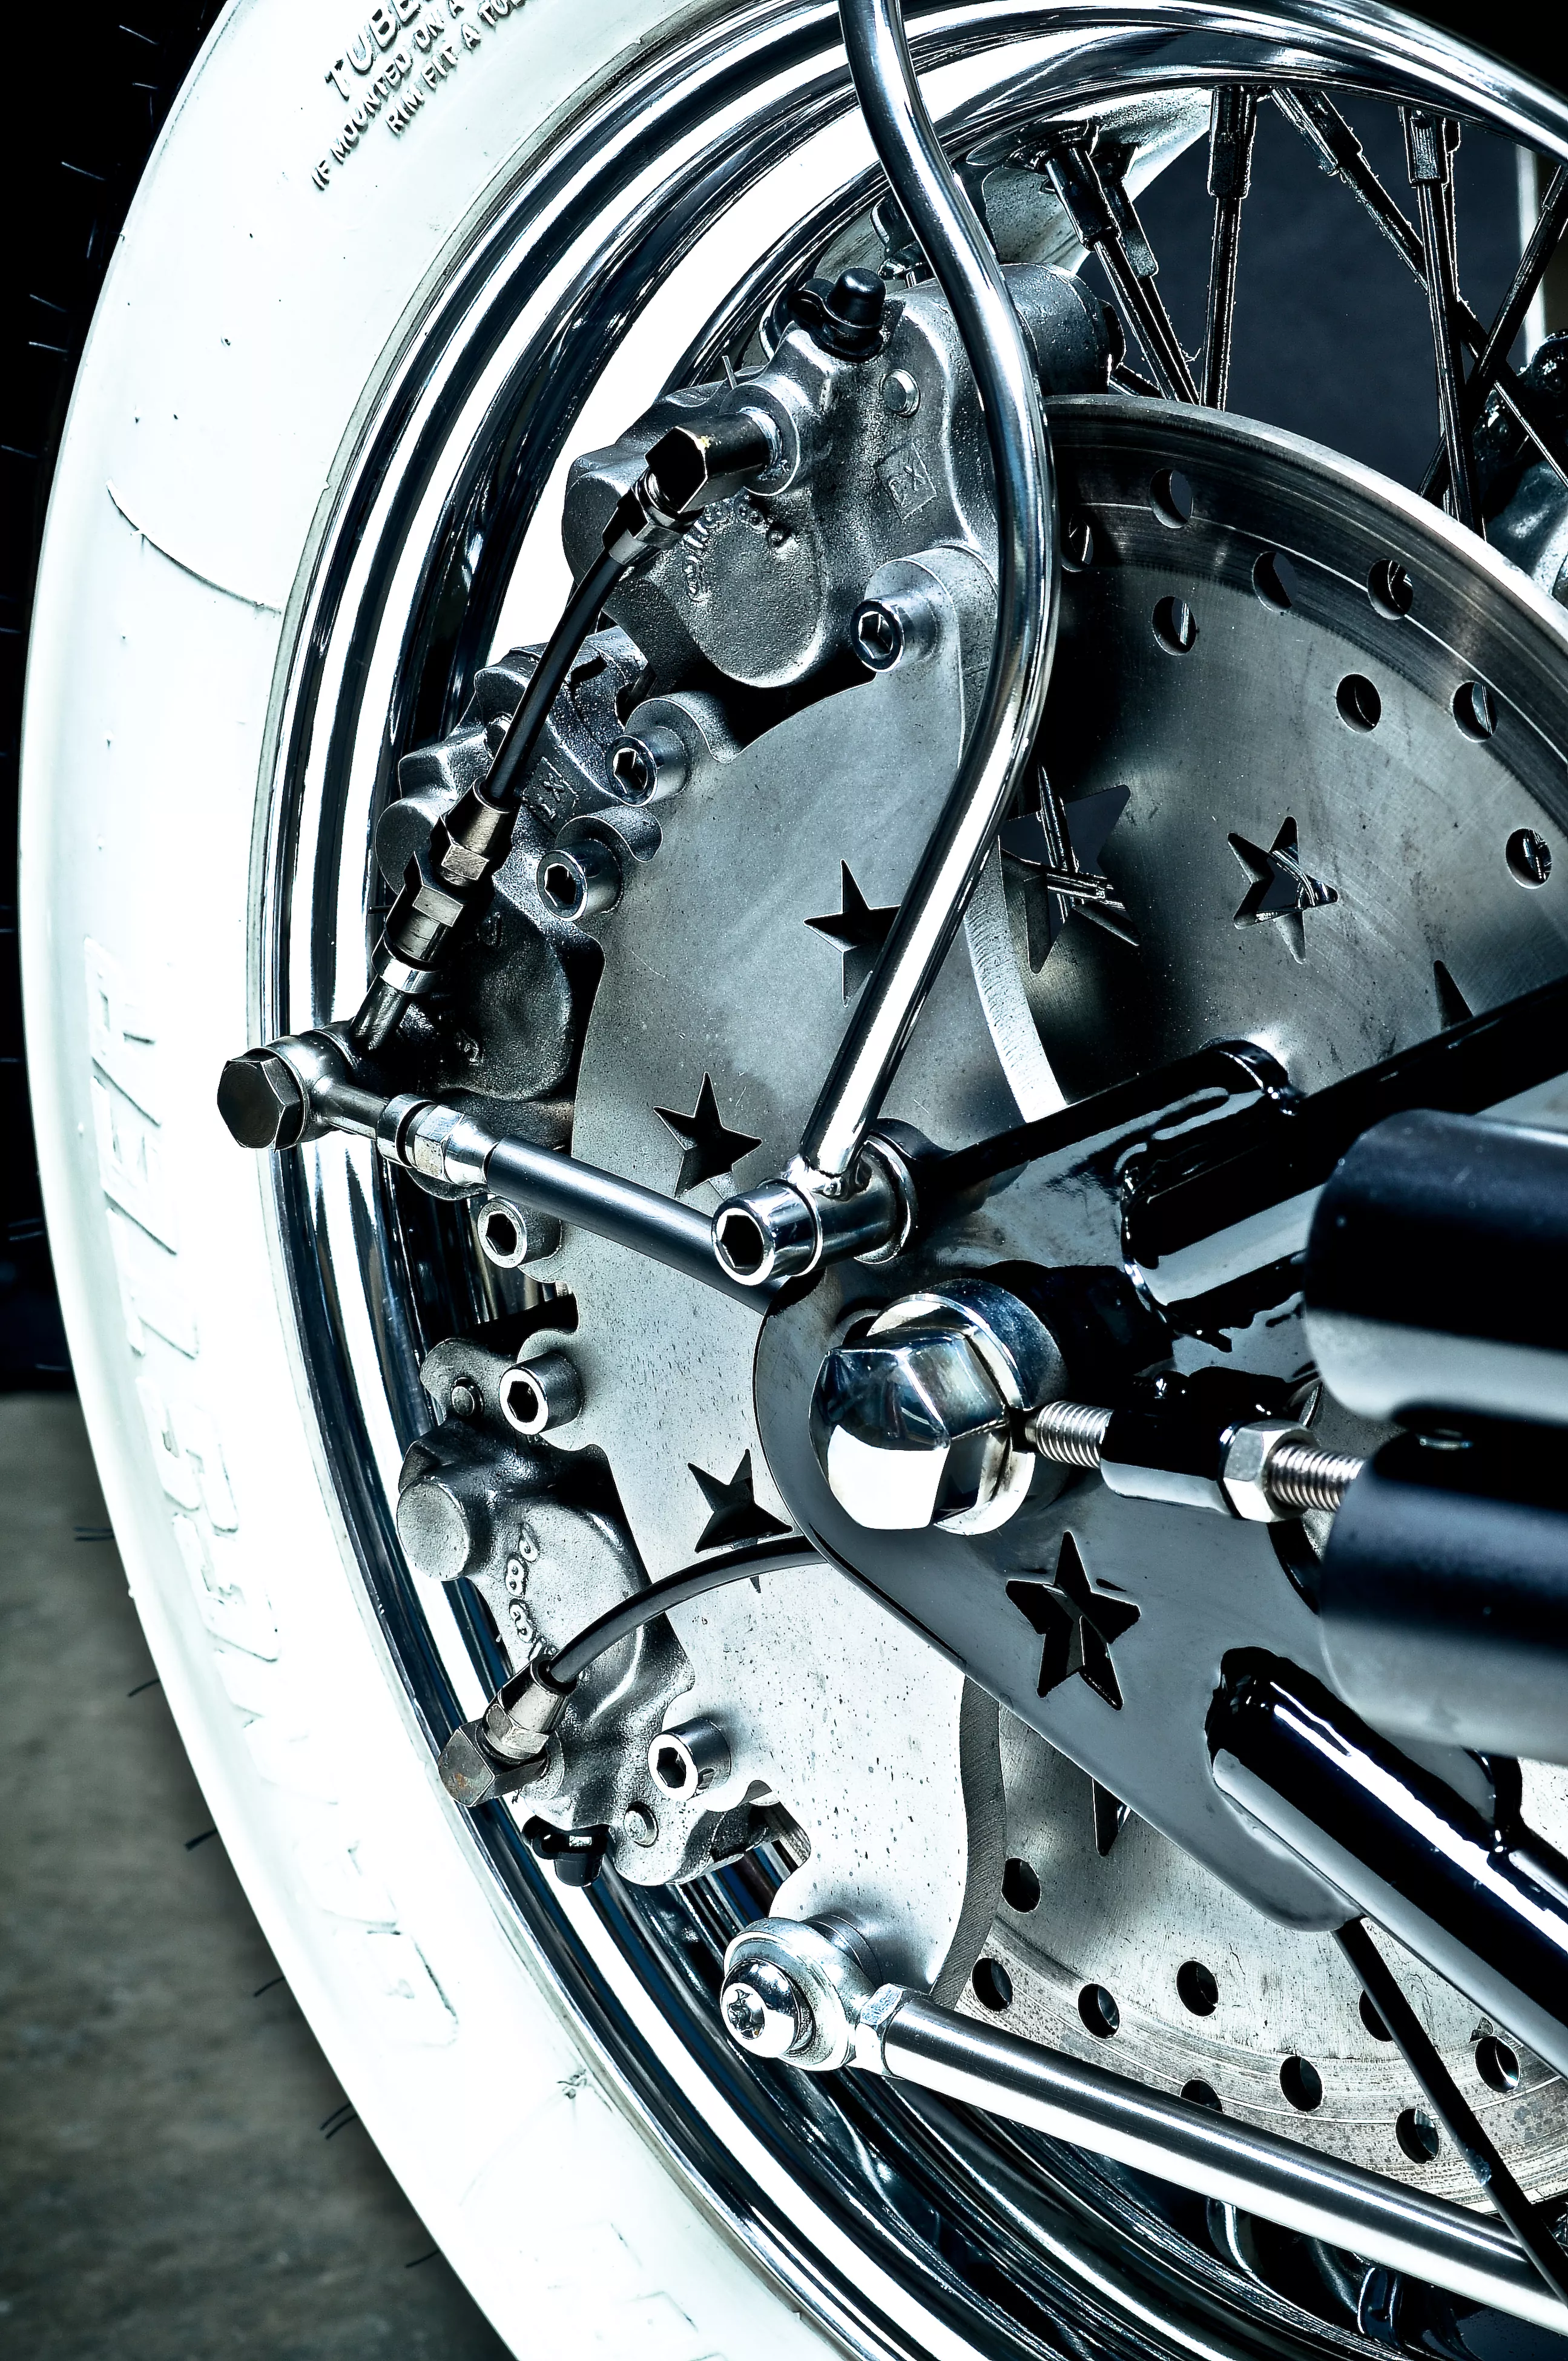
I made the mid controls out of 304 stainless. I prefer the mid over forward controls because they are just more comfortable for me to ride, and I feel more in control especially if I’m riding aggressively or in heavy traffic. The front control is a lockable supermoto style running to a single rear caliper on the SpeedKing Rush Hour Racing Triple Threat brakes accompanied by a SpeedKing 420 rotor. It makes it nice having a hand control, especially since all of my personal bikes are jockey shift. The shifter is a SpeedKing Big Rig style, which I also made out of 304 stainless.
The rear master cylinder is connected to the other two calipers on the system just to make sure I always have the best stopping power money can buy. There are a few things that are very important to me, and being able to stop is one of them. I still love the look of all the drum brake vintage stuff but just don’t feel comfortable betting my life on them.
The seat is one of Dave Theobald’s original SpeedKing signature series. Dave has been creating seats for me for almost a decade and always does a great job. The paint was sprayed by Brandon Armstrong and the powdercoat by Greg at Alumina. I did so many little handmade things in the motor area that I didn’t want to have the paint too glamorous and pull the eye away from the stuff I felt was important on the bike.


