
Sportster 48 RSD Pipe Install
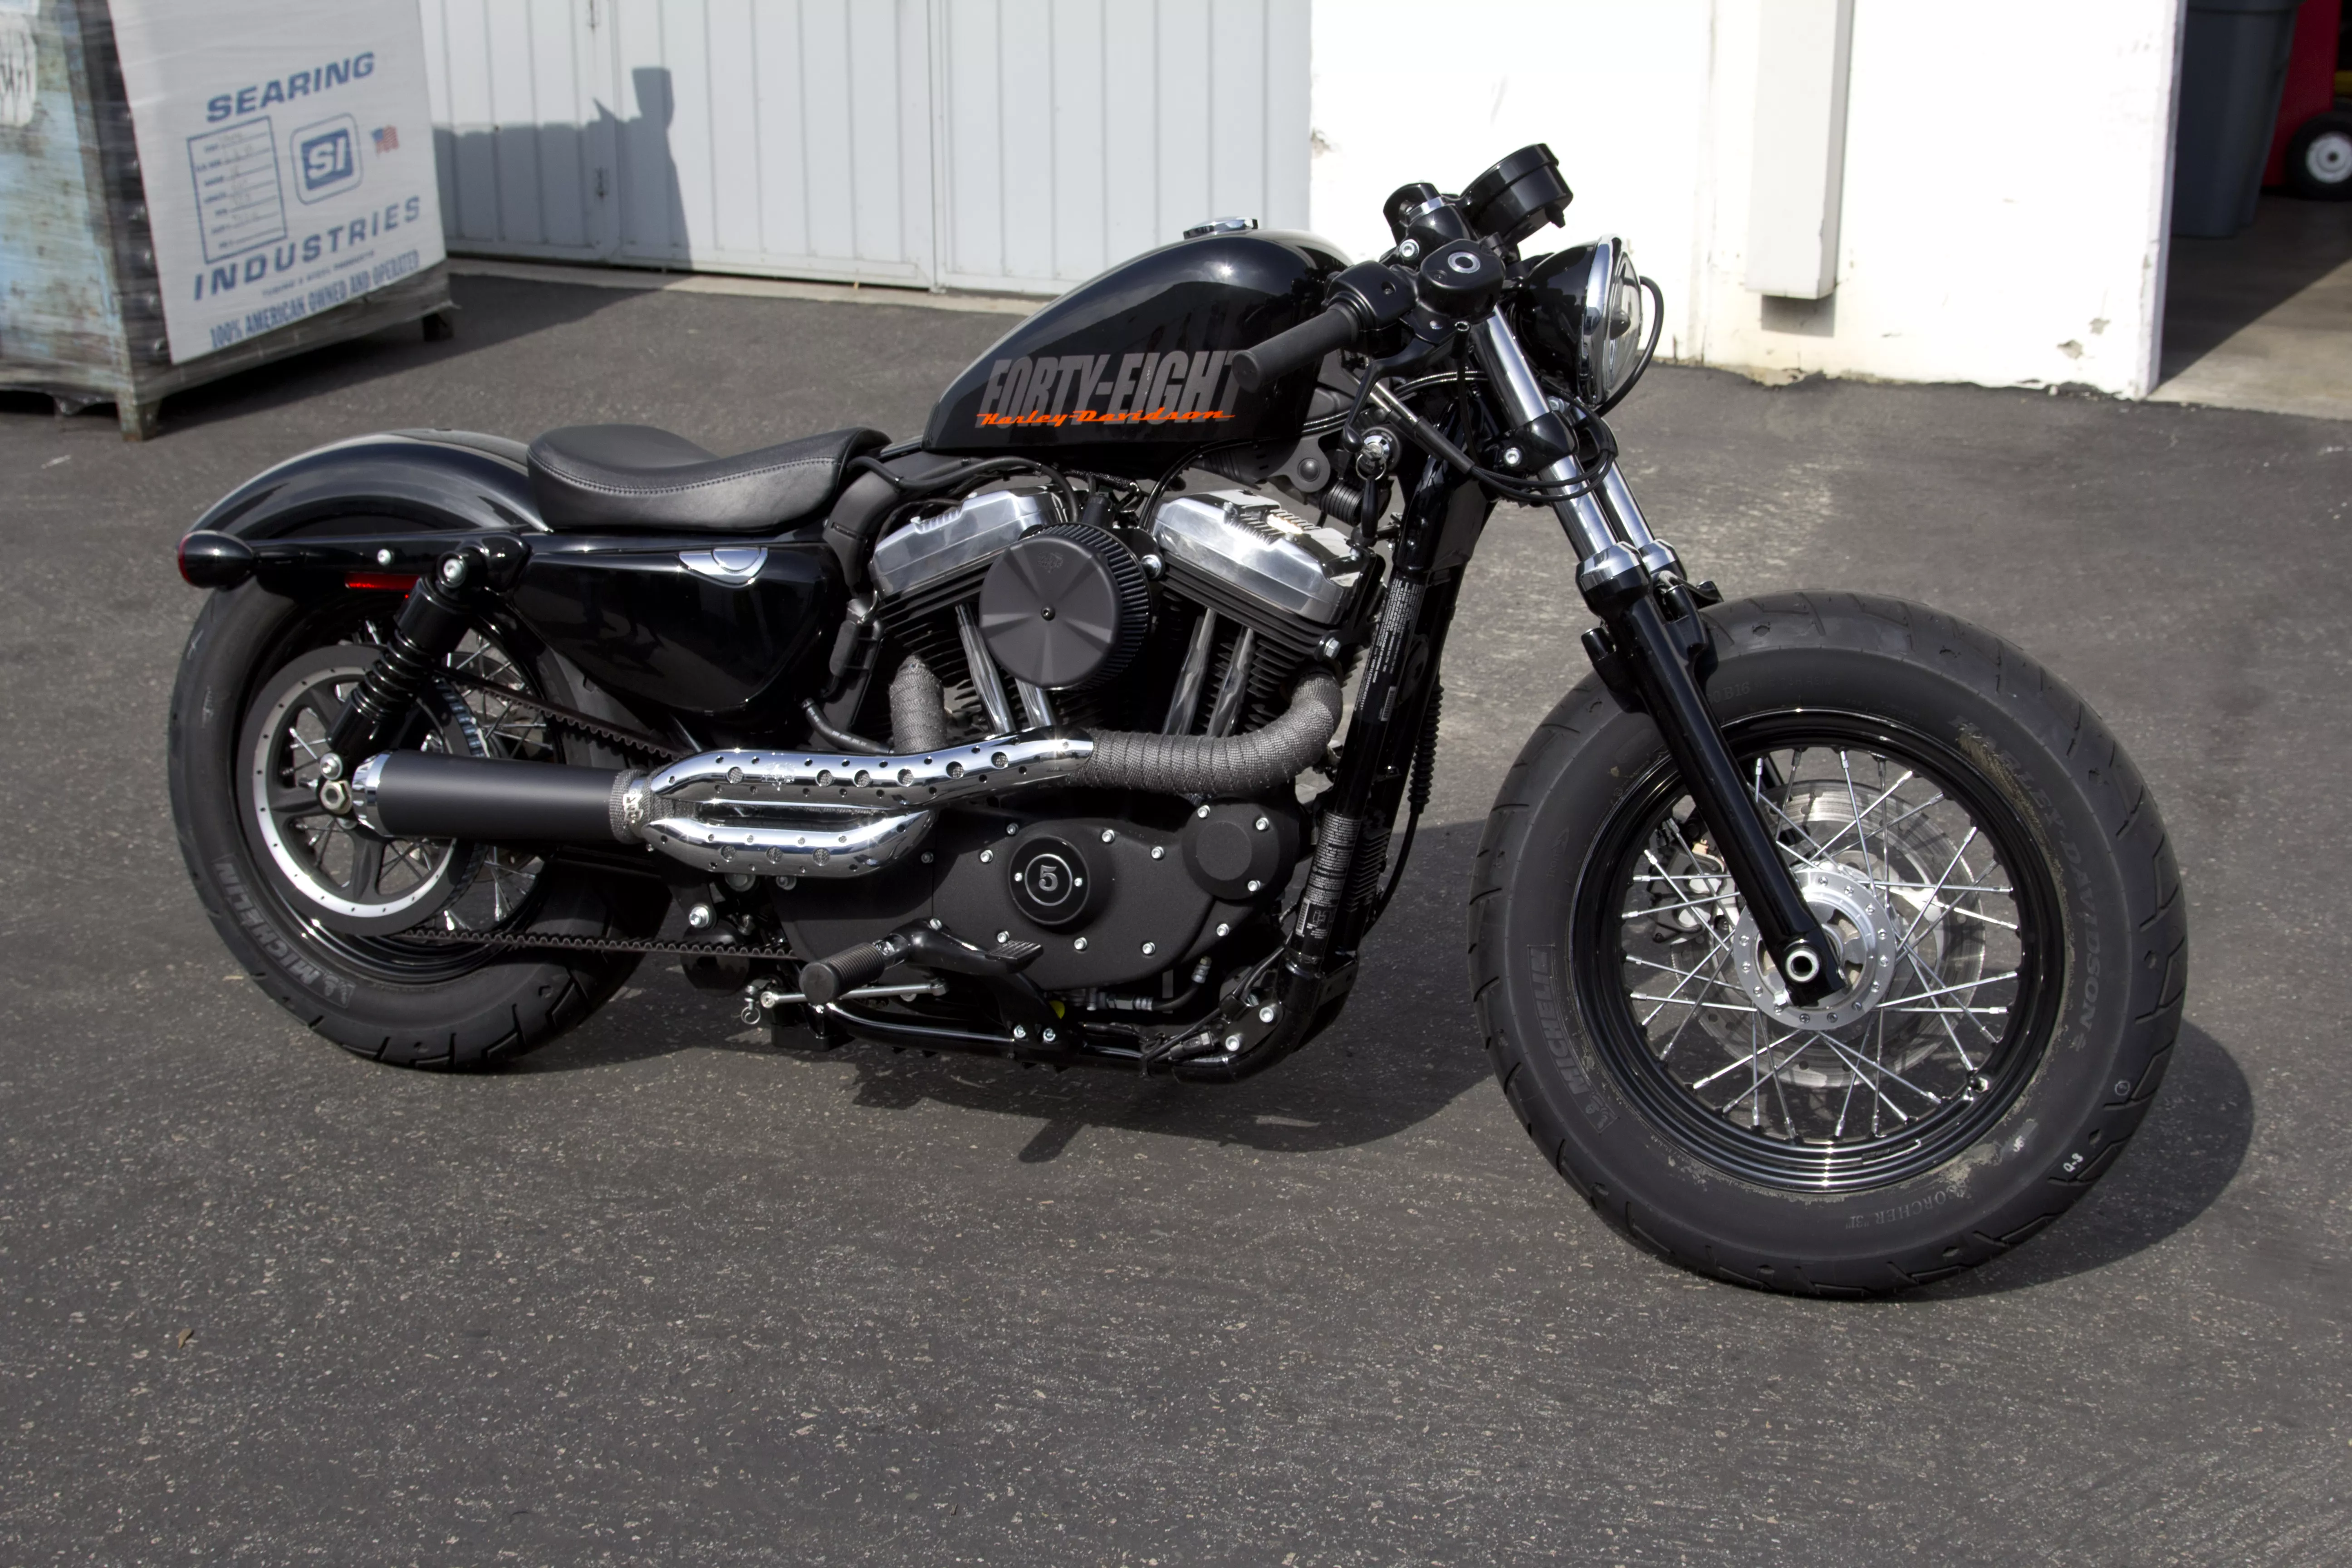
The Harley-Davidson Forty-Eight comes rock-stock looking mean and lean from the factory. With the fat front tire, peanut tank, and classic styling, it’s a great-looking beast as a newborn. If it wasn’t for big brother trying to constantly reduce our carbon footprint, I think all V-twins should breath freely through a set of free flowing pipes. This is probably why exhaust systems are one of the most popular first year fixes. The RSD tracker 2-into-1 exhaust system looks straight off a warplane ready to shoot big rounds. Its sleek, mid-bike posture with just enough chrome complements the classic looks of the Sportster and gives it the big-boy growl it so desperately deserves. We also chose to install the Vance & Hines header wrap kit as well as a Vo2 air intake with a black Skullcap cover.
Vance & Hines goes to great lengths to provide step-by-step instructions on the installation of all its exhausts, so always consult the directions for your particular application.
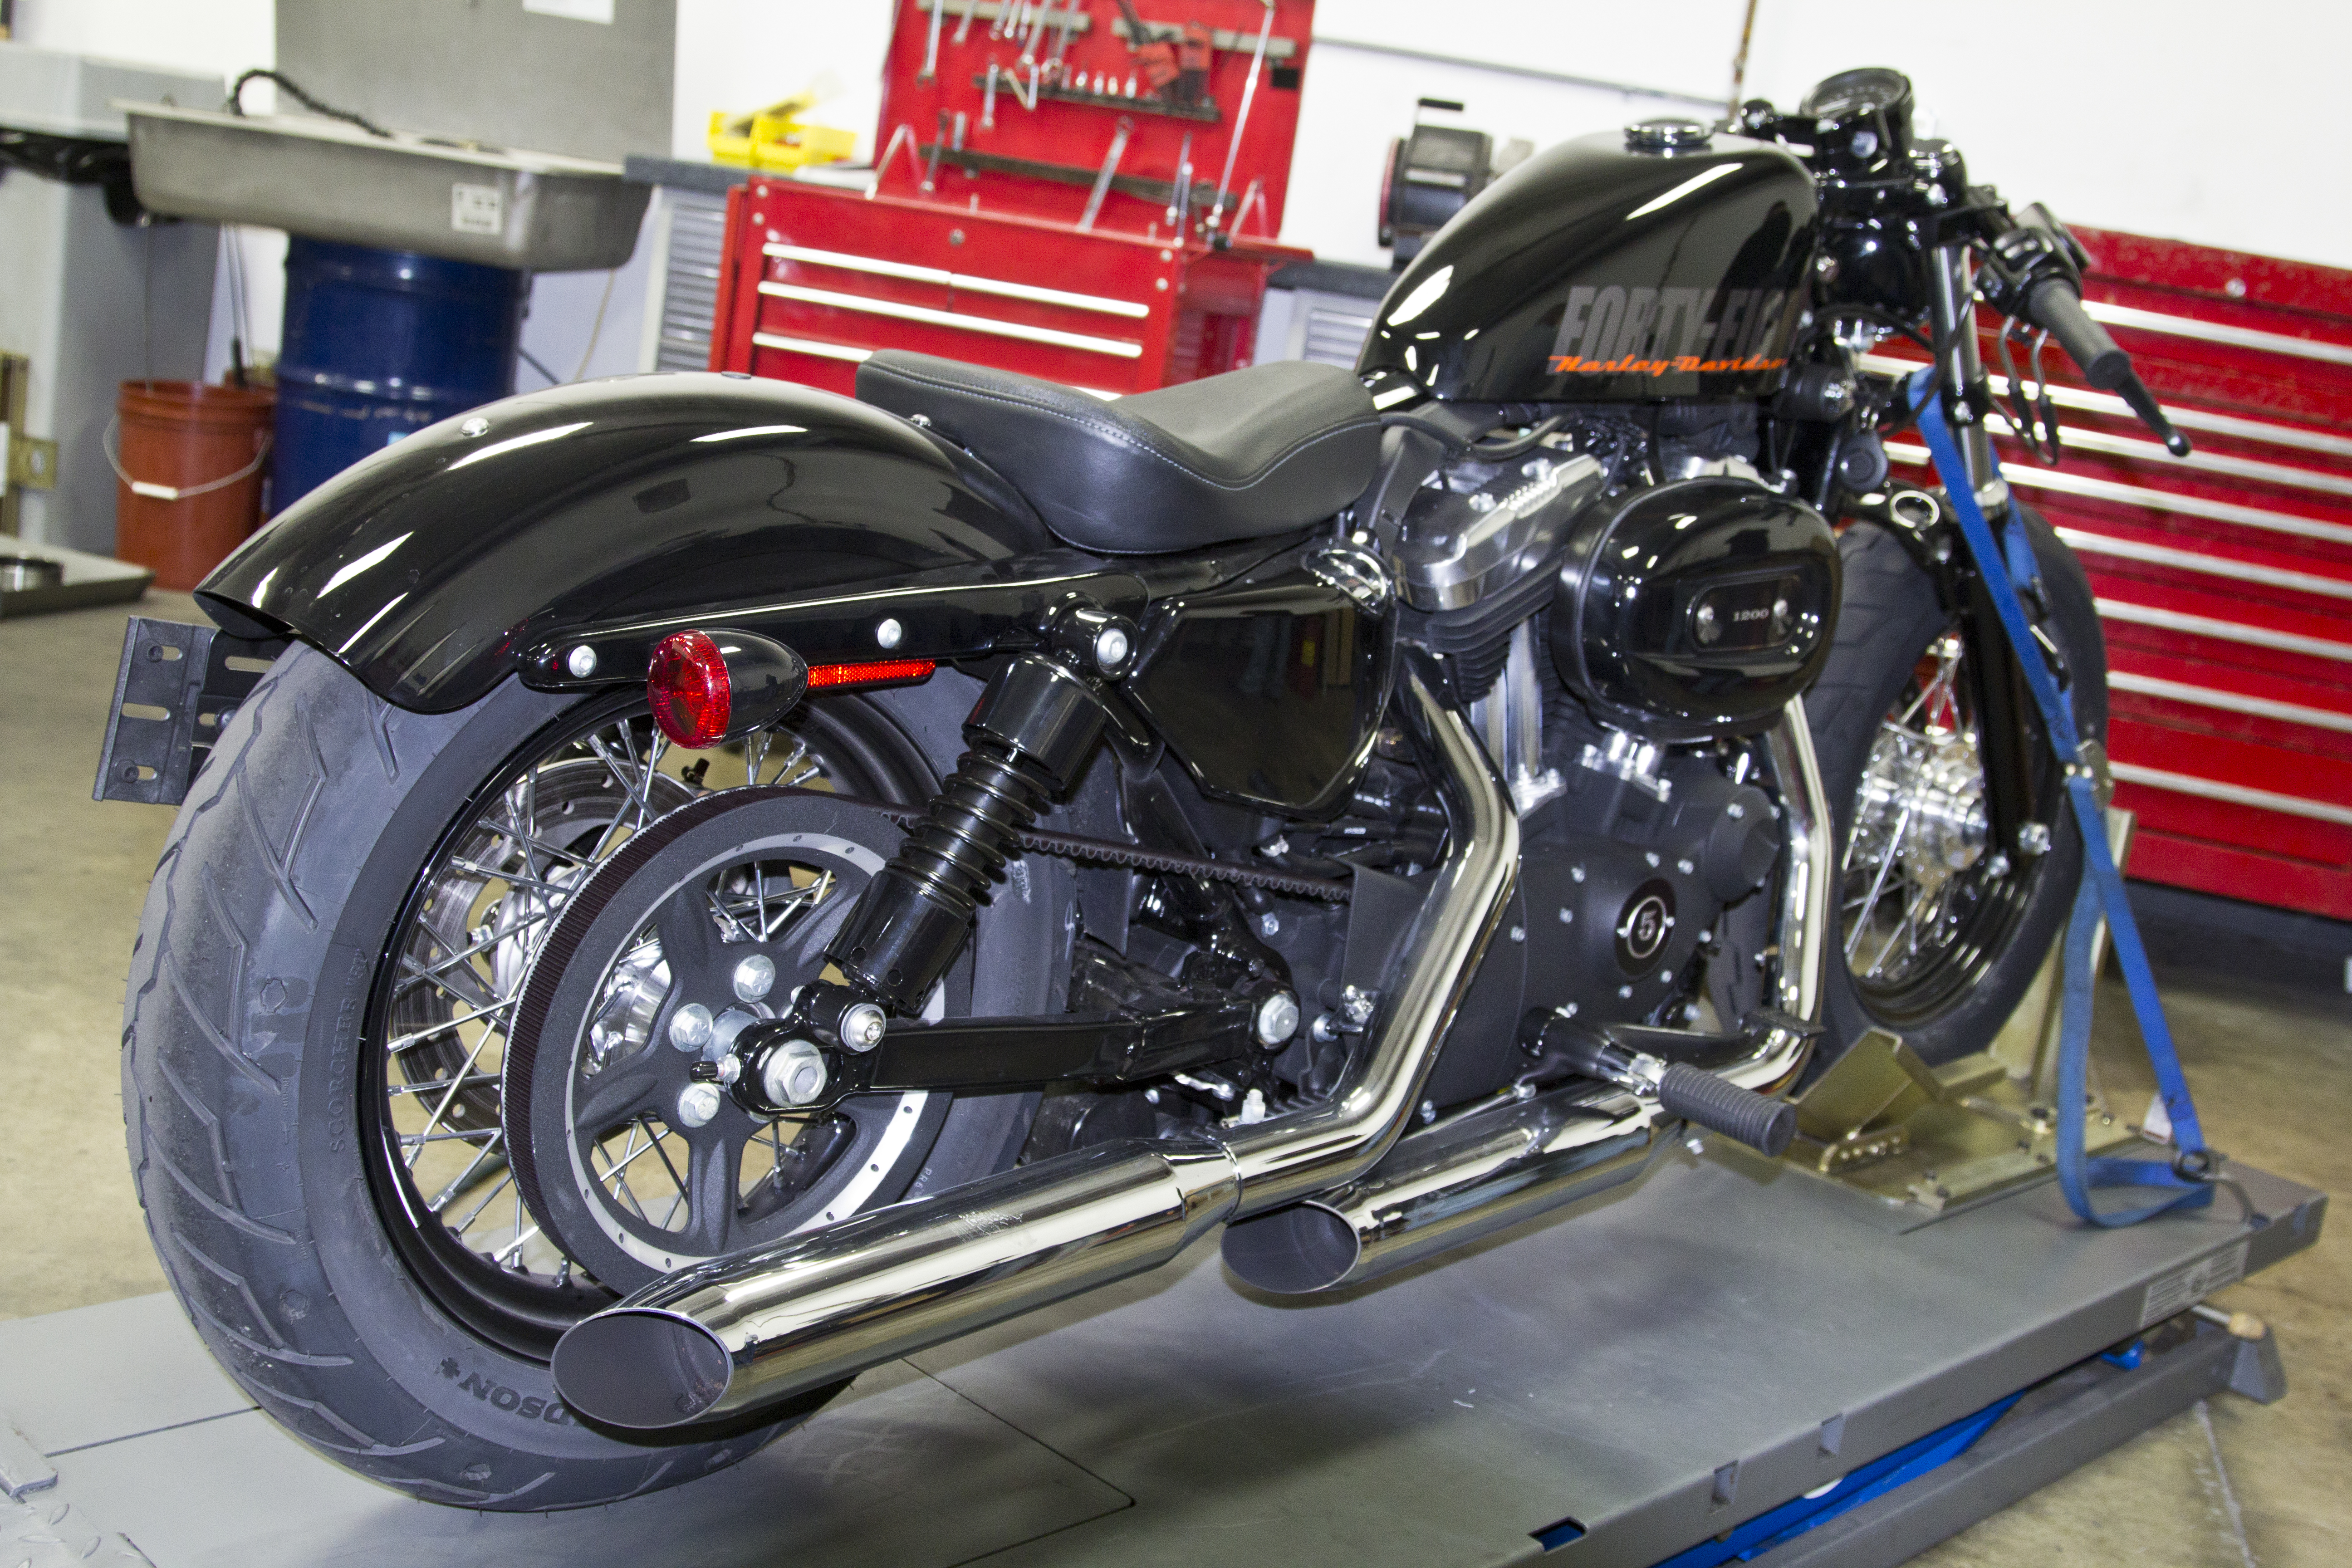
Stock blows. While it meets the rules and regs, the stock chrome exhaust has got to go.
Photos: John Zamora

First unplug the O2 sensor wires from the wiring harness and remove nylon cable tie holding front wire to the frame.
Photos: John Zamora

Loosen the stock heat shield clamps.
Photos: John Zamora
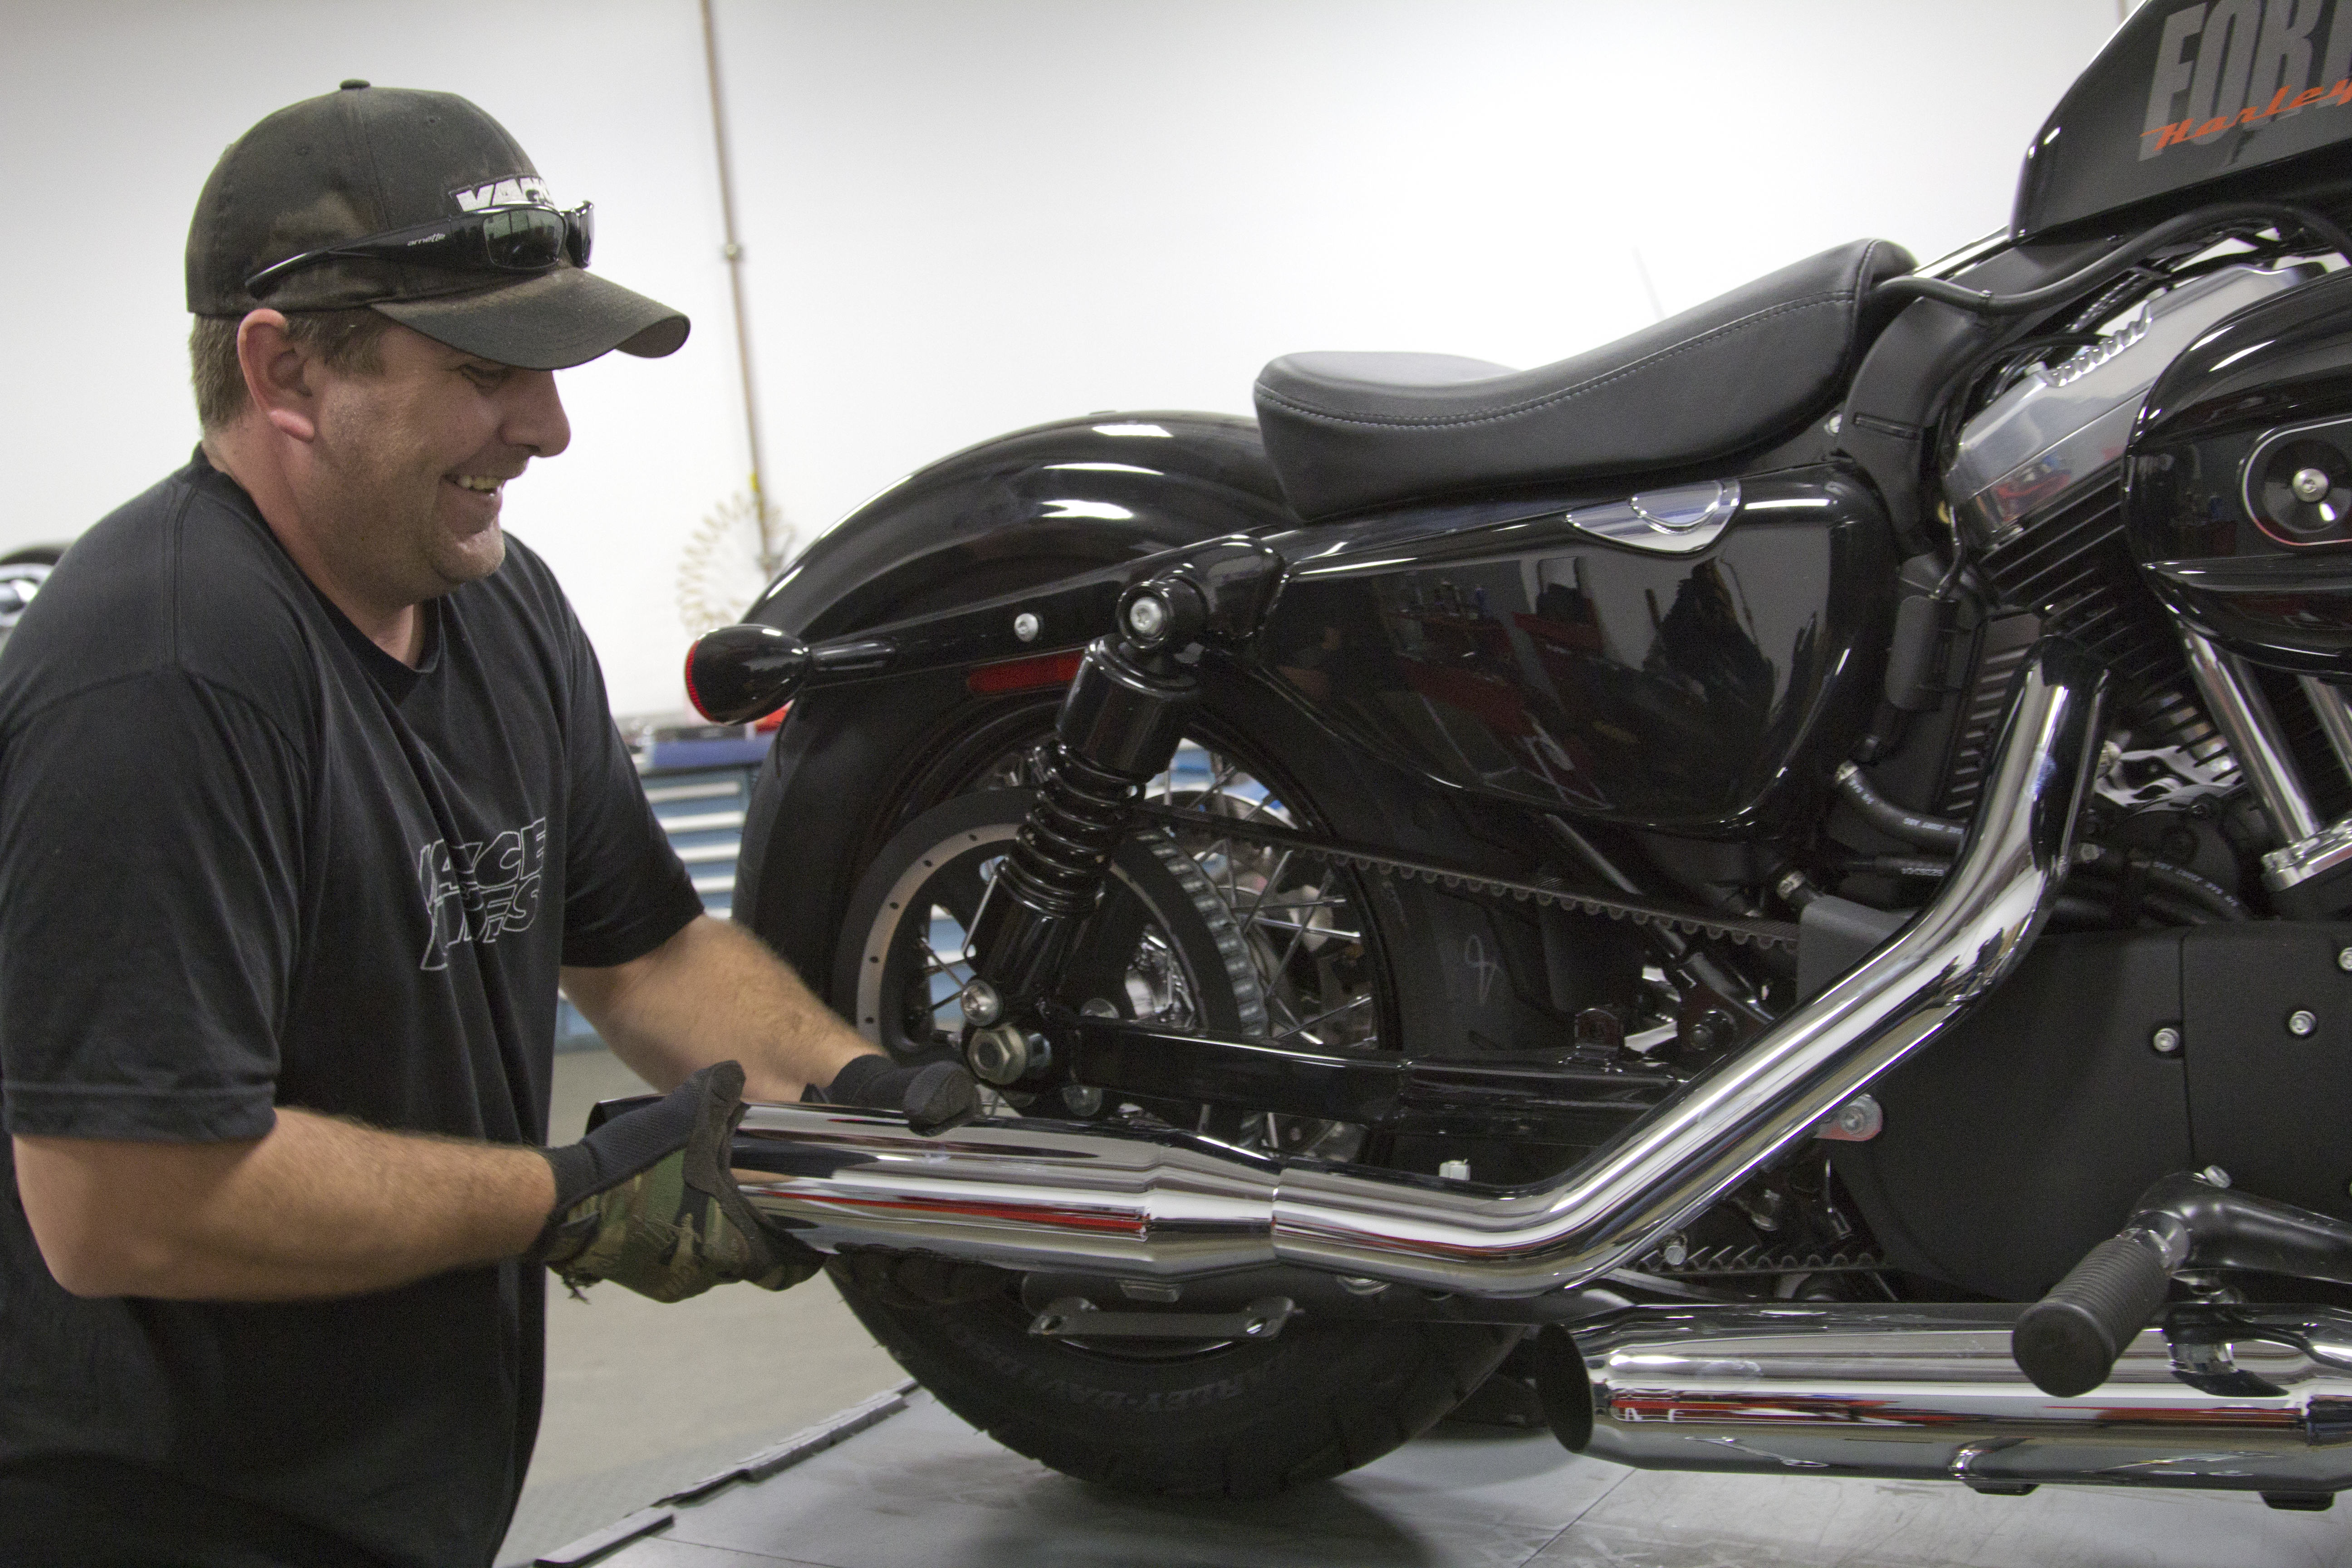
After loosing all the bolts holding the stock exhaust to the bike and cylinder head, gently remove the stock exhaust and set it aside for sale later at the local swap meet. Don’t forget to remove the O2 sensors for reuse on the new system.
Photos: John Zamora
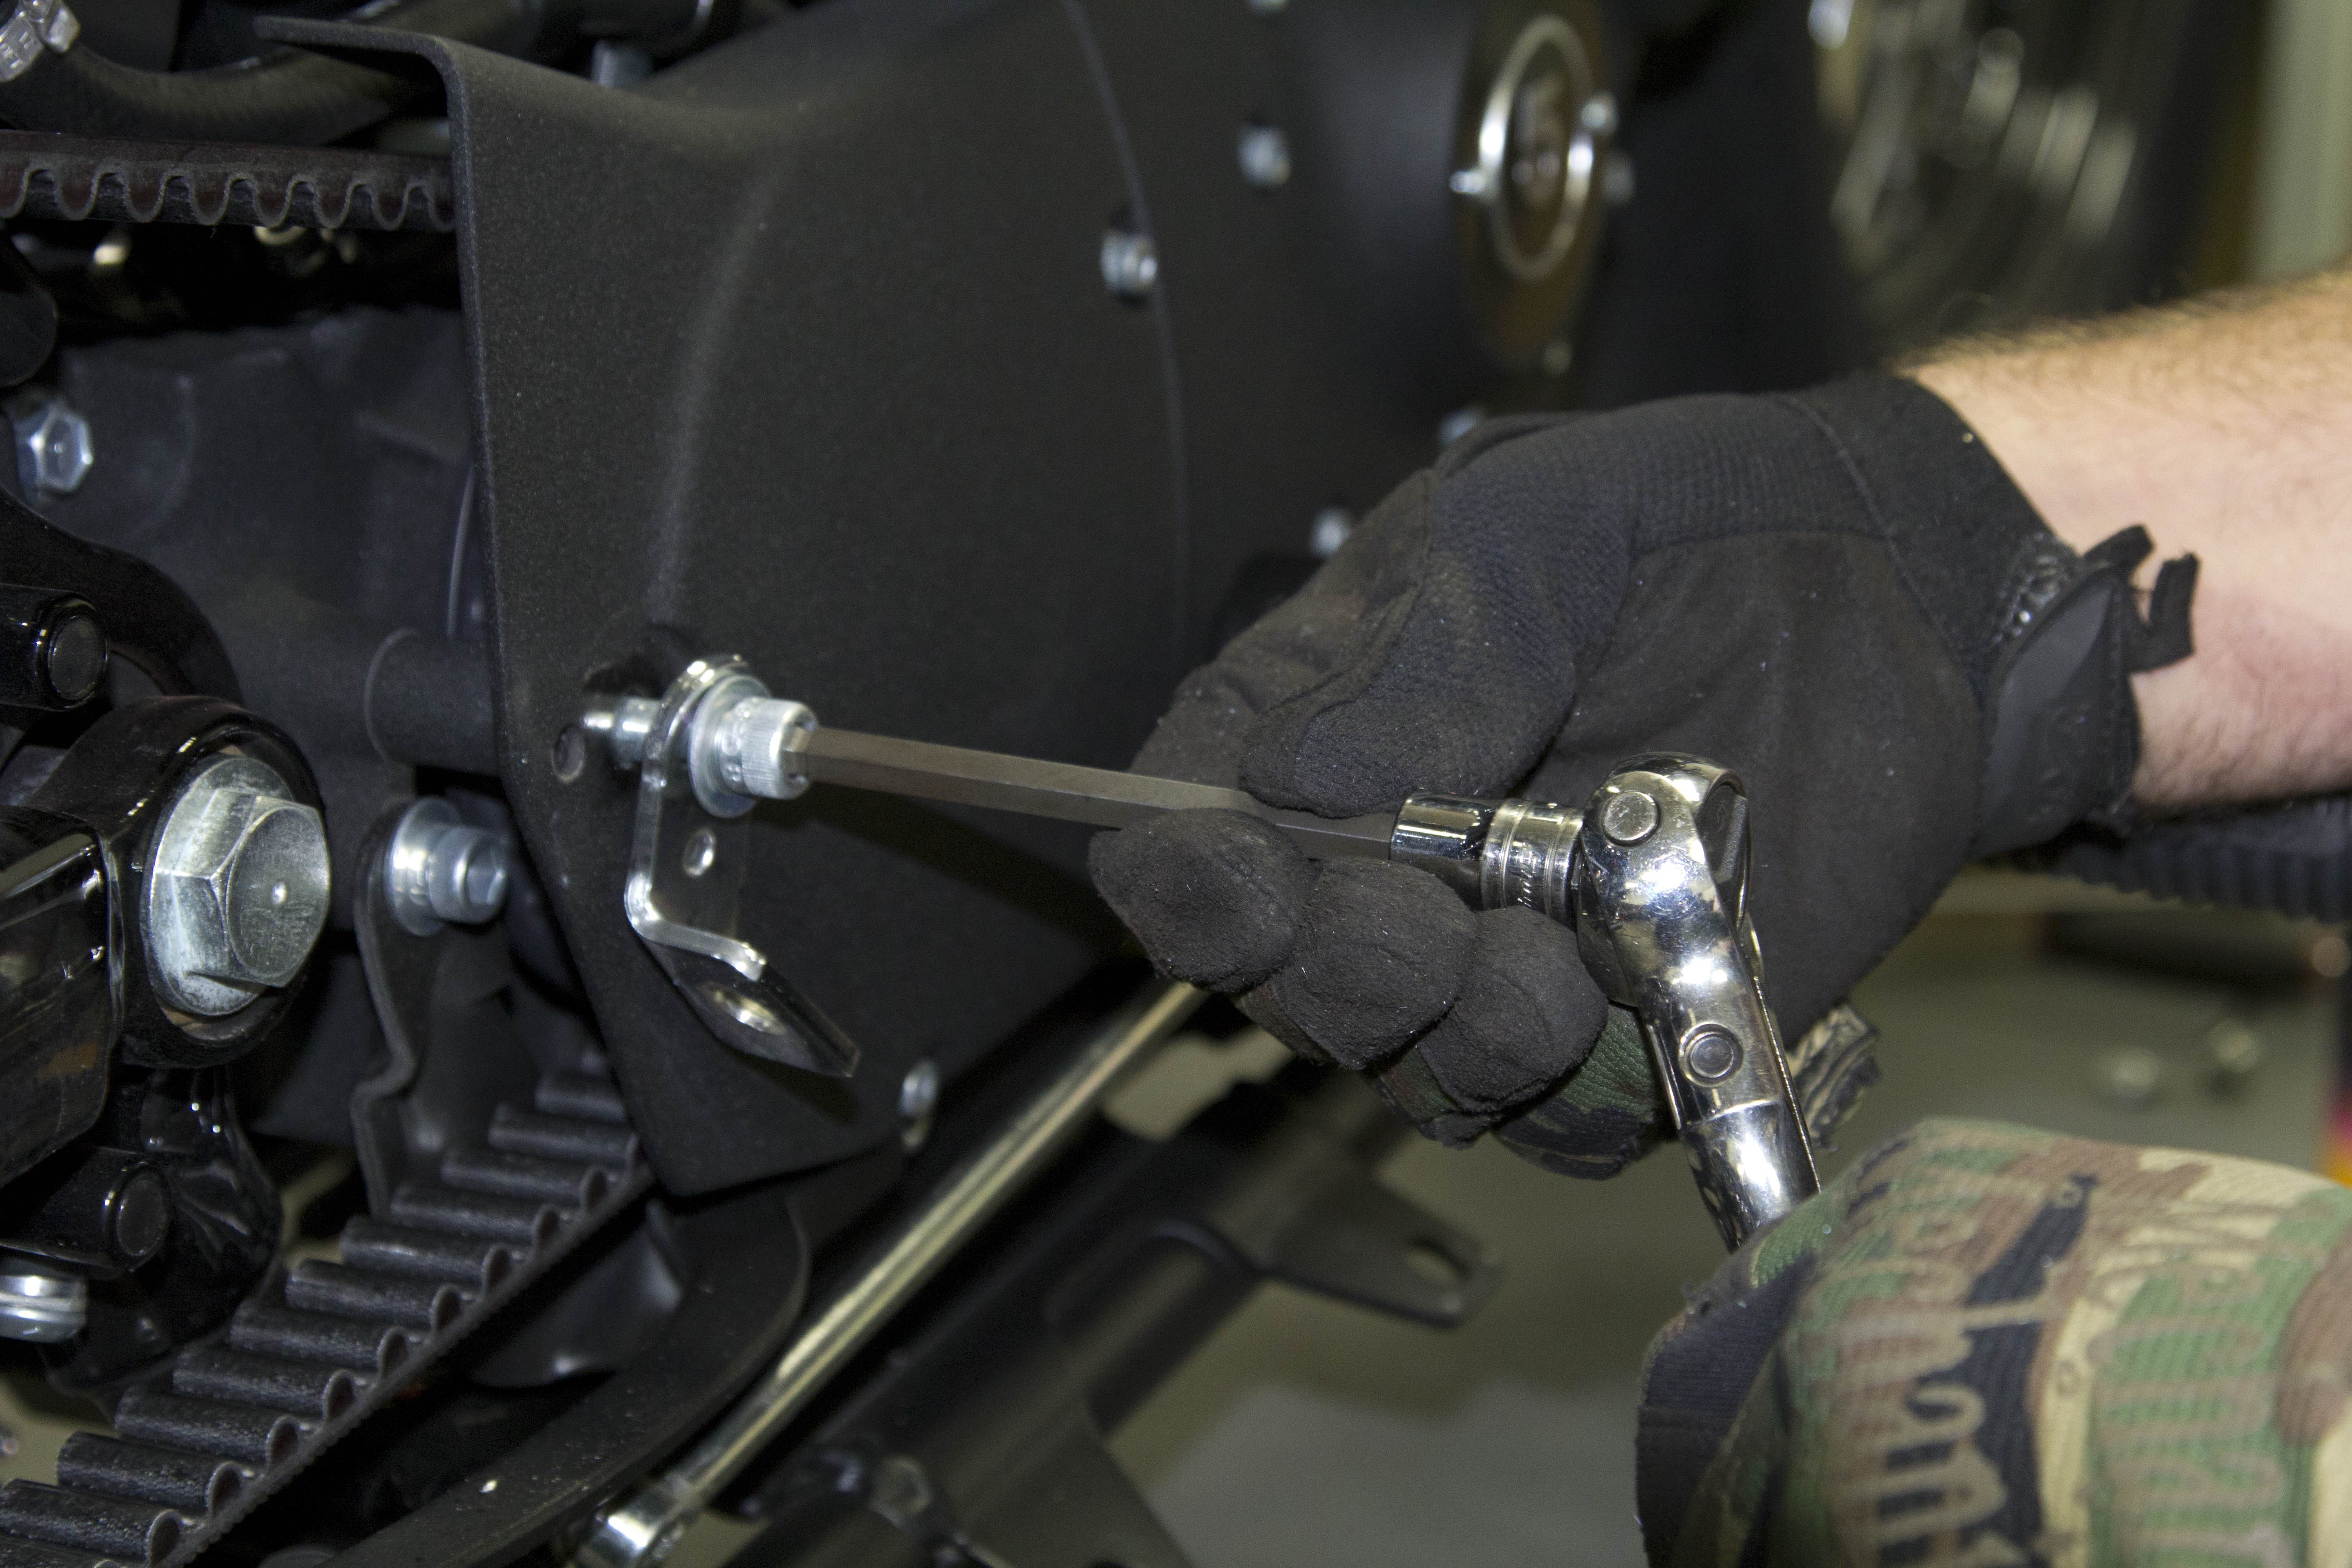
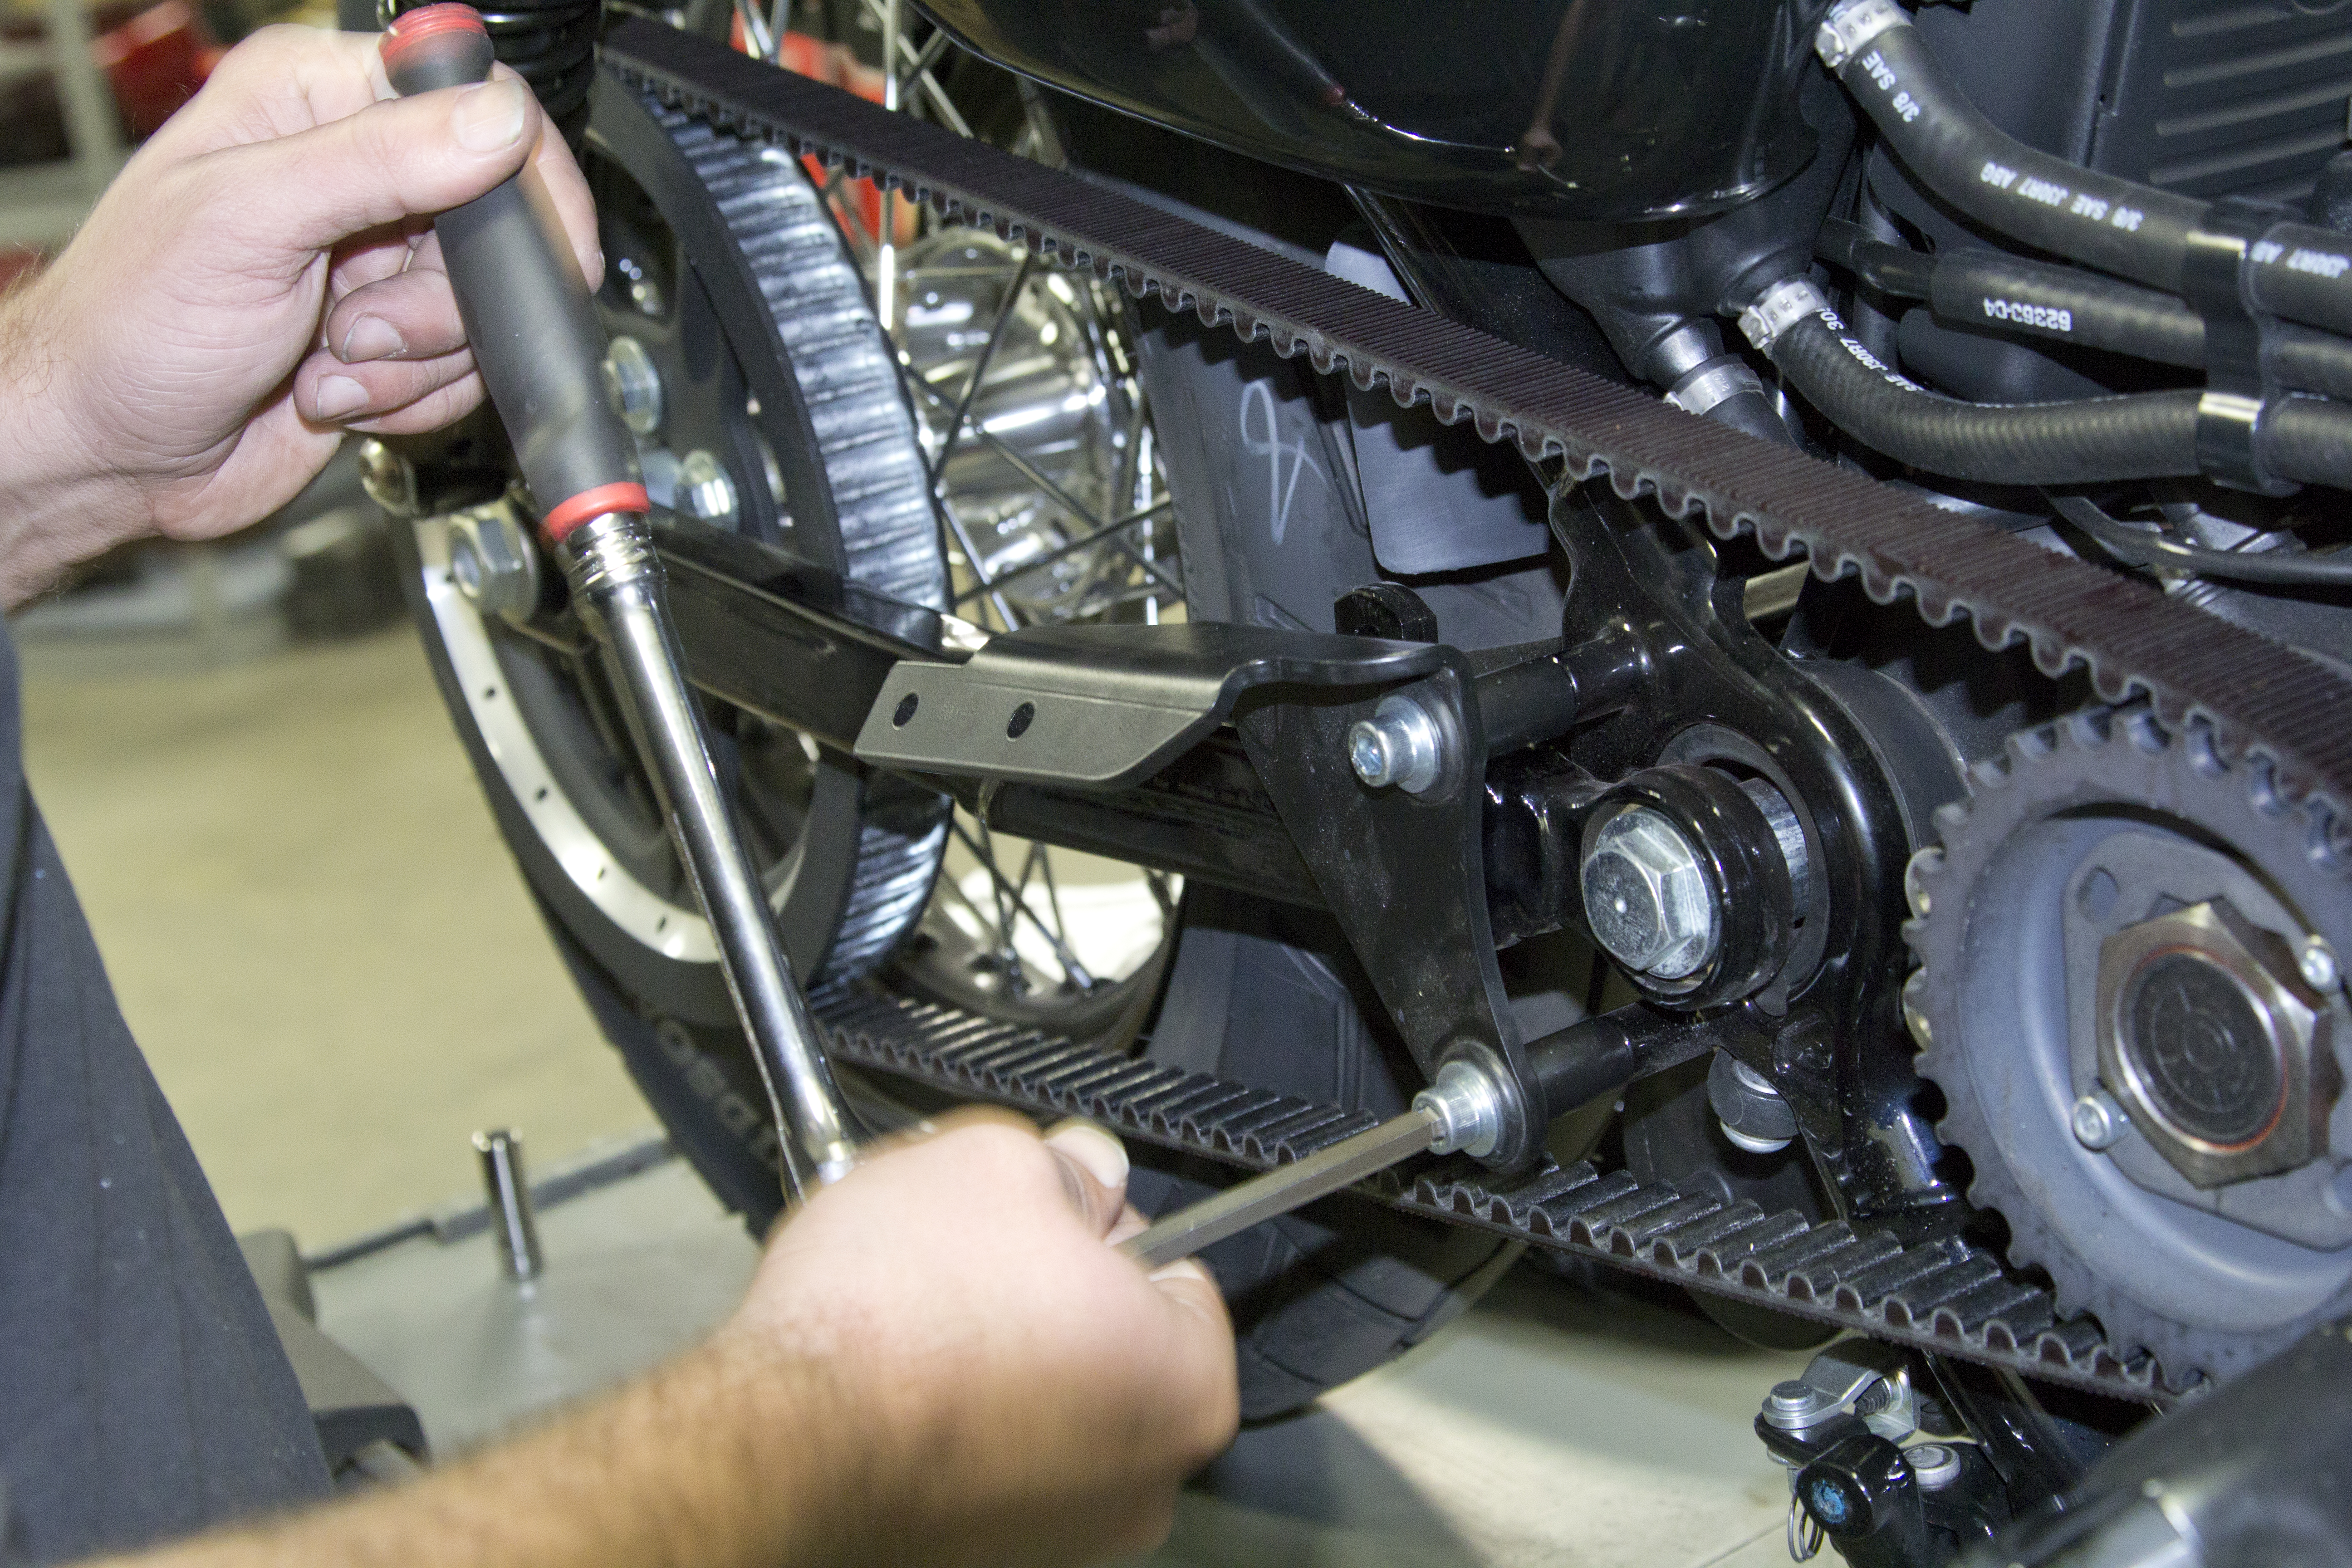
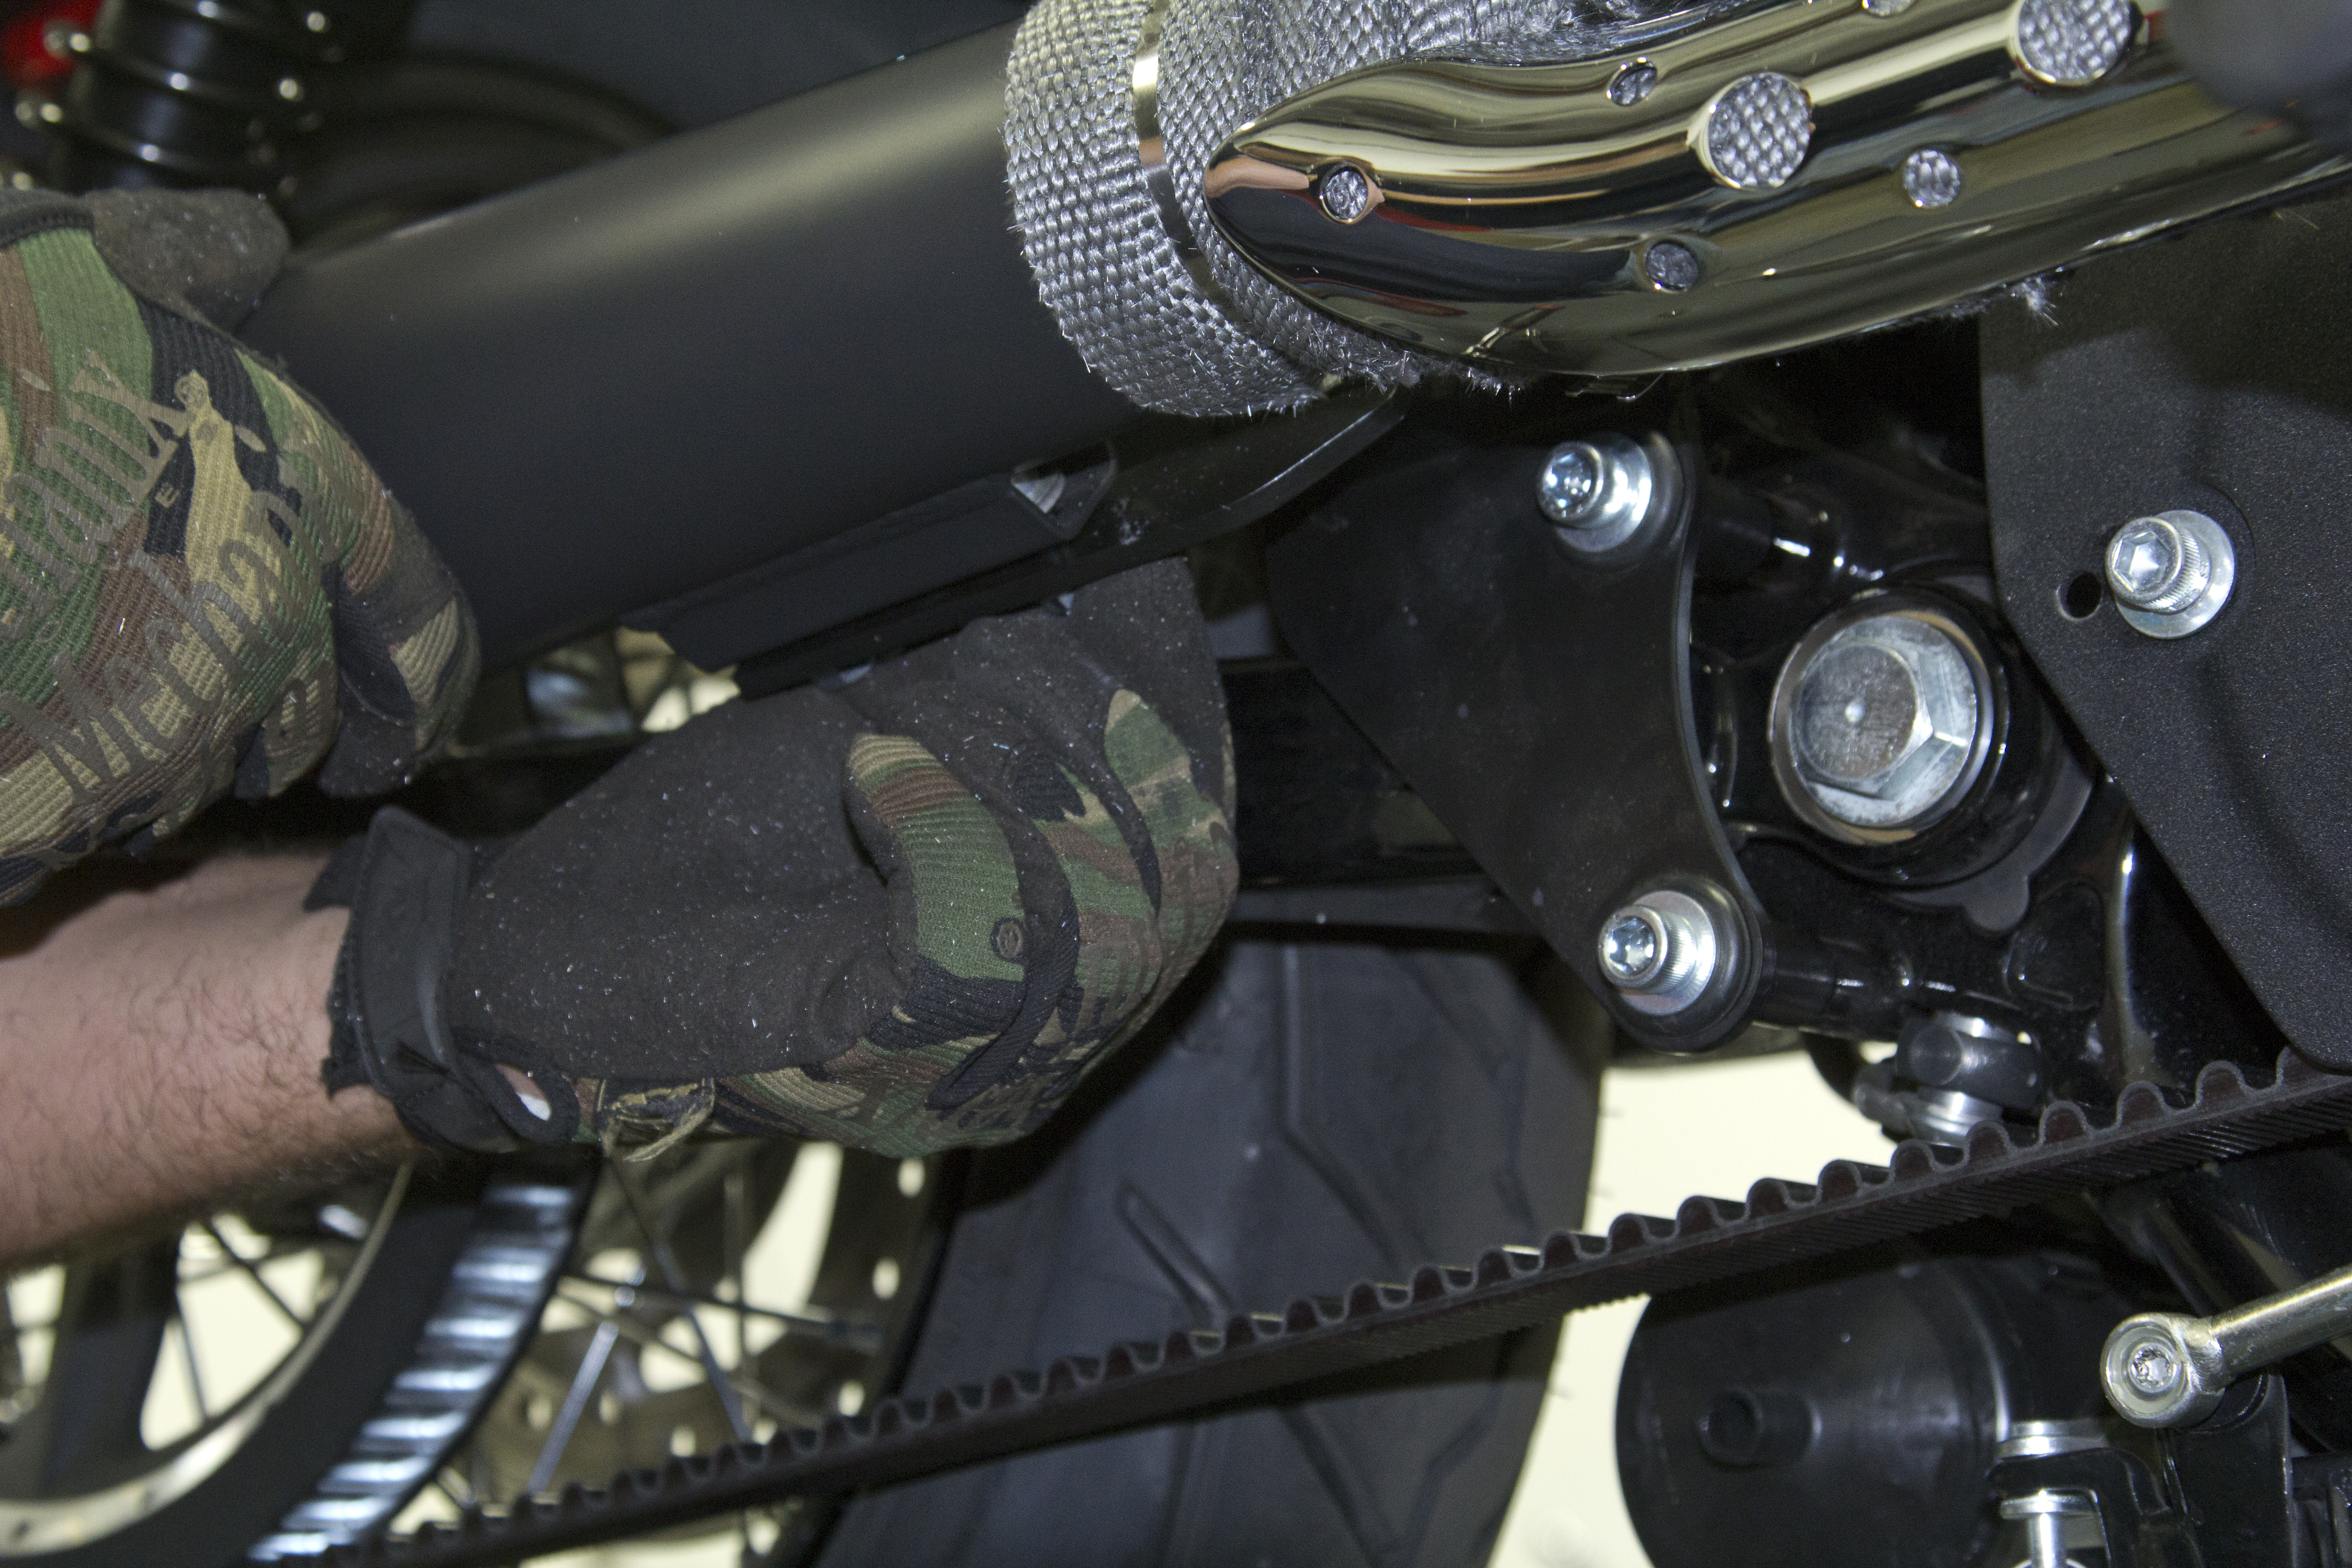
Remove the drivebelt cover and take the bracket off the rear cover bolt. The bracket will not be re-used, but the hardware will.
Photos: John Zamora
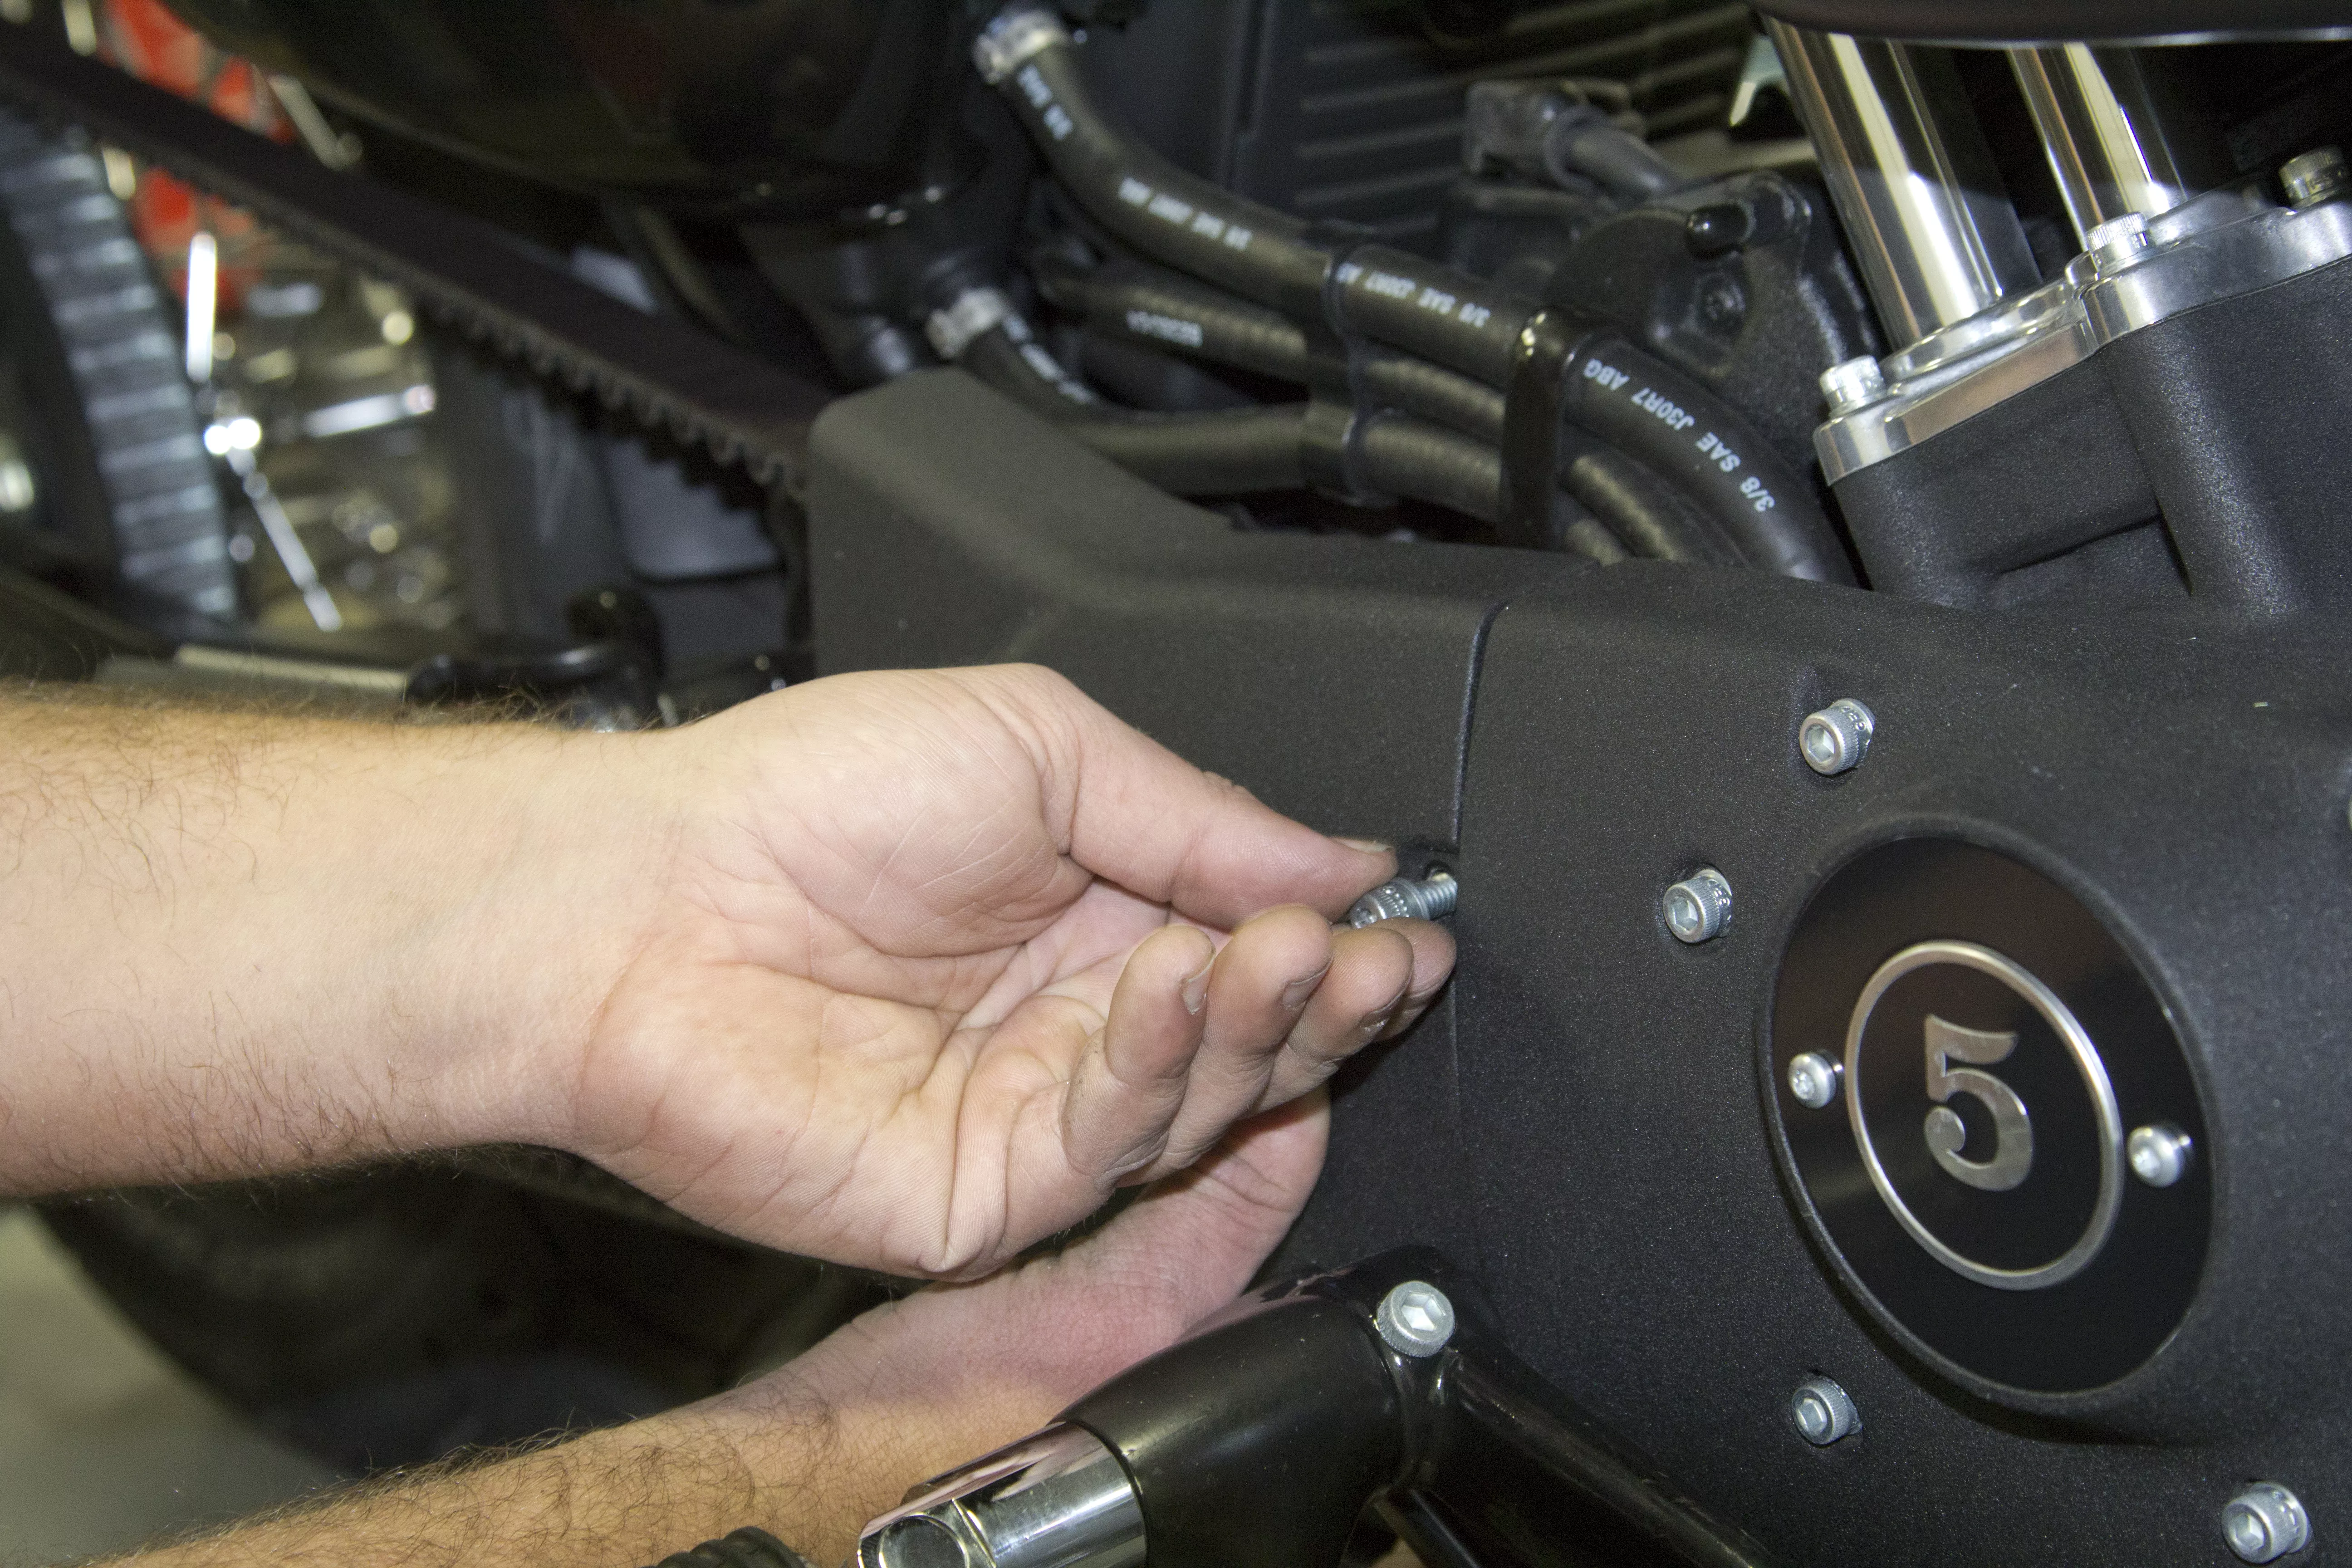
Remove the plug from the stock mounting hardware to gain access.
Photos: John Zamora

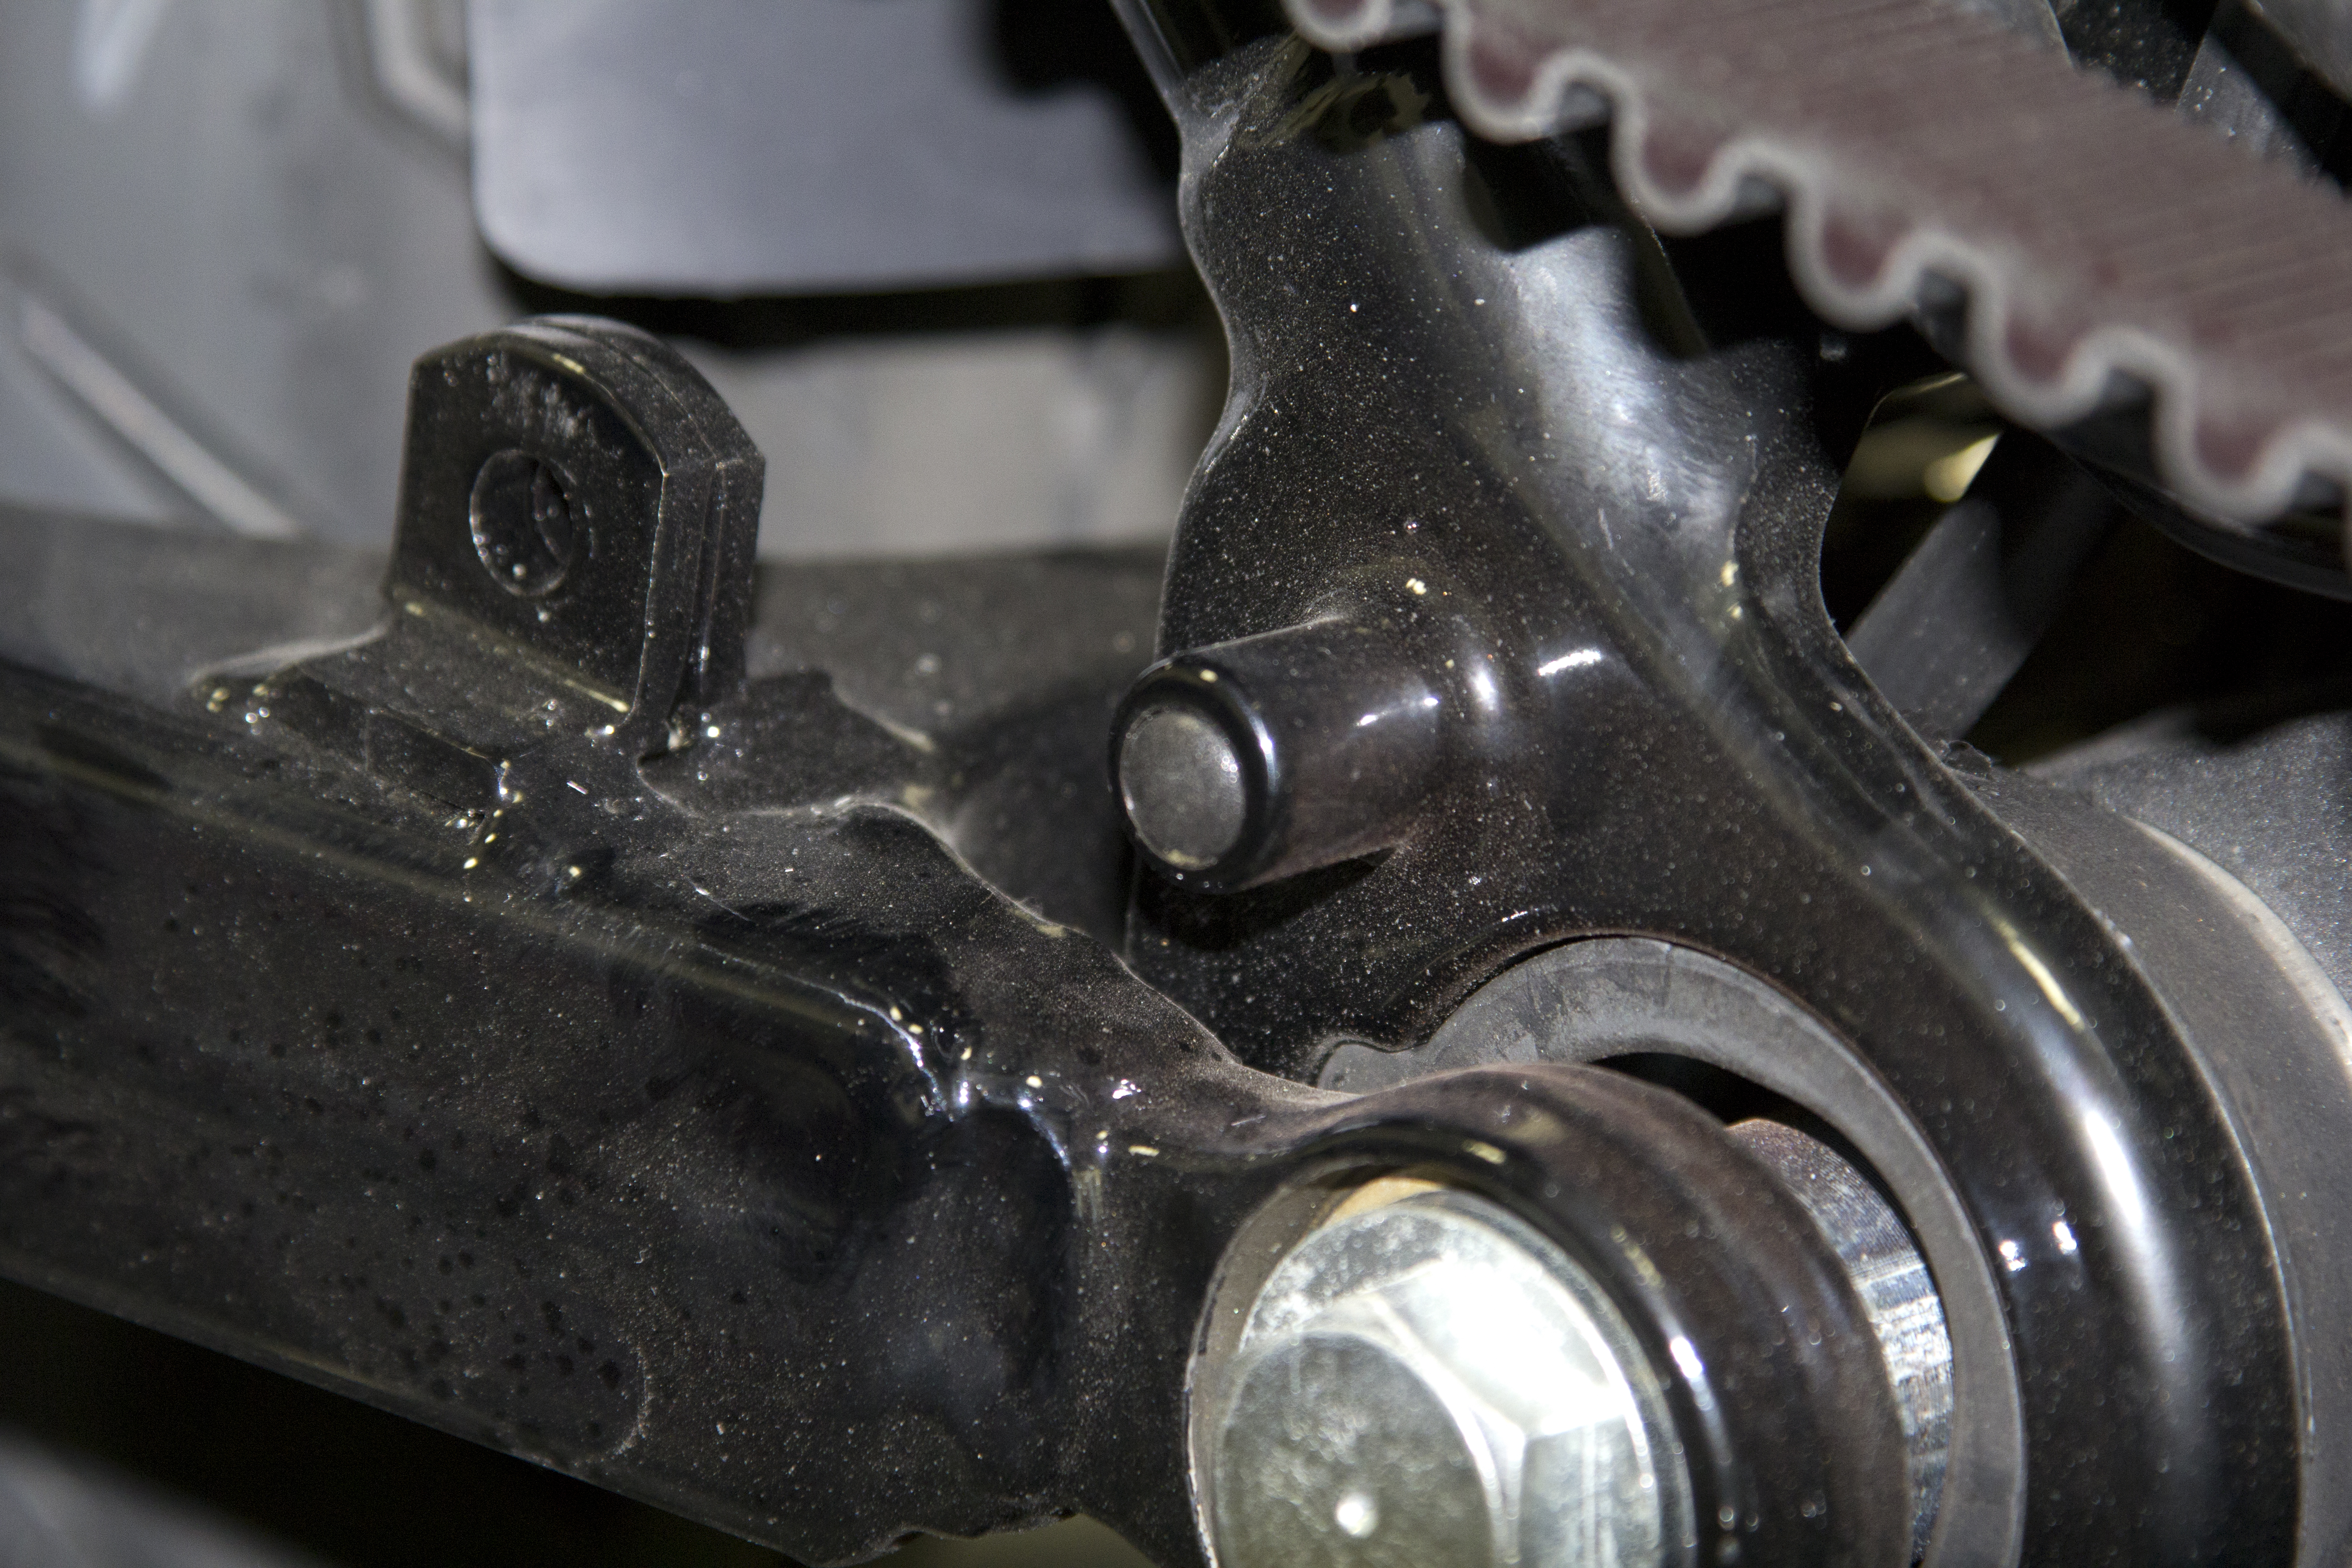
Reinstall the new bracket making sure to install the proper rubber grommets and spacers.
Photos: John Zamora
Torque to specs using Loctite as recommended in the instructions for your application.
Photos: John Zamora
Reinstall the drivebelt cover and torque to specs.
Photos: John Zamora

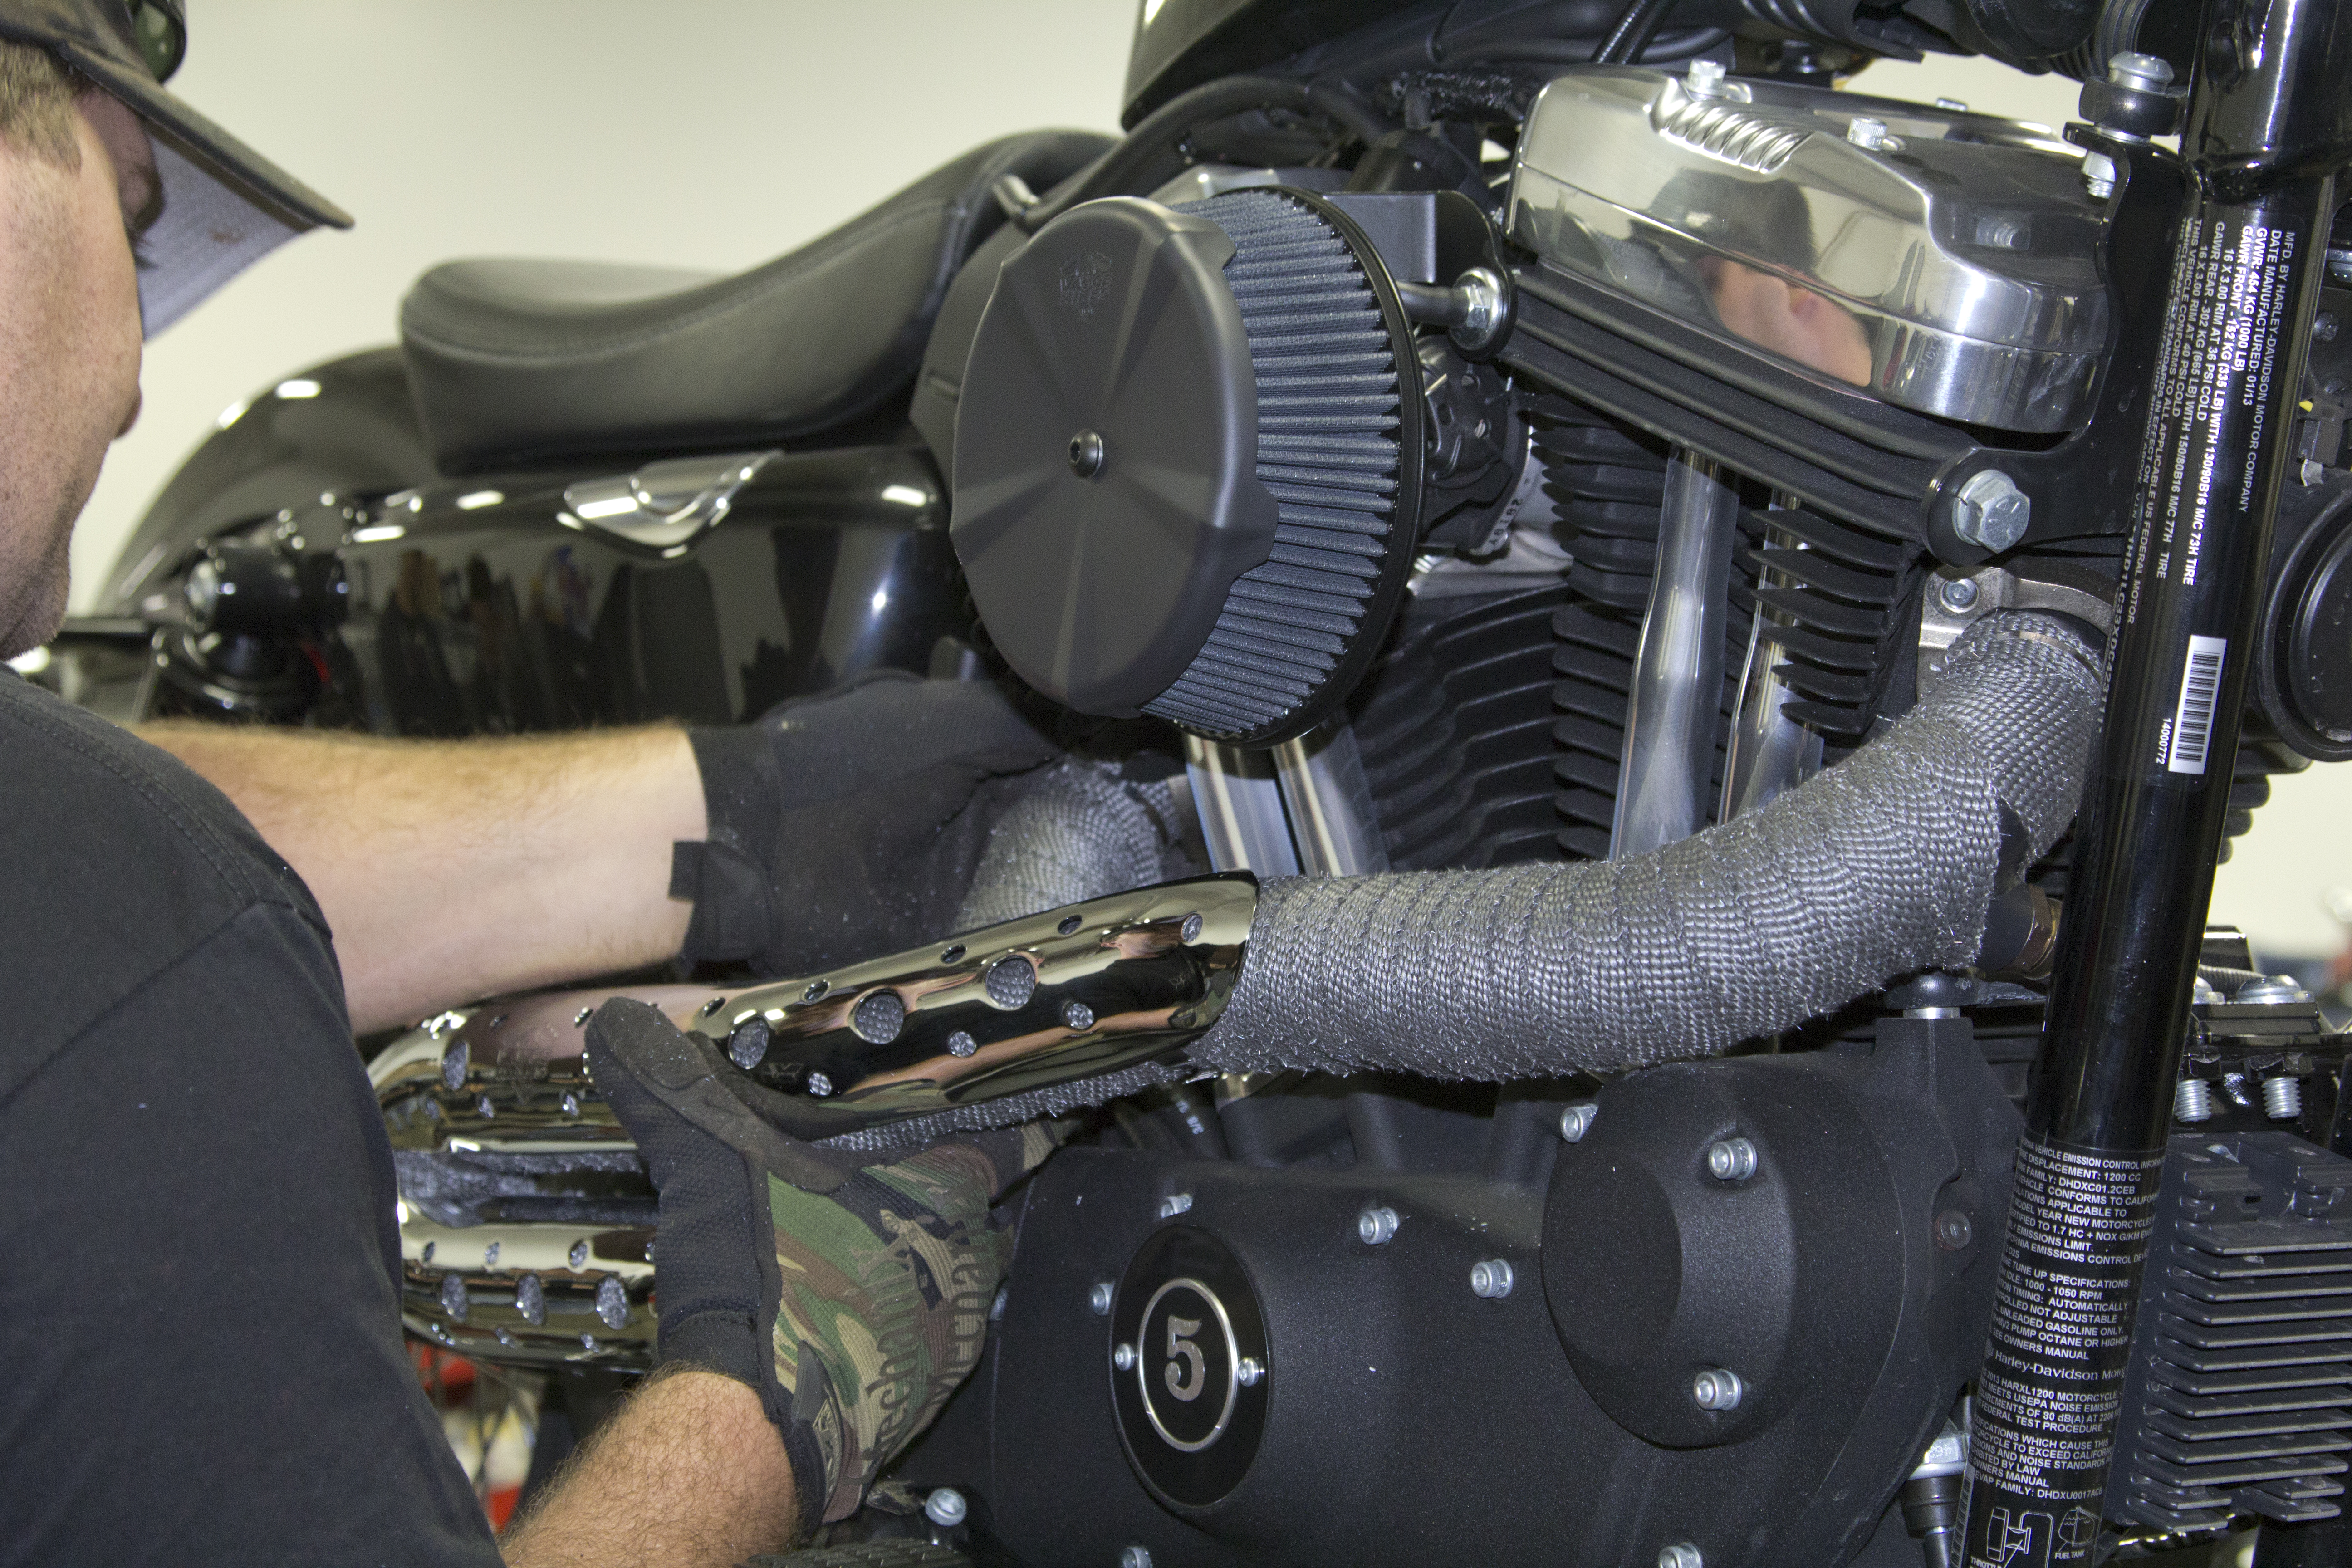
With the exhaust system removed, carefully and meticulously install the header wrap. Make sure to wear gloves as the black material can be messy. Use zip-ties to keep the wrap from unraveling. Have patience and if you need to restart, do so as many times as necessary to get it wrapped correctly.
Photos: John Zamora
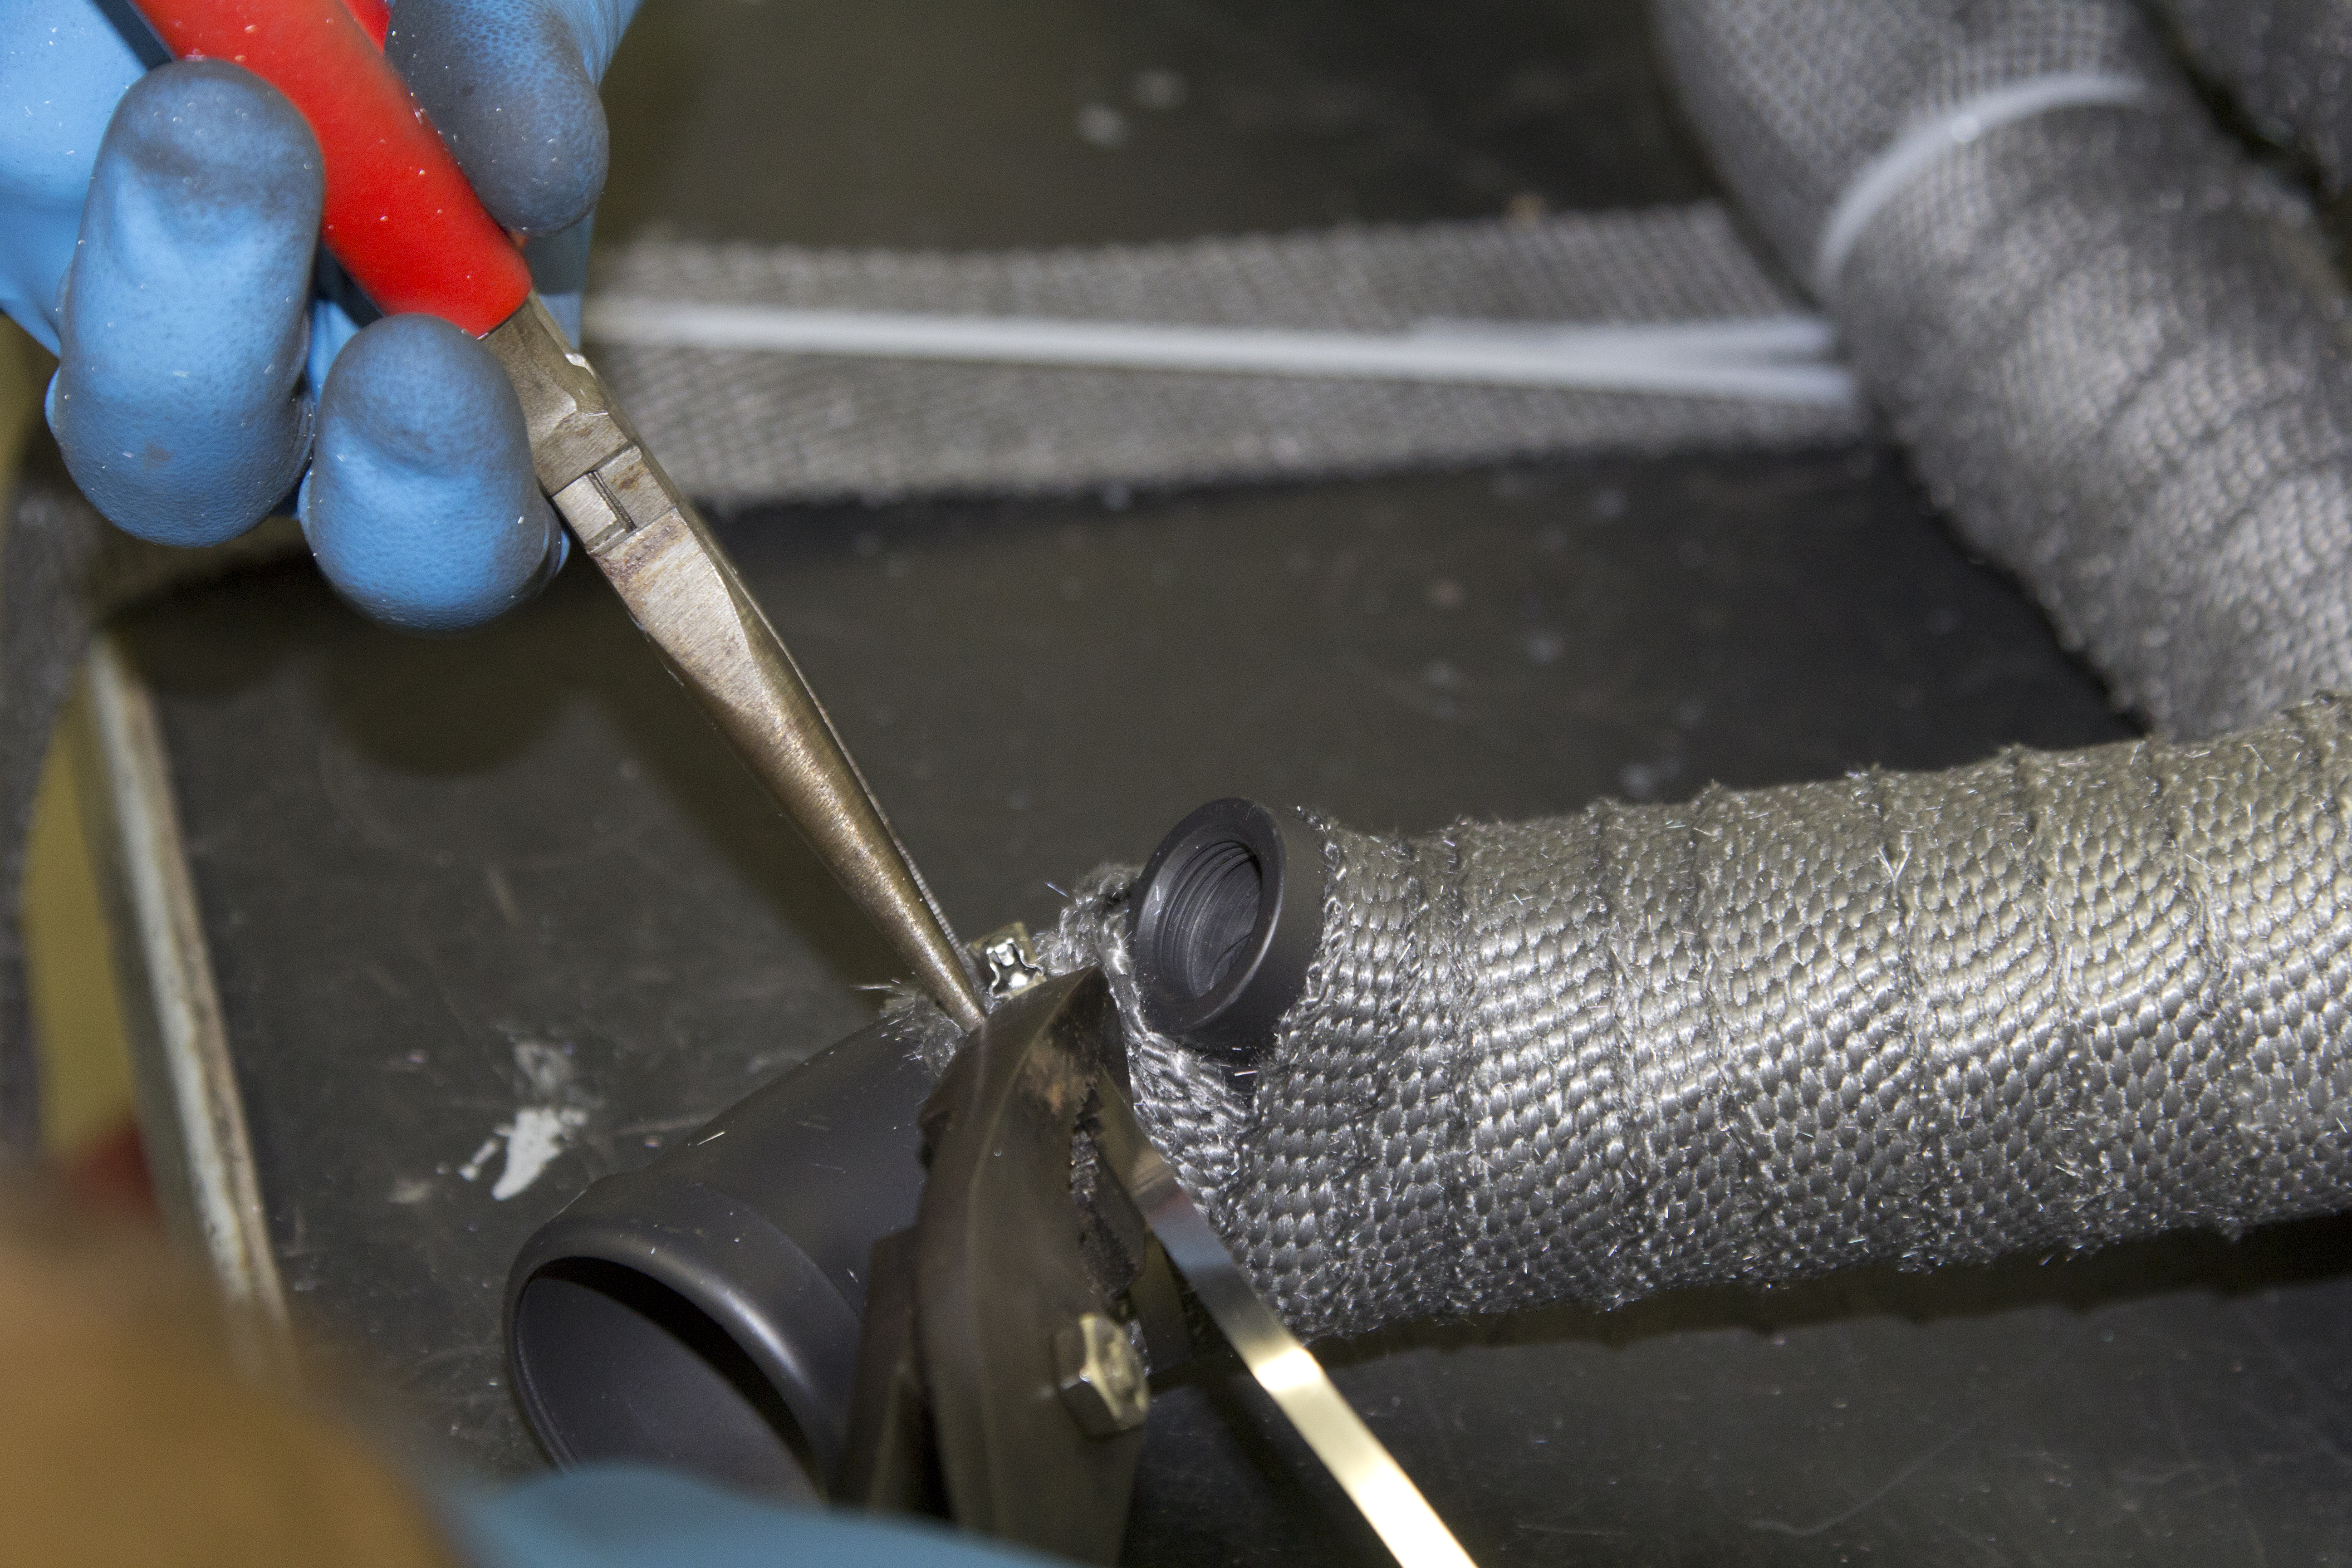
After fully wrapping the pipe, replace the zip-tie with the supplied metal-ties.
Photos: John Zamora
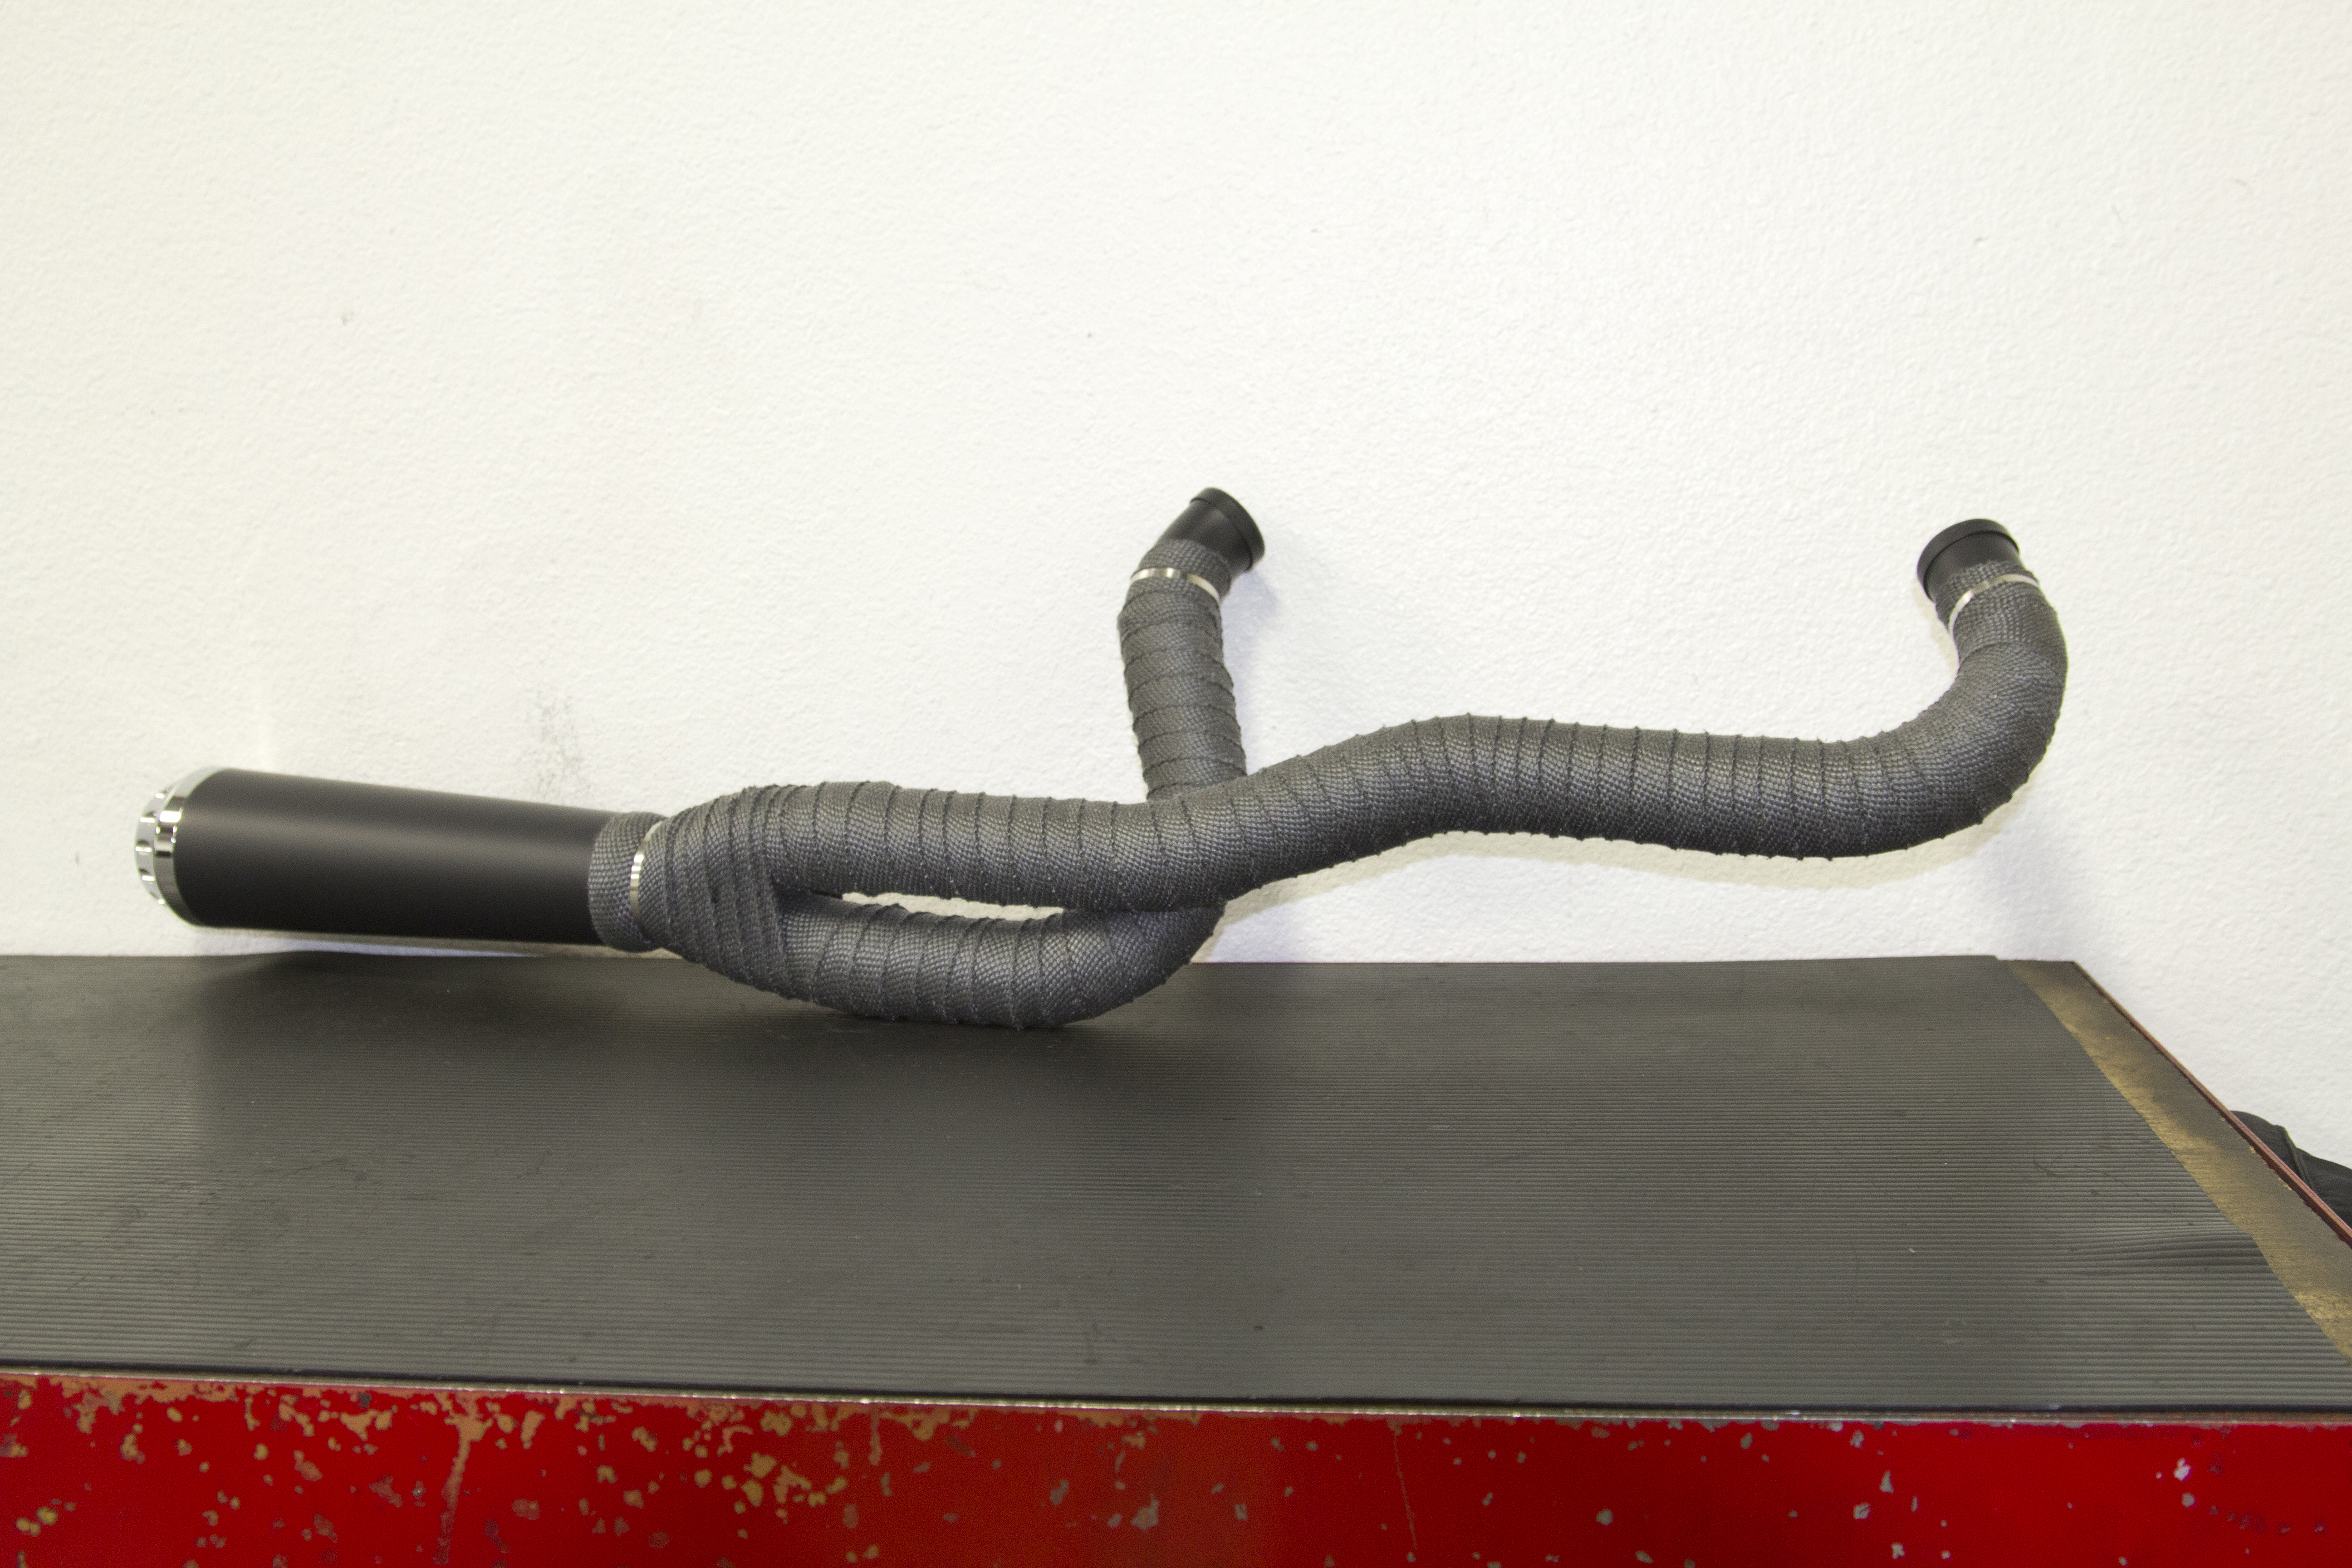
The final wrap job should be as evenly spaced as possible.
Photos: John Zamora
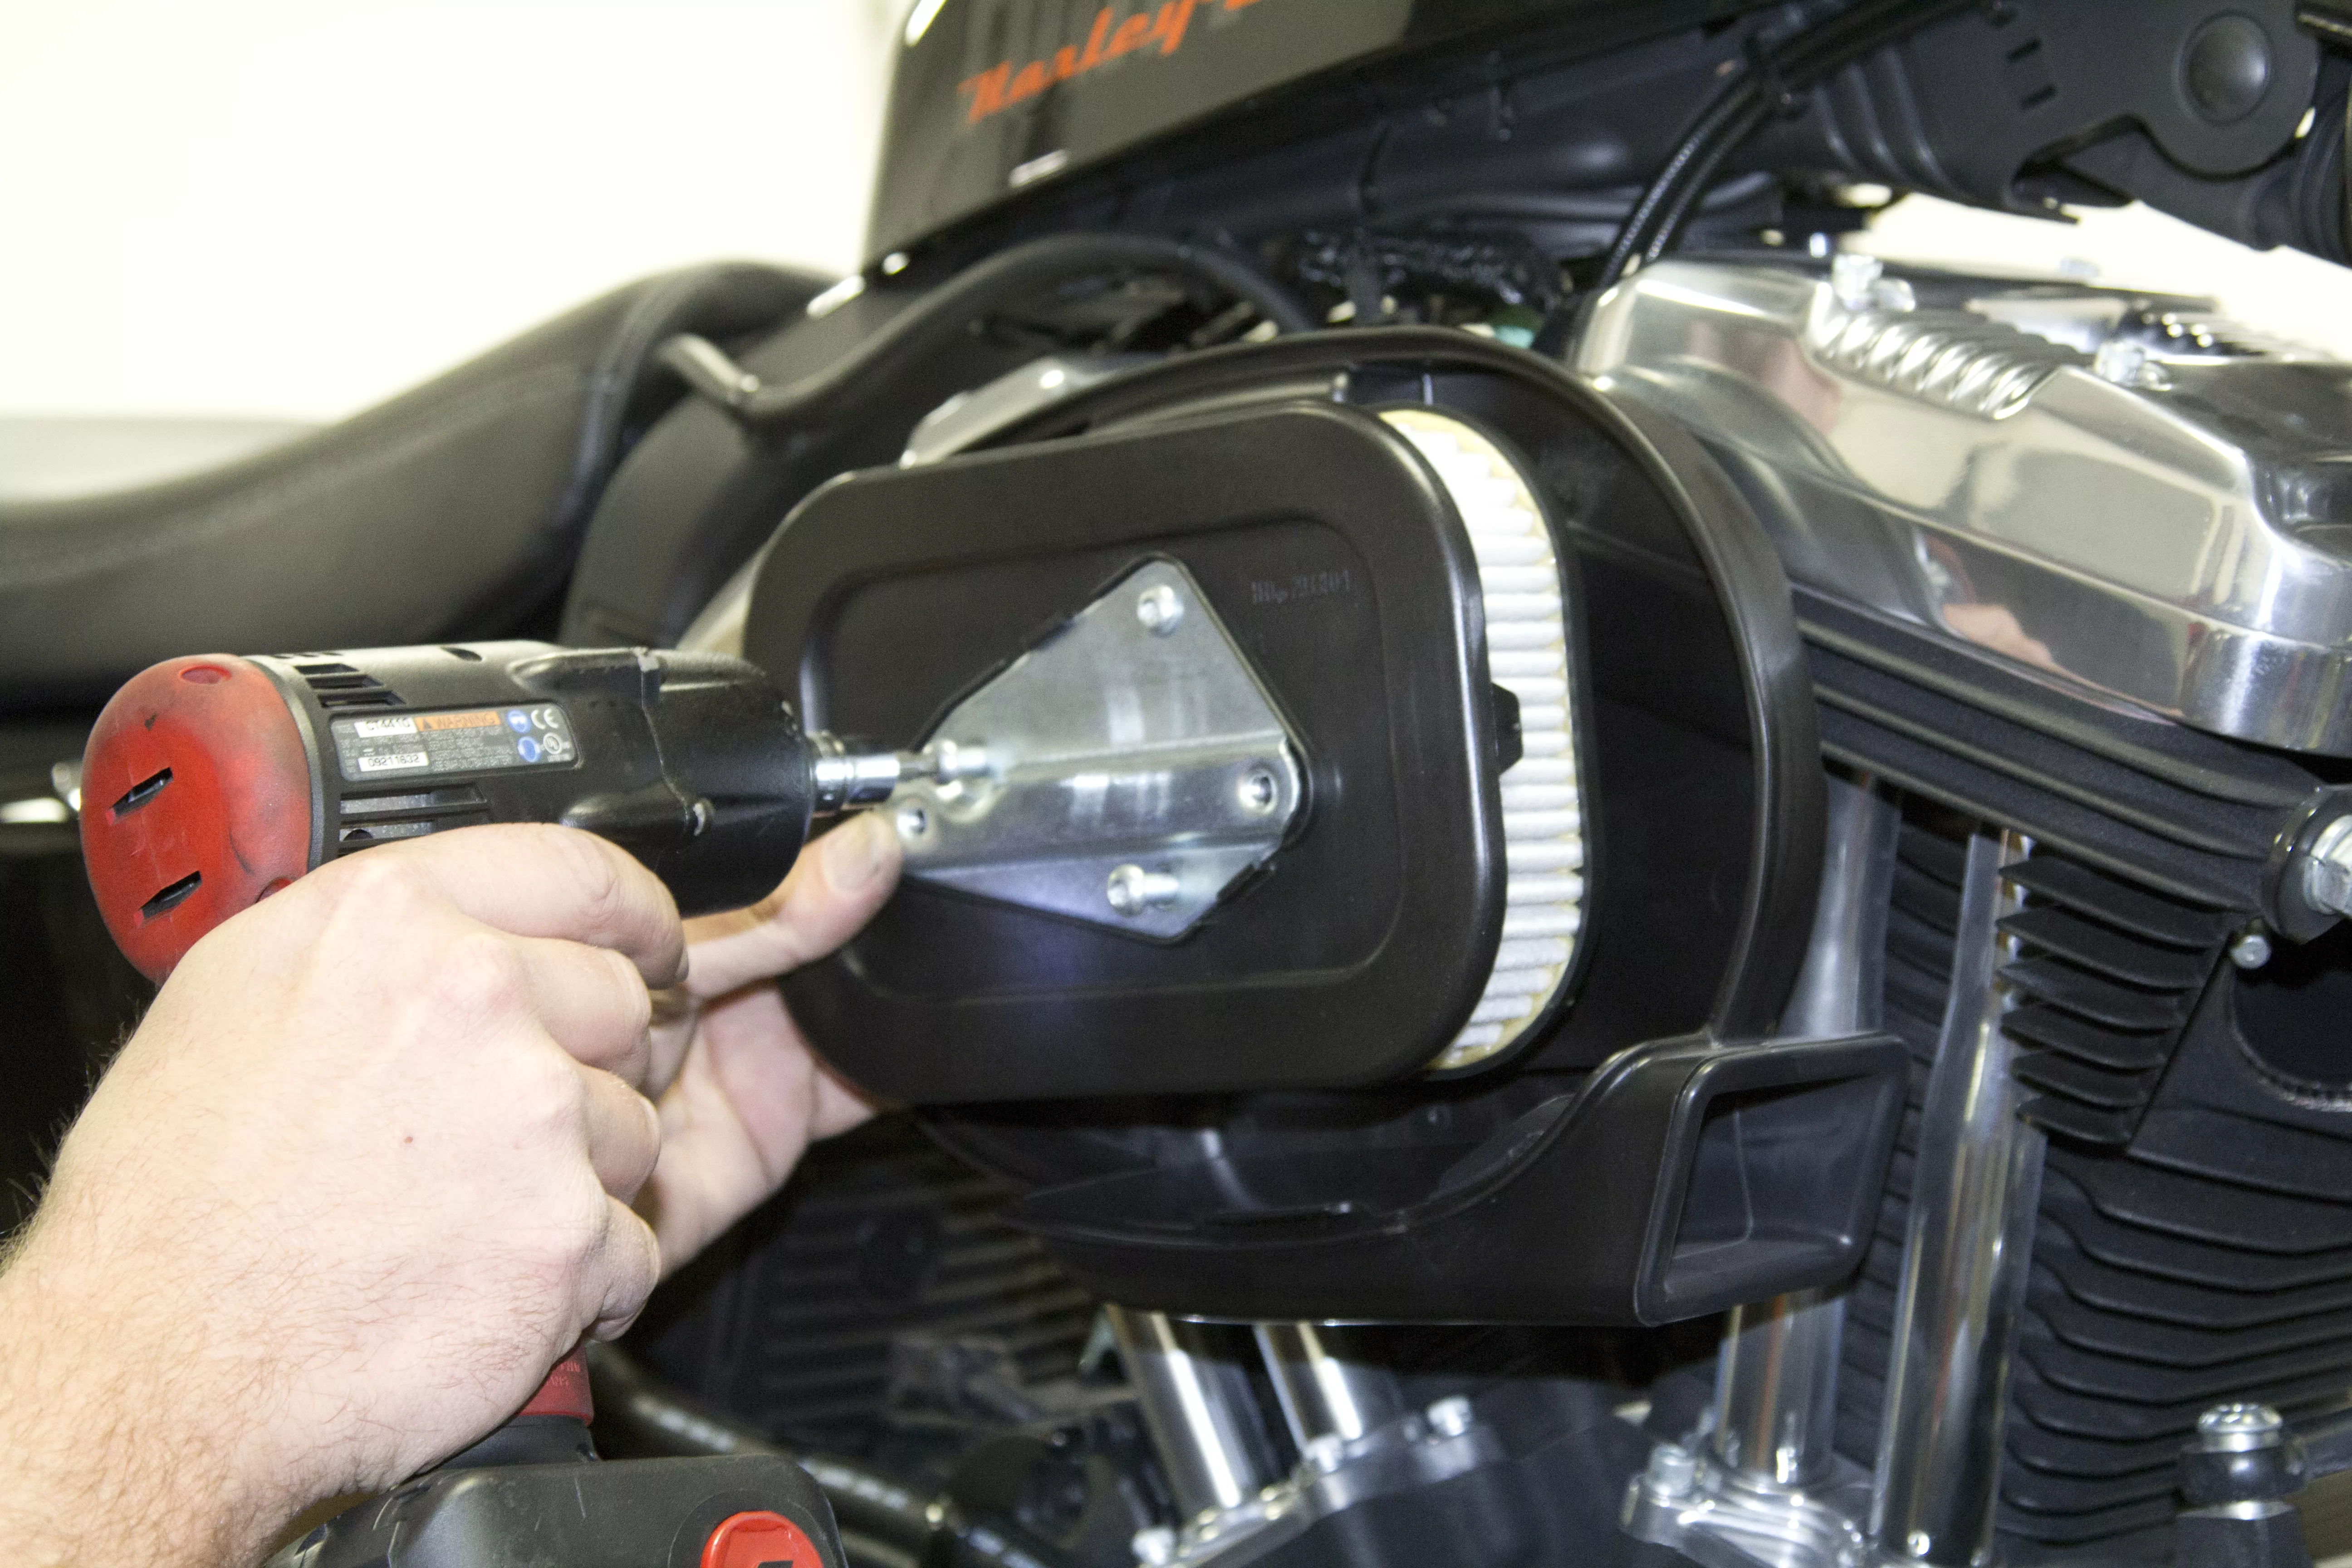
This exhaust won’t work with the stock air cleaners, so we swapped it out for the V02 Air Intake. We started by removing the stock unit.
Photos: John Zamora
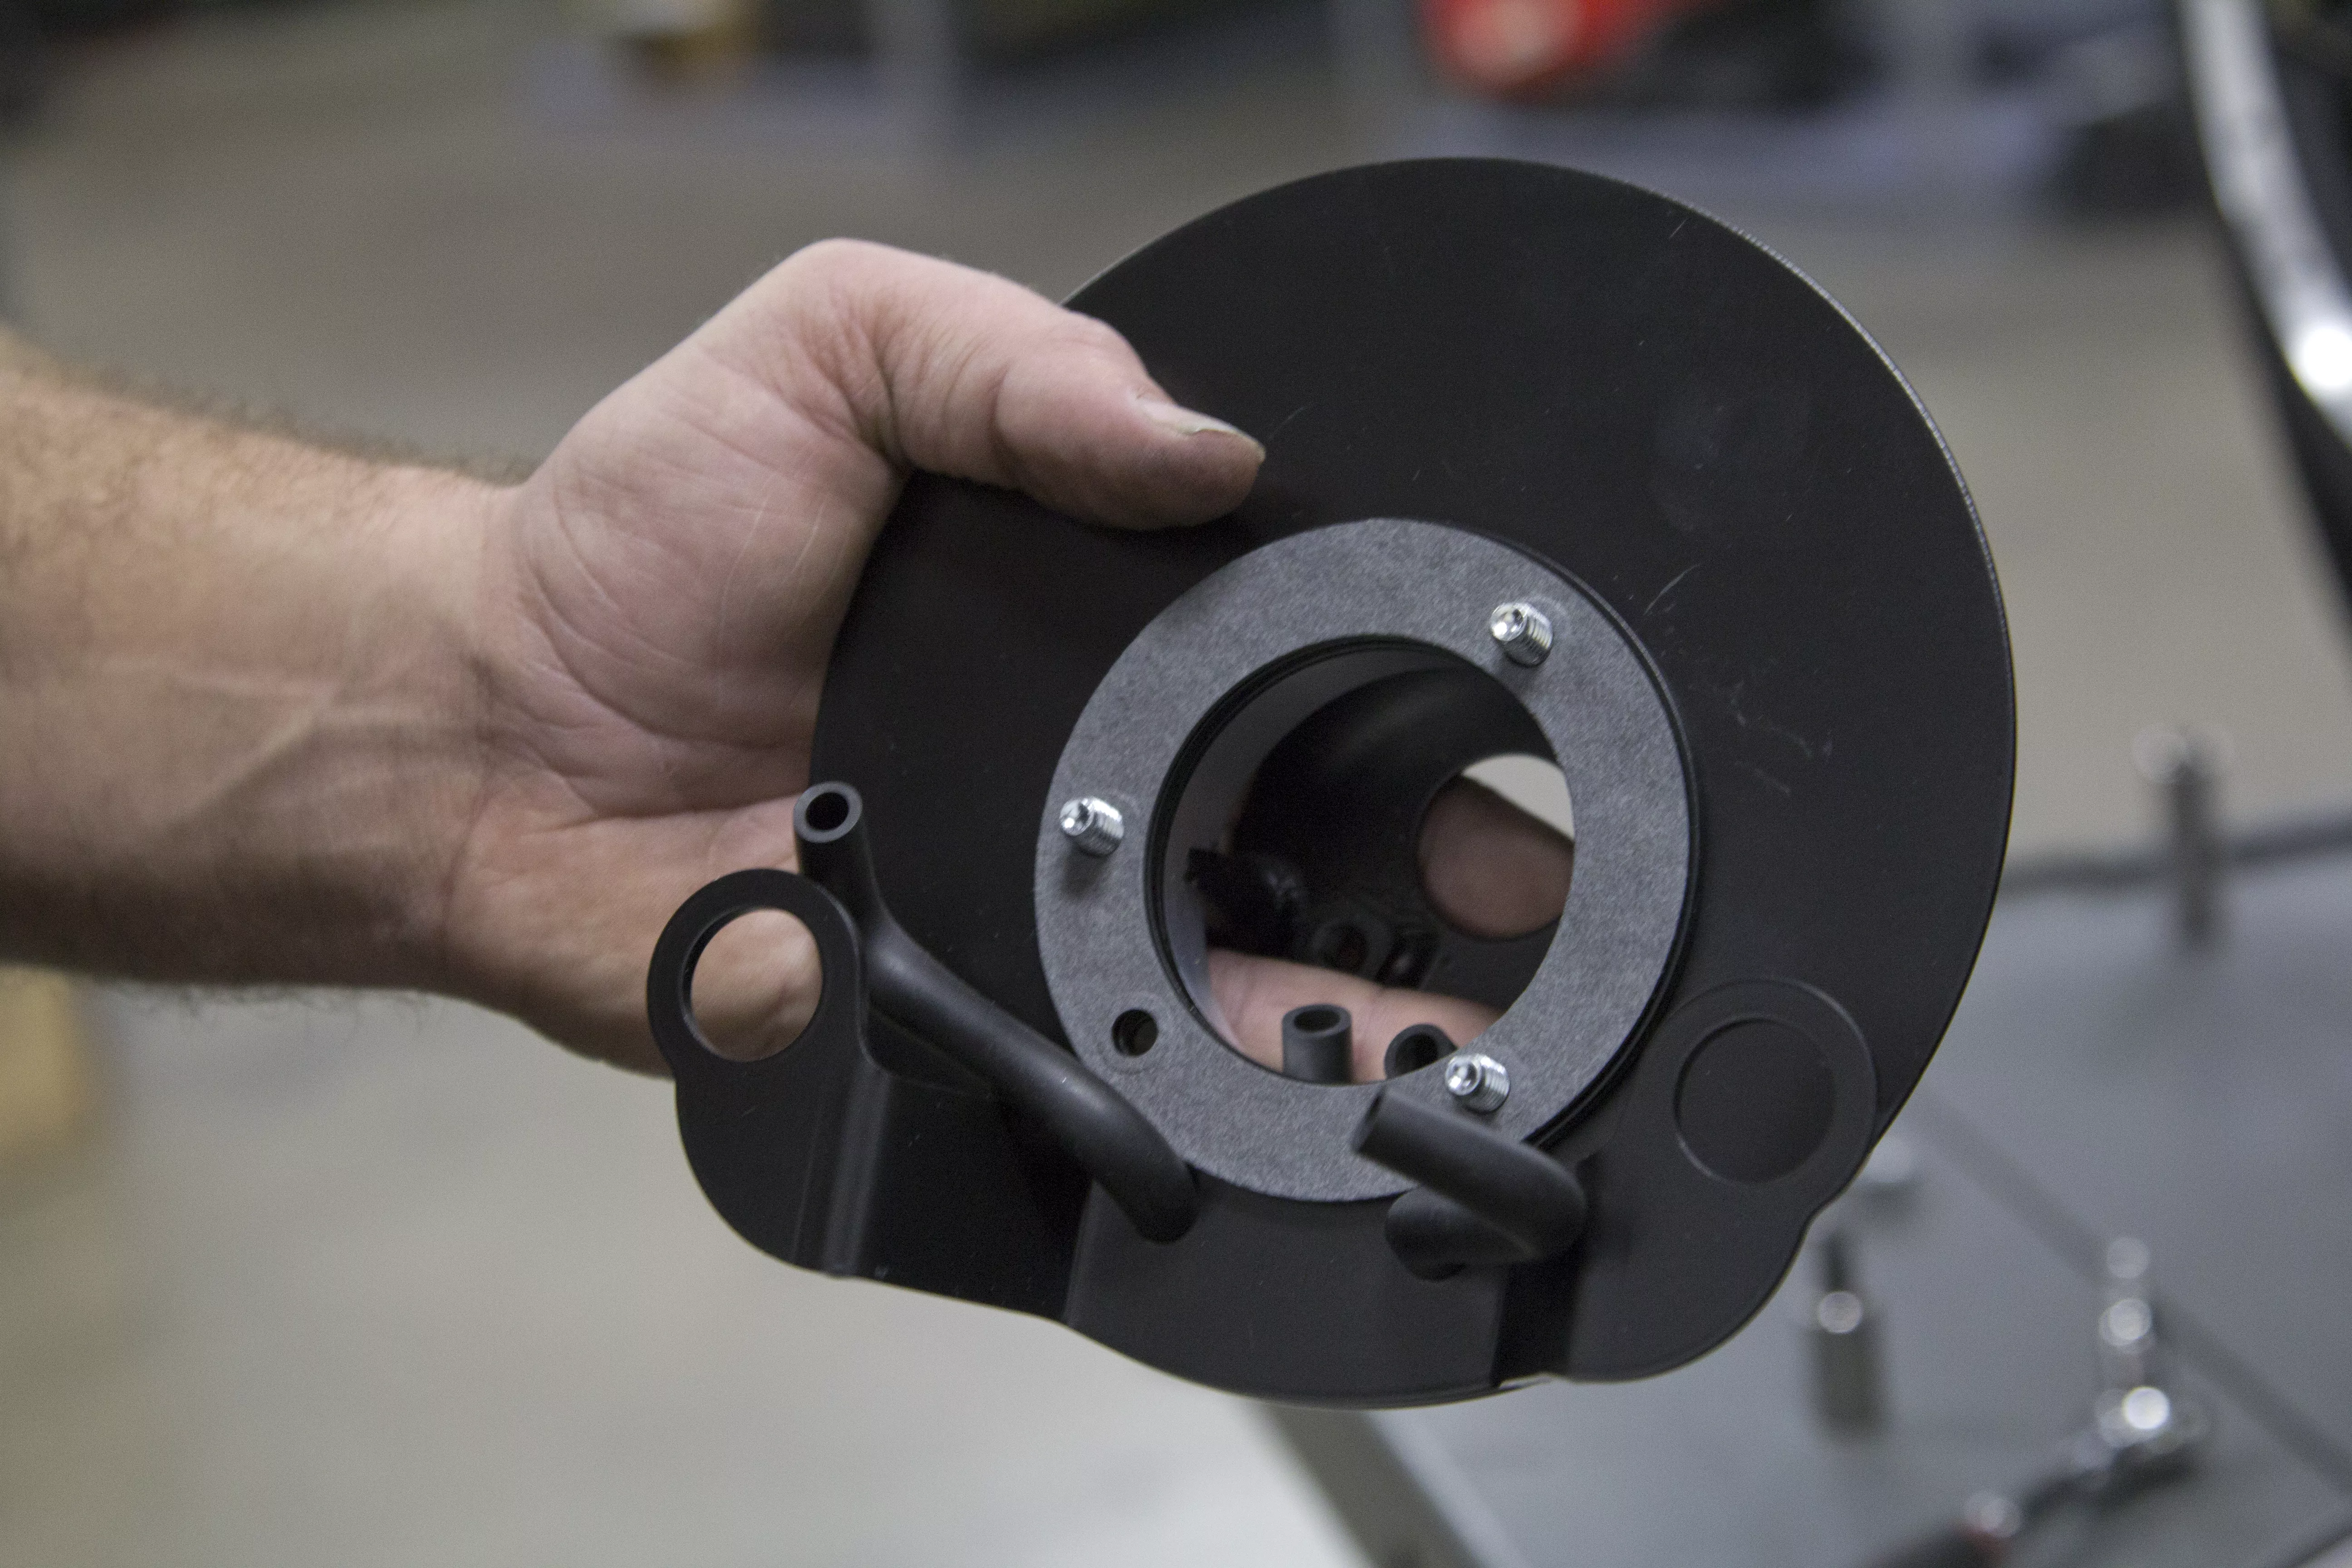
Install the rear and front breather hoses through the top holes and gaskets on the filter blacking plate.
Photos: John Zamora
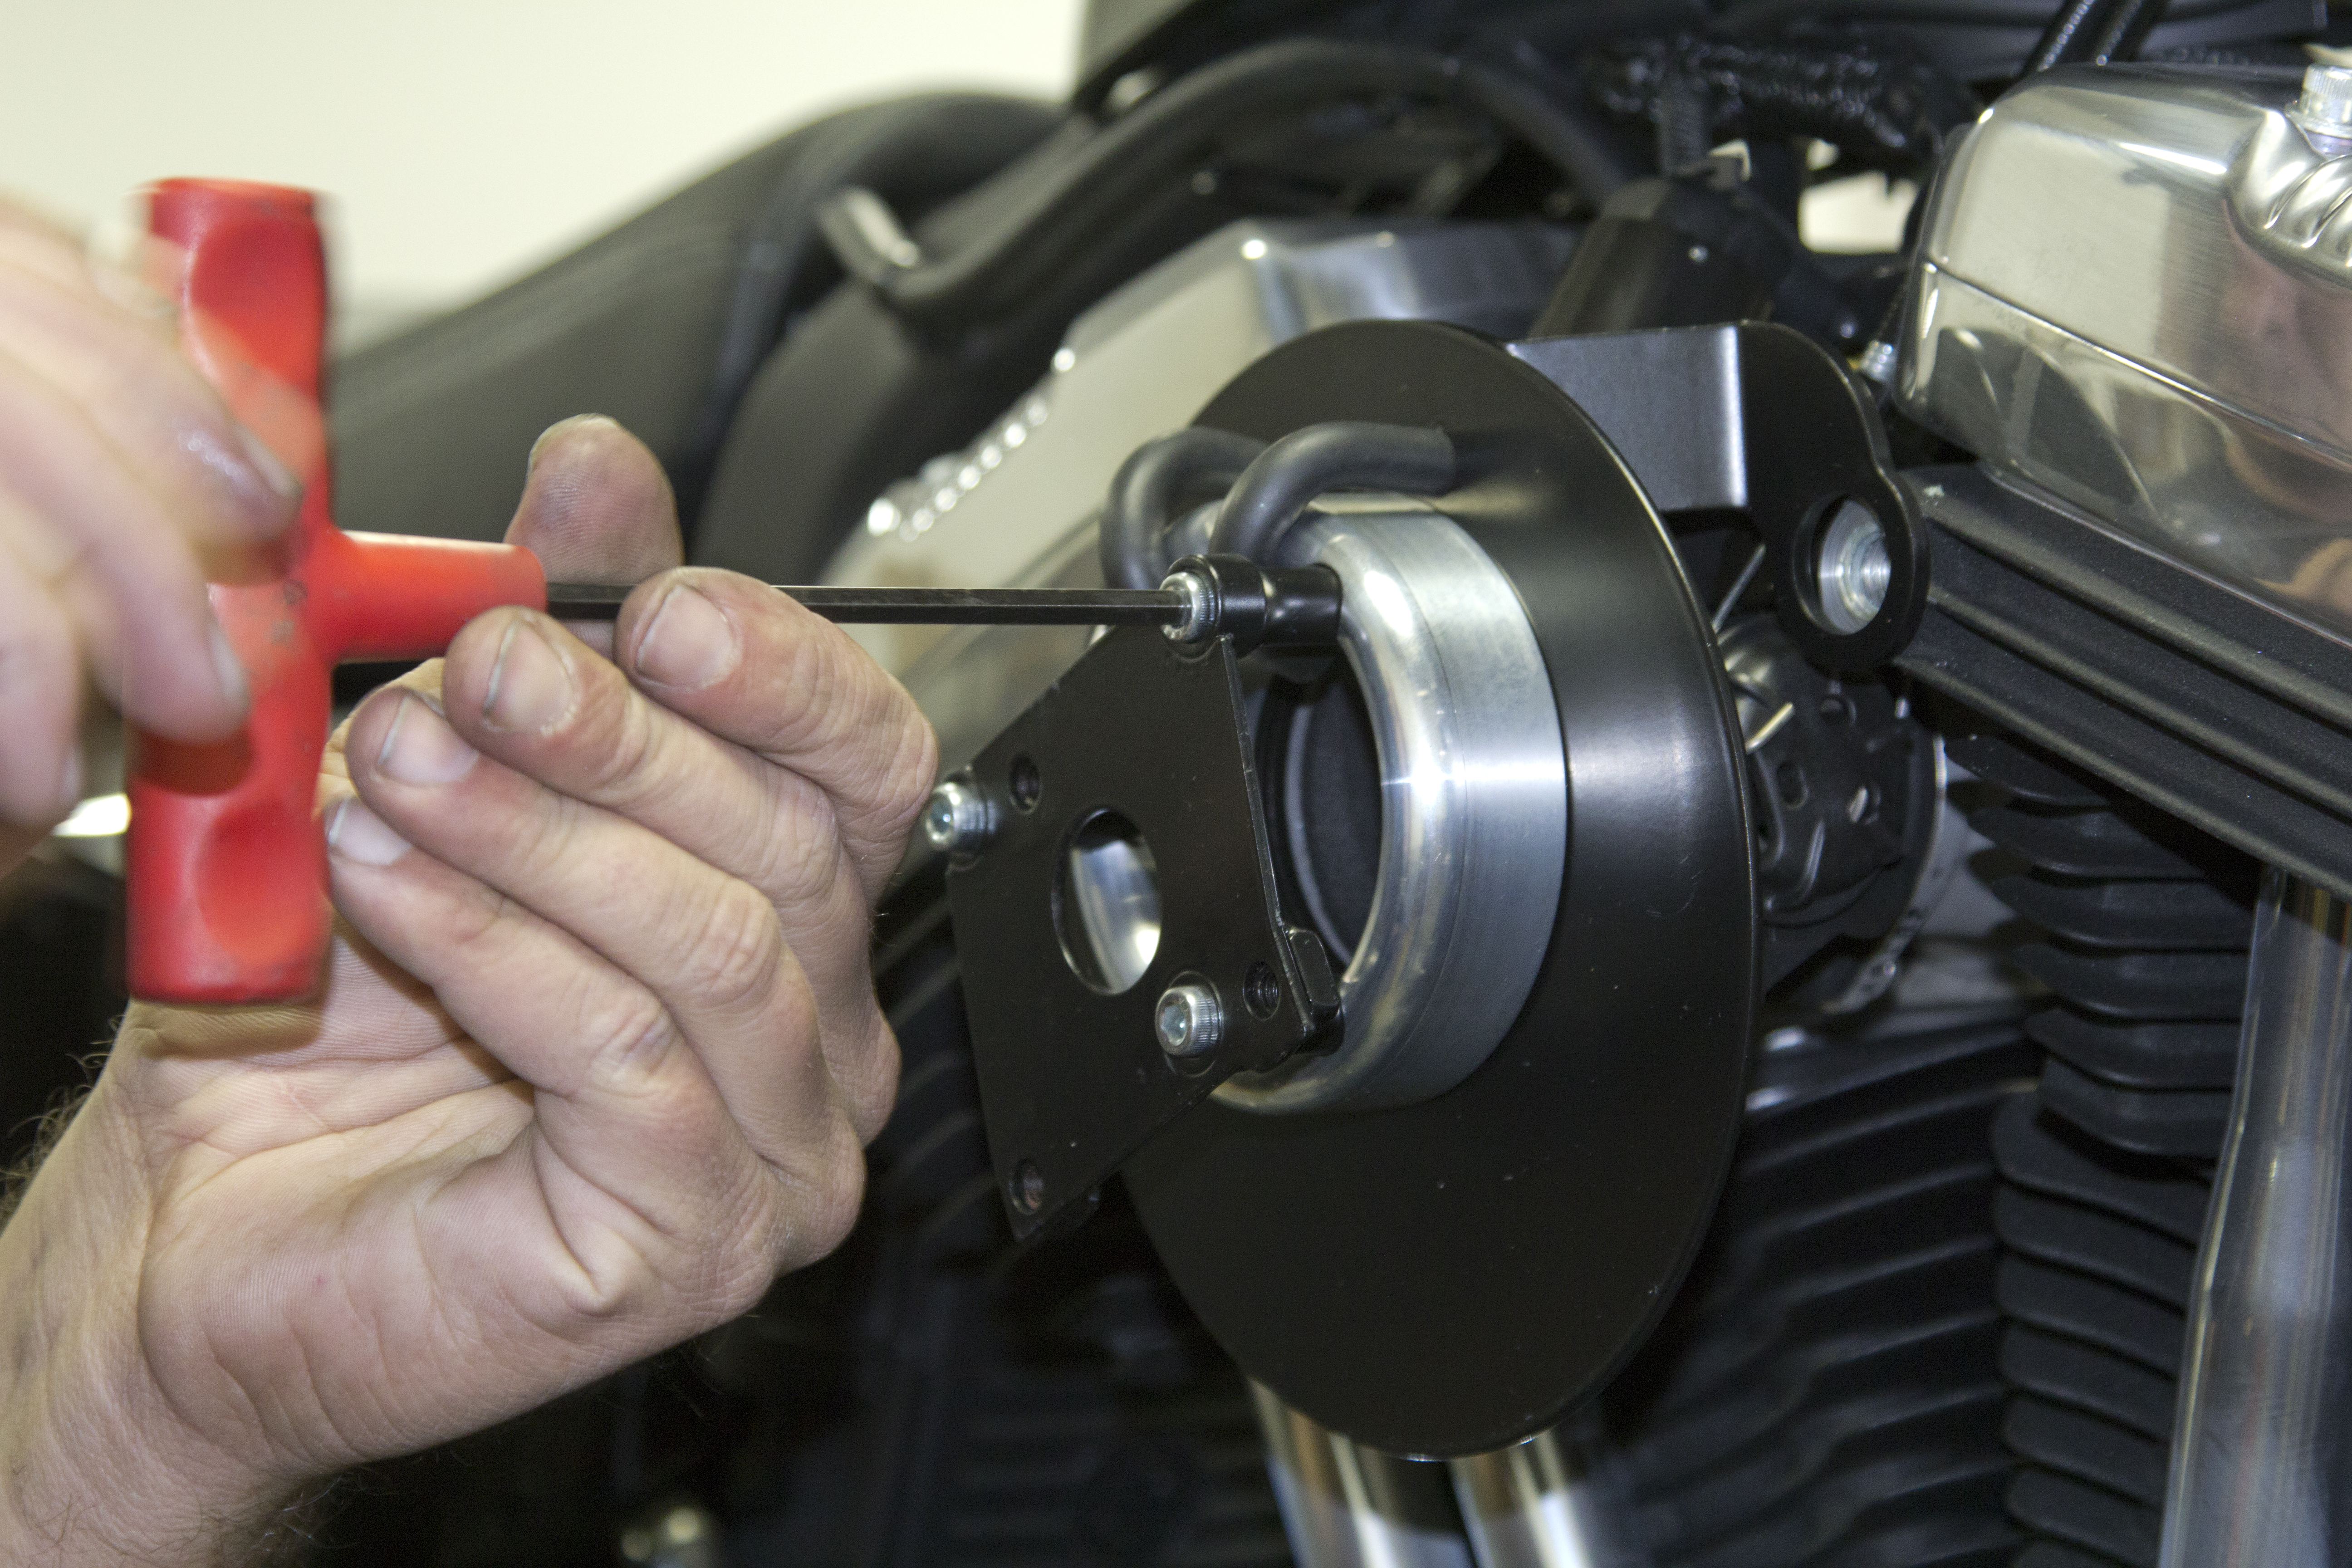
Sandwich the filter mount bracket, venture, filter backing plate with breather hoses and install onto the throttle body. Make sure the inside edges of all of these parts are aligned before tightening. For more detailed information, consult the V02 instructions.
Photos: John Zamora
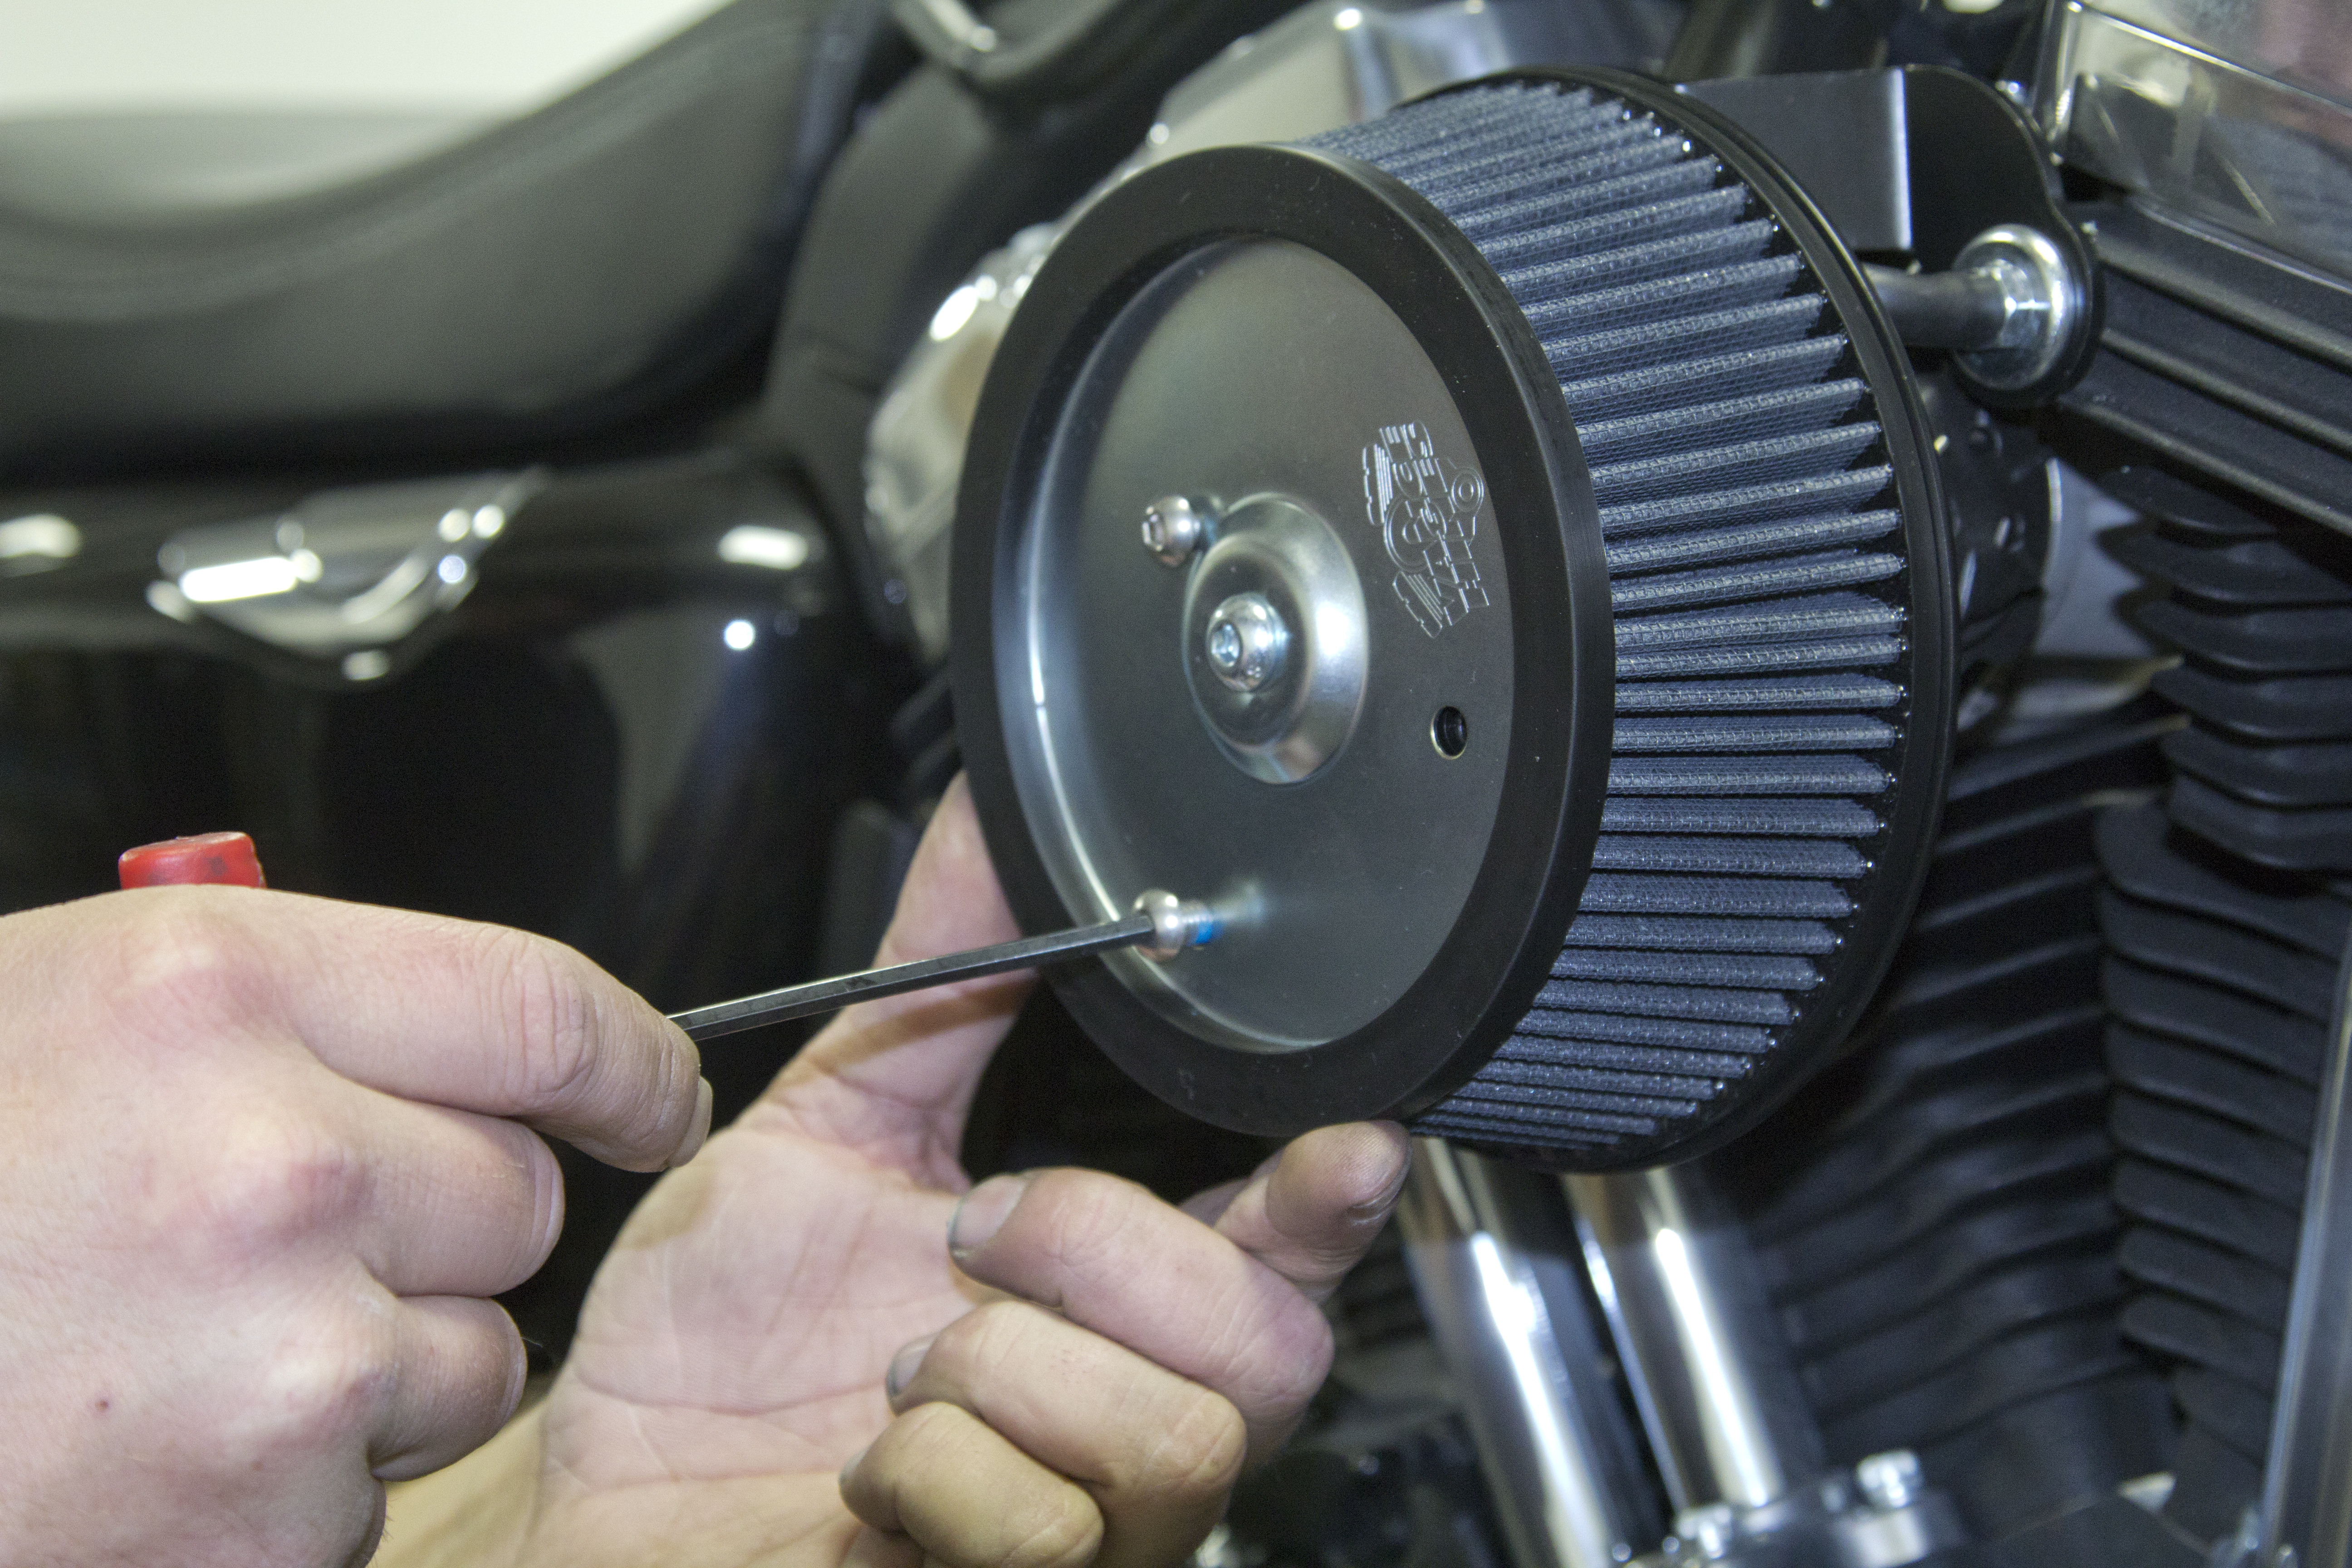
Install the air filter with the Vance & Hines logo at about 3 o’clock and torque to specs.
Photos: John Zamora
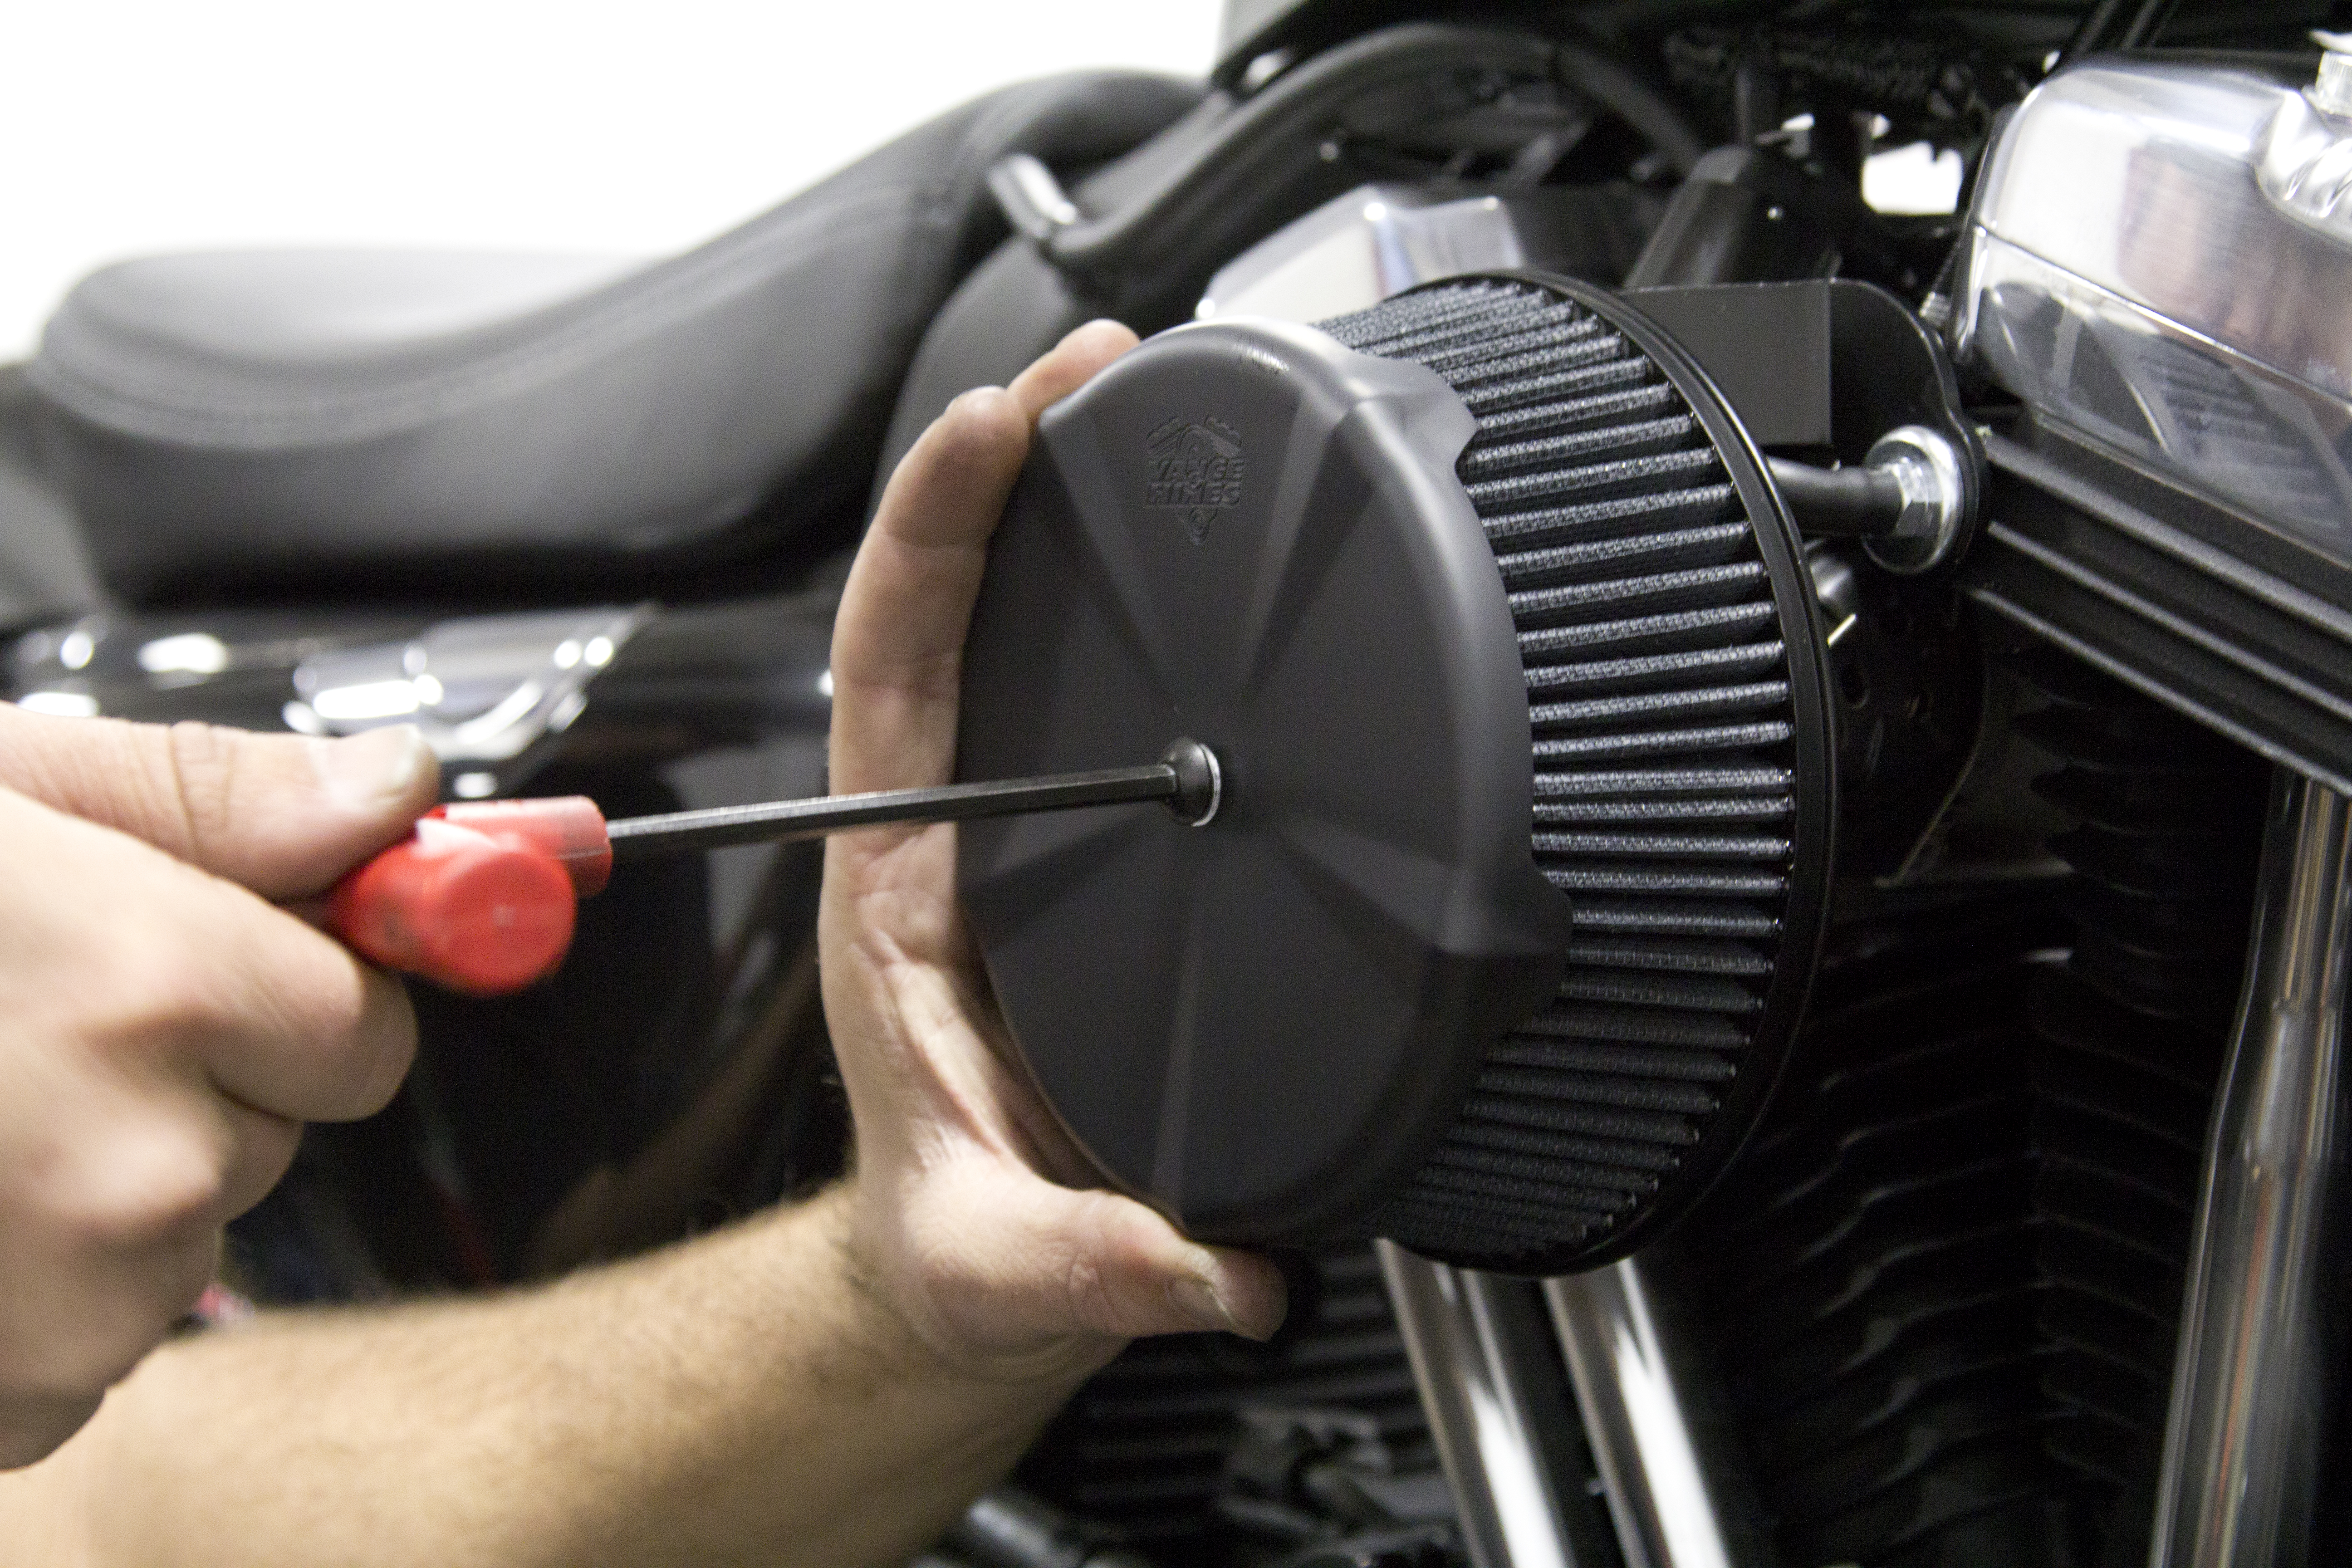
Install the air cleaner cover and that part is a done-zo.
Photos: John Zamora
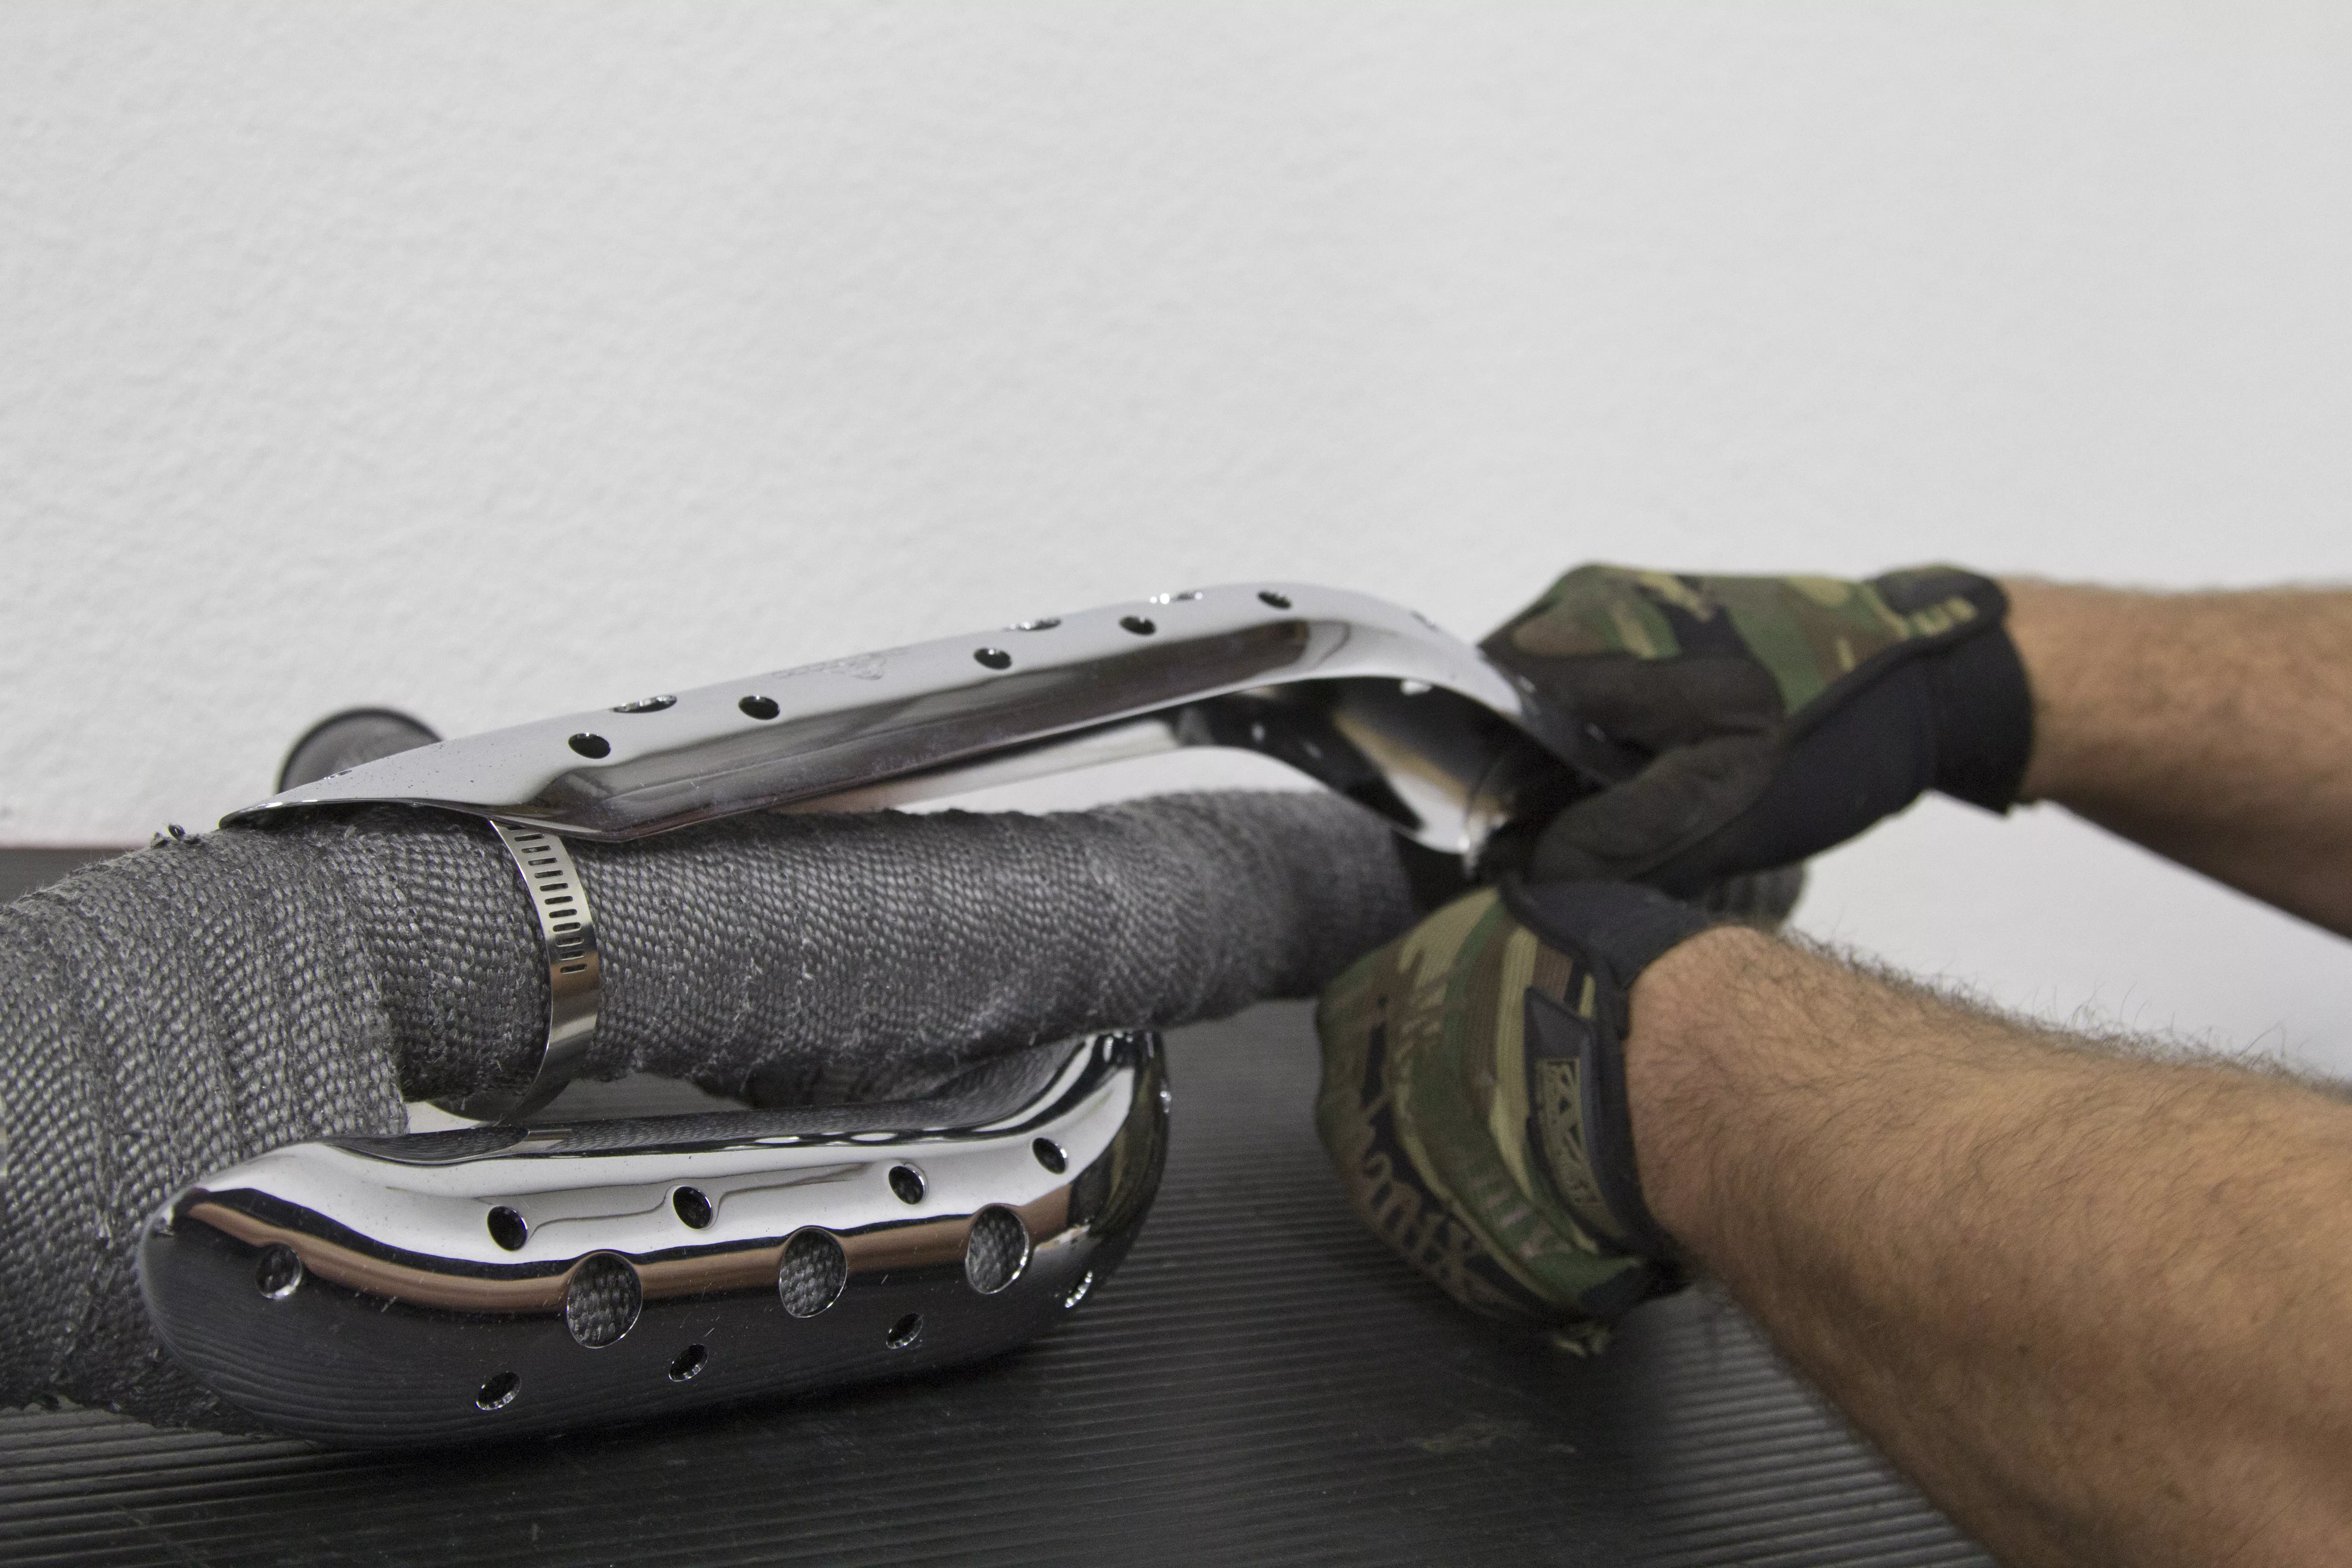
You’ll find it easier to install the heat shields with the exhaust off the bike. Pay attention when installing the hose clamps to make sure you have access to them when the exhaust is installed on the bike.
Photos: John Zamora
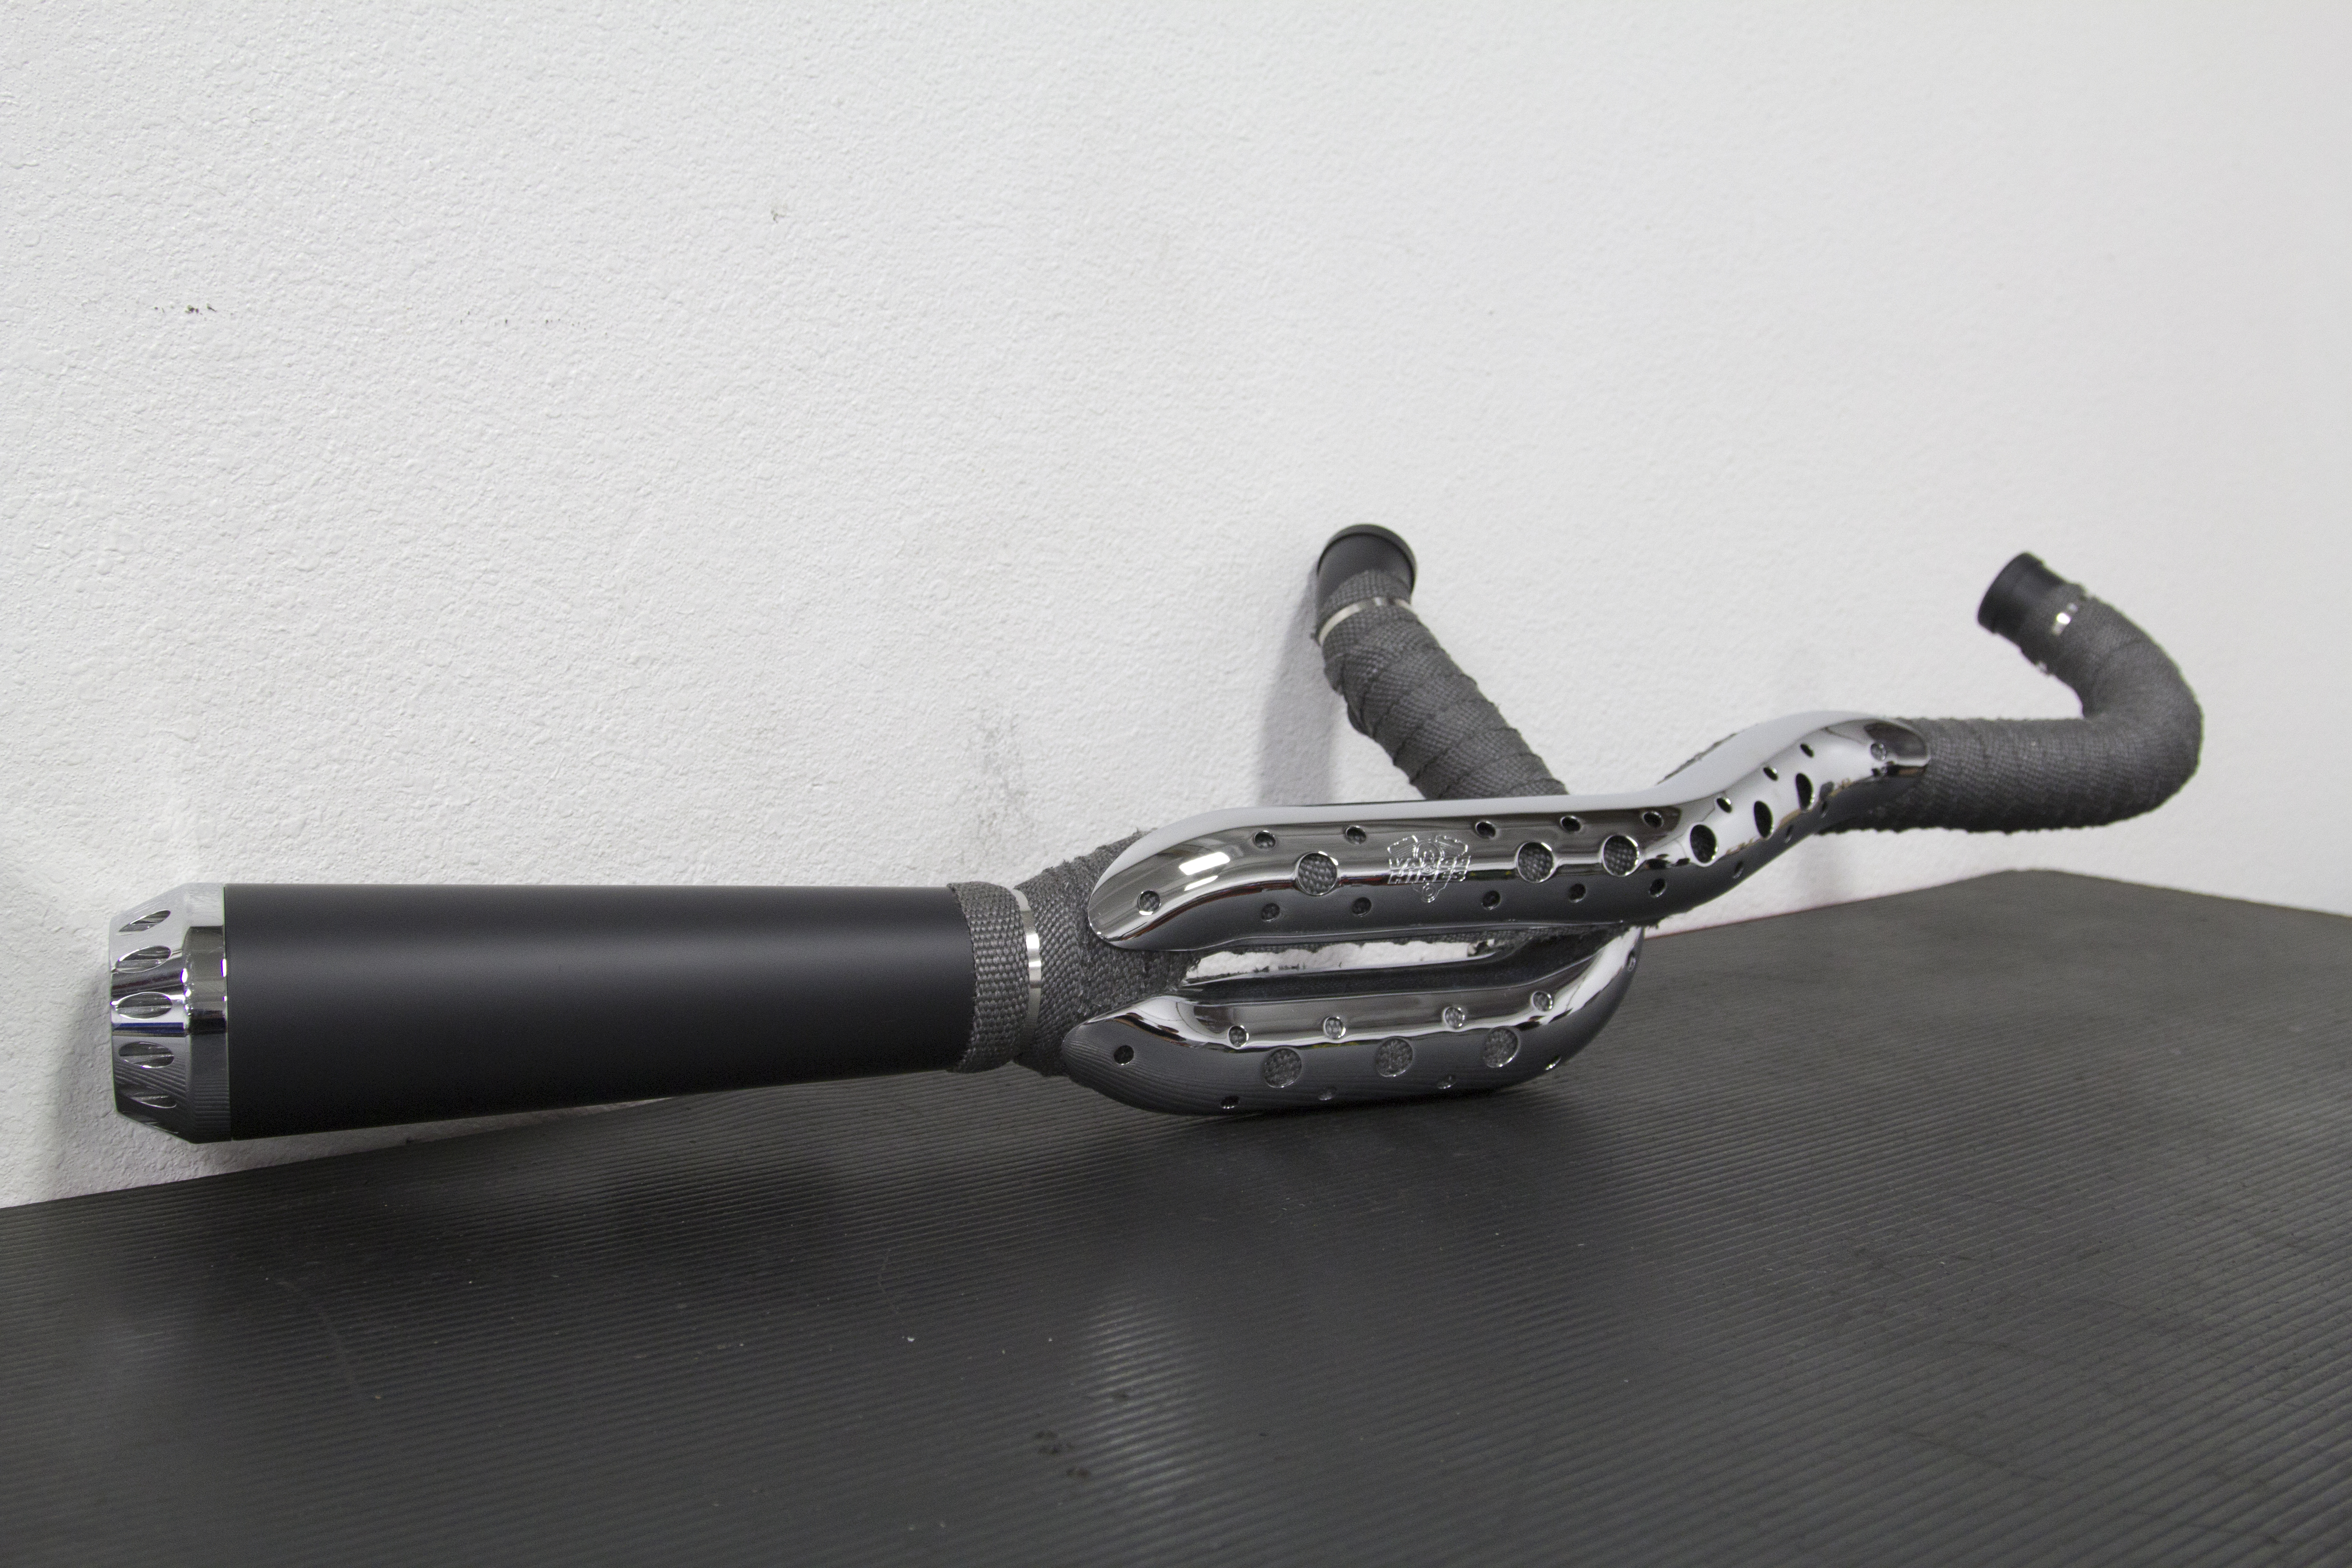
This is how the exhaust will look when installed. Make any changes to the clamps at this time before moving forward.
Photos: John Zamora
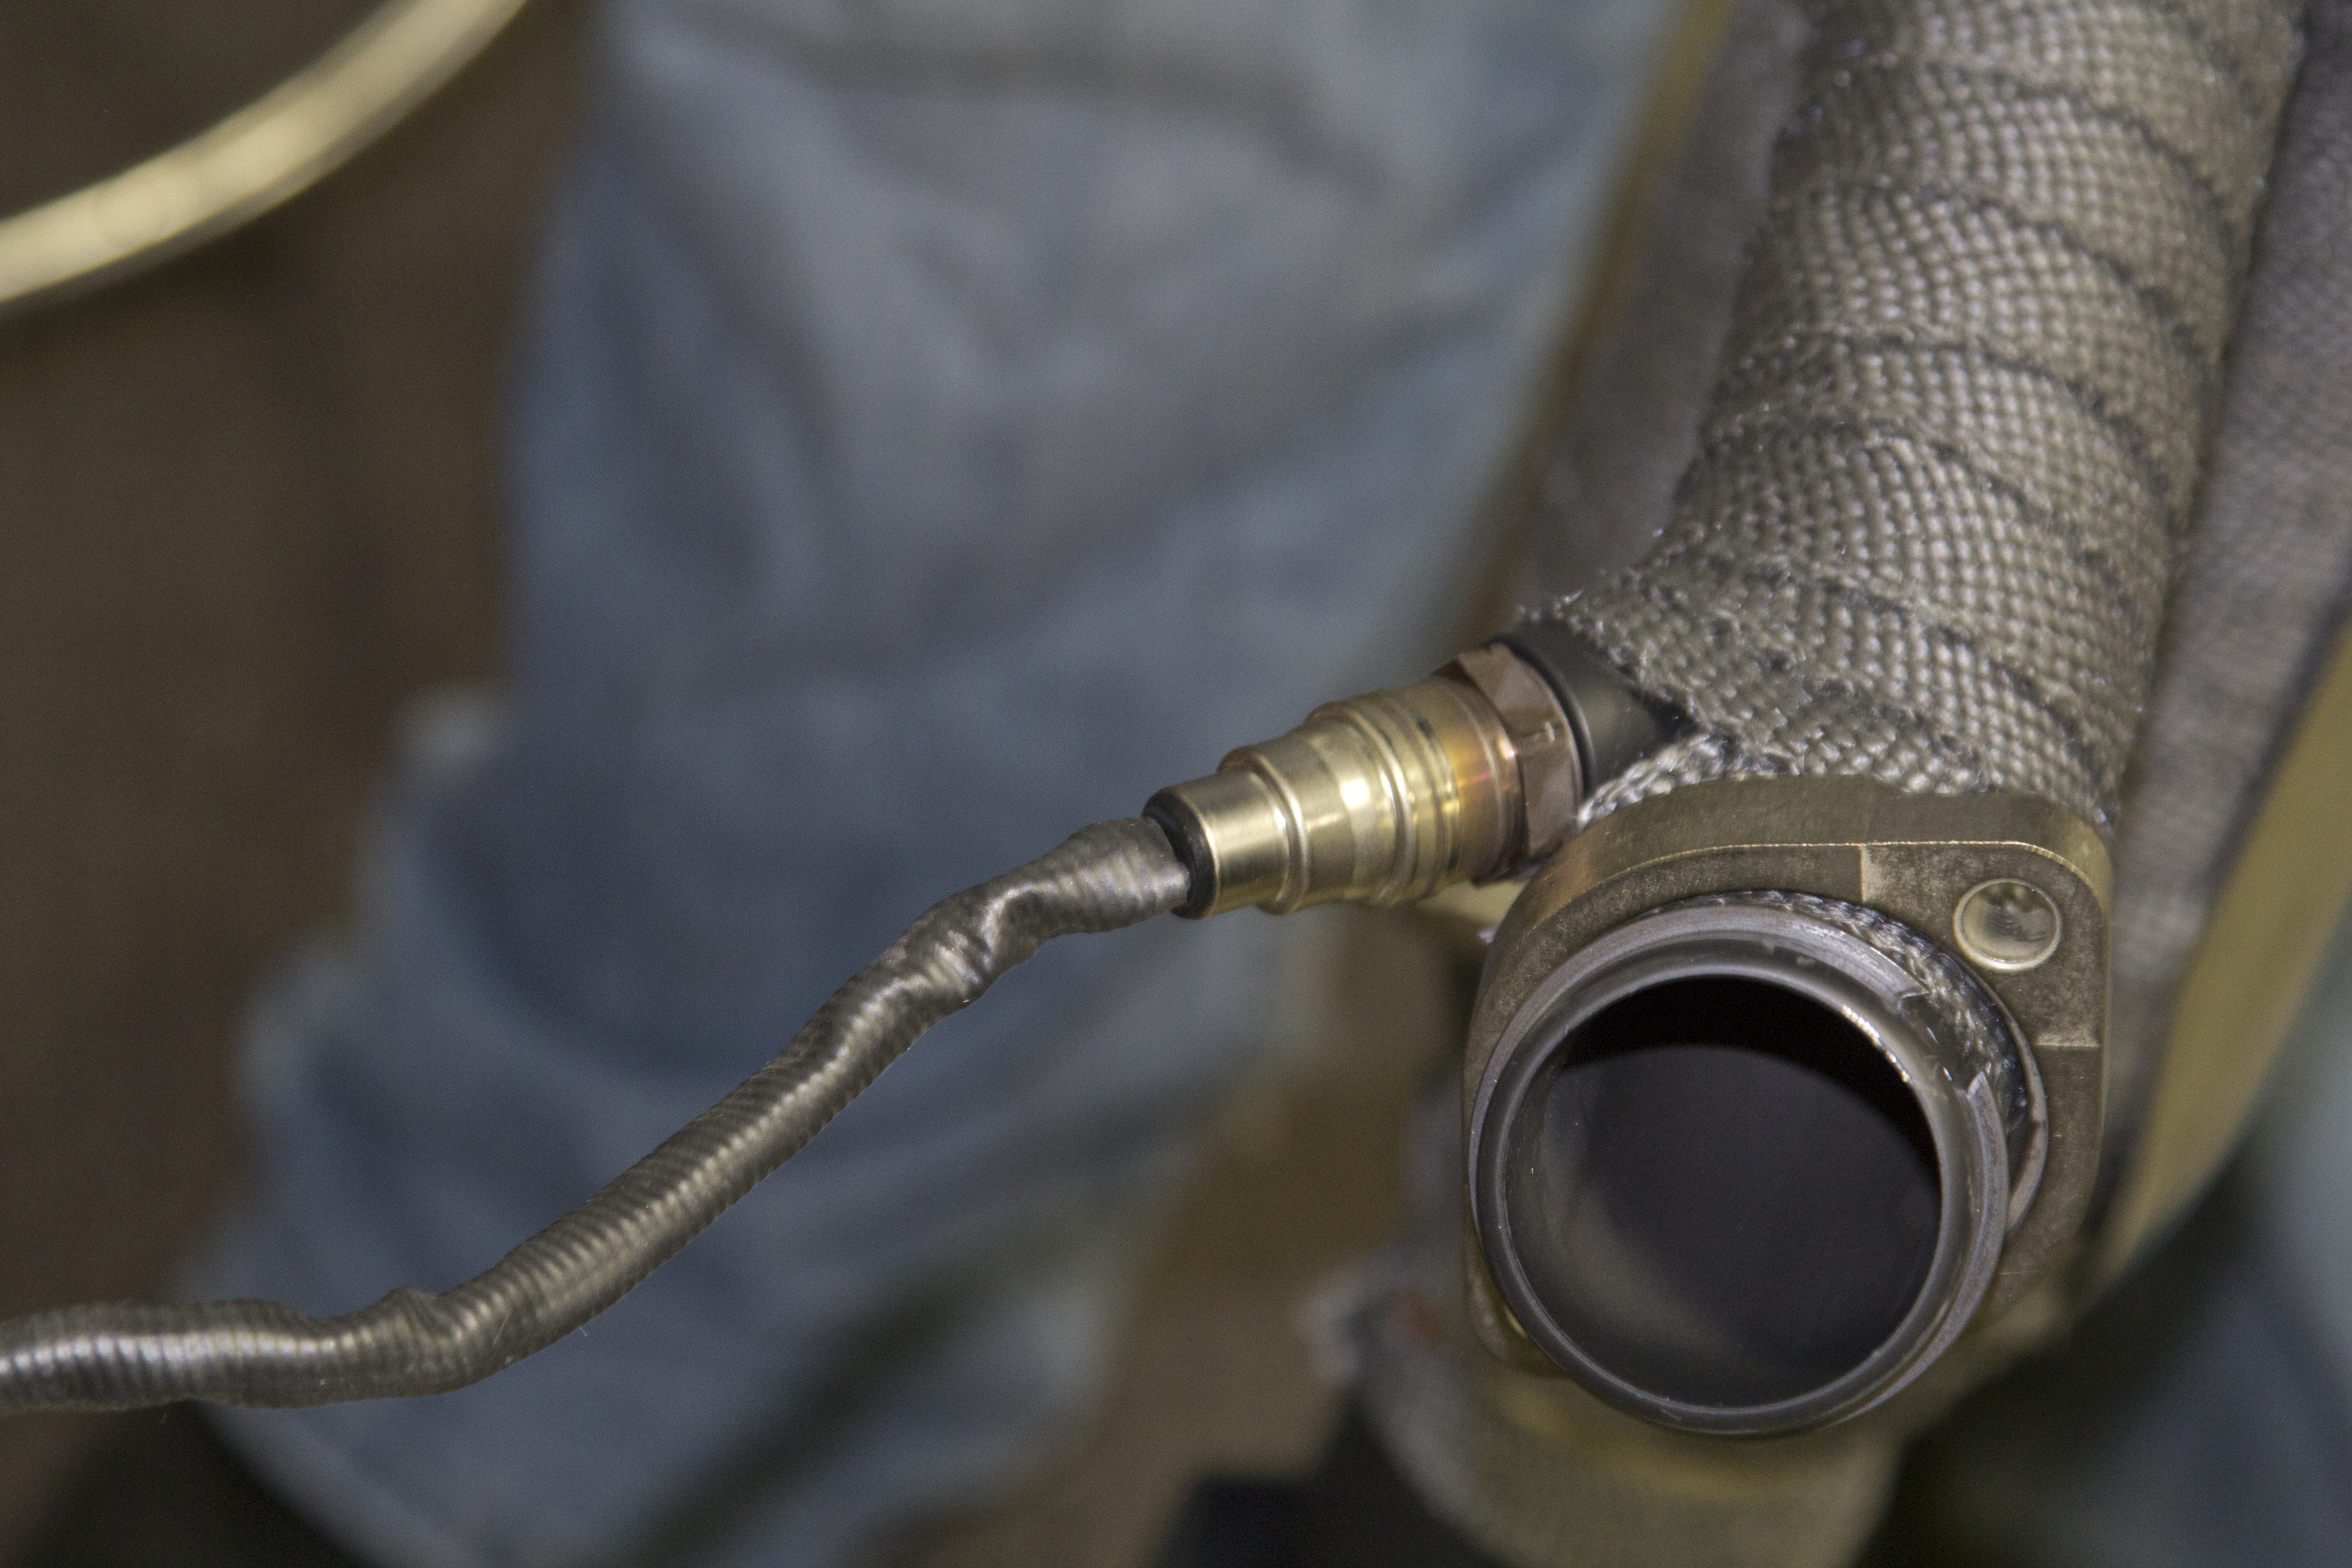
Reinstall the stock O2 sensor.
Photos: John Zamora
Install exhaust port flanges and circlips from the stock system onto the head pipes. Using the stock flange nuts, carefully install the head pipes into the exhaust ports, starting with the rear cylinder. Don’t tighten yet.
Photos: John Zamora
Slide the nut plate into the bracket that is welded to the backside of the muffler.
Photos: John Zamora

Tighten the exhaust and all the hose clamps and nuts. Finish off the setup with the decorative V&H hose clamp for that final touch.
Photos: John Zamora
Before starting your motorcycle, completely clean the pipes and mufflers with warm, soapy water and a clean soft cloth. Dry with a clean towel. Any residue, oil, or fingerprints will stain the black coating. After that, fire it up and take it for a spin!
Photos: John Zamora
Sources:
(562) 921-7461
")


