
Time To Brake
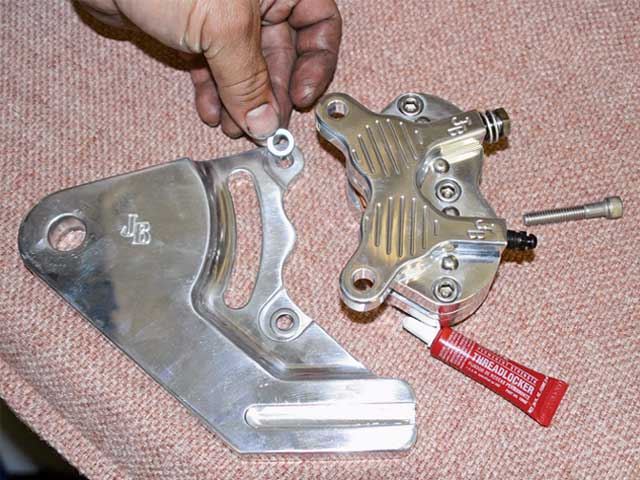
With shiny new polished calipers and brackets from Jaybrake, the Springer will have a nice, clean, complete look. Parts we ordered included (A) Front Two-Piston Bracket (MSRP: $69.95), (B) Front Dual Series Two-Piston Caliper (MSRP: $159.95, (C) Rear Four-Piston Bracket (MSRP: $79.95), (D) Quad Series Four-Piston Caliper (MSRP: $224.95), and some Sterling Chromite II brake lines from Magnum Shielding: (E) Front Brake Line (MSRP: $77.95) and (F) Rear Brake Line (MSRP: $104.95).
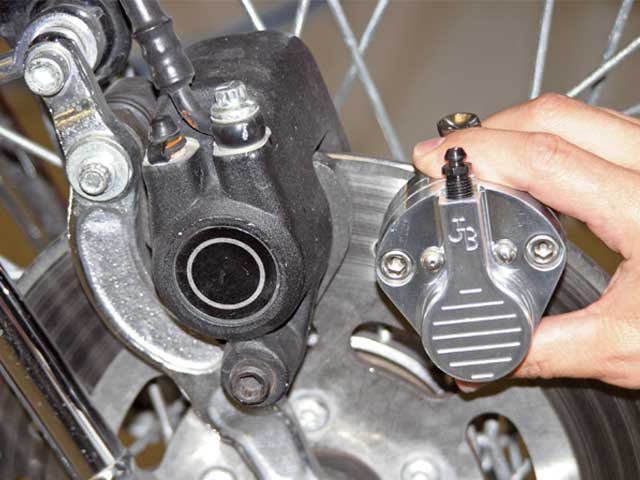
To replace the front caliper, we picked up one of Jaybrakes’ dual-piston calipers. The polished finish is much easier on the eyes than the stock black, and even though the caliper itself is smaller and more compact than the stock single-piston floating unit, it will still provide plenty of braking power.
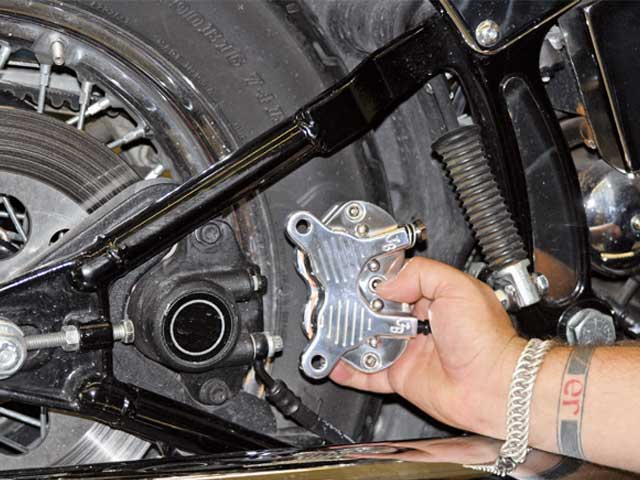
We beefed up the rear, replacing the stock dual-piston caliper with one of Jaybrake’s quad-piston calipers. As you can see, even though the new caliper has two more pistons, it’s still almost the same size as stock. This quad caliper also sports four separate DP brake pads (one for each piston), which helps the pads cool faster and makes for better braking.
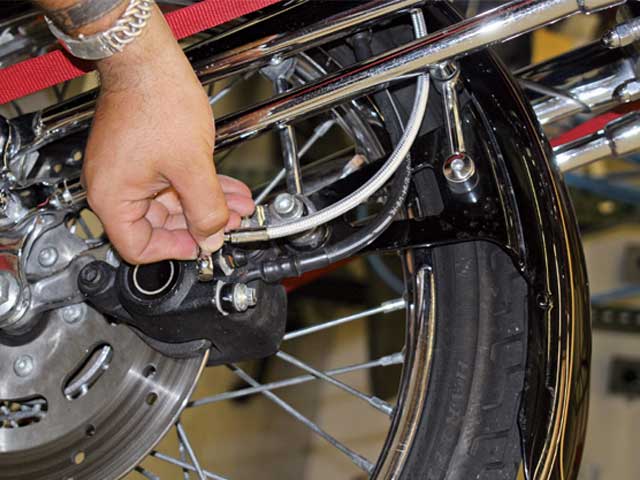
The chrome-like finish of the Sterling Chromite II brake lines, along with the chrome fittings, will look good with the polished calipers and brackets, and will really stand out against the gloss-black frame.

For the installation we started at the rear. Here’s a close-up look at the four separate pads on the new rear caliper. Jaybrake uses DP brake pads, which feature a ceramic heat shield coating that aids in reducing heat transfer to the rotor.
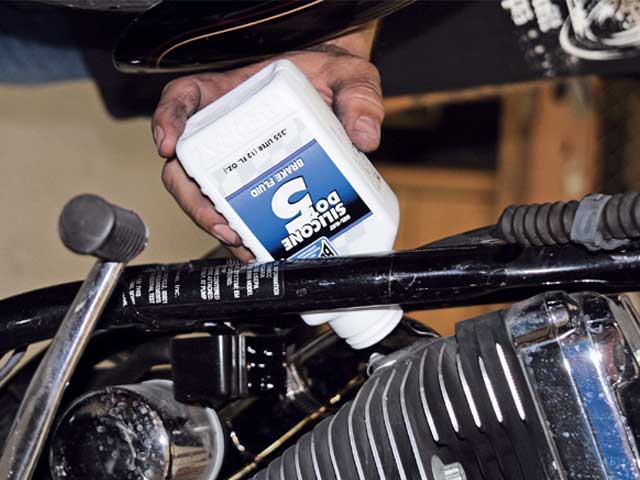
After securing the bike to the lift, we jacked up the rear so we could pull the axle along with the wheel. Then we were able to drain the brake fluid, disconnect the brake line, and pull the stock caliper and bracket. Installing the new caliper and bracket was pretty straightforward. Jaybrake provided the caliper mounting bolts, along with some shims to space the caliper on the rotor.
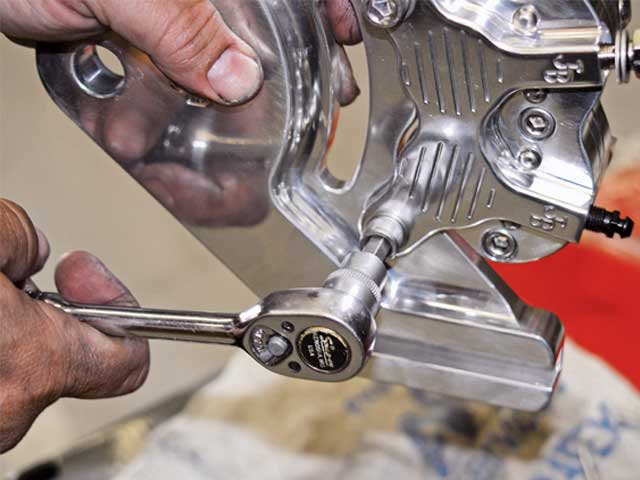
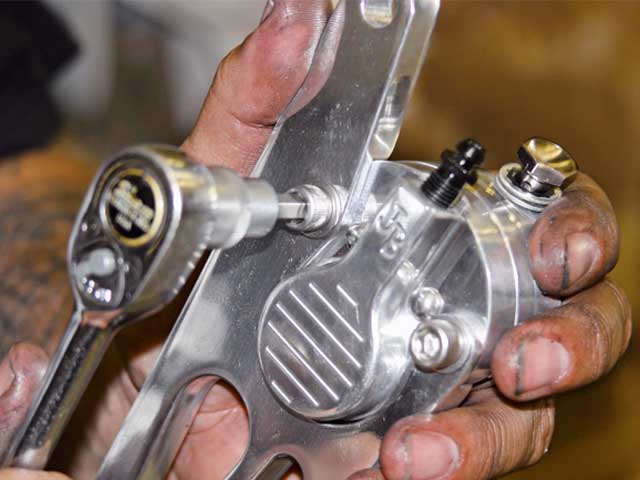
All we had to do was apply some thread locker to the caliper bolts and bolt the caliper to the bracket.
A spacer was provided to make up for the difference in size of the new, thinner Jaybrake bracket.
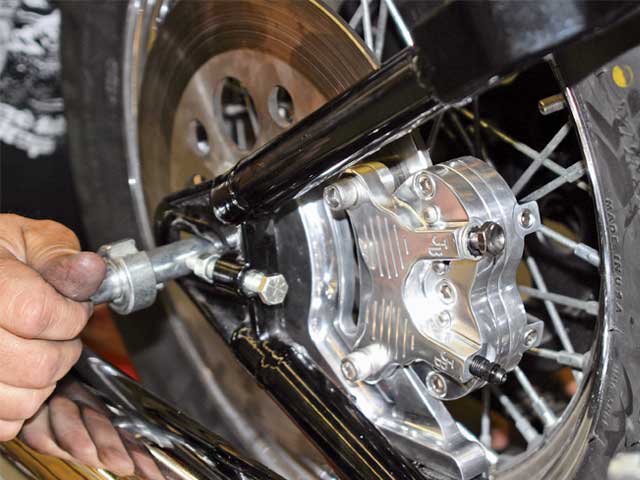
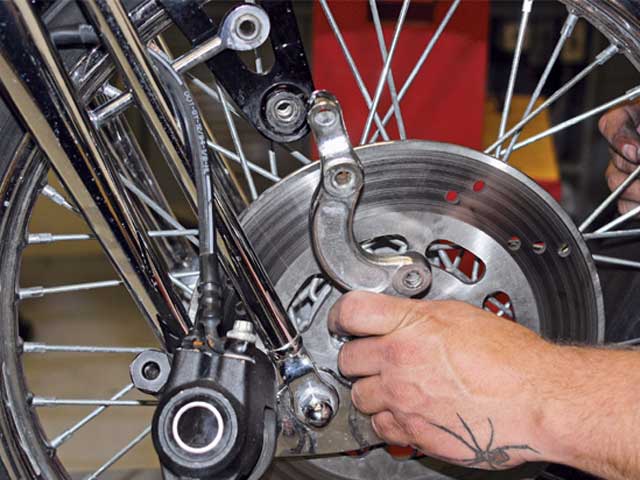
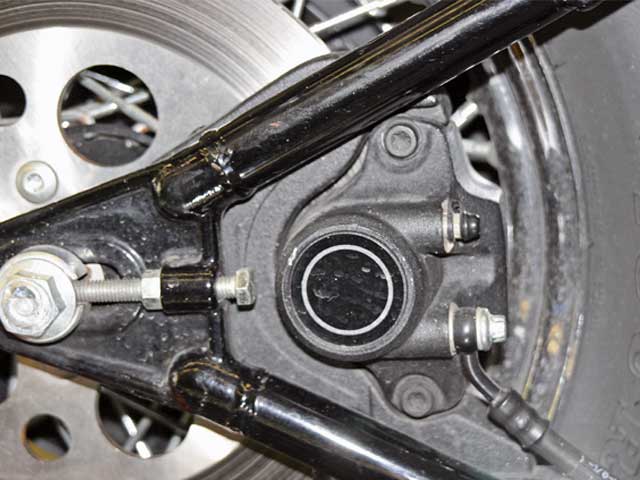
Once the caliper was secured on the bracket and the spacer was in place, the caliper assembly was slipped over the rotor. Then the axle was re-installed and torqued to spec.
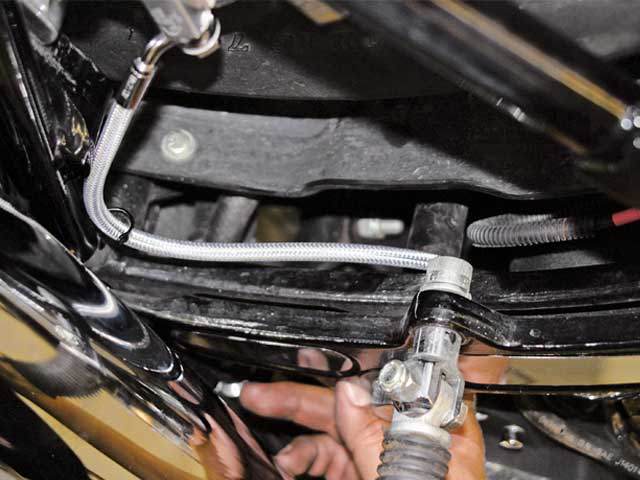
Next it was time to install the new brake lines.
Then we checked to make sure the caliper was properly aligned on the rotor.
To install the new components on the front of the bike, we jacked up the frontend, removed the axle, and unbolted the stock caliper from its mounting bracket.
The new dual-piston caliper was bolted to the new bracket, and then…

…the bracket and caliper were slid into position and the axle was re-installed.
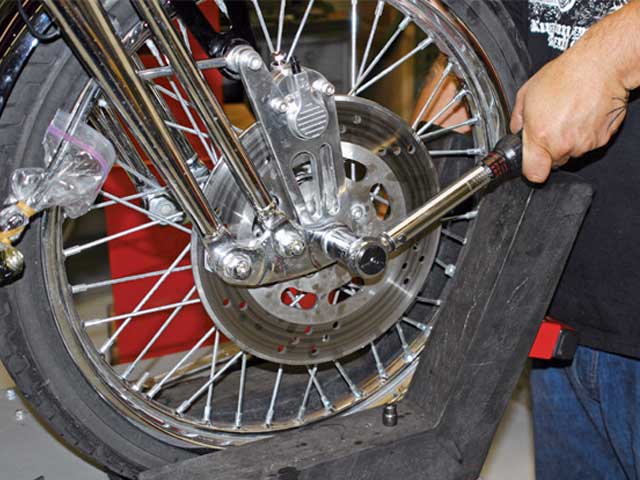
Once the top of the bracket was secured to the Springer Heim joint, the wheel was torqued to spec.
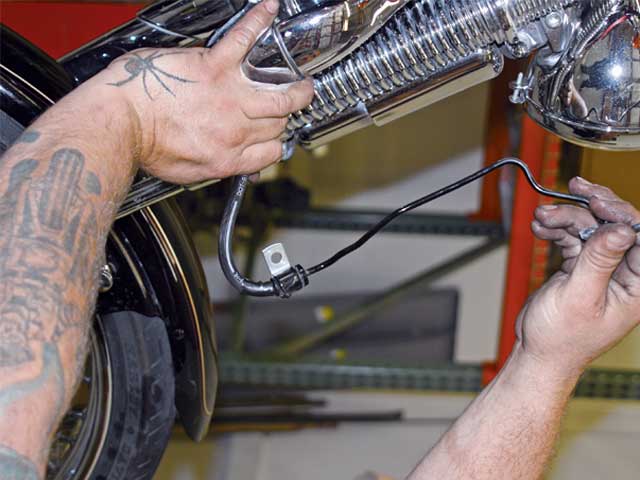
Next the old rubber and hard brake line was removed…
In just under two hours we were able to turn our drab stock brake setup to…
The other day while washing our latest acquisition (a ’96 Softail Springer), we were hitting the wheels with some cleaner when we noticed that the black on the stock front and rear calipers was pretty bland compared to the gloss-black frame. The more we stared, the more we noticed how the stock front and rear caliper brackets weren’t even the same finish; the front was sort of a polished finish, while the back was the same rough black as the calipers. And the brake lines, well, they didn’t really match, either-the front was a combination of rubber and hard lines, and the back was all rubber. On top of all that, the front brake pads were showing quite a bit of wear. Never willing to put our lives in the hands of worn brake pads and not happy with the mismatched finishes, we decided it was time to upgrade the looks and performance of the Springer’s braking system.
While searching the Internet for new calipers and some brake lines, we came across two websites that had exactly what we were looking for and provided all the pertinent information necessary to order online without even having to pick up the phone. The first site we hit was www.jaybrakeoriginals.com. Jaybrake is known for producing clean, high-quality, billet-aluminum calipers in a wide selection of styles. Aside from offering an assortment of four- and six-piston calipers for bolt-on applications, the company also offers its dual- and quad-series calipers with a variety of brackets for stock or custom applications. Best of all, Jaybrake offers all calipers and brackets in polished, chrome, or black-anodized finishes. While cruising around the website, we found it very easy to find exactly what we needed for the Springer. We were able to download the company’s online catalog, which had a list of all the calipers and brackets, which applications they fit, and the part numbers, all of which made replacing our stock components a breeze.
After we ordered the calipers and brackets, we began looking for new brake lines and found Magnum Shielding (www.magnumshielding.com). Nothing looks better than chrome. Magnum Shielding knows this very well and therefore has developed a patented technology to create highly durable brake lines with an exclusive braid that looks like chrome. But Magnum doesn’t just make brake lines; the company also offers clutch and throttle cables to give your bike a uniform and detailed look. After clicking on the link for brake lines, we found that all we had to do to find the right lines was perform a search by bike. After entering the year and model of our bike, a window popped up showing the front and rear lines we needed, along with information on the lengths, fitting angles, and price of each line.
After ordering all our parts, it was just a few days before several packages arrived at our door. Then it was time to swap the stock for new.


