
Arnott Air Ride Install | Pump And Dump


Tech
Our buddy Jonathan bought a used 2007 Street Glide from a friend. Sure it was a nice bike with a ton of upgrades and low miles, but the guy he bought it from was 6 feet 7 inches tall and Johnny-boy is a scant 5 feet 9 inches at the very most. After riding the bike for a little while and tiptoeing this 800-pound machine anytime it was stopped, Jonathan had enough and needed some lowering to be done. Instead of going with a shortened suspension that may bottom out while riding his wife on the bumpy highways and byways local to him, Jonathan decided to go with an adjustable air ride system.
This type of system allows a smooth ride under most any load and varying heights. First designed for automotive use in 1901 and then outfitted on everything from commercial busses, Cadillacs, and tractor-trailers, the technology has proven to be a solid suspension choice. For more than 30 years Arnott has been providing systems for the auto industry and over the past decade motorcycles have been enjoying the benefits of Arnott’s aftermarket air ride systems. The system we chose for Jonathan’s bike is a 13-inch black Arnott suspension system with Goodyear manufactured air springs and 11-way adjustable Aldan-made shock absorbers. The $1,099 system is 13 inches at full extension and 101/4 inches long when collapsed and comes with a compressor, micro toggle, and every other conceivable part needed to install on Jonathan’s bike. Once we got the kit from Arnott, we hustled the box of parts and the bike to T-Rod’s Speedshop where our pal and technician extraordinaire Rod Requeno performed the install without fail. All-in-all it took less than two hours to get the system on the bike, plumbed, wired, and working. Jonathon has had many miles on this system and loves the way the suspension feels and reacts to the twists and turns no matter if he’s solo or two-up. He also likes to be able to solidly touch the ground as well.
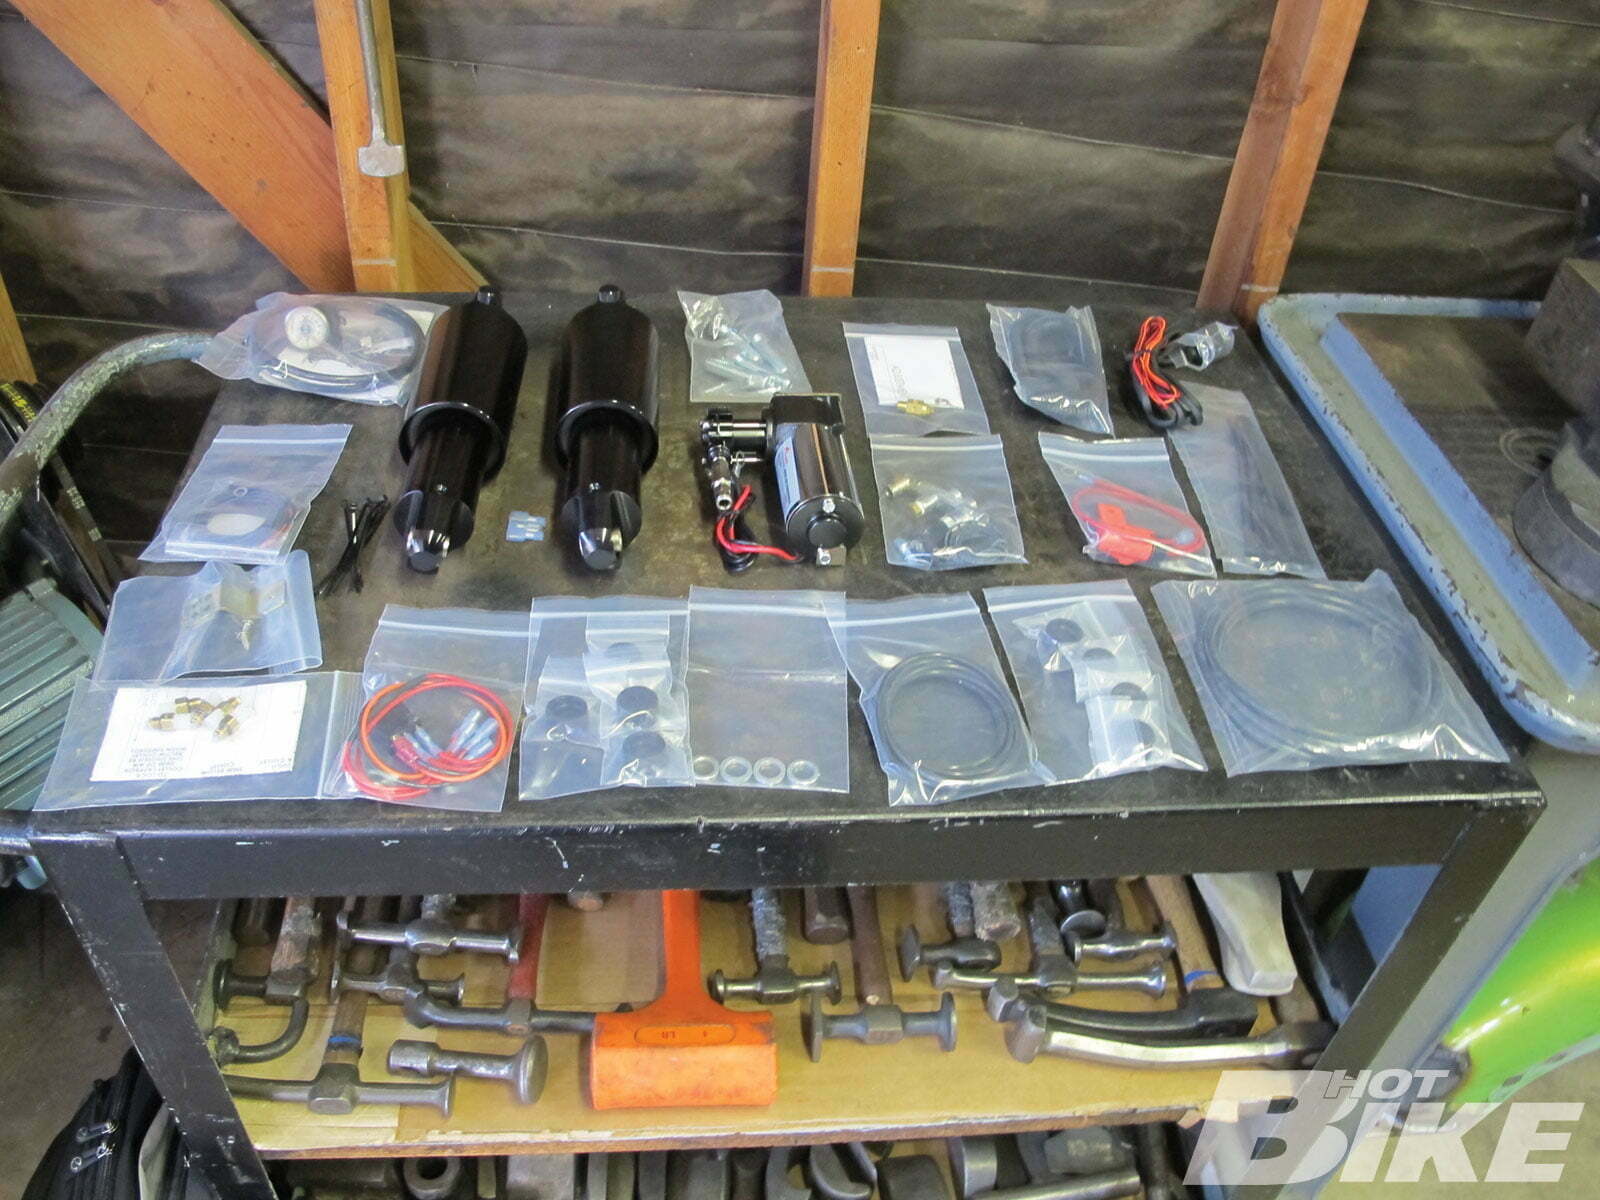
1. Here is the whole air ride kit as it comes from Arnott. It includes everything you need to get your bike some smooth-riding and adjustable suspension.
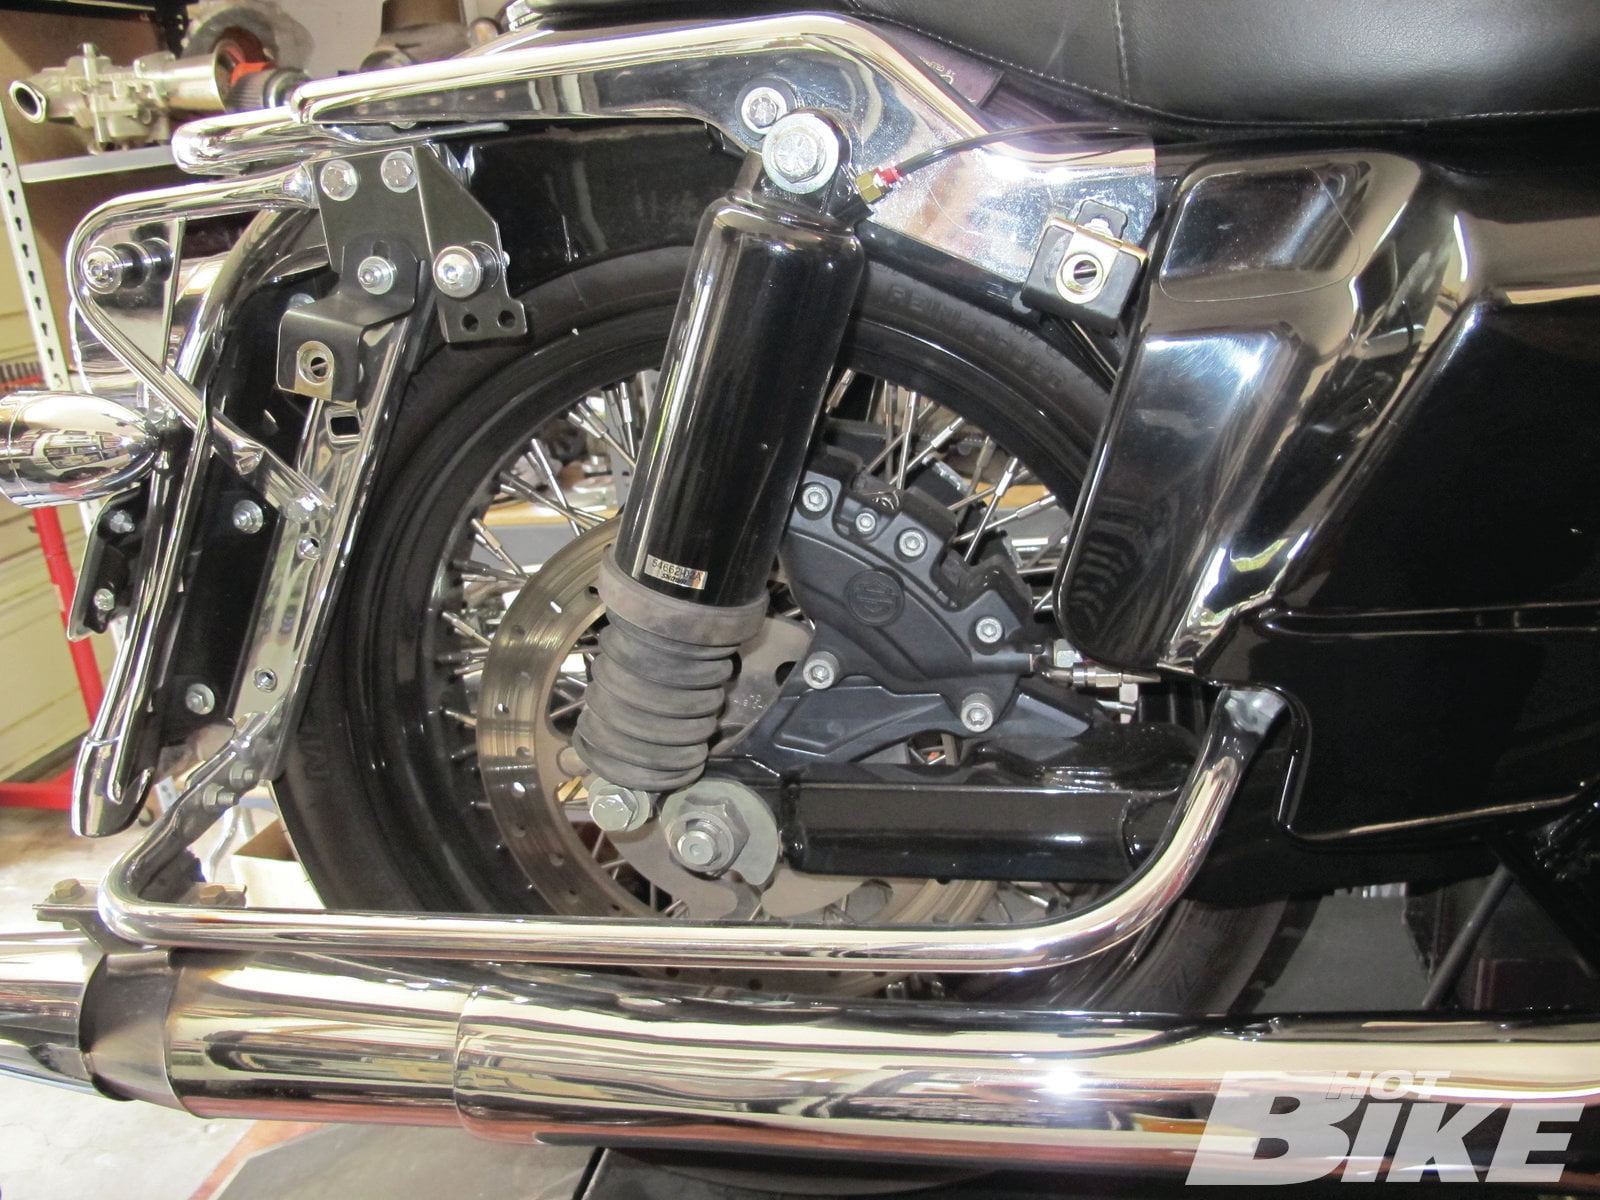
2. This is a shot of the stock rear air shocks from Harley-Davidson. They did a great job of absorbing the bumps and proving a quality ride, but we are giving this bike top-of the-line suspension for a number of conditions and payloads.
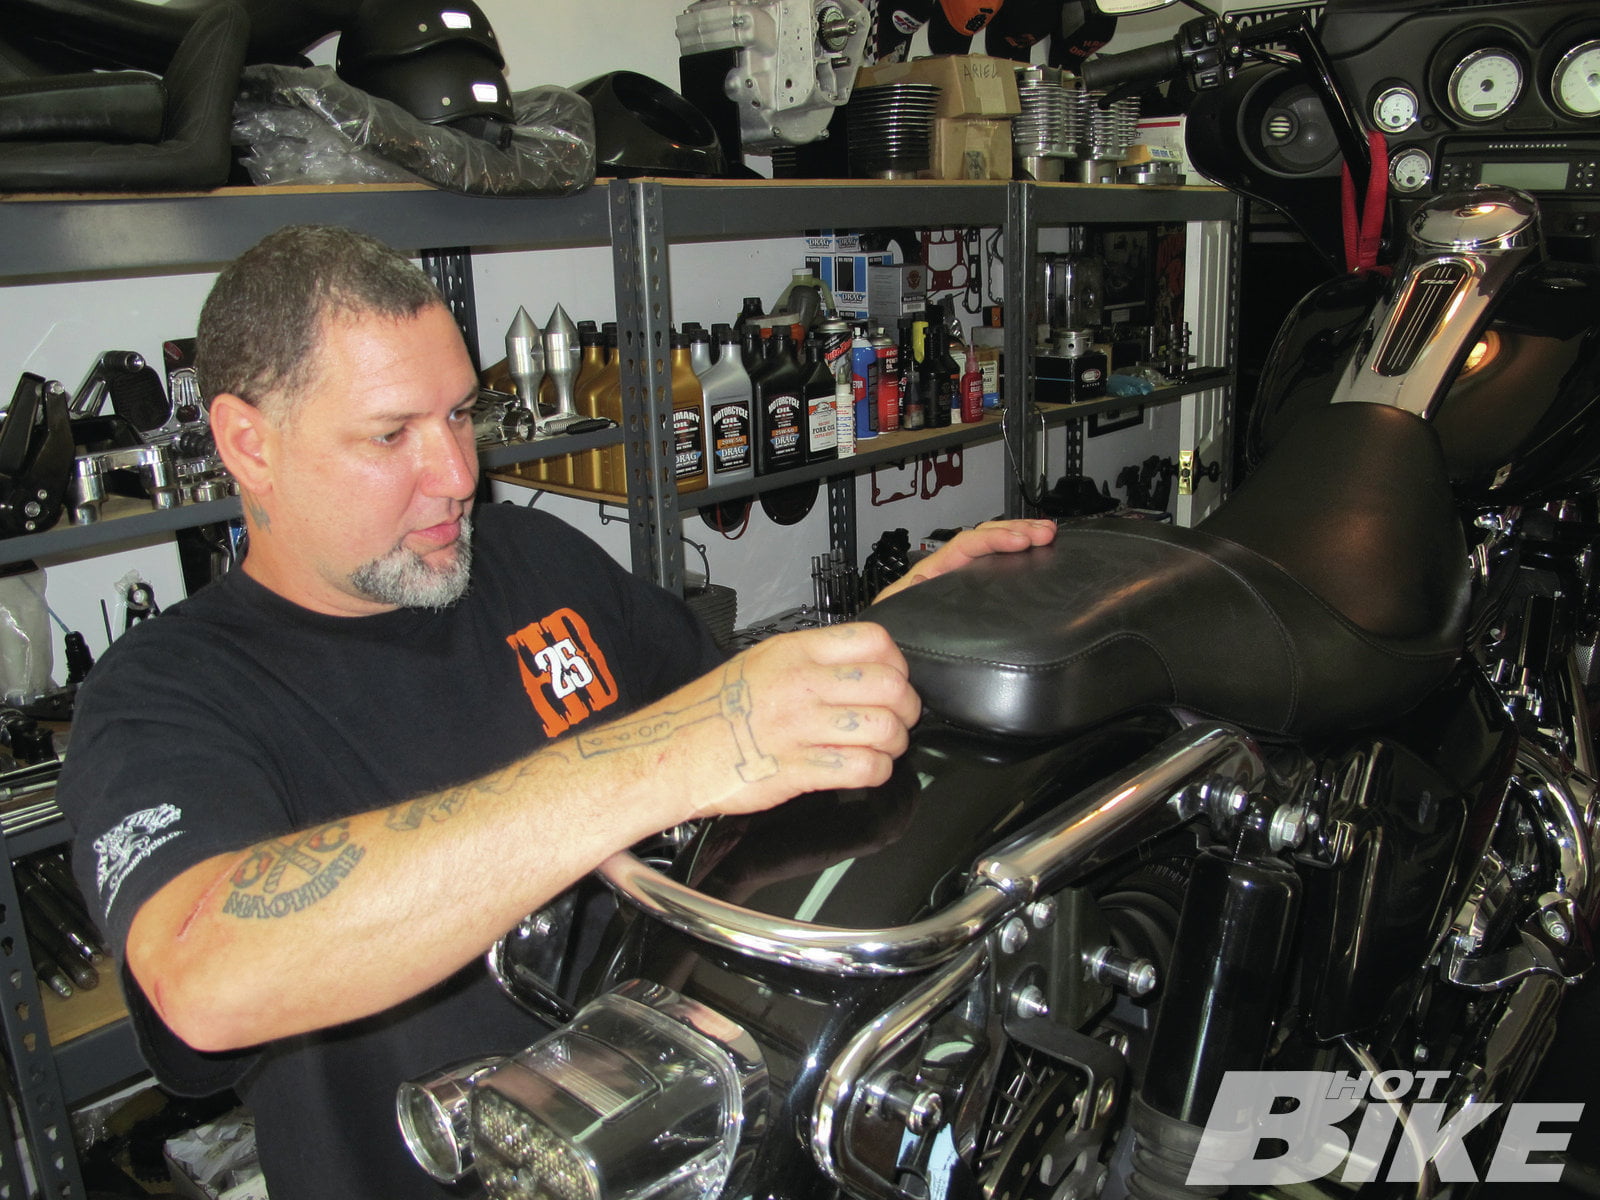
3. T-Rod started the job by removing the seat and taking off the negative battery terminal.
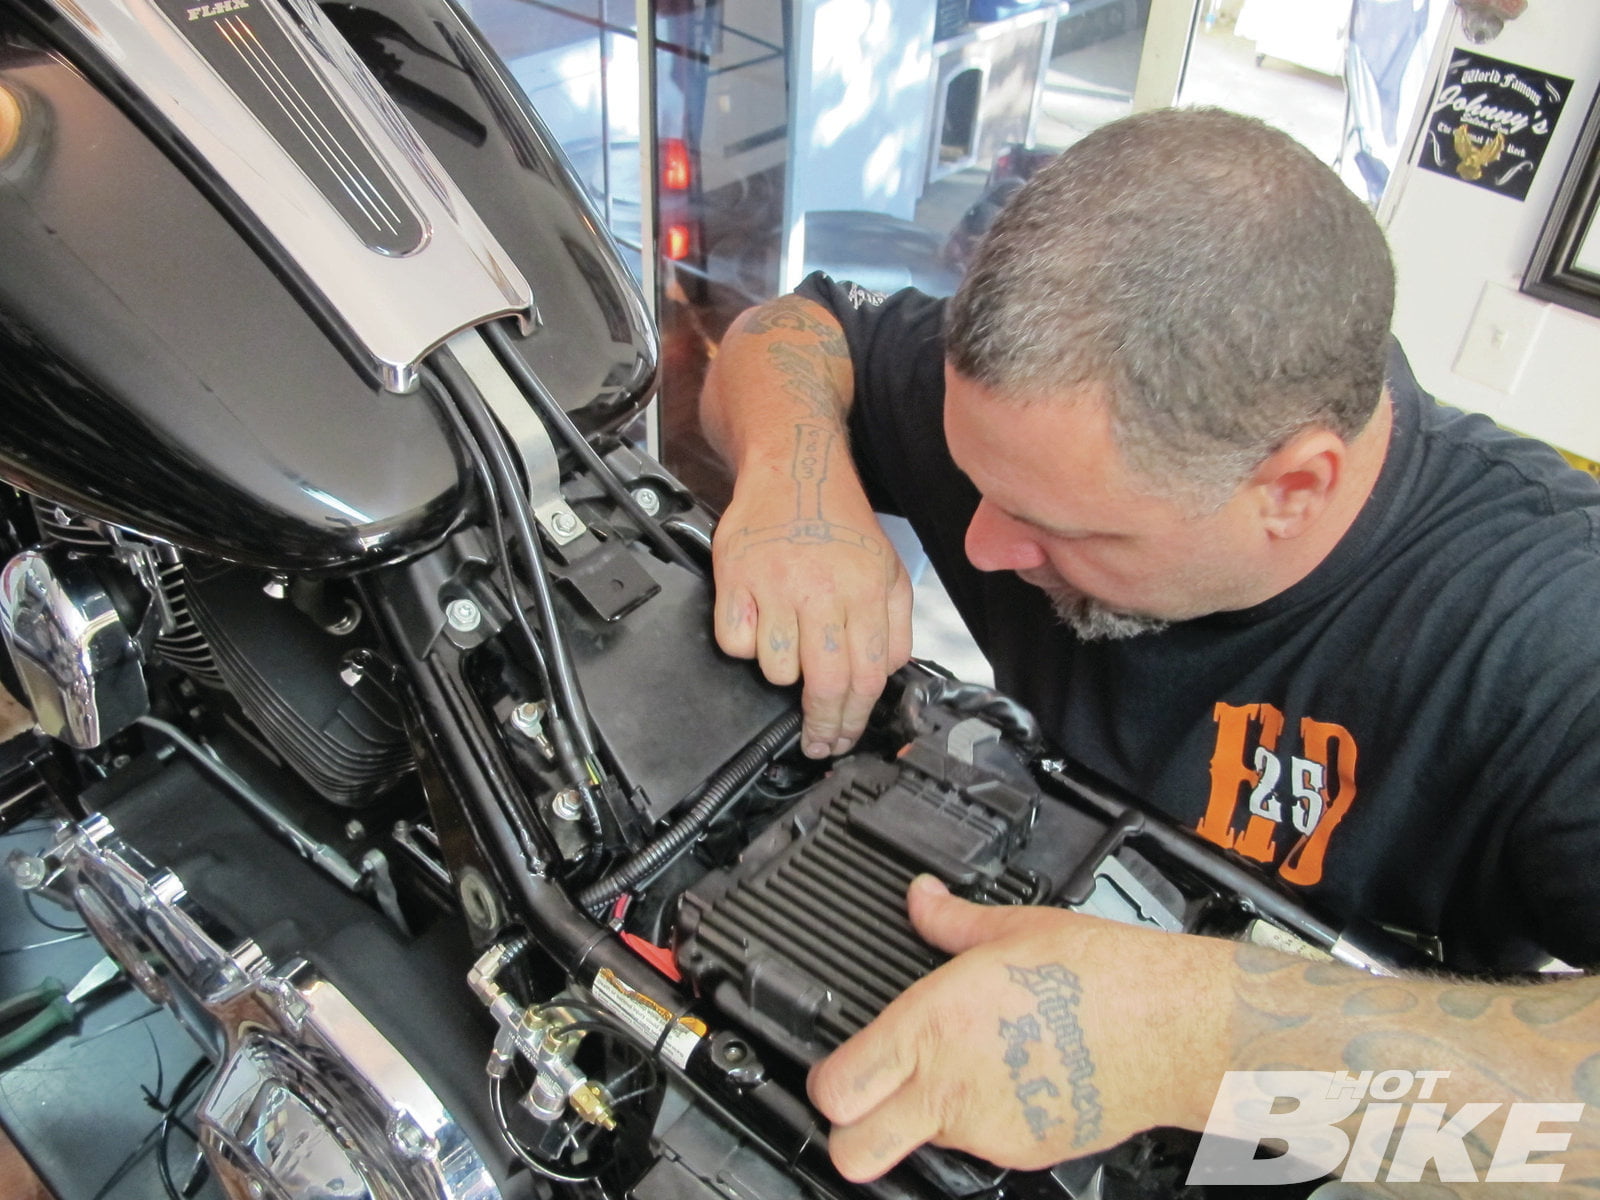
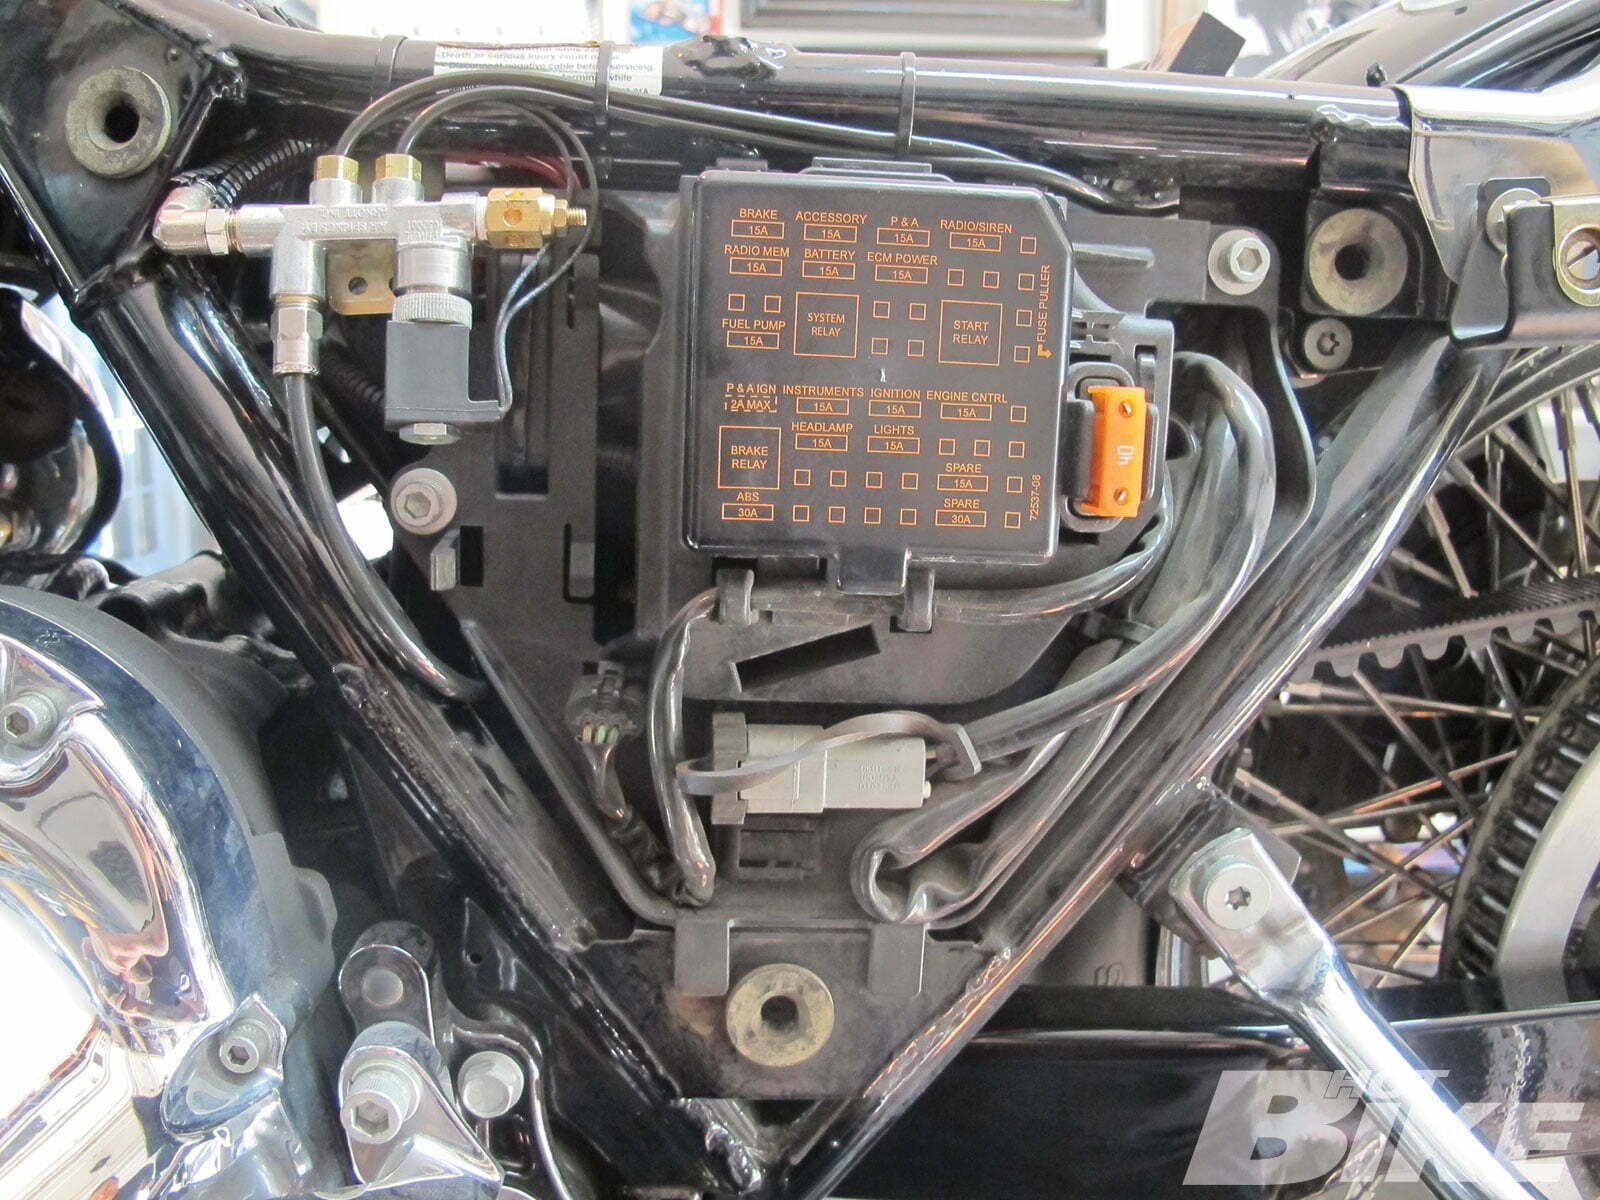
4. With the left side cover off the bike we gained access to the various fuses and electrical junctions.
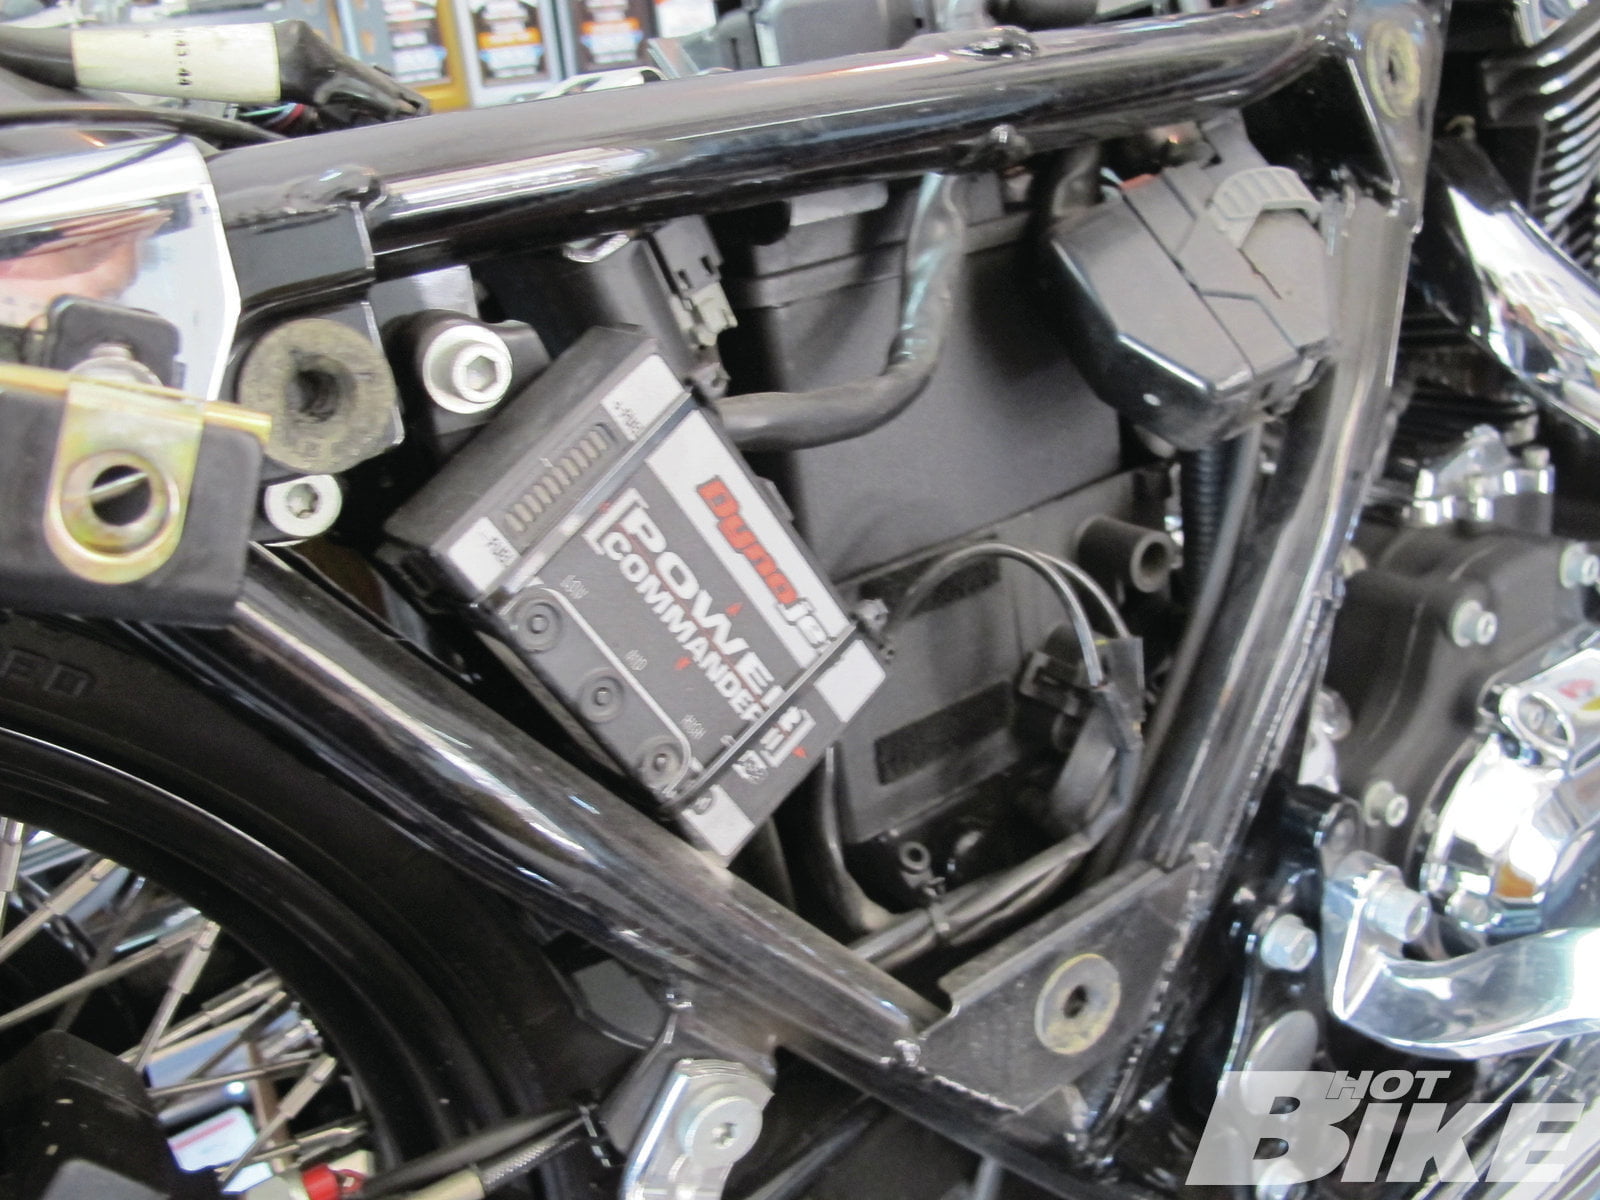
5. With the right side cover off of the bike we got a glimpse of the added electronics and where some of the Arnott kit’s parts will reside.
6. The OEM shocks were removed and the frame and swingarm are checked for any wear.
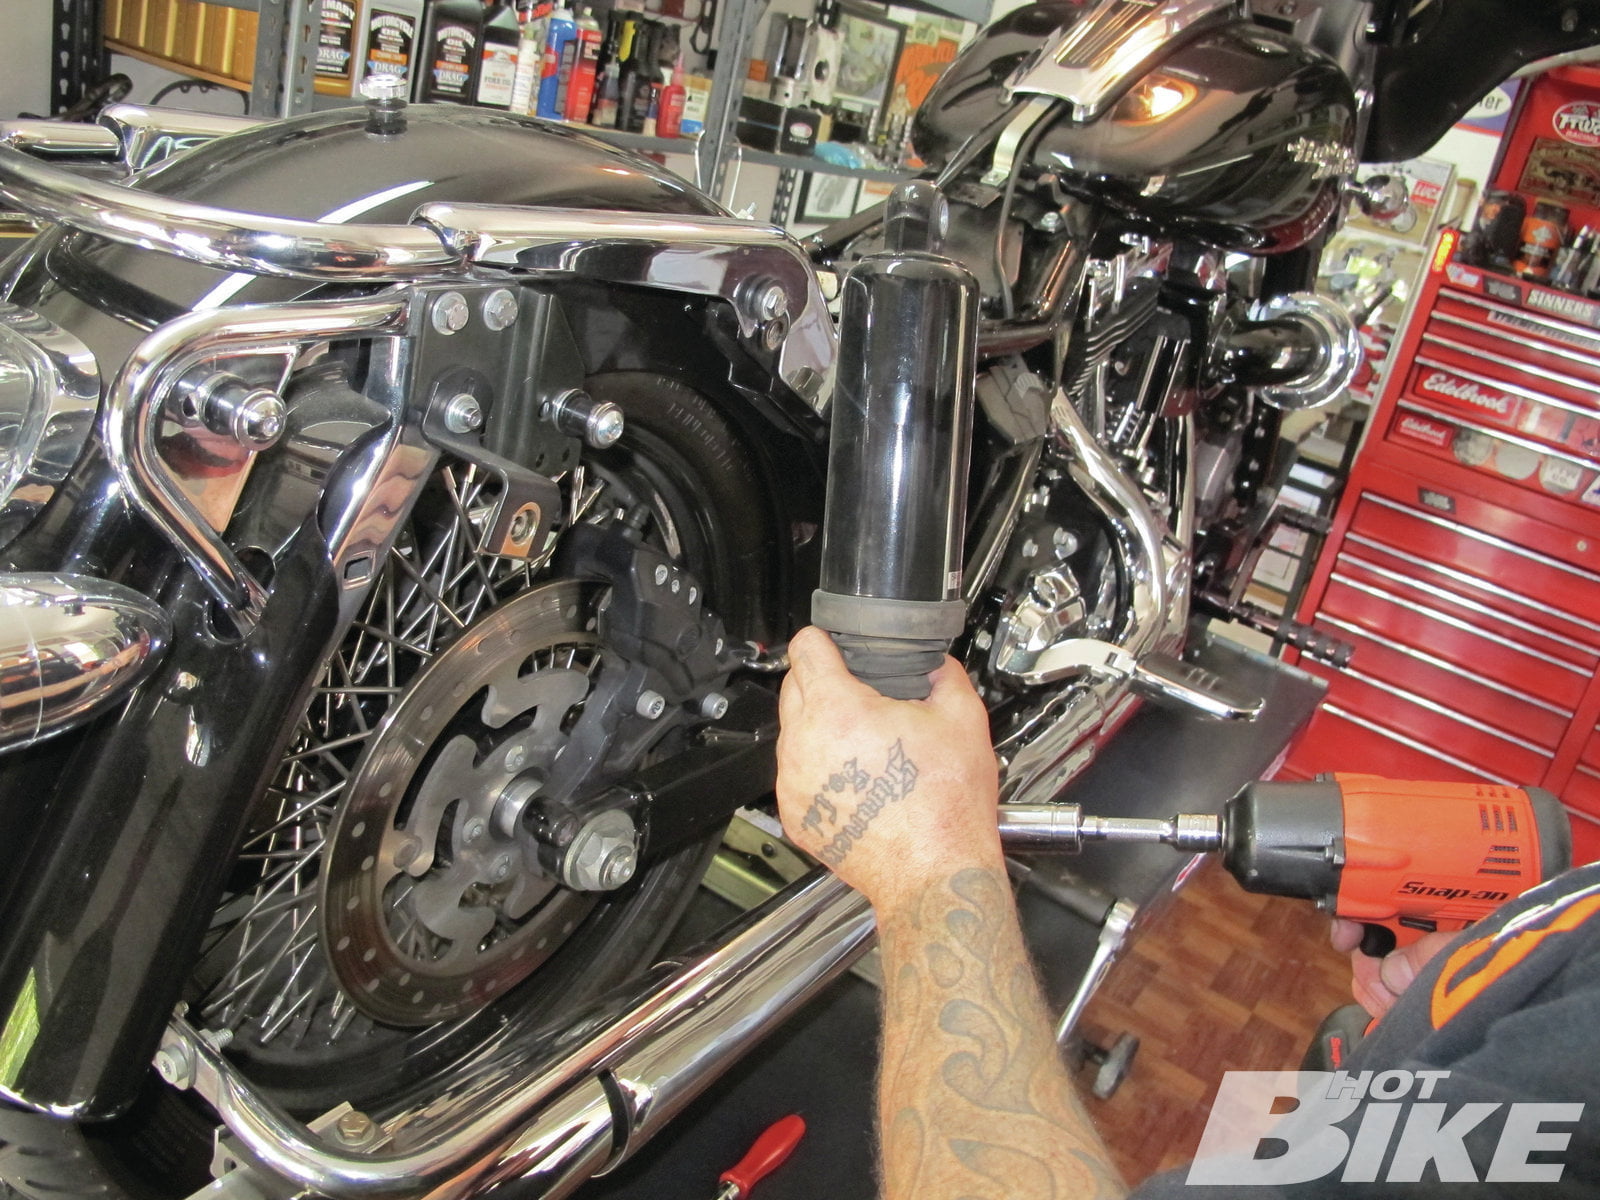
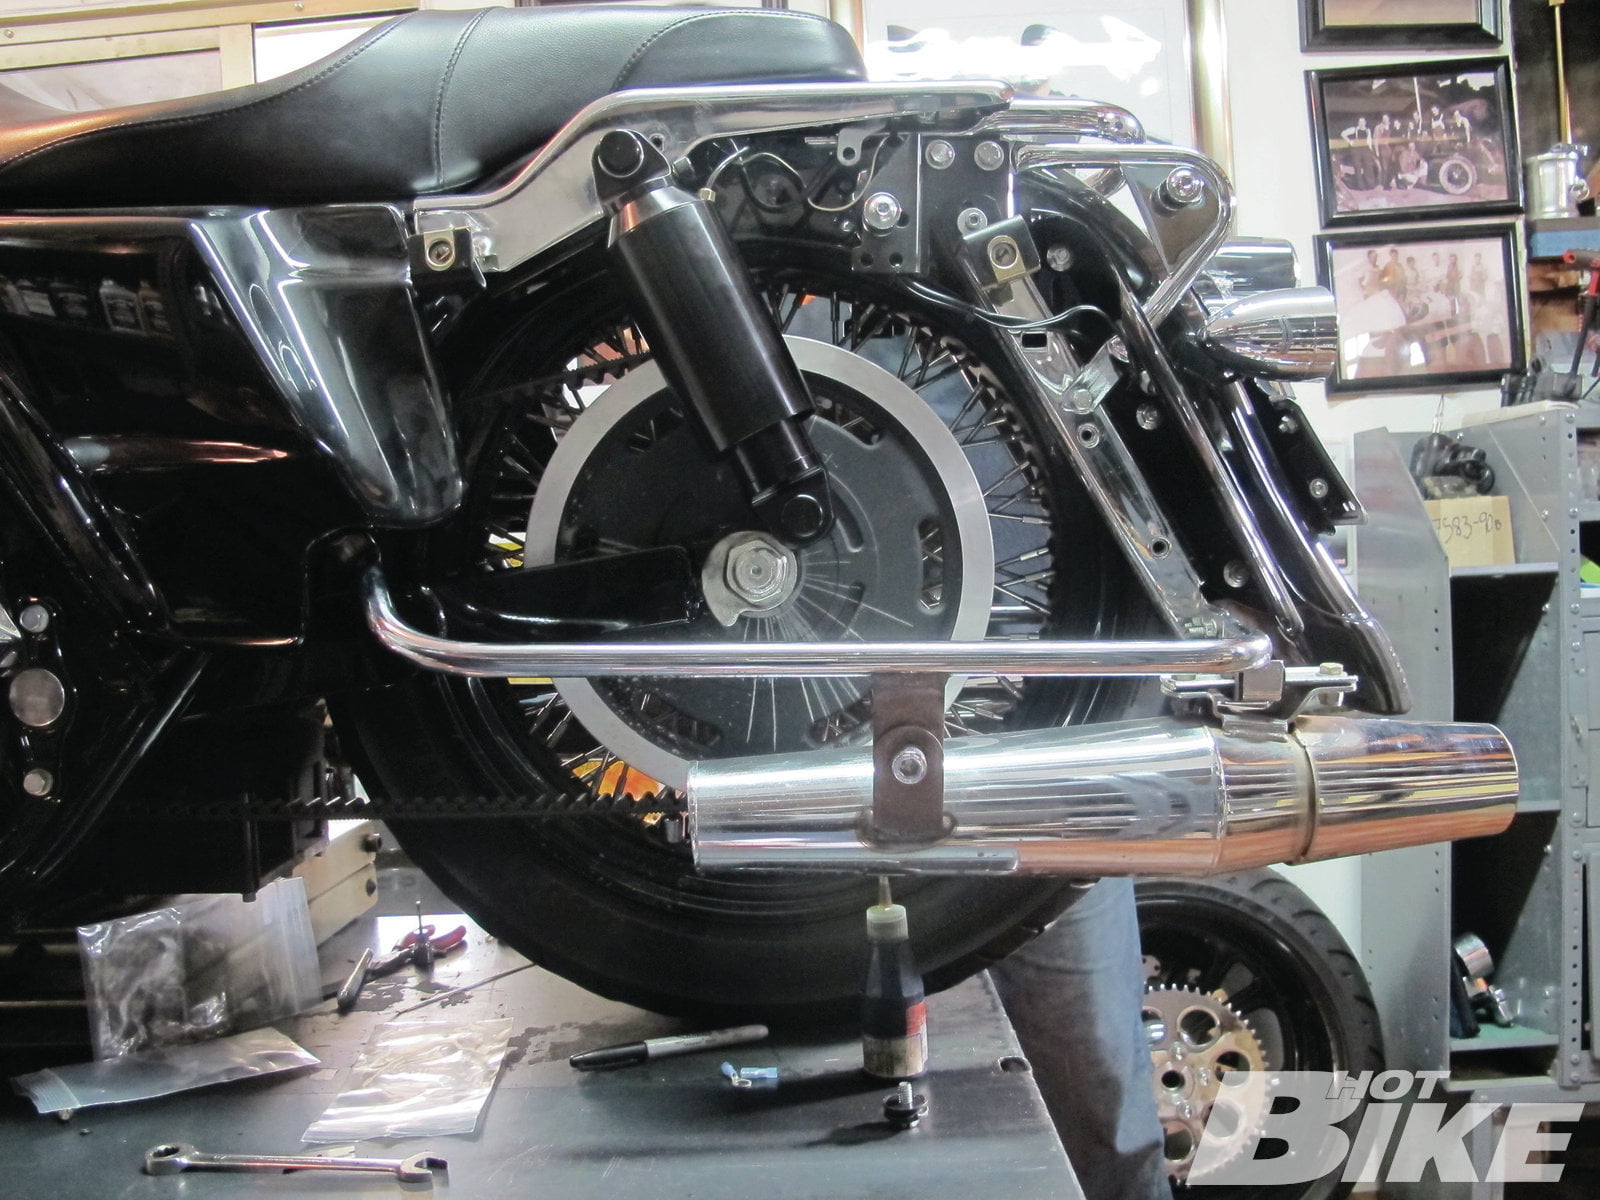
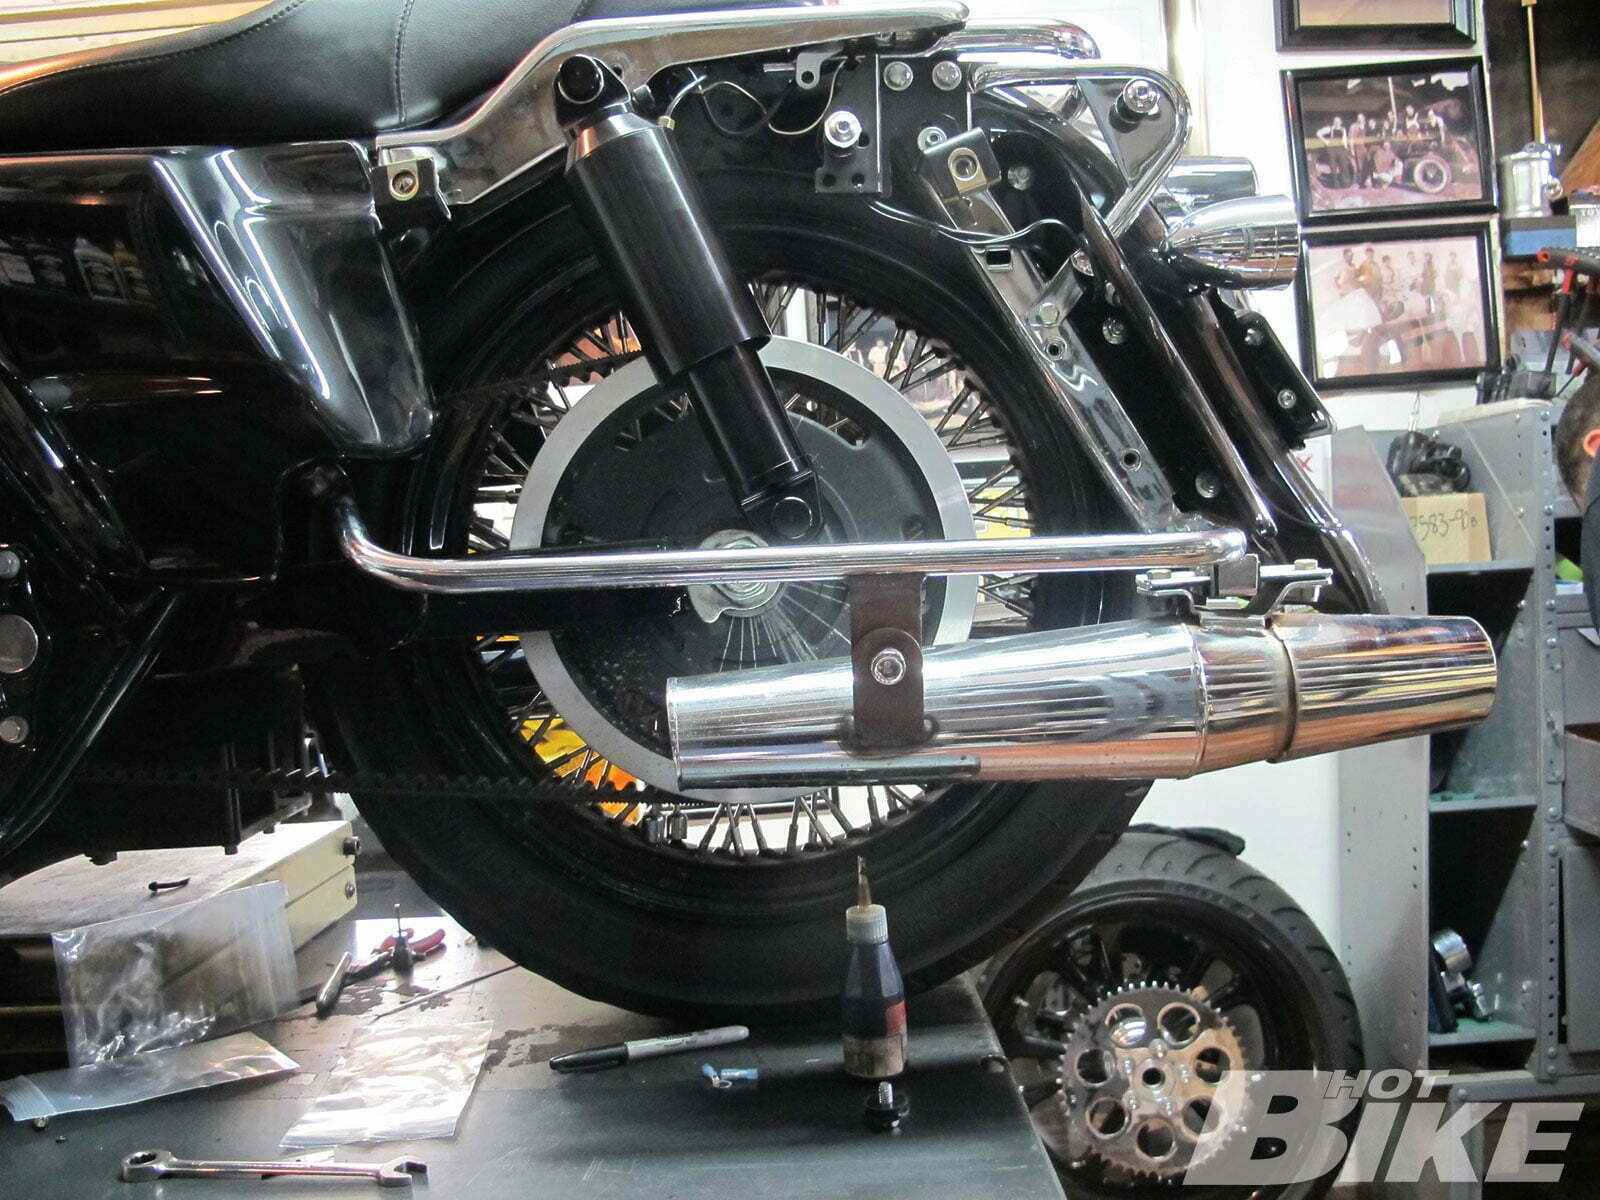
7. The shiny new adjustable Arnott shocks by Aldan were installed.
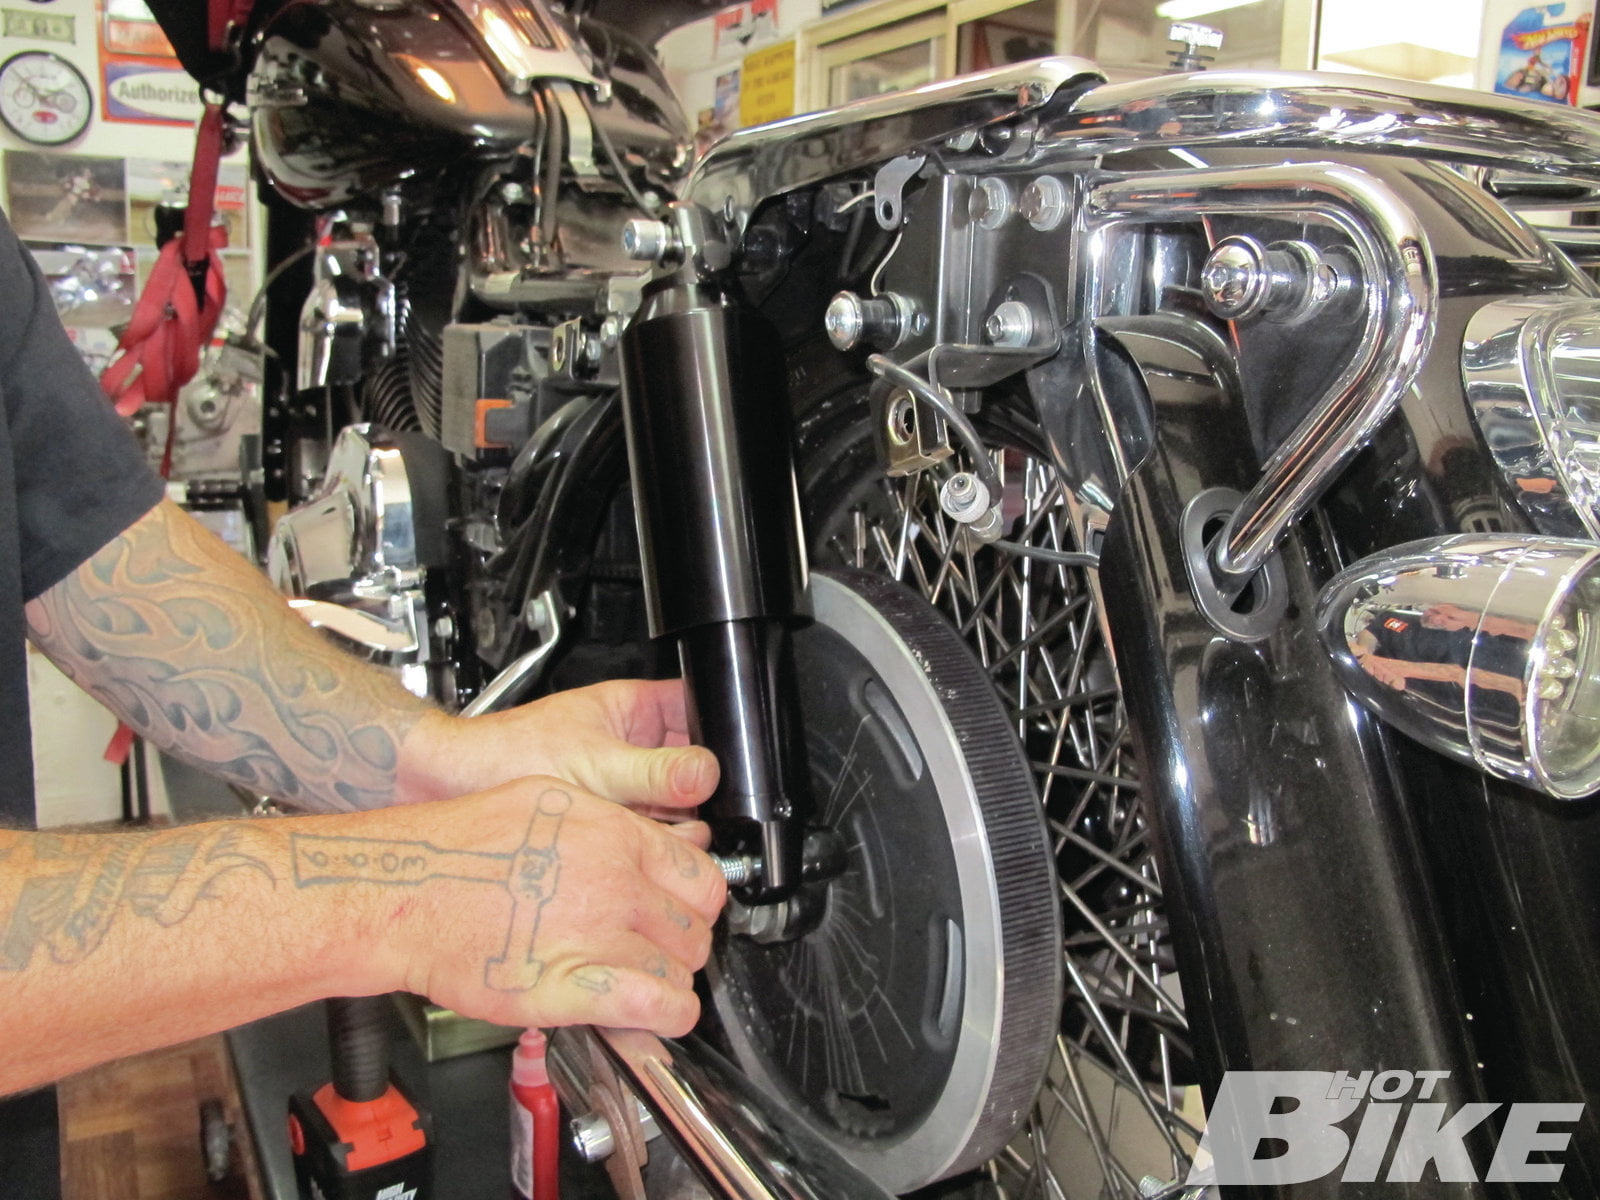
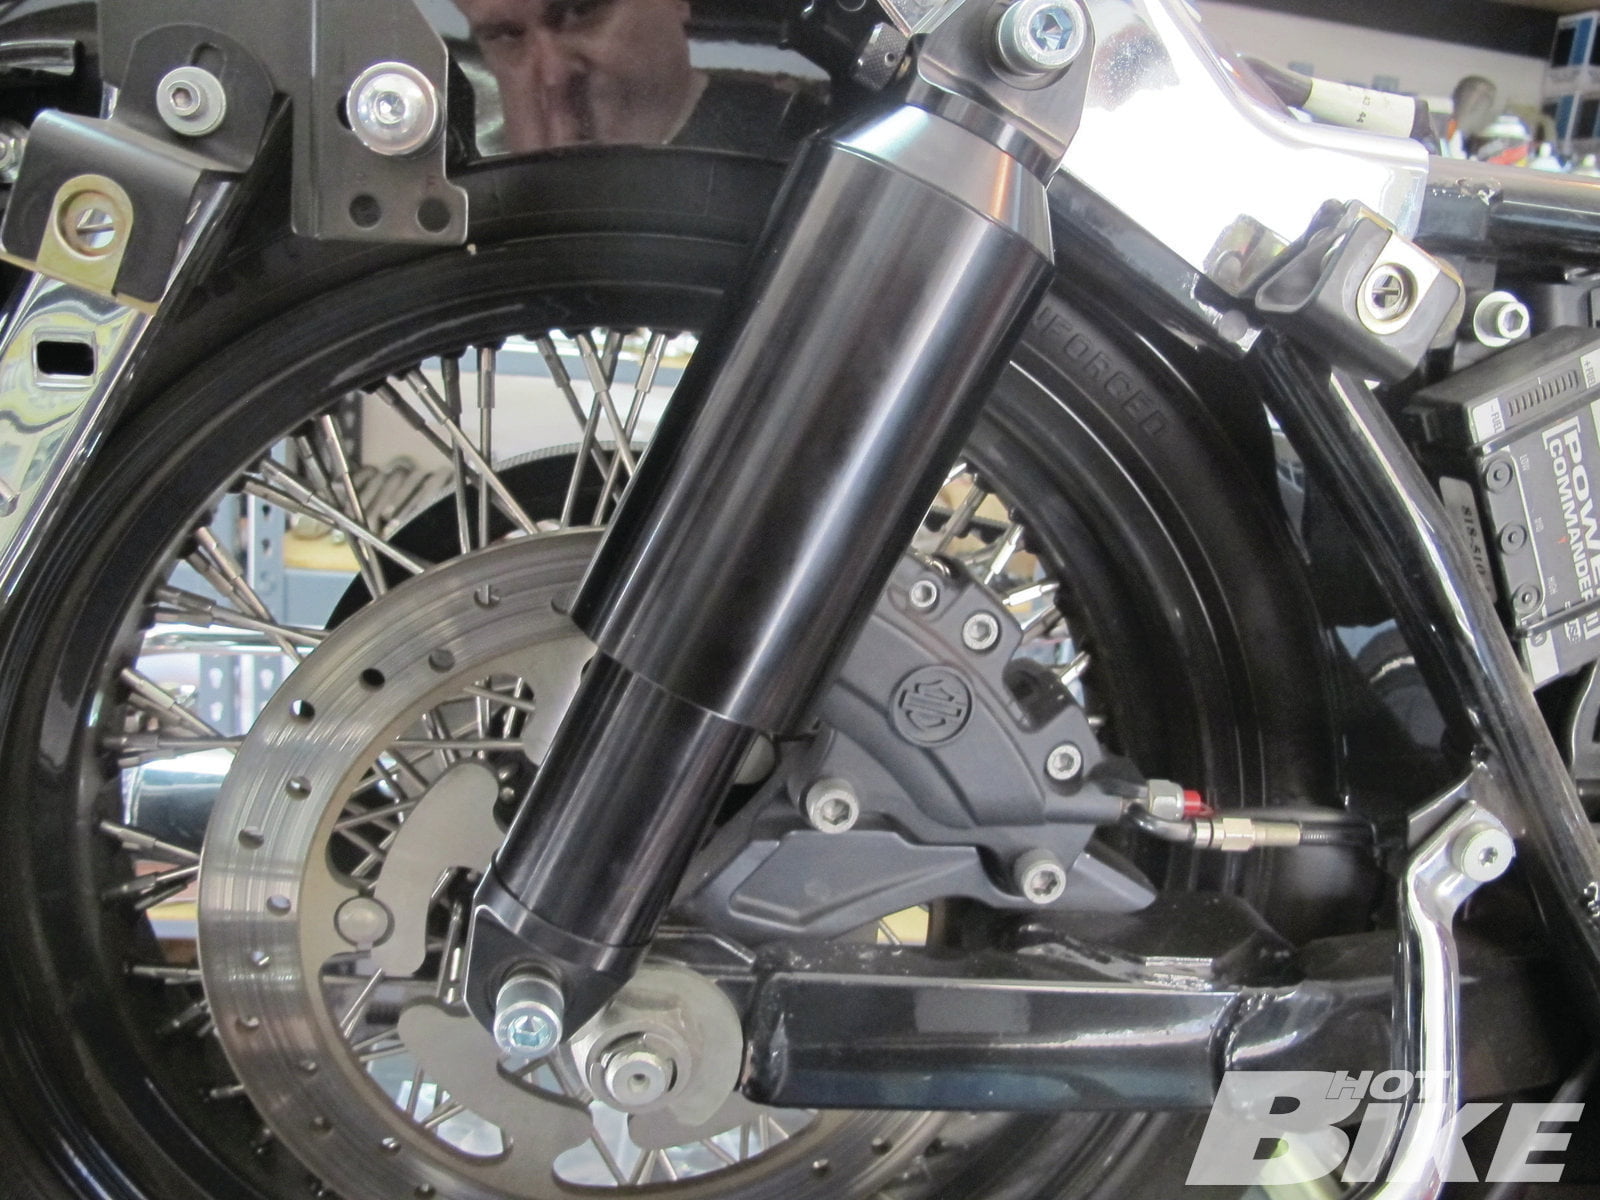
8. On the right side of the bike, the larger diameter shock cleared the brake caliper with no issues.
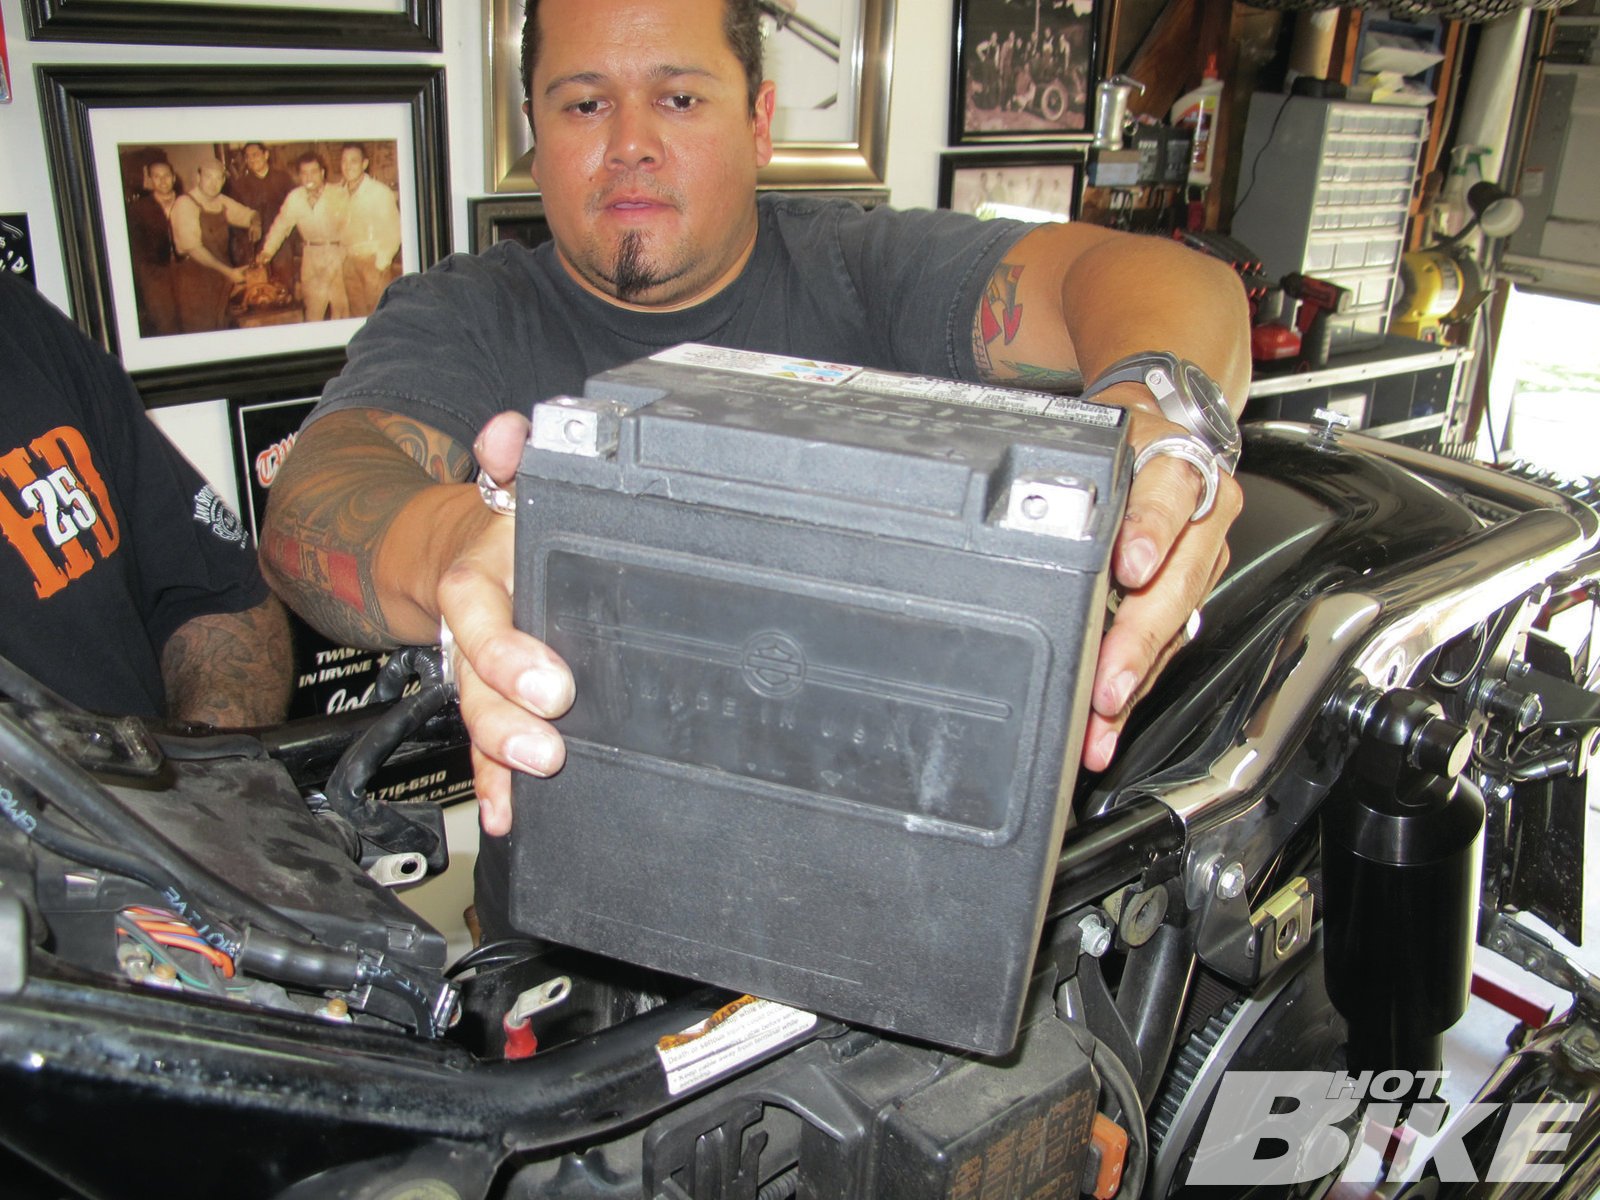
9. Our buddy Jonathan did the heavy lifting and removed the battery so we could gain better access to where we would be installing the compressor and other parts of the system.
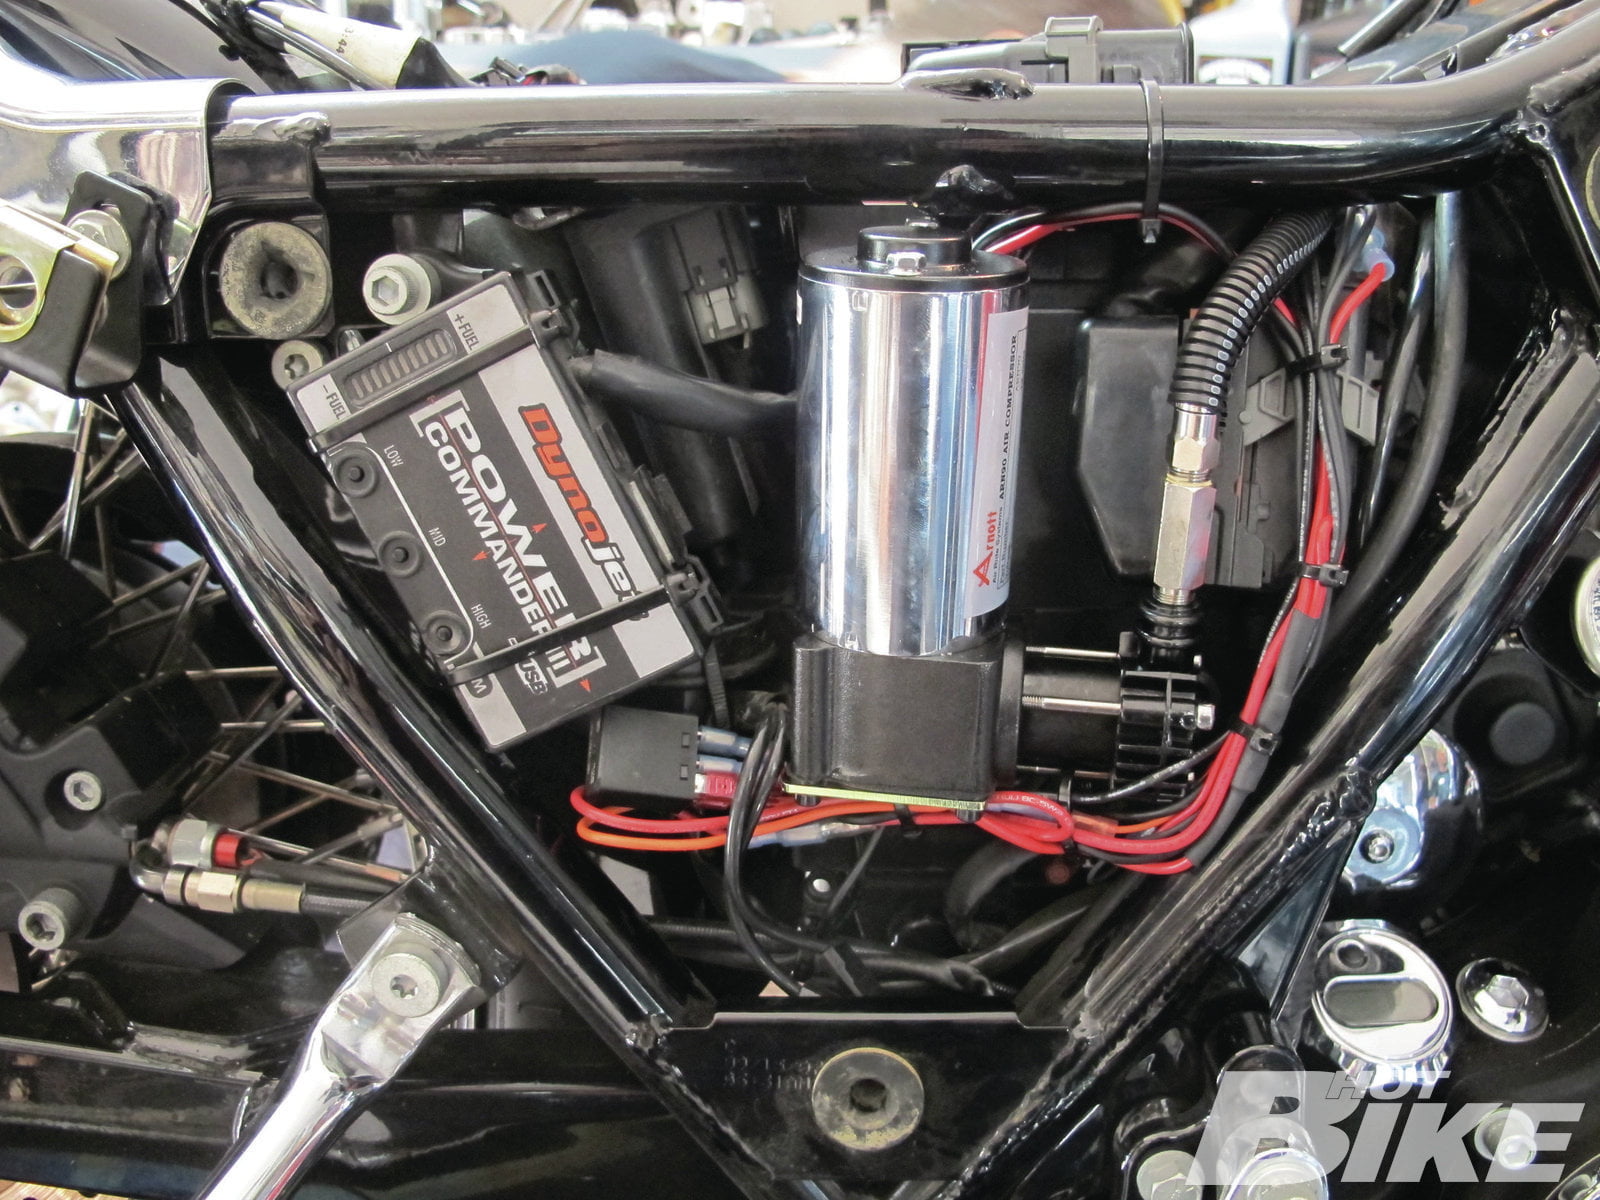
10. Because the bike had other aftermarket upgrades done to it, there was limited space where Arnott suggested we install the compressor. We decided to securely mount it on the right side of the bike next to the tuner.
11. The air lines were then hooked up to the shocks and routed to the front of the FLHX.
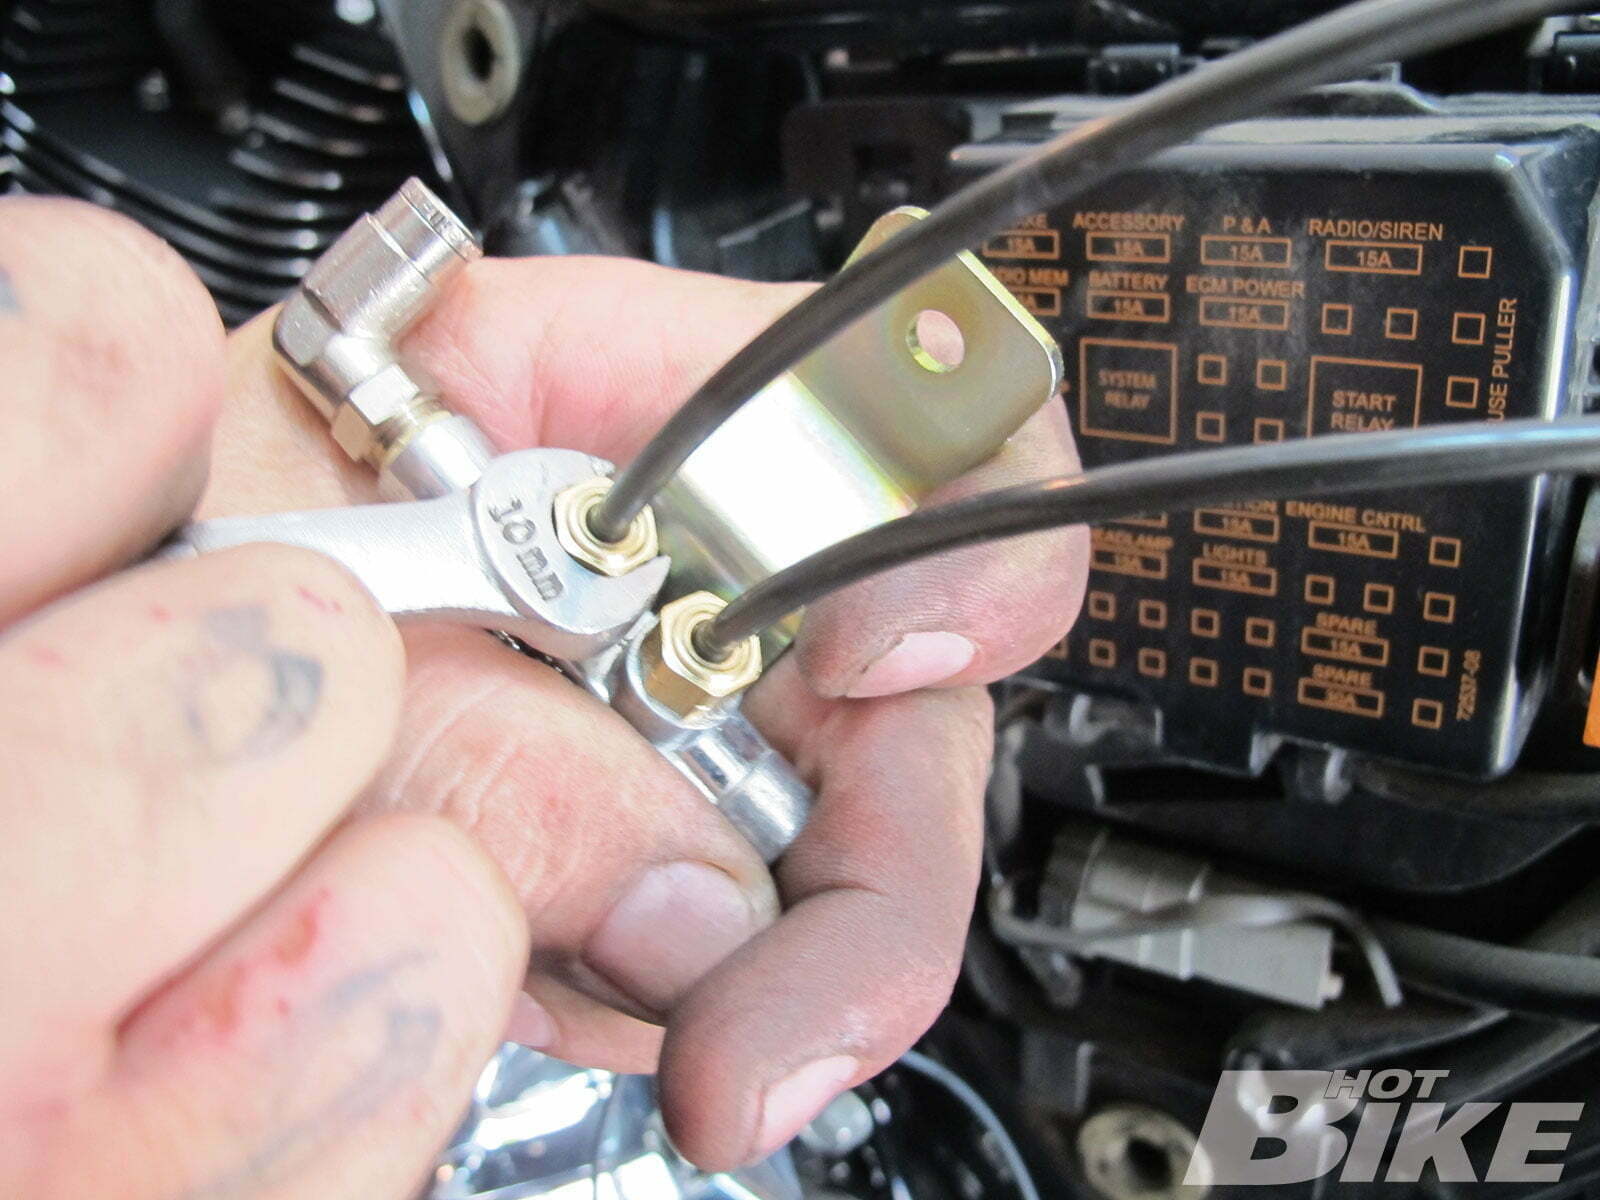
12. The air lines were attached to the supplied Arnott junction block and checked for any leaks.
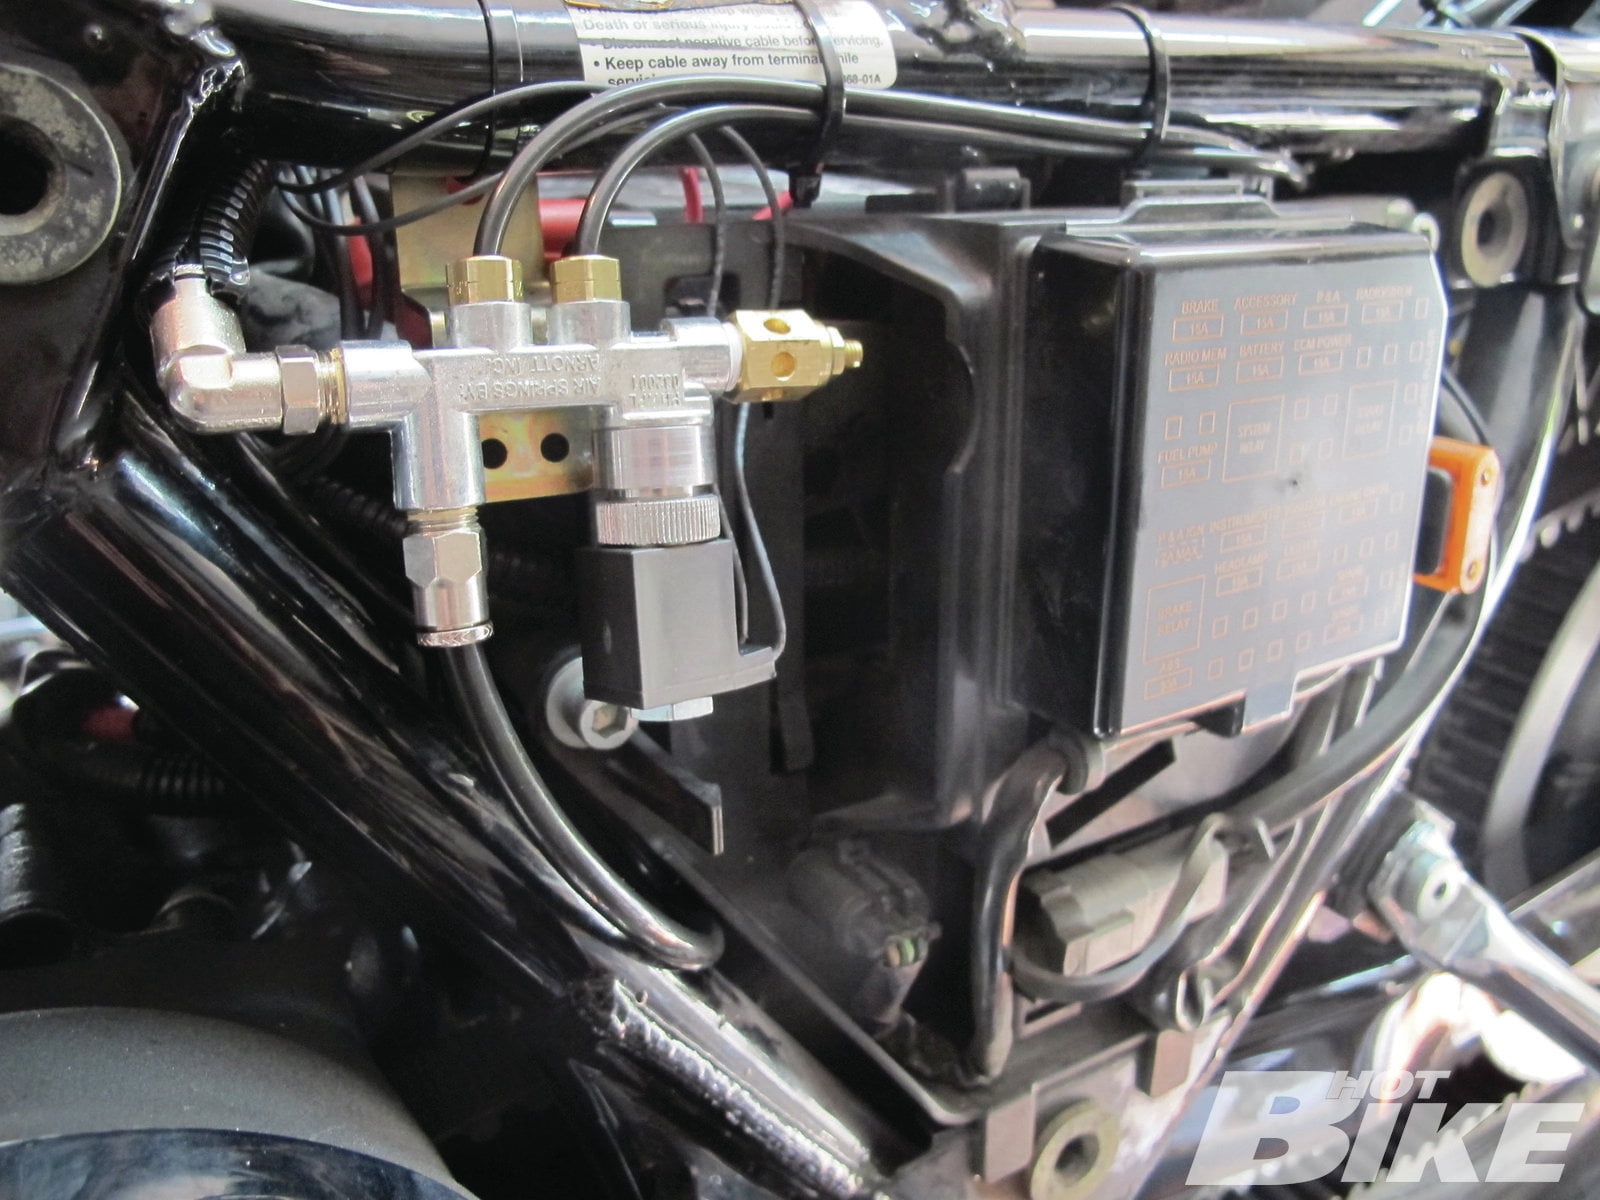
13. Once the system checked out to be leak free, we attached the junction block to the left side of the bike next to the fuse box.
14. T-Rod reinstalled the battery and routed the electrical connections as well as the up and down switch located on the frame in front of the battery.
15. As you can see, we took special care to make sure the wiring from the compressor was tidy and didn’t rub on the frame or when the side cover was reinstalled.
16. The air lines were also carefully attached to the frame and much caution was taken to make sure nothing could be crimped or damaged while being ridden.
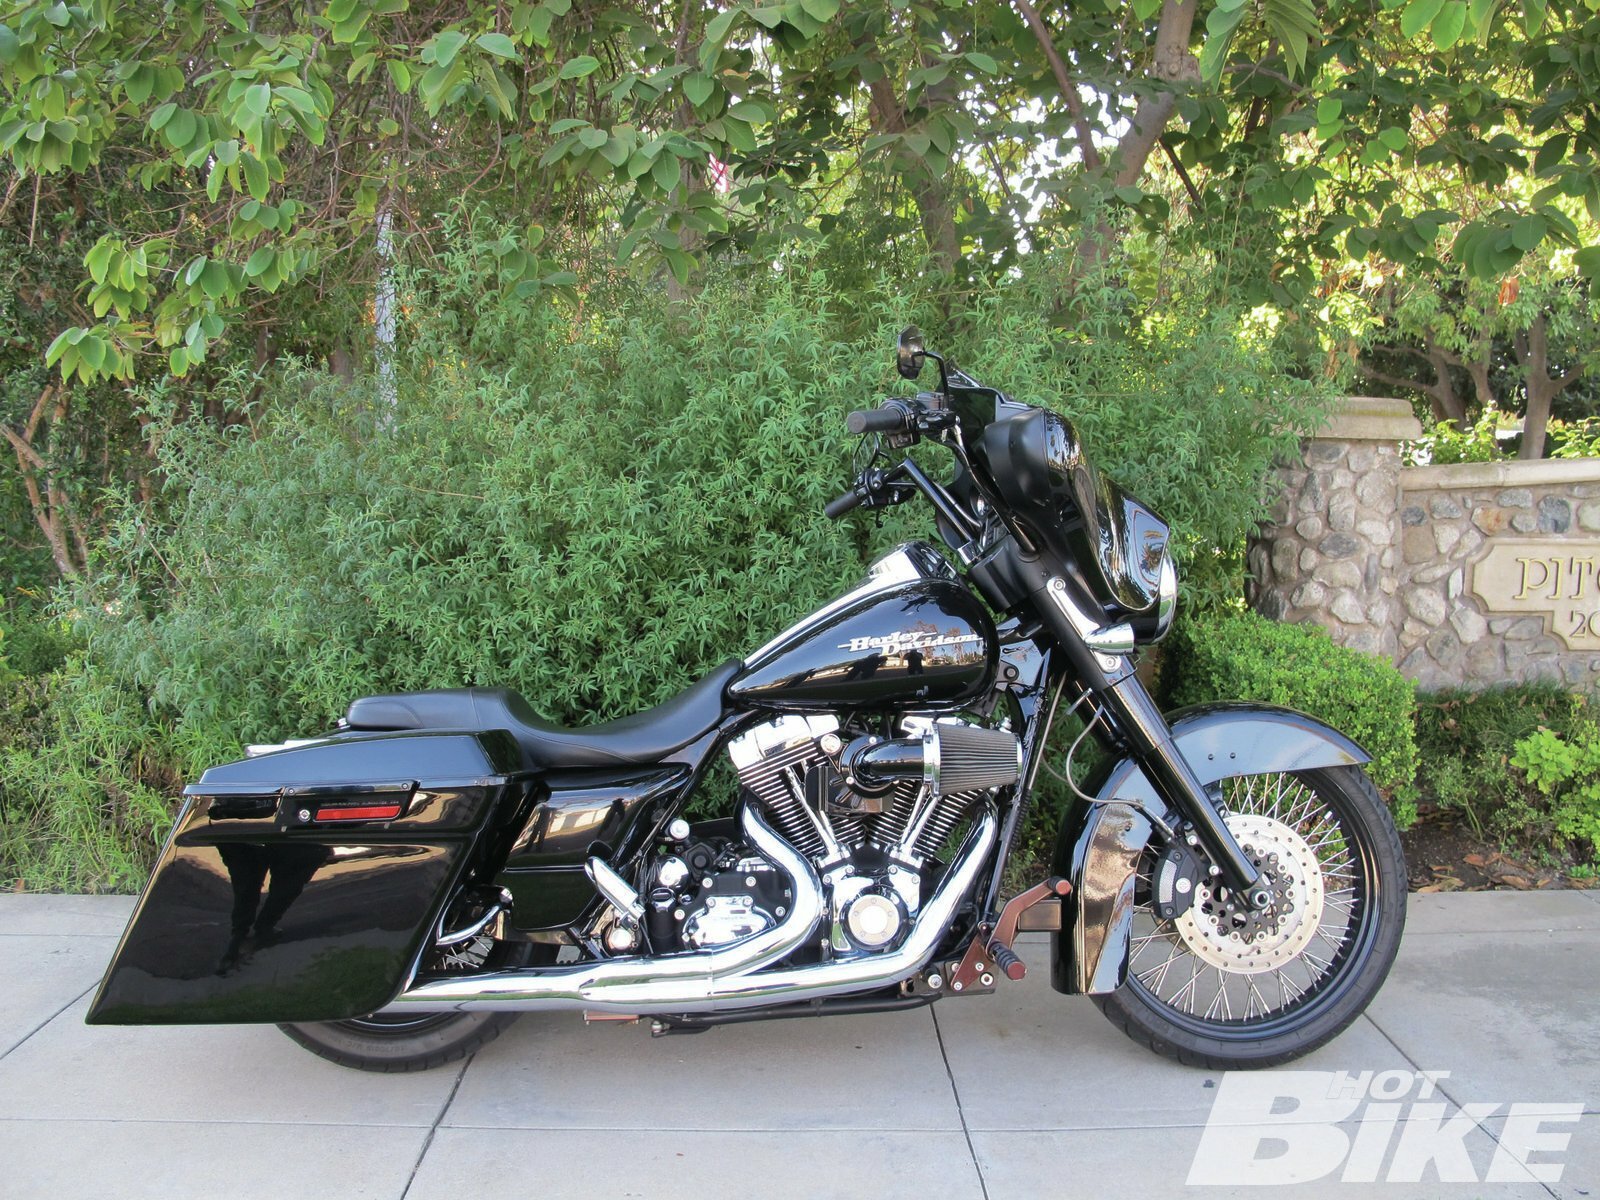
17. Here is the bike shown sagged all the way down. You wouldn’t want to ever ride it this low, but the bike sure does look sweet all laid out when parked.
18. With it all of the way up, you can see how more ground clearance can be attained. Fully loaded and two-up situations could now be fine-tuned for ride quality as well.
19. Here’s a shot of the bike with the suspension up at maximum height. There is plenty of wheel travel for when the going gets rough. We also fiddled with the 11 various adjustments the Aldan shocks had, and over the span of a few days, really fine-tuned the ride to be firm but not harsh.
20. This is how the bike looks when it’s at the lowest setting. It sure does make that bike look like a lead sled. The best part was Jonathan could finally flat-foot the bike when stopped or rolling slow.


