
DIY Laydown License Plate
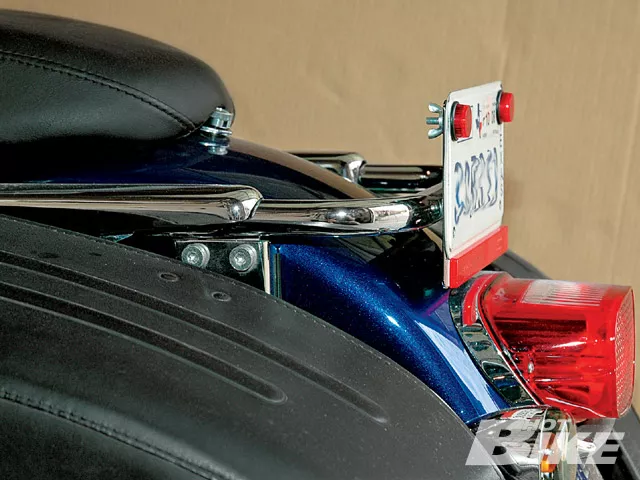
1. Most parts on a Road King are curved or angled to match the overall style of the bike. Not so with the license plate bracket. It’s a flat, vertical wall stuck on the back.
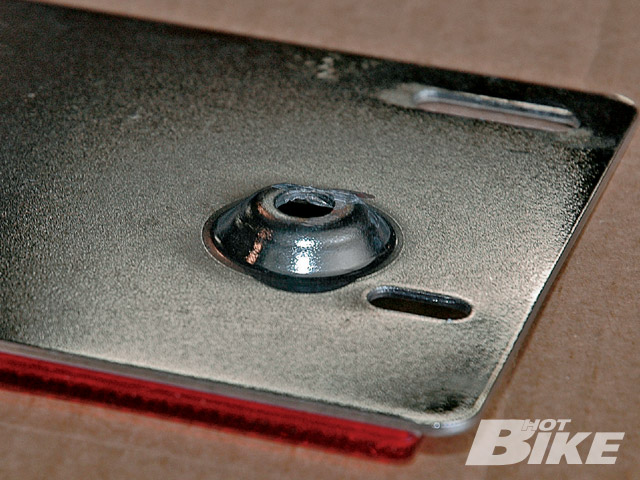
2. Fortunately, the dimples that recess the plate’s mounting bolts offer a way to lay down the plate with very little effort. We just drilled two new bolt holes in top side of the dimple wall above the existing holes.
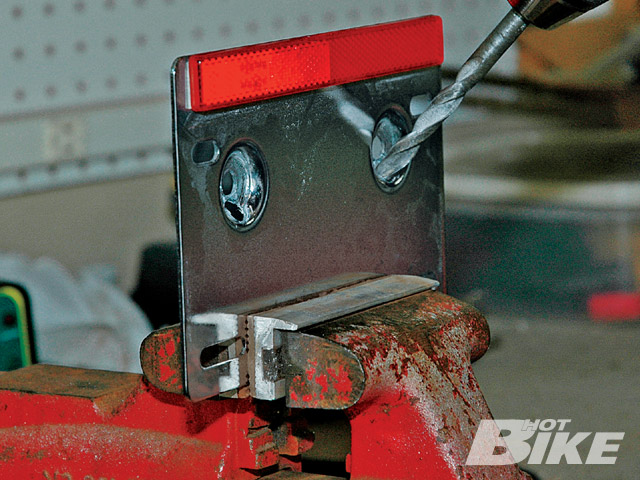
3. We marked and center punched where we wanted the holes to be. We then drilled a 3/16 inch guide hole then the final 11/32 inch bolt hole, holding the drill at about a 45 degree angle. We suggest using vise soft jaws to protect the chrome finish.

4. Here is how the new holes looked.
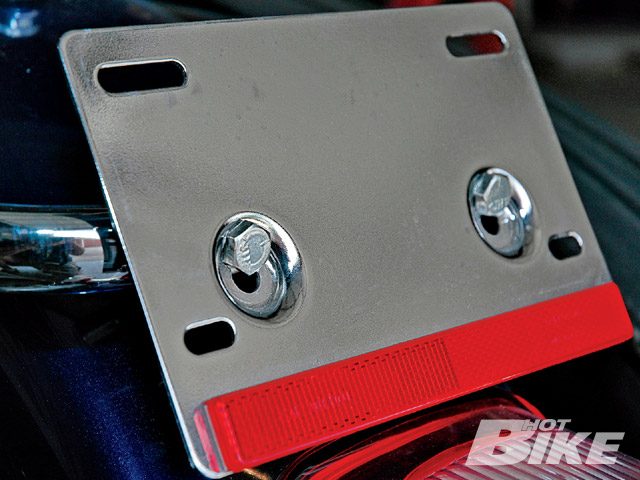
5. Next, we reattached the plate on the rear rail using the original mounting bolts.
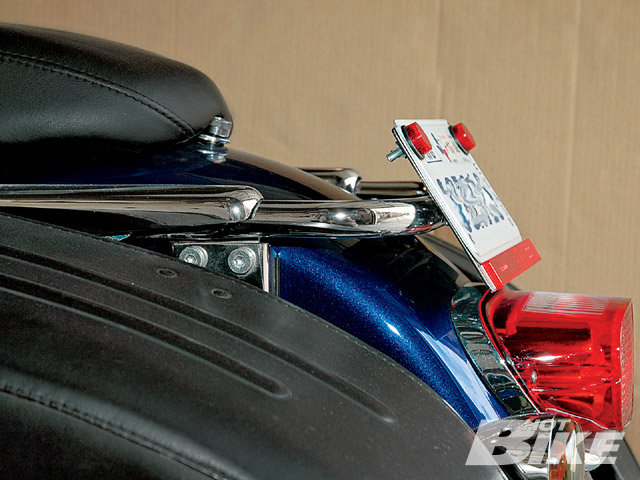
6. Now doesn’t that look better? It almost lines up with the chrome base of the taillight. Cha-ching. Our money stays in our pocket.
We like to improve the looks of our motorcycles. We like to do things ourselves. We don’t like to spend money. It’s rare to find a no-cost, nifty trick that really fixes an eyesore on the rear end of our Road King. But this is it. You’ll only need to drill two holes.
Don’t ask us why the license plate holder on many late-model Harley-Davidson touring bikes sits straight up like a huge sail or billboard. There are a number of aftermarket laydown frames designed to improve the rear end style with an angled plate for a smoother look that more closely follows the bike’s rear curves. Heck, almost as an admission that the stock plate looks silly, even the Motor Company offers laydown frames.
Now if you want a complete re-styling using matched components with nice little extras, then by all means, get one of our vendor’s kits and make the change. However, if you want to save $40 and up, then take an hour and follow this simple procedure.


