
Installing 103ci Stage Kit 1 – 103 Cubic Inches Of Harley
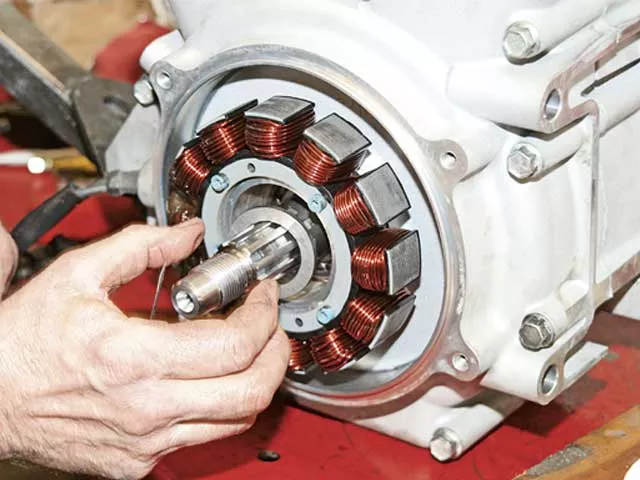
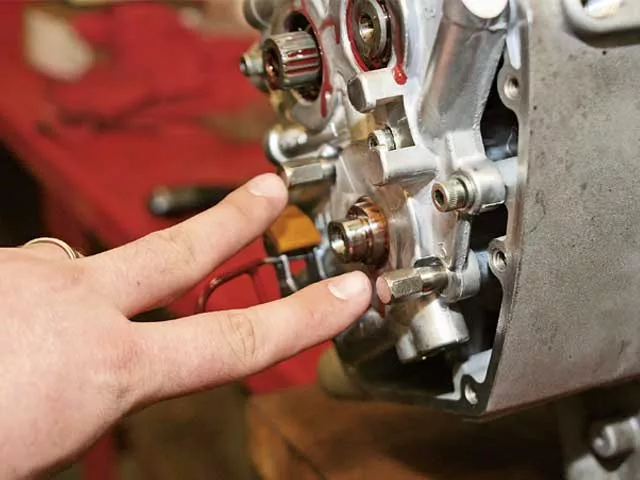
With the new stroker flywheel installed, the cases were sealed and bolted together. Danny then pushed the stator plug through the case and slid the stator into position over the sprocket shaft.

Next, Danny turned to swapping out the stock cams for the new SE 253 camshafts. In order to remove the cams from the cam plate, Danny used a spring tension tool to relieve the pressure of the inner cam chain, then used a press to push the cam assembly out of the plate.
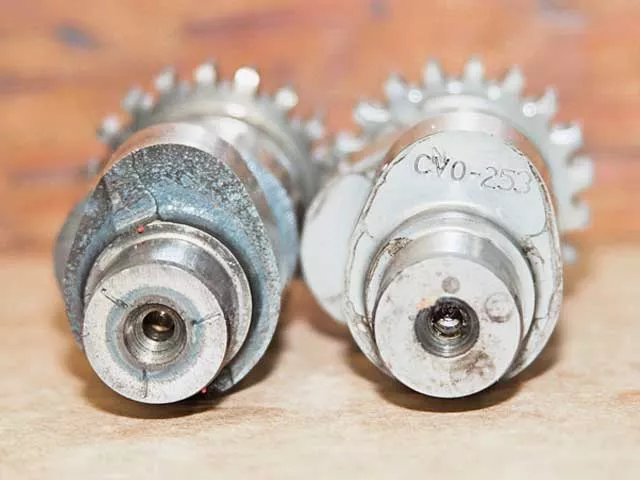
Here’s a comparison of the stock cam (left) and the new SE 253 cam (right). The stock cams have .480-inch lift on the intake/exhaust and 229/222 degrees duration on the intake/exhaust, whereas the new SE cams have .538-inch lift on the intake/exhaust and 240/256 degrees duration on the intake/exhaust.
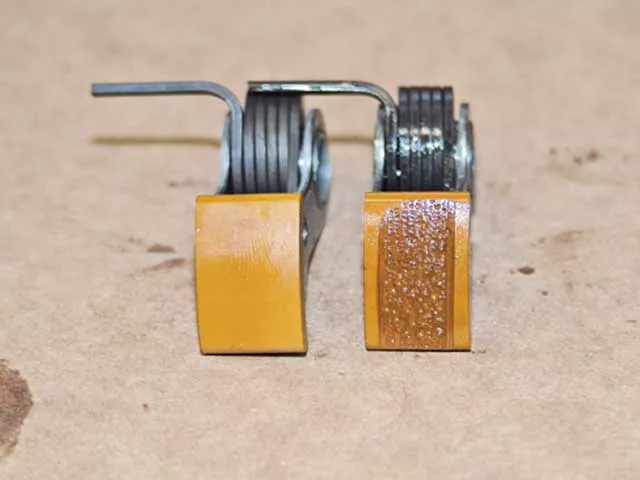
Danny inspected the chain tensioner pads and noticed they showed some wear, so he replaced them with new ones. Here you can see a used pad (left) compared to a new pad (right).
Since we were swapping out the cams, Danny installed new cam-plate bearings and then pressed the new cams into the cam plate. He also double-checked the timing marks on the back of the cams to make sure they were aligned properly.
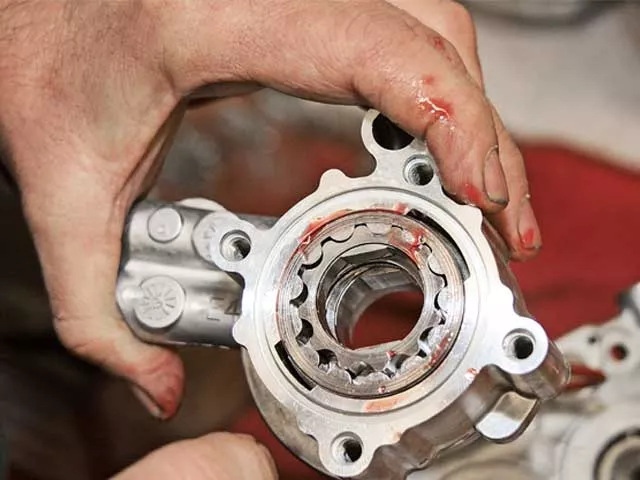
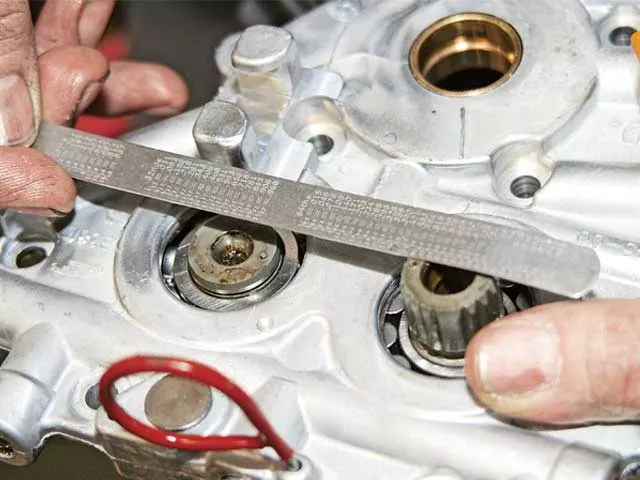
Before the cam plate was installed, Danny inspected the oil pump. He suggested that, since the oil pump was already removed, we should install a new oil-pump O-ring. Once the new O-ring was in place, the oil pump was lubed and then positioned in the case.
Next it was time to install the cam plate. Before installing the plate, Danny applied some assembly lube to the cams. It’s important to leave the chain-tensioner tool in place. Removing the pin will cause the cams to become misaligned, and they won’t slide into the new inner cam bearings. When bolting up the cam plate, Danny used two locating dowels to center the oil pump in the cam plate.
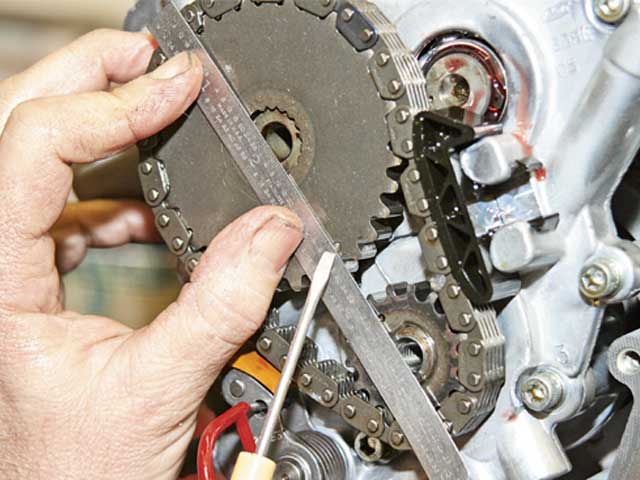
When securing the cam plate and oil pump to the case, Danny torqued the six cam-plate bolts first and then torqued the four oil-pump bolts. The primary cam chain-drive assembly was then checked for proper alignment and bolted to the plate.
The lifters were then covered with assembly lube and installed, along with the anti-rotation pins. Then the lifter covers were bolted down.
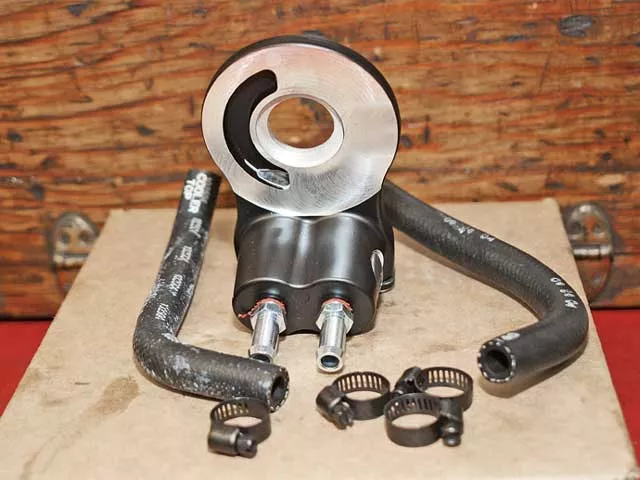
Excessive oil temperature isn’t good for any motor, and oil temps can really start to climb in large-displacement motors. Therefore, to maintain decent oil temp on our RG, we decided to install Harley’s Premium Oil Cooler. The oil-cooler adapter (seen here) bolts onto the oil-filter housing.
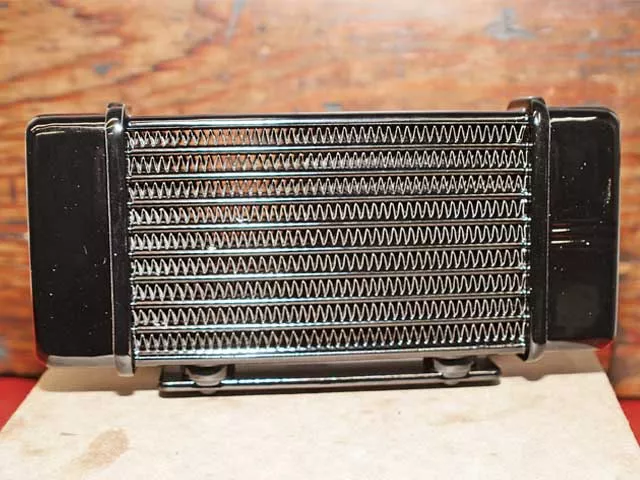
A feed line sends the hot oil to the cooling chambers, and a return line sends the cooled oil back to the motor via the adapter assembly. The cooling system features an internal thermostat, which opens at approximately 185 degrees. The cooling unit mounts between the lower framerails in front of the voltage regulator.
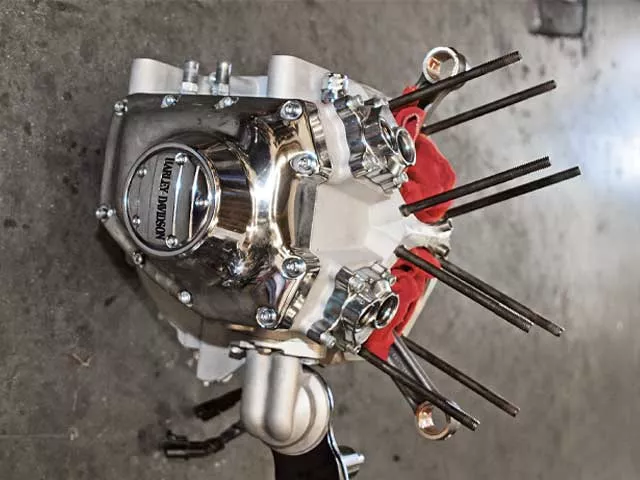
With the bottom end pretty much together, Danny was ready to bolt it back into the frame.

After applying some thread locker to the mounting bolts, the motor and trans were joined together once again. The oil lines were then connected and secured with new hose clamps.
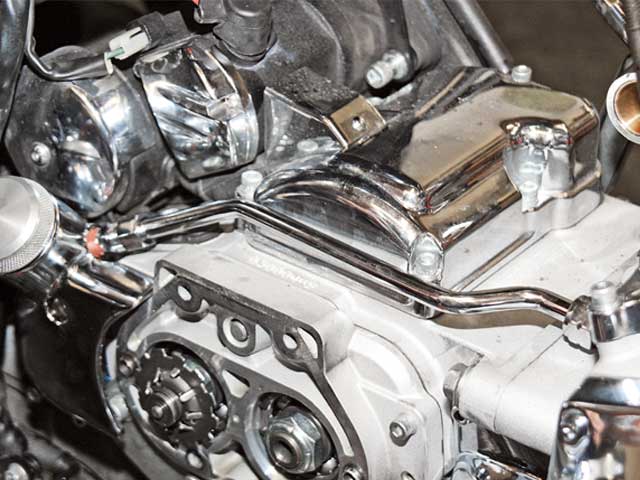
To dress things up a little, we added this chrome oil-hose cover, followed by…
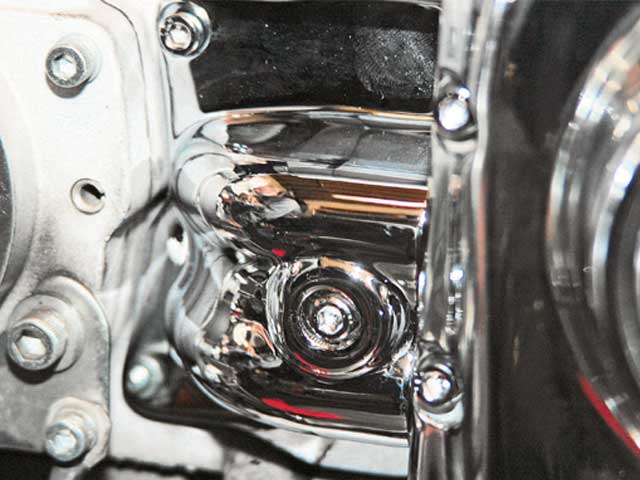
…a chrome oil-filler spout cover.
The spout cover has a hole at the top to install an oil vent line, so we also added this chrome oil-vent line. To properly install the vent line, Danny slid the motor side of the line in first, which allowed enough room to slide the other side of the line into the oil housing.
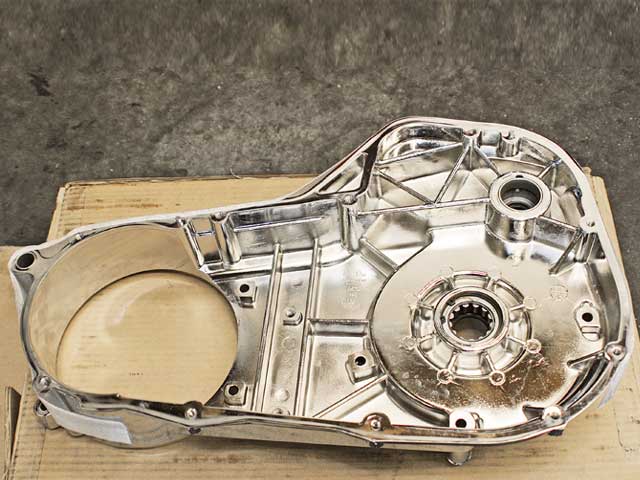
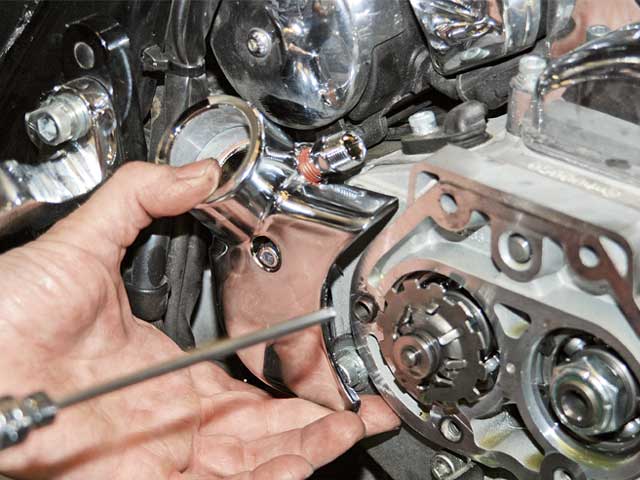
With all this chrome going onto the right side, we didn’t want to neglect the left side. So we installed this chrome inner primary cover.
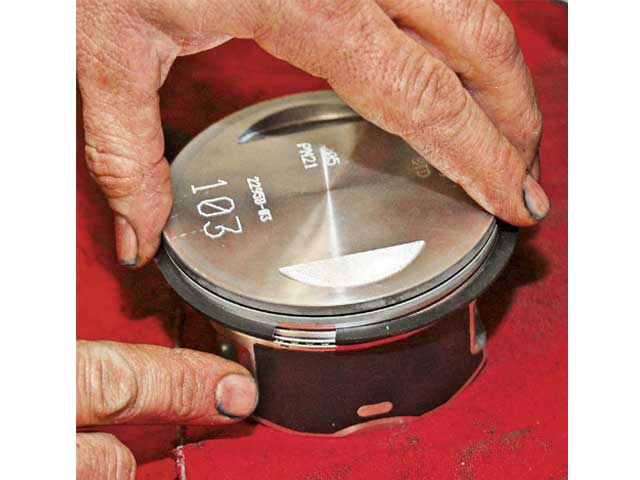
This is one of the new 3.875 Big Bore cast pistons that come with the 103 kit. In order to accommodate the longer stroke, the new pistons are a little bit shorter than the stock pistons. (The pistons are shorter so they won’t interfere with the valves or heads.) The kit comes with new piston rings. After checking each ring for proper end gap inside the cylinder, Danny installed the rings on the pistons
When it came to installing the pistons into the Big Bore cylinders, Danny didn’t use a ring compressor tool. Instead he inserted the right-side retaining clips in each of the pistons. Then he carefully slid the piston into the bottom of the cylinder, making sure the rings slid in as well. Once all three rings were inside the cylinder, he slid the wristpin through the piston and connecting rod and locked it in place with the left-side retaining clip.
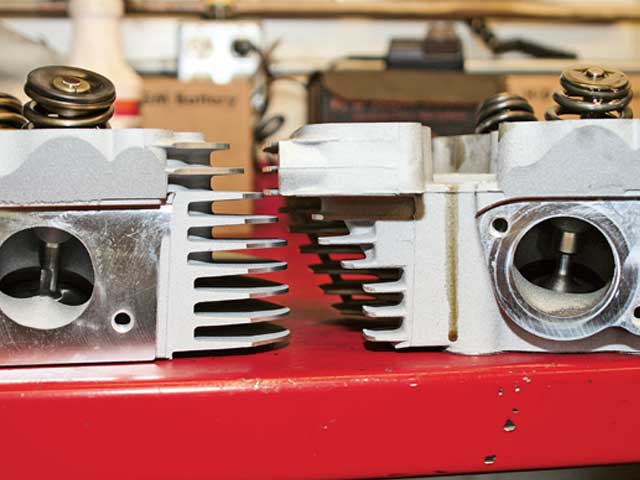
On the left is one of the new 103 cylinder heads, while on the right is the stock cylinder head. One major difference between the new heads and the stock heads is that the new heads feature a slight peak on the deck of the ports. This will help improve airflow, and, as we all know, better airflow means better horsepower.
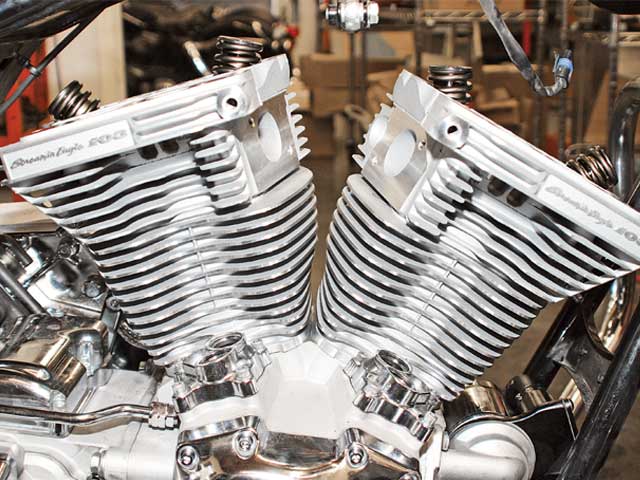
With the cylinders in position, the heads were installed next and torqued to spec.

The kit comes with a breather assembly. So, before installing the rocker-arm supports, Danny removed the stock breathers and replaced them with the new ones.
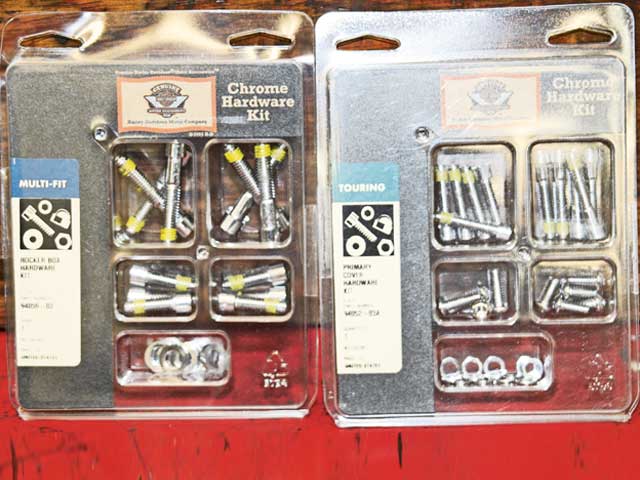
We just couldn’t resist adding more chrome, so we used Harley’s Chrome Hardware Kits for the rocker boxes, outer primary cover, and cam cover.
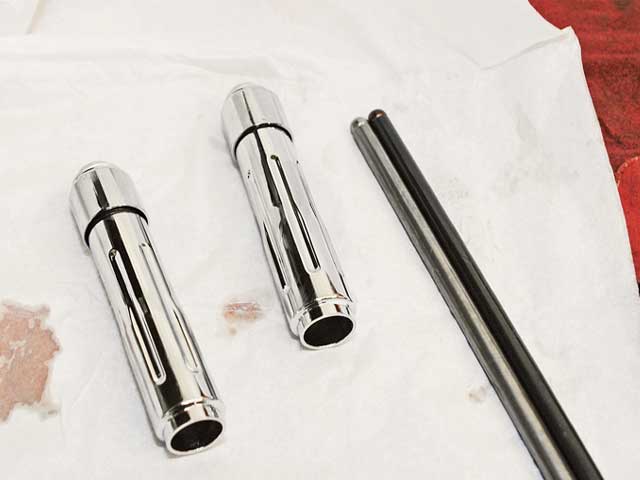
These new chrome pushrod covers will really add some shine to the right side of the motor.
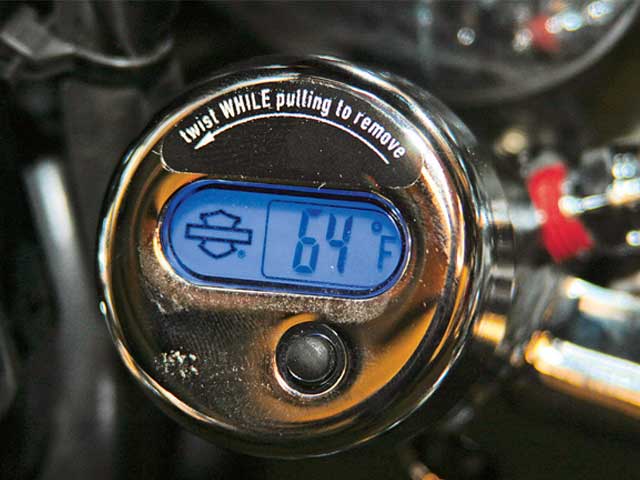
We’ll be able to instantly see how well our oil cooler is working by pressing the button on this new oil dipstick with lighted LCD readout.
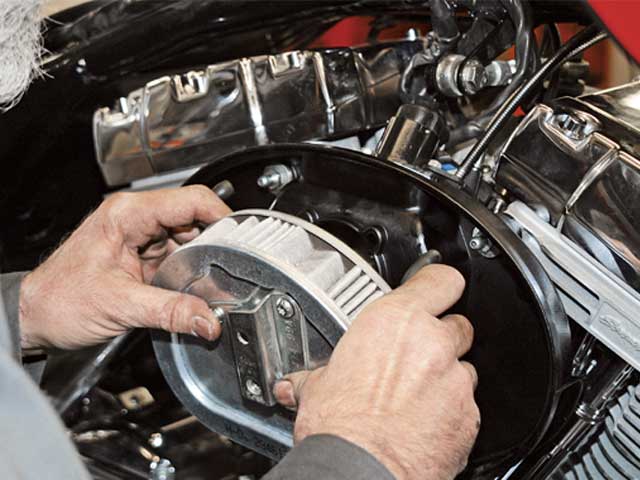
With the motor pretty much back together, all that was left was to install the new air-cleaner assembly…
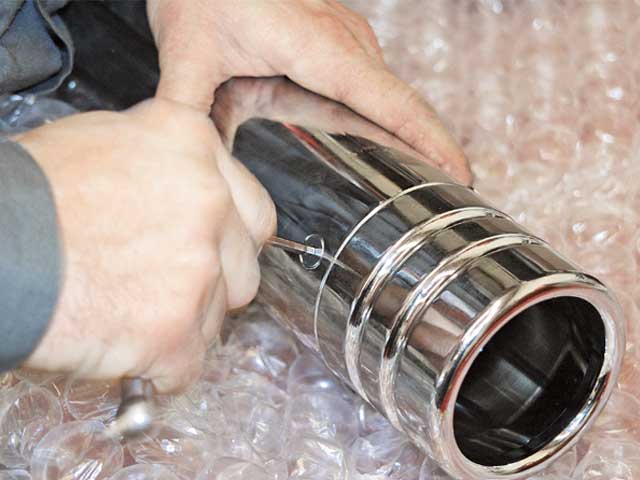
…and install the end caps on the catalyst mufflers. The end caps don’t come with the kit and have to be ordered separately (so you can choose which ones you want). While the catalyst exhaust may not be the best-performing muffler Harley offers, it is one of the most important components in making this a 50-state street-legal kit.
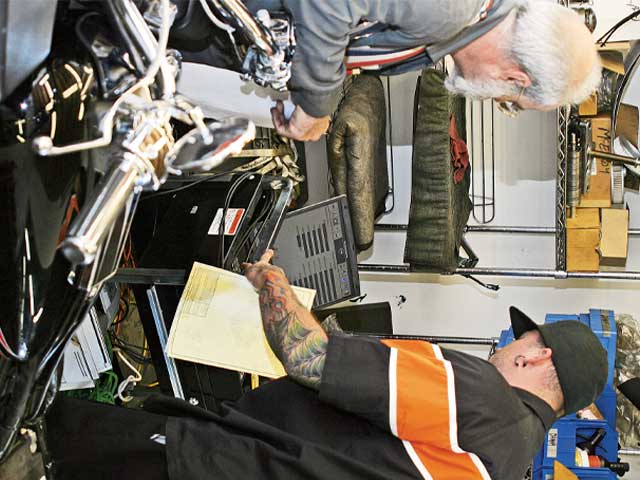
Next, we had to recalibrate the ECM to reflect the changes made to the motor. Laidlaw’s service manager, Justin McGinnis, connected the computer to the bike’s ECM and retrieved the proper download from the Harley-Davidson Digital Technician website.
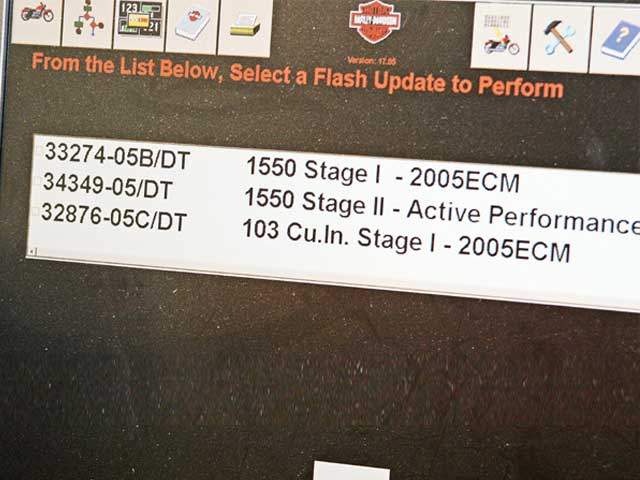
The way the download procedure works is this: After inputting the VIN and mileage, the computer brings up a list of available upgrades. For our Road Glide, the list brought up options such as 1550 Stage I, 1550 Stage II, and 103ci Stage I. After we selected the 103 option, the computer downloaded the information to the ECM. The download usually takes between 45 seconds to a minute and a half. Once the ECM has been calibrated, you just turn the ignition off, then back on, and check to see if the computer receives any error codes. Our download went smoothly.

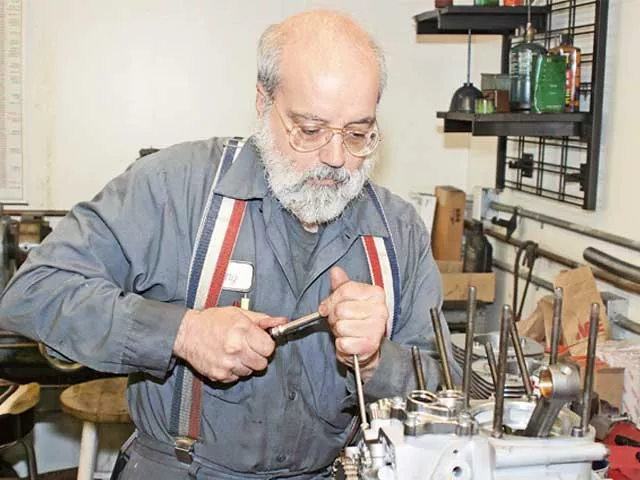
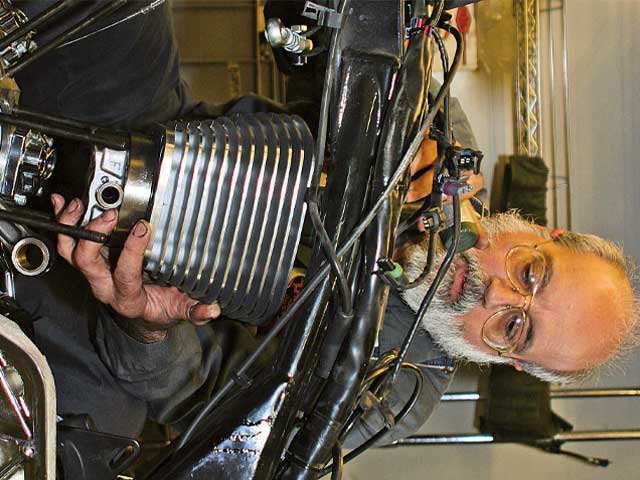
Before any bike that’s had motor work done to it can leave Laidlaw’s facility, it has to be inspected (by “inspected” we mean ridden) by owner Jerry Laidlaw. Jerry has been around bikes his entire life and knows what a properly assembled and tuned motor should sound and feel like.
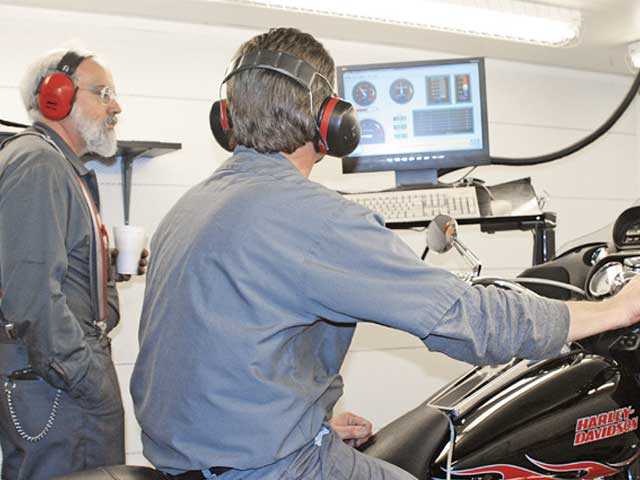
Satisfied with Danny’s work, Jerry let us take the bike home to put some break-in miles on it. After about 500 miles we returned to Laidlaw’s to run the bike on the company’s Dynojet 250i dyno. Laidlaw’s takes its dyno facility very seriously and is always upgrading it to try and make it the best facility around, with the most ideal conditions to obtain the most accurate readings possible. In fact, several weeks before we were there, a Dynojet representative had come out to upgrade the dyno and train more of Laidlaw’s mechanics to become qualified dyno technicians.
After a year of waiting, two months ago we finally tore into the motor of our long-term Road Glide to install Harley’s Screamin’ Eagle 103ci Stage 1 Kit. That’s right-now our RG will boast the same 1,690 cubic centimeters of displacement as the CVO touring models and still be totally EPA-approved and CARB (California Air Resources Board)-certified.
As we all know, bigger is better, and no one likes to admit that their bike is still trapped in the land of stock displacement. Well, Harley’s 103 kit is comprised of all the tested and proven components that will shoot your bike out of the overpopulated double-digit world and into the new frontier of triple-digit displacement. The kit consists of a new 4.375-inch stroker flywheel assembly, 3.875-inch Big Bore cast pistons and cylinders, SE 253 cams, SE cylinder heads, air-cleaner assembly and cover insert, and replacement catalyst mufflers (when required). The catalyst mufflers are mandatory to make this setup a 50-state street-legal kit when used on certain ’04-’06 Touring models. The stock mufflers are required on ’03 Touring models.
Since this is a stroker kit, that means the entire motor had to be torn down so the cases could be split and the flywheel assemblies swapped out. To handle such an involved task, we headed over to Laidlaw’s Harley-Davidson, located in Baldwin Park, CA. Laidlaw’s has been around for more than 45 years and recently moved into a new state-of-the-art facility with all the latest and greatest technology, such as a specially desinged dyno room and a 250i Dynojet Dynometer. Laidlaw’s also has Danny DiLorenzo, a long-time employee who’s known for his skills and knowledge of building reliable, high-performance motors. Back in August we got as far as completely tearing down the motor and swapping out the stock flywheel for the new stroker assembly, and then bolting the bottom end back together. Follow along as we finish the build and then hit the dyno.
| Harley-Davidson Parts List | ||
| Part No. | Price | |
| Chrome Inner Primary Cover | 60739-01 | $269.95 |
| Pushrod Cover Kit | 18096-00A | $174.95 |
| Chrome Oil-Hose Cover | 37946-99 | $53.95 |
| Premium Oil Cooler | 26082-05 | $289.95 |
| Chrome Oil-Vent Line | 33111-02 | $39.95 |
| Chrome Oil-Filler Spout | 62470-02 | $64.95 |
| Oil-Temp Dipstick W/LCD | 62937-00C | $99.95 |
| Chrome Hardware Kit Primary Cover | 94-052-03A | $48.95 |
| Chrome Hardware Kit Cam Cover | 94058-03 | $32.95 |
| Chrome Hardware Kit Rocker Box | 94059-03 | $34.95 |
| Screamin Eagle 103ci Stage 1 Kit (Silver) | 29855-04 | $2,995.95 |
| ECM Recalibration | $149.95 | |
| Chrome Billet End Cap Double Groove | 65066-01a | $64.95 |
| Grand Total | $4,321.35 |


