
Keeping With the Times
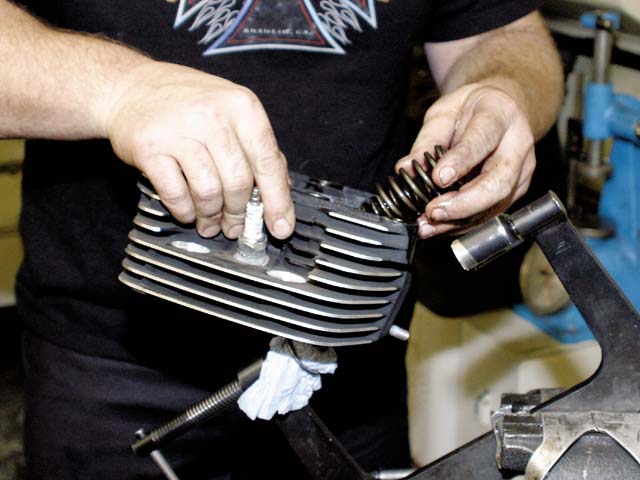
2. As soon as he got his hands on the heads, Hardy put them in a spring compressor vise so that he could remove the springs, keepers, and valves.
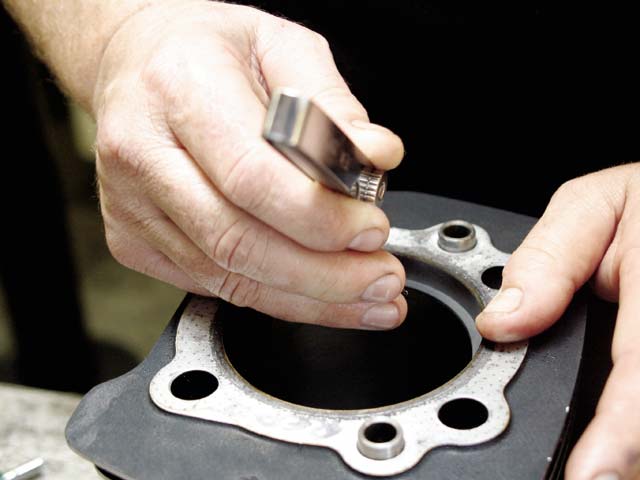
3. With the head disassembled, Hardy started on his head modification process. The first thing he does is to bore out the valve seat to a predetermined size depending upon the motor’s cubic inches and the rate flow. The main objective when doing head work is to get the highest cfm flow rate as possible, while maintaining high velocity through a small port. Hardy has been doing this for so long, he knows exactly how much to open up the valve seat without going too big, and in turn, losing velocity.
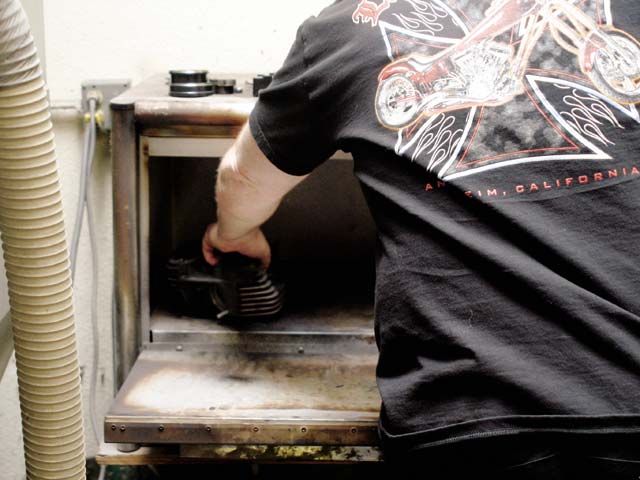
4. Once the valve seats were bored out, Hardy gave himself a cleaner surface to work with by bead blasting the combustion chamber and ports. He then placed the heads in a 350-degree oven for about 30 minutes so they would heat up and expand, and he could knock out the valve guides.
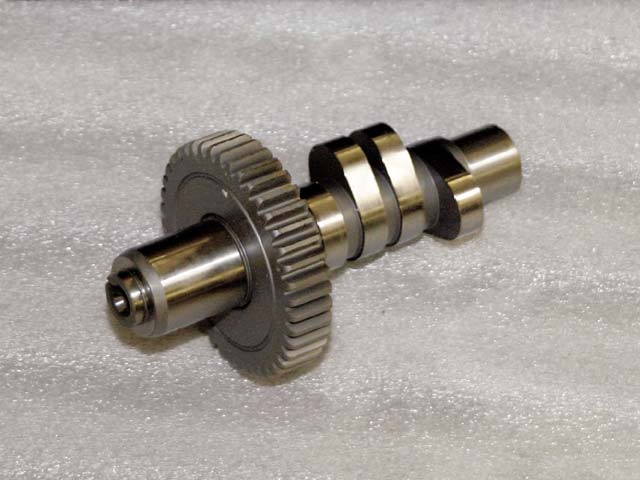
5. While the heads were heating up, they started working on removing the stock cam so it could be replaced with a new Woods Performance W-8 cam with 0.590-inch lift/246-degree duration.
6. When the new cam was slid in place, Hardy put the bike in gear, then had Guerrero spin the rear tire so that he could check the cam lobe clearance. There wasn’t enough clearance, so a relief tool was used to cut away a small portion of the inside of the case.
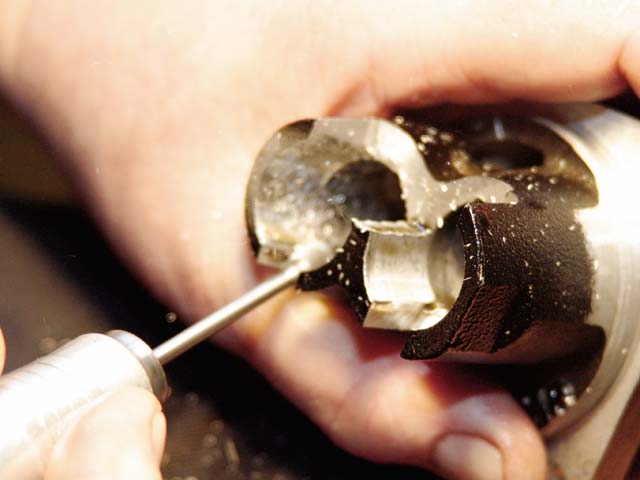
7. Because he was going with a higher lift cam, the tappets would be rising more than with the original cam. Therefore, Hardy had to cut away the inside of the tappet blocks with a pneumatic grinder so the tappets would have the proper amount of clearance.
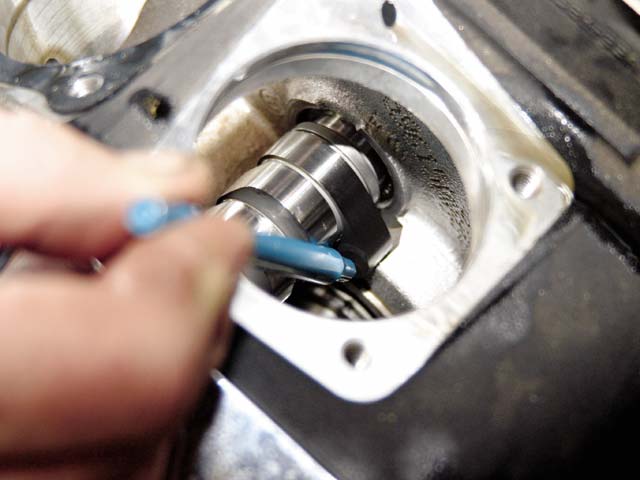
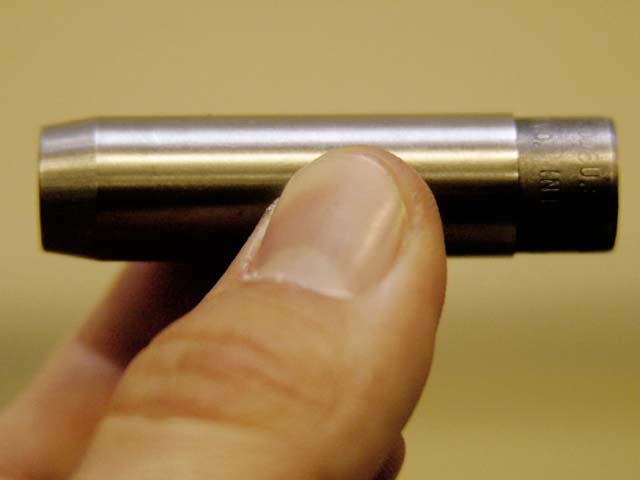
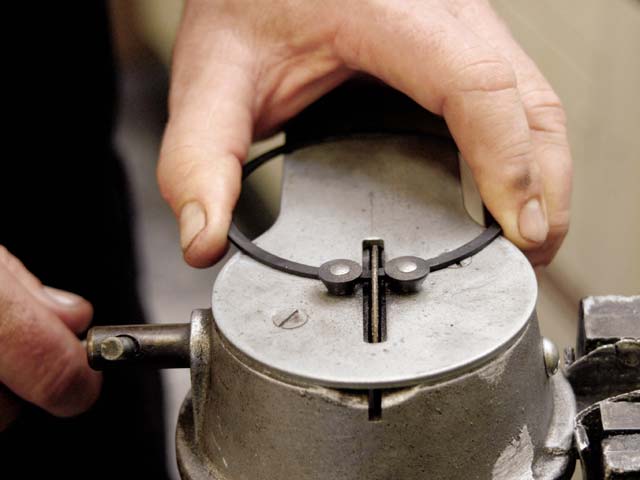
8. Since they were this far into the case, Hardy decided to replace the inner cam bearing. The bearing was removed, then Guerrero used a cam bearing alignment tool to install the new bearing. He then tapped the bearing to make sure it was properly seated before he installed the new cam. One thing to note when installing a new cam is to measure the length of both the old and new unit so that you will know if you’re going to need a spacer to get the proper amount of end play, between 0.0010 and 0.0015.
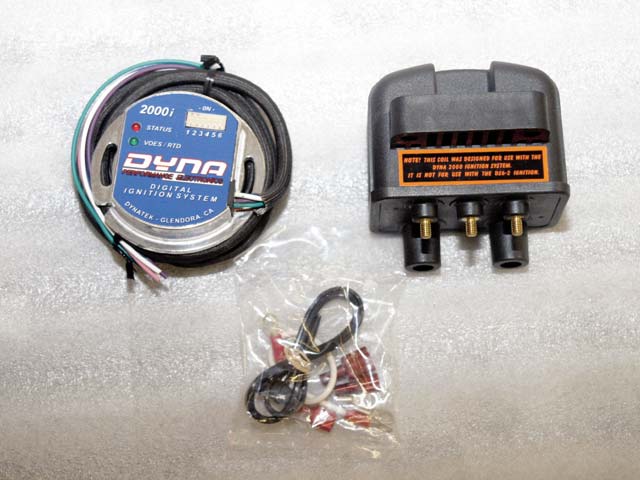
9. After Guerrero installed the new cam, he began installing a Dyna 2000i ignition and a Twin Fire ignition coil. The new ignition and coil combination from Dynatek can fire in either single- or dual-fire with the flip of a switch, and the ignition has eight advanced curves to cover a broad range of engine builds and riding styles, which will be useful since we don’t know how this bike will be ridden.
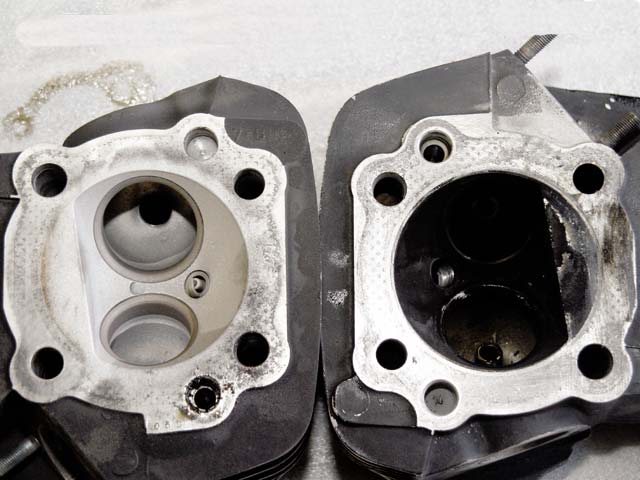
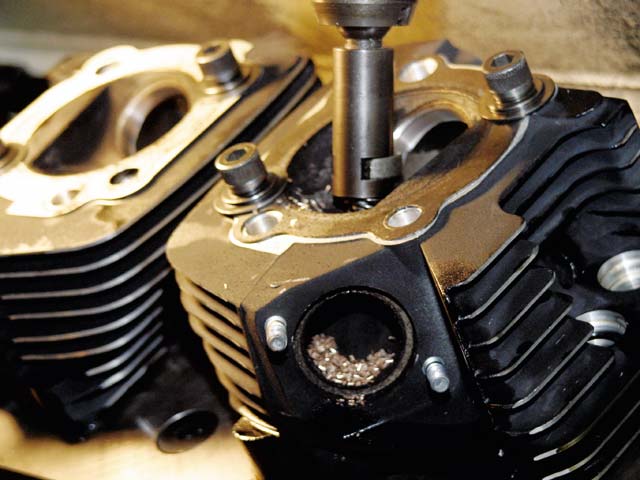
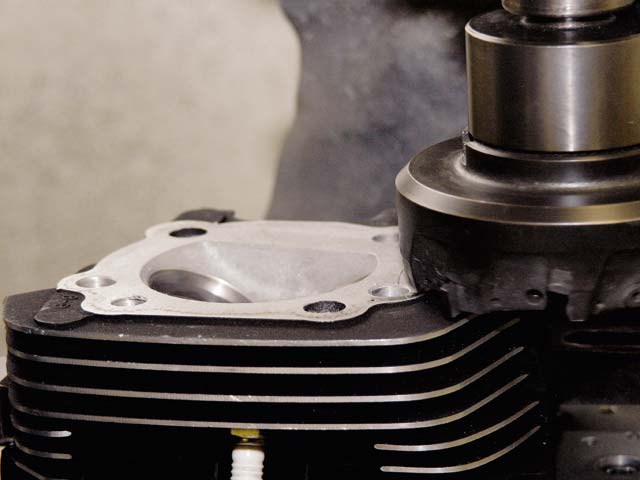
10. On the right is a completely stock head, while on the left is a head hot out of the oven and ready for some of Hardy’s performance techniques. The valve seat has been bored out, the valve guides have been removed and the combustion chamber and ports have been bead blasted.
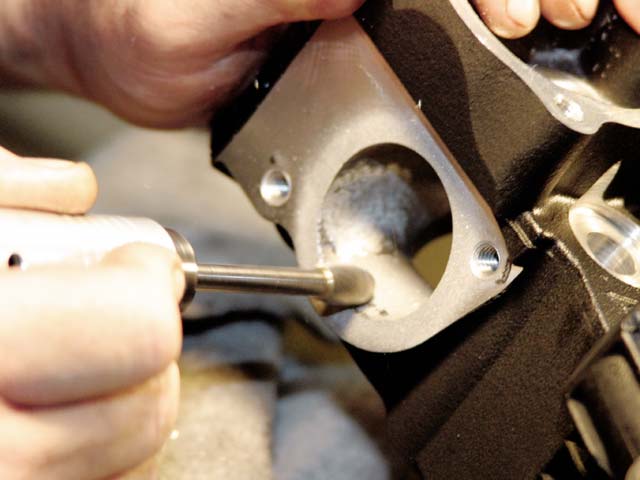
11. Hardy took the head over to his workstation and got down to business by porting and blending the combustion chamber and ports. Once again, Hardy has been doing this for so long and has worked on so many different types of heads that he knows exactly what to do. Basically, he is knocking down all the high spots and blending all the surfaces together so that the air will travel in a smooth and uninterrupted path. Hardy still prefers to do all his porting by hand.
12. The goal in this process is to achieve 150 cfm on the flow bench. Hardy said that if he can achieve that, then this motor should make about 90 hp. He also said that in this process, he increases cfm through velocity rather than volume because it makes for better tuning and throttle response. Hardy used a piece of sandpaper to get to the areas he couldn’t reach with his pneumatic tool.
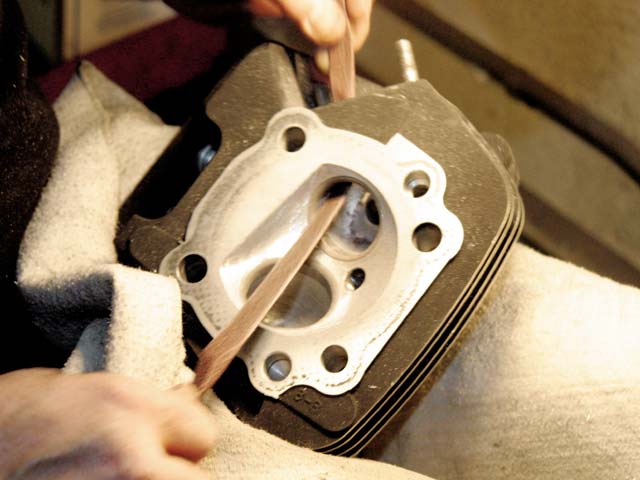
13. This is what the heads look like after he is finished with the initial porting and blending process. While you may not be able to notice a huge difference between this head and a stock head, the small modifications that Hardy made will make a big difference performance-wise.
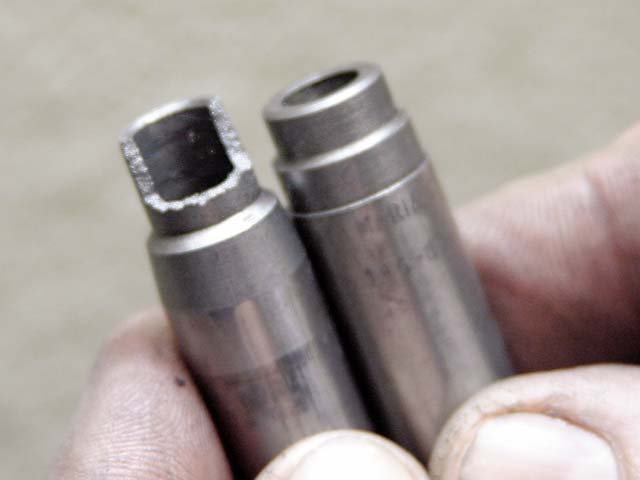
14. While the heads were heating up in the oven, so he could install the valve guides, Hardy showed us a comparison of his own valve guides compared to stock guides. He makes his own guides because with the higher lift cam that he is using, the rocker arms will put more side load on the valve stem, which can cause the stem on a stock guide to break.
15. Hardy’s guides are made from cast-iron blanks that he machines to fit each head. The new guides have a shorter and stouter stem that won’t break.
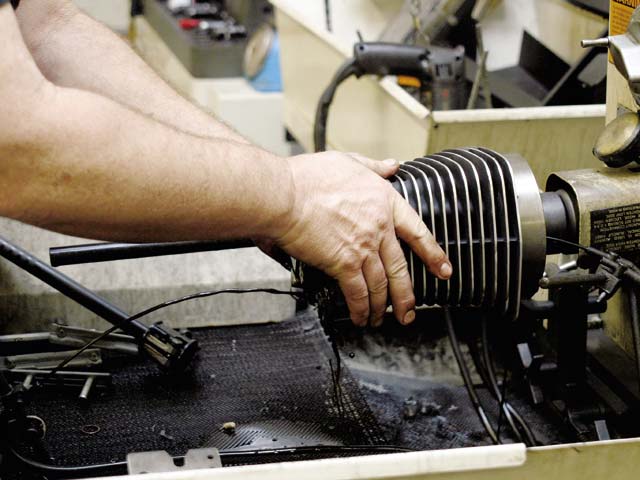
16. For this project, Hardy would be installing a set of Wiseco 0.050-over pistons. He put the cylinders between some torque plates, then took them over to his honing machine and opened them up to accommodate the new pistons.
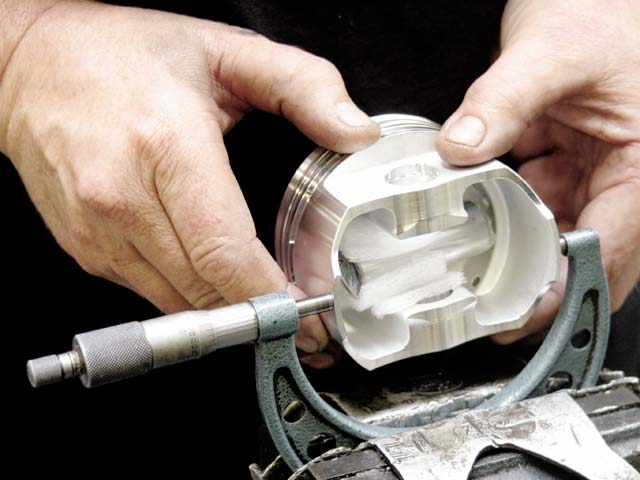
17. Hardy is very thorough about continuously checking the diameters of the piston to cylinder for proper clearance. Two things Hardy made sure to tell us was that when measuring the cylinder to piston clearance, it’s important that they are approximately the same temperature, otherwise your measurements could be way off when the cylinder cools down after honing. The other thing to remember is that you should always measure each piston because they are not always the exact same size. Then, hone each cylinder accordingly to that piston size.
18. Next, the cylinders were cleaned up with some Marvel Mystery oil, then Hardy checked for proper ring endgap.
19. The rings were a little snug, so Hardy put them in a ring grinder and ground the ends down so that there would be about 0.013 of endgap.

20. Once Hardy was finished with the pistons and cylinders, Guerrero removed the old pistons and installed the new ones. He then used a ring compressor to slide the cylinders in place.
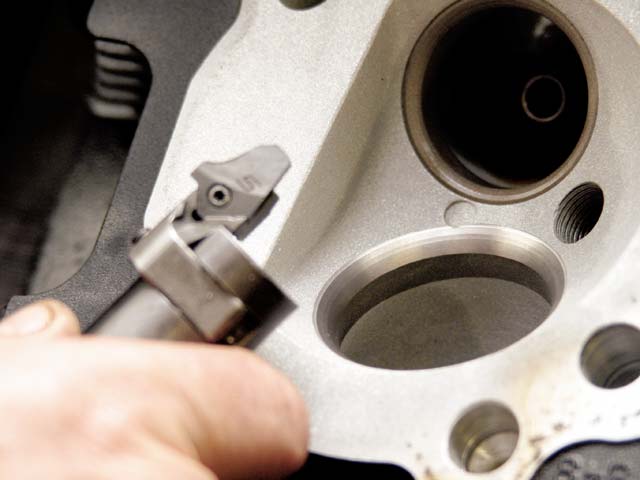
21. Meanwhile, Hardy took the heads over to his valve-cutting machine so he could cut the seat. Using the proper cutting fixture, this machine will cut the valve seat with a full radius cut equivalent to the 30-45-60-degree transition, from the combustion chamber to the valve seat to the port, that is needed.
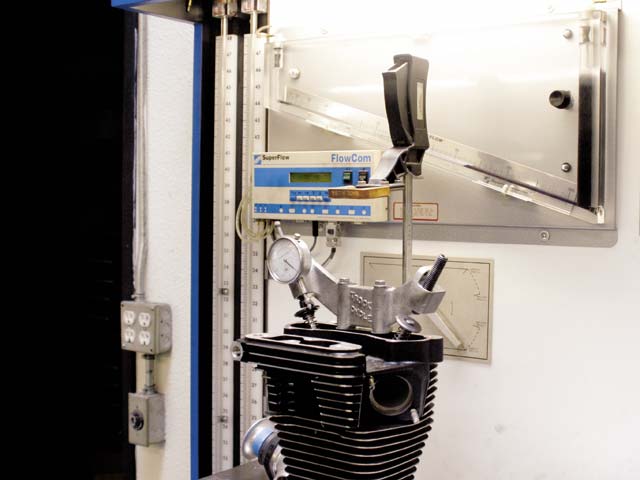
22. After the valve seats were cut and the head was cleaned up, it was finally time to put them on the flow bench and see what kind of numbers we would get. The flow bench is a very critical part of Hardy’s performance process. Knowing that his goal is 150 cfm, Hardy experimented with a couple of different valves and could tell from his numbers on the flow bench that he needed to go back and knock down some high spots on the right side and floor corner of the intake port to get the 150cfm he was looking for.
23. Next, Hardy needed to perform a compression check on each head. With the combustion chamber sealed off, it was filled with water. The combustion chamber held 76 cc of water. Hardy then took that number and plugged it into a mathematical formula that he developed for figuring out corrected compression ratio for each cam he uses. For this specific setup, he needed to increase the compression, so he had to machine some material off of the deck of the head to get the compression up
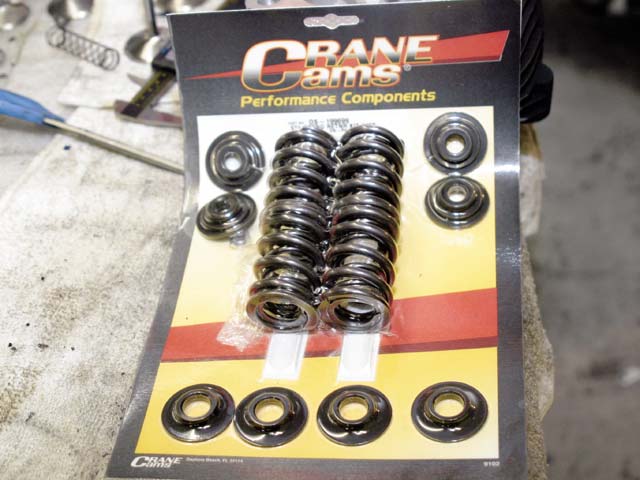
24. After machining the decks of both heads, Hardy lapped the valves to see where they were sitting in the valve seat and to make sure they were hitting concentrically (perfectly flat). Satisfied with how the valves were seated, he began reassembling the head. Using a Crane spring kit, Hardy measured the spring and valves so that he could build a spring pack with shims to get the proper amount of rebound in relation to lift.
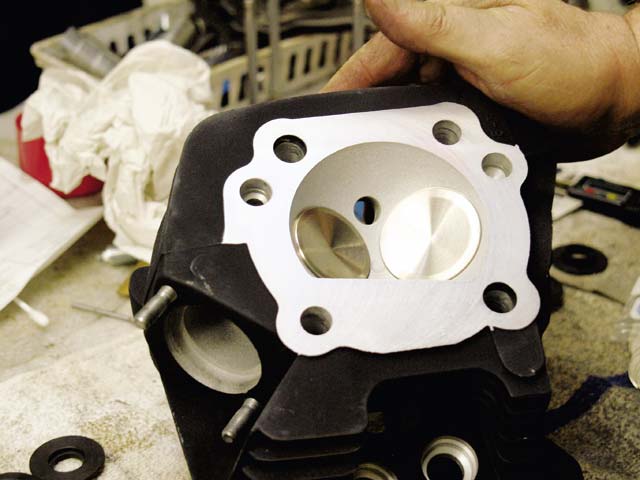
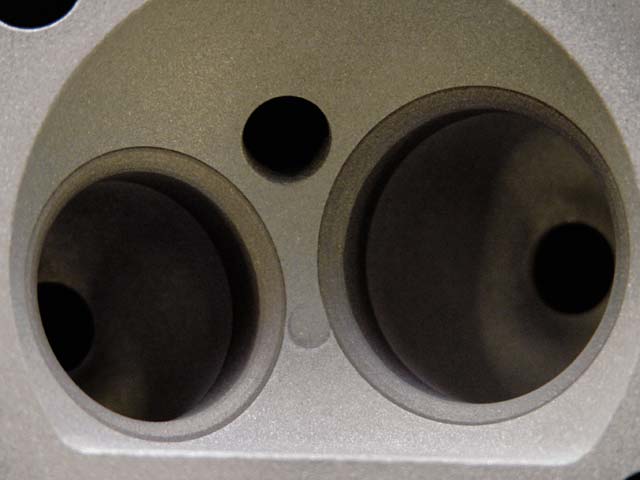
25. This is what the finished Evo head looks like. It was then time to finish reassembling the motor and add some additional components that will help this motor perform like a champ.

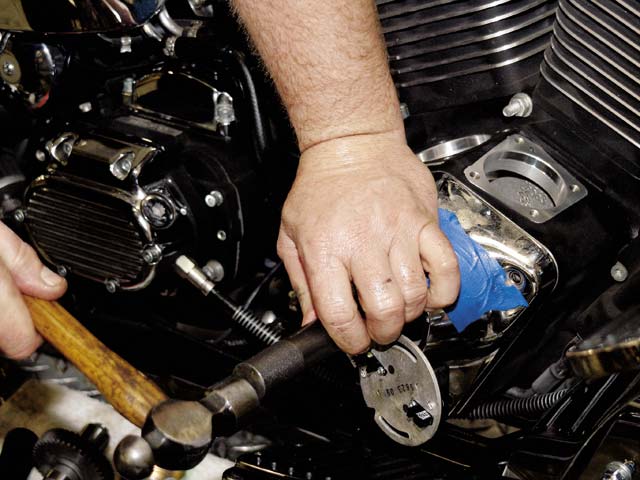
26. With the top end completely assembled, Guerrero bolted up a new set of D&D; Exhaust 2-into-1 pipes.

27. Next, the old carb was set aside, and a new Mikuni HSR42 carb was bolted between the heads. The ring clip on the needlejet was raised up one position to give more air/fuel on the bottom end. The main jet was also changed from a 160 to a 162.5.

28. Another performance accessory that was added was one of Doherty Machines PowerPacc Air Cleaner kits.

29. After a couple hundred miles of breaking the motor in, the bike was taken back to Hardy’s shop and put up on the dyno. When we showed up to snap a couple photos of the dyno runs, Terry Stewart from Dynatek just happened to be there helping Hardy tune the bike.
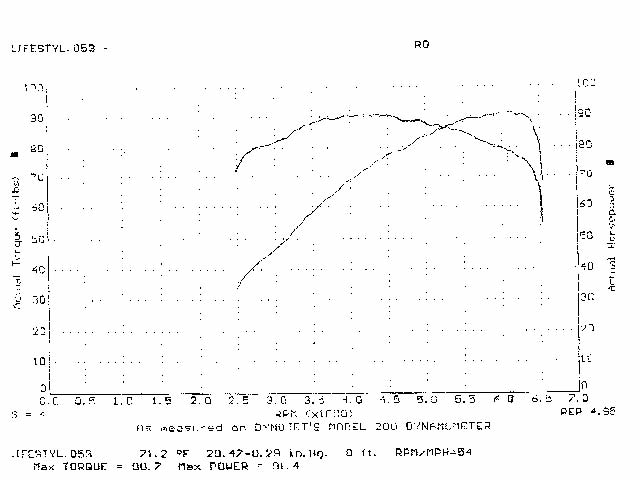
30. After several pulls on the dyno and tuning the bike, Hardy was able to achieve 91.4 hp and 90.7 lb-ft of torque — even better than what he had predicted. Not only did the bike make excellent horsepower, but it also has a broad torque curve that comes on early and stays high, which is a direct result of high velocity through a small port. Anyone that pulls up to this bike at a stoplight on a stock twin cam and thinks they can easily take on the mild-looking Evo will be in for a big surprise.
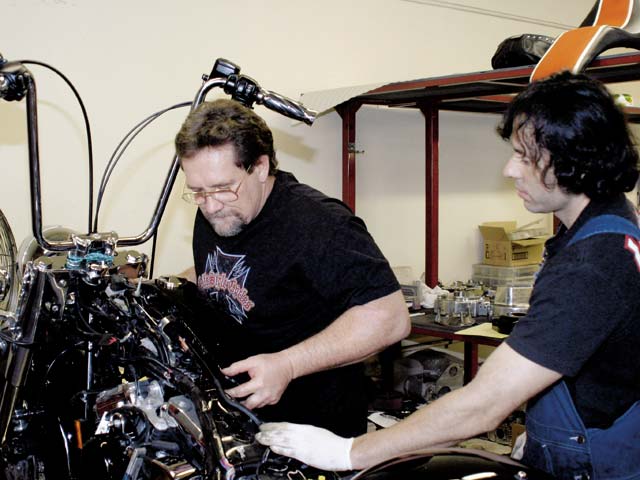
1. By the time we got our camera equipment set up, Hardy and Raul Guerrero were already in the process of tearing the bike down so they could start working on the motor. Hardy takes great care when working on bikes, so he uses tape to protect the chrome and paint. After the tanks and seat were removed, Guerrero started working on pulling the rocker boxes and pushrods so that he could pull the heads and hand them over to Hardy.
With so many twin cams on the road, more and more Evos are finding themselves back on showroom floors or in the classified ads. While the Evo is a great motor, in its stock form it just can’t measure up to the performance of a stock twin cam. We decided to take a trip over to Lifestyle Cycles in Anaheim, California, and see what its main performance guy, Larry Hardy, and his Performance Techniques shop could do with a ’96 Heritage.
Hardy is known throughout the industry for his vast knowledge on how to turn a stock motor into a real performer. He is a whiz when it comes to headwork, and over the years, has come up with quite a few performance techniques — no pun intended — on how to get Evo motors up to speed with the twin cams. Hardy had a lot in store for this performance package, which includes his headwork techniques, a new cam, new pistons, new pipes, a new ignition, and a new carb. Follow along as we watch him work his magic.


