
Tech: Six-Speed Tranny Upgrade
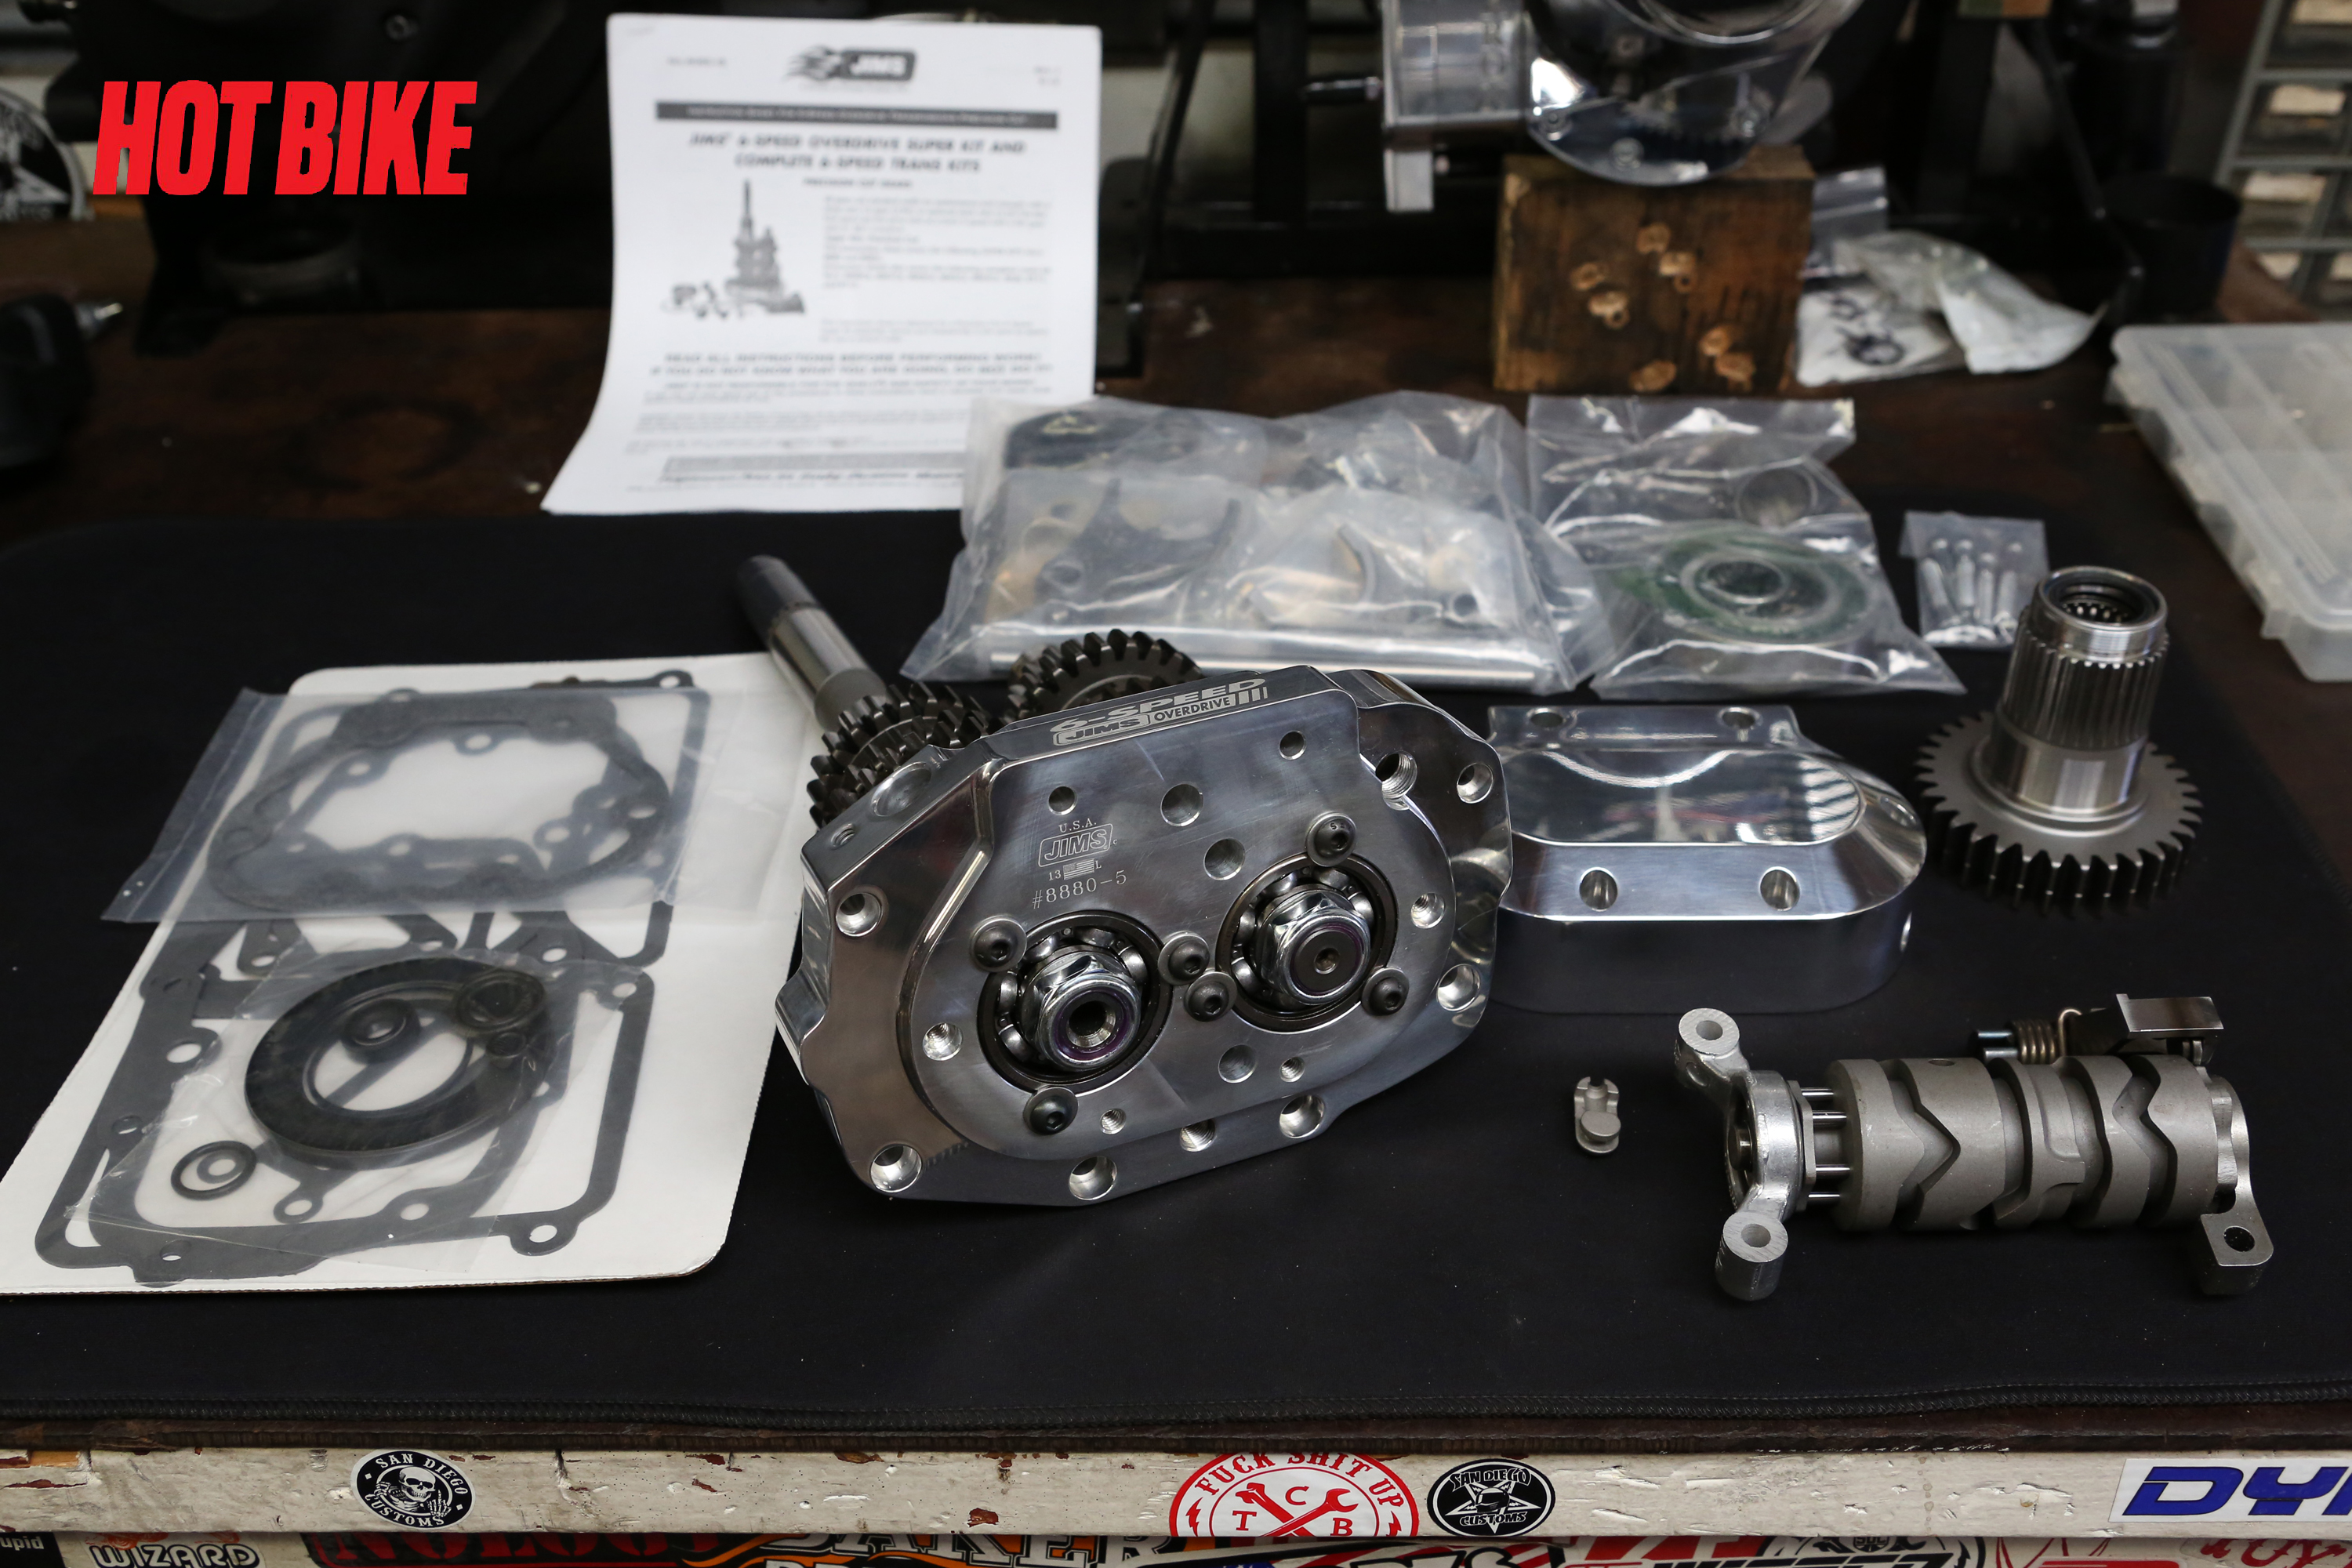
- JIMS has just about every conceivable part to update and upgrade a four-, five-, or six-speed left- or right-side transmission. With that in mind we decided to get some modernization in the form of a JIMS six-speed Overdrive Super Kit.
Words: Chip Kastelnik Photos: Mikey Van Senus

- We begin by unboxing our JIMS six-speed Overdrive Super Kit (Part # 8085) and taking a gander at its mechanical beauty.
Words: Chip Kastelnik Photos: Mikey Van Senus
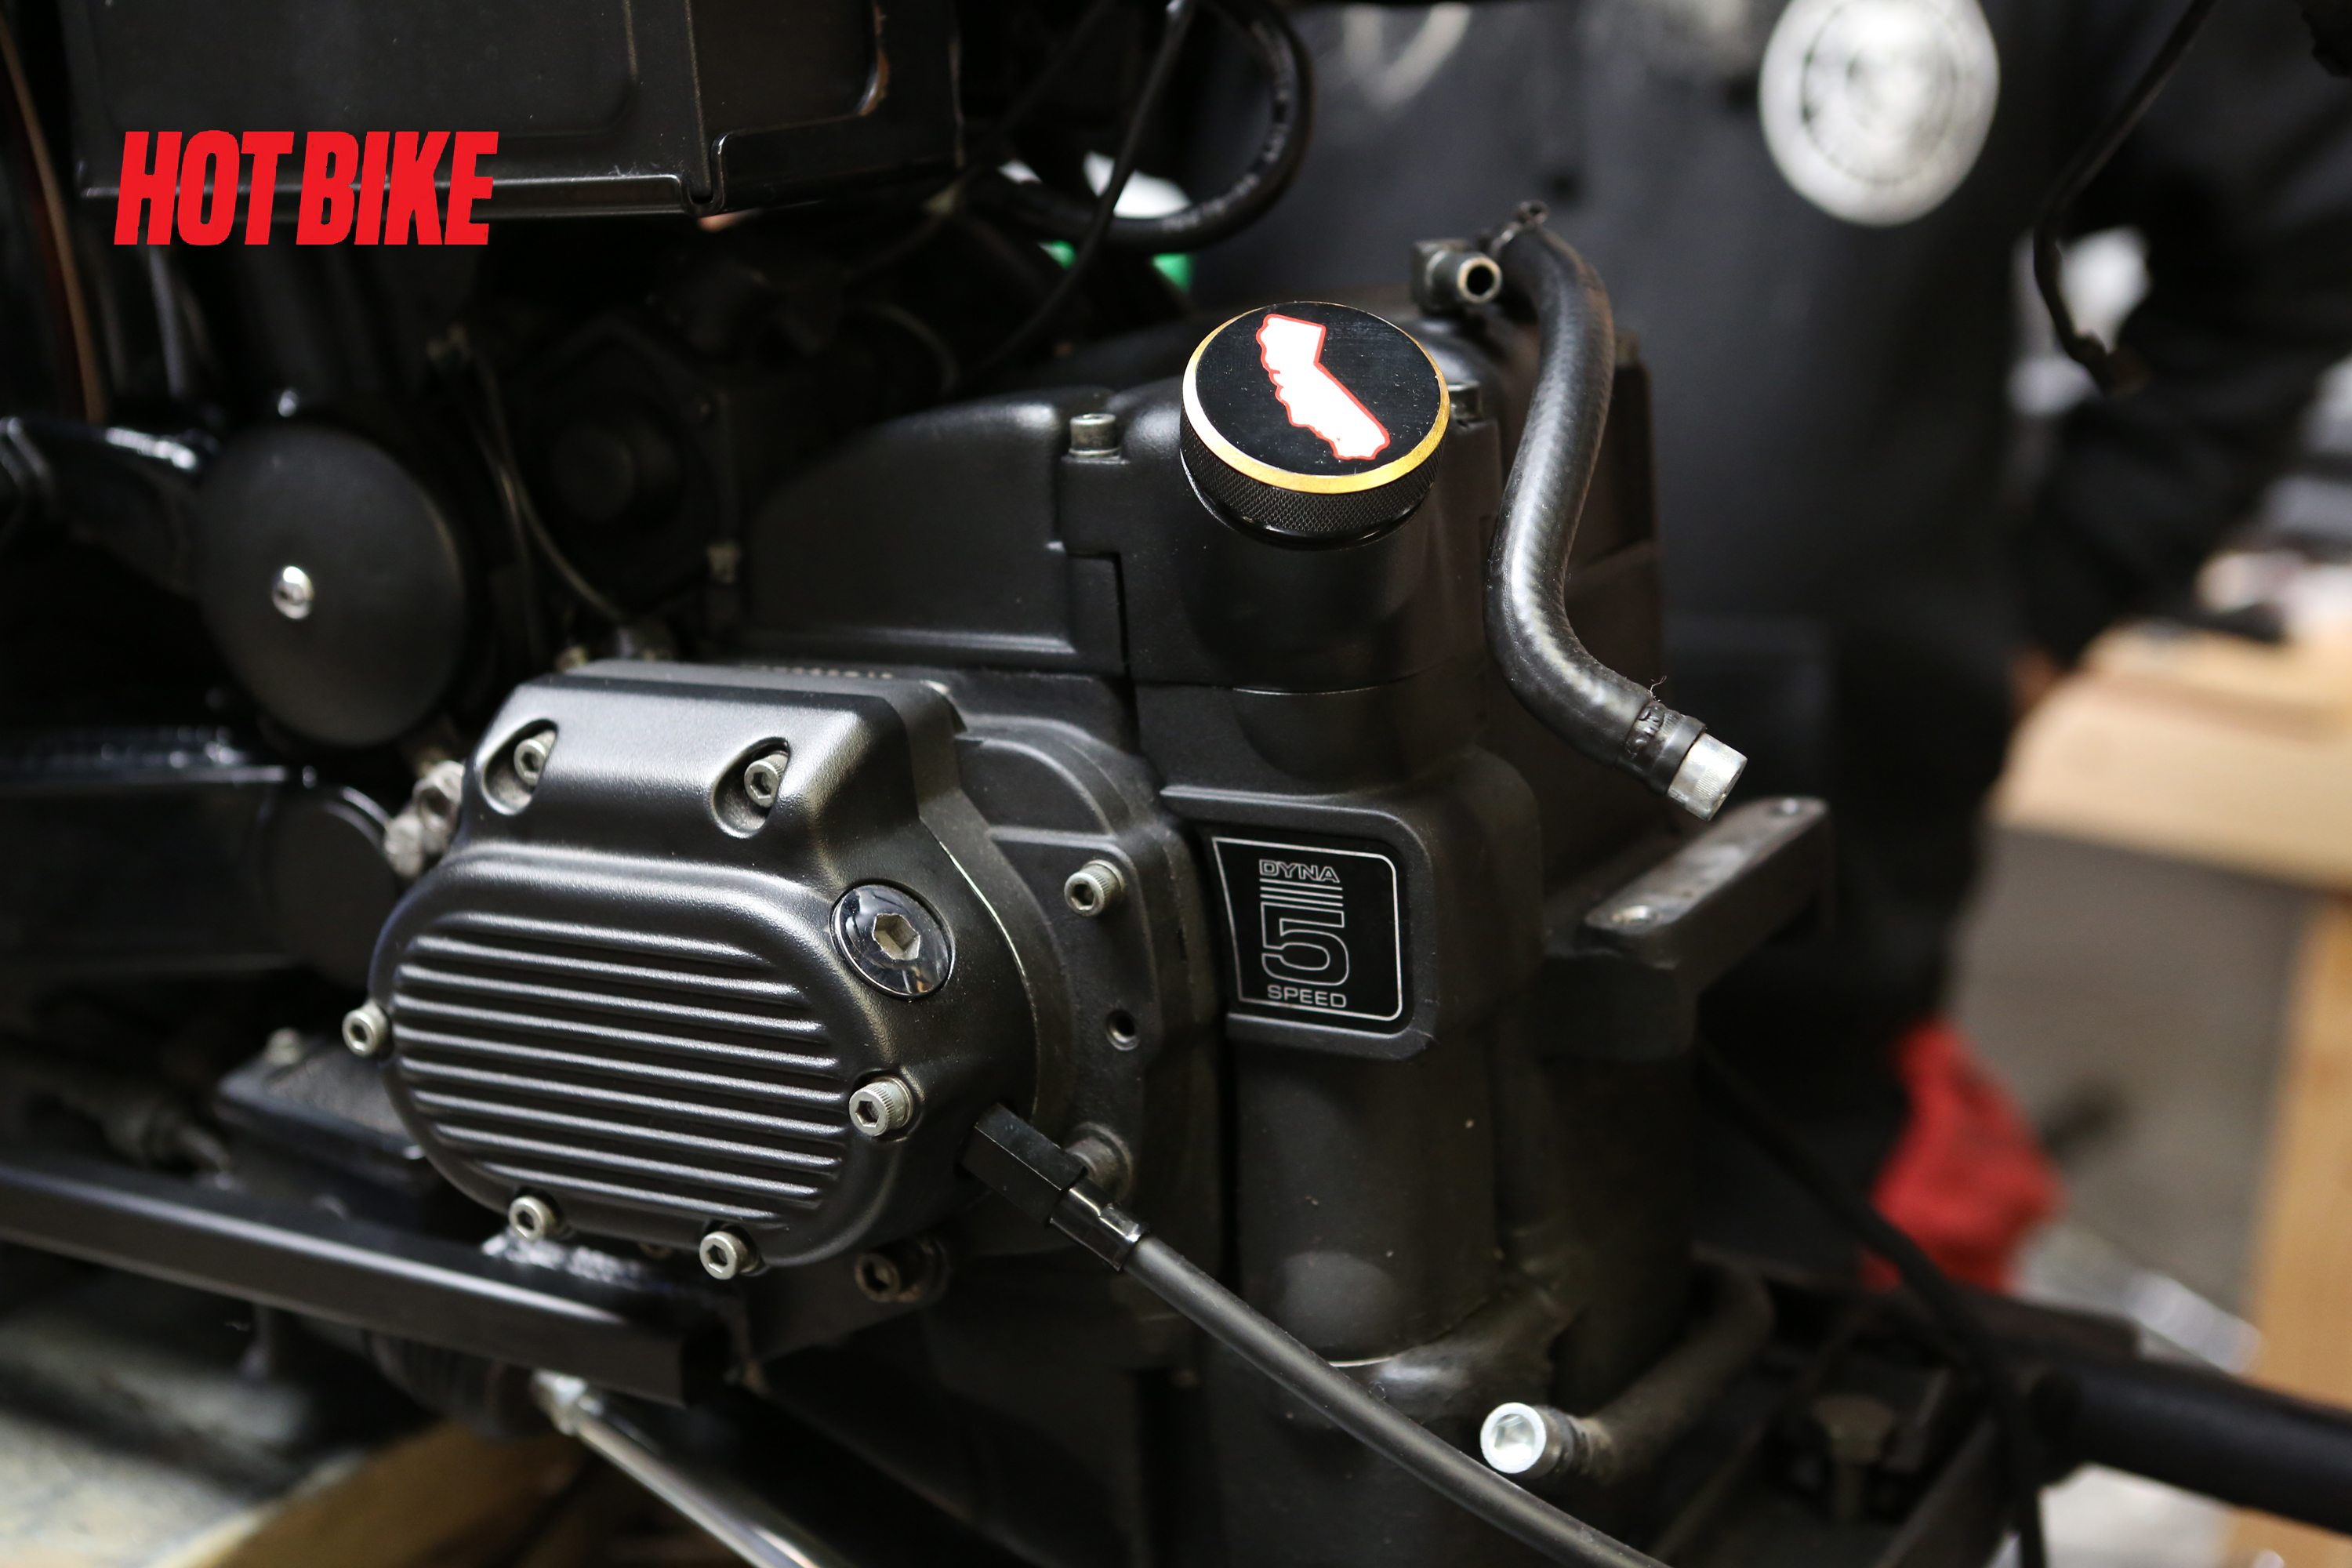
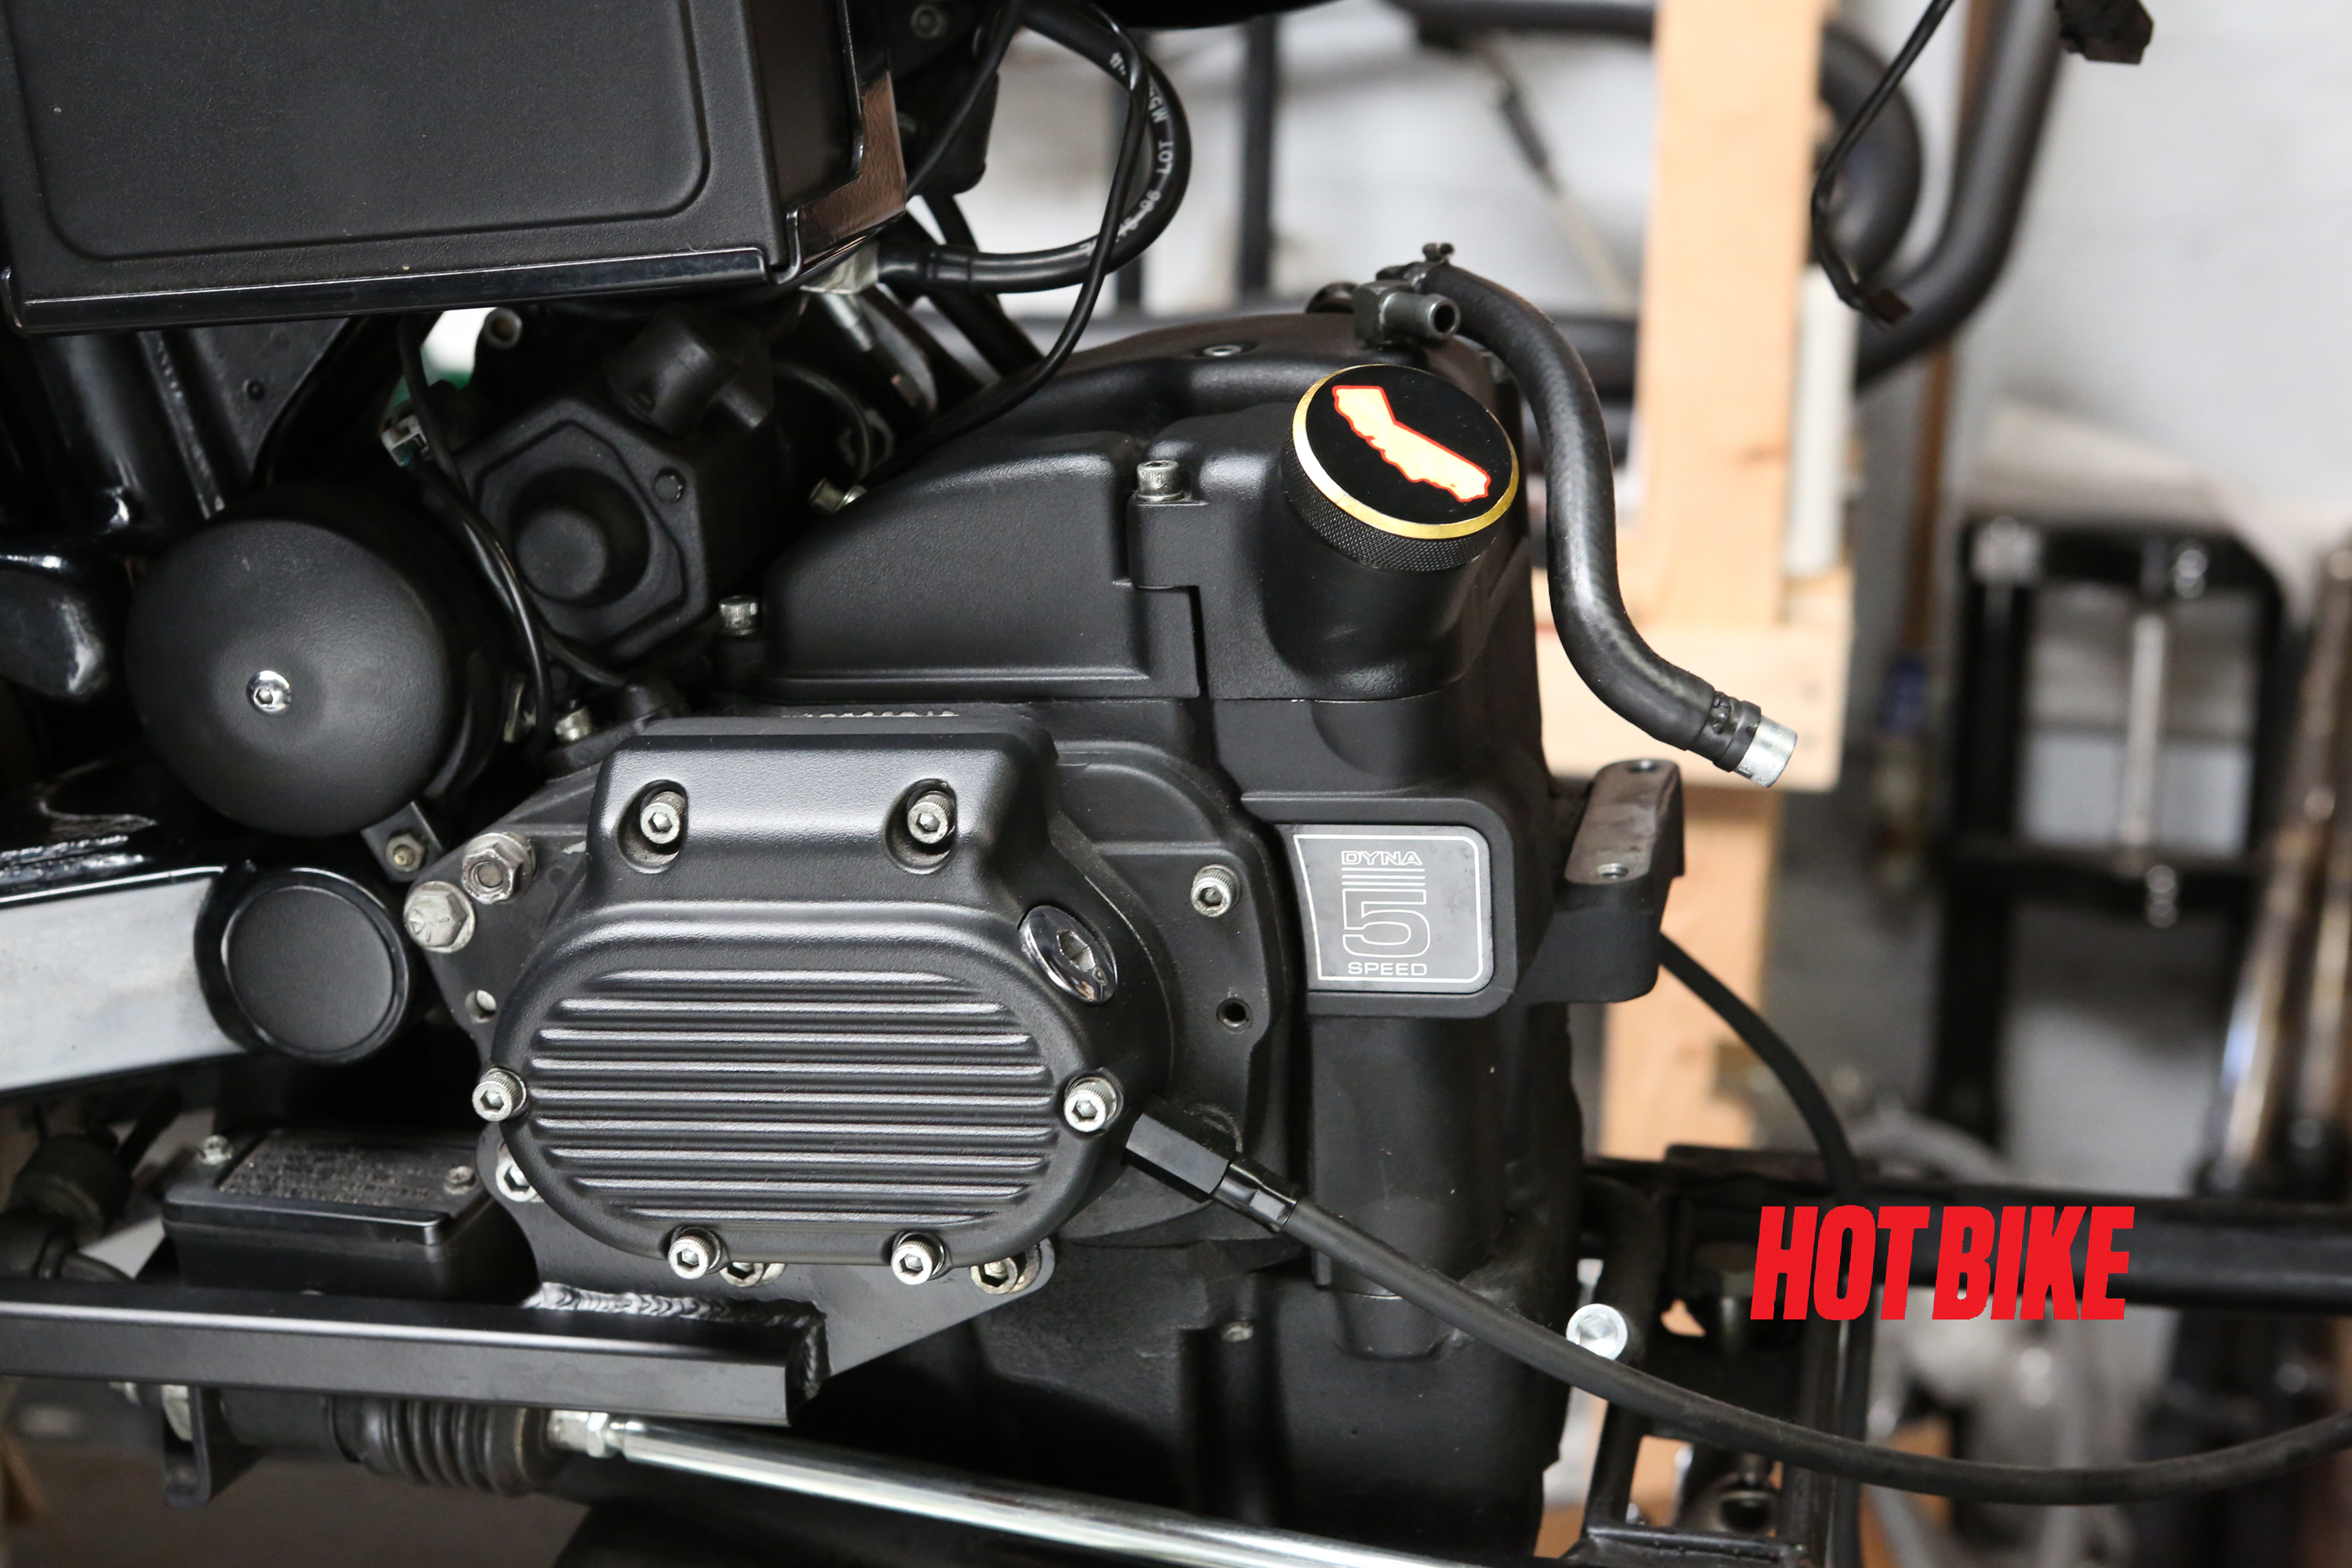
- We will be replacing the 1997 Dyna OEM five-speed’s transmission side cover, trapdoor, and gearset.
Words: Chip Kastelnik Photos: Mikey Van Senus
- The primary drive has been removed already, so we begin removing the transmission main shaft nut locking plate.
Words: Chip Kastelnik Photos: Mikey Van Senus
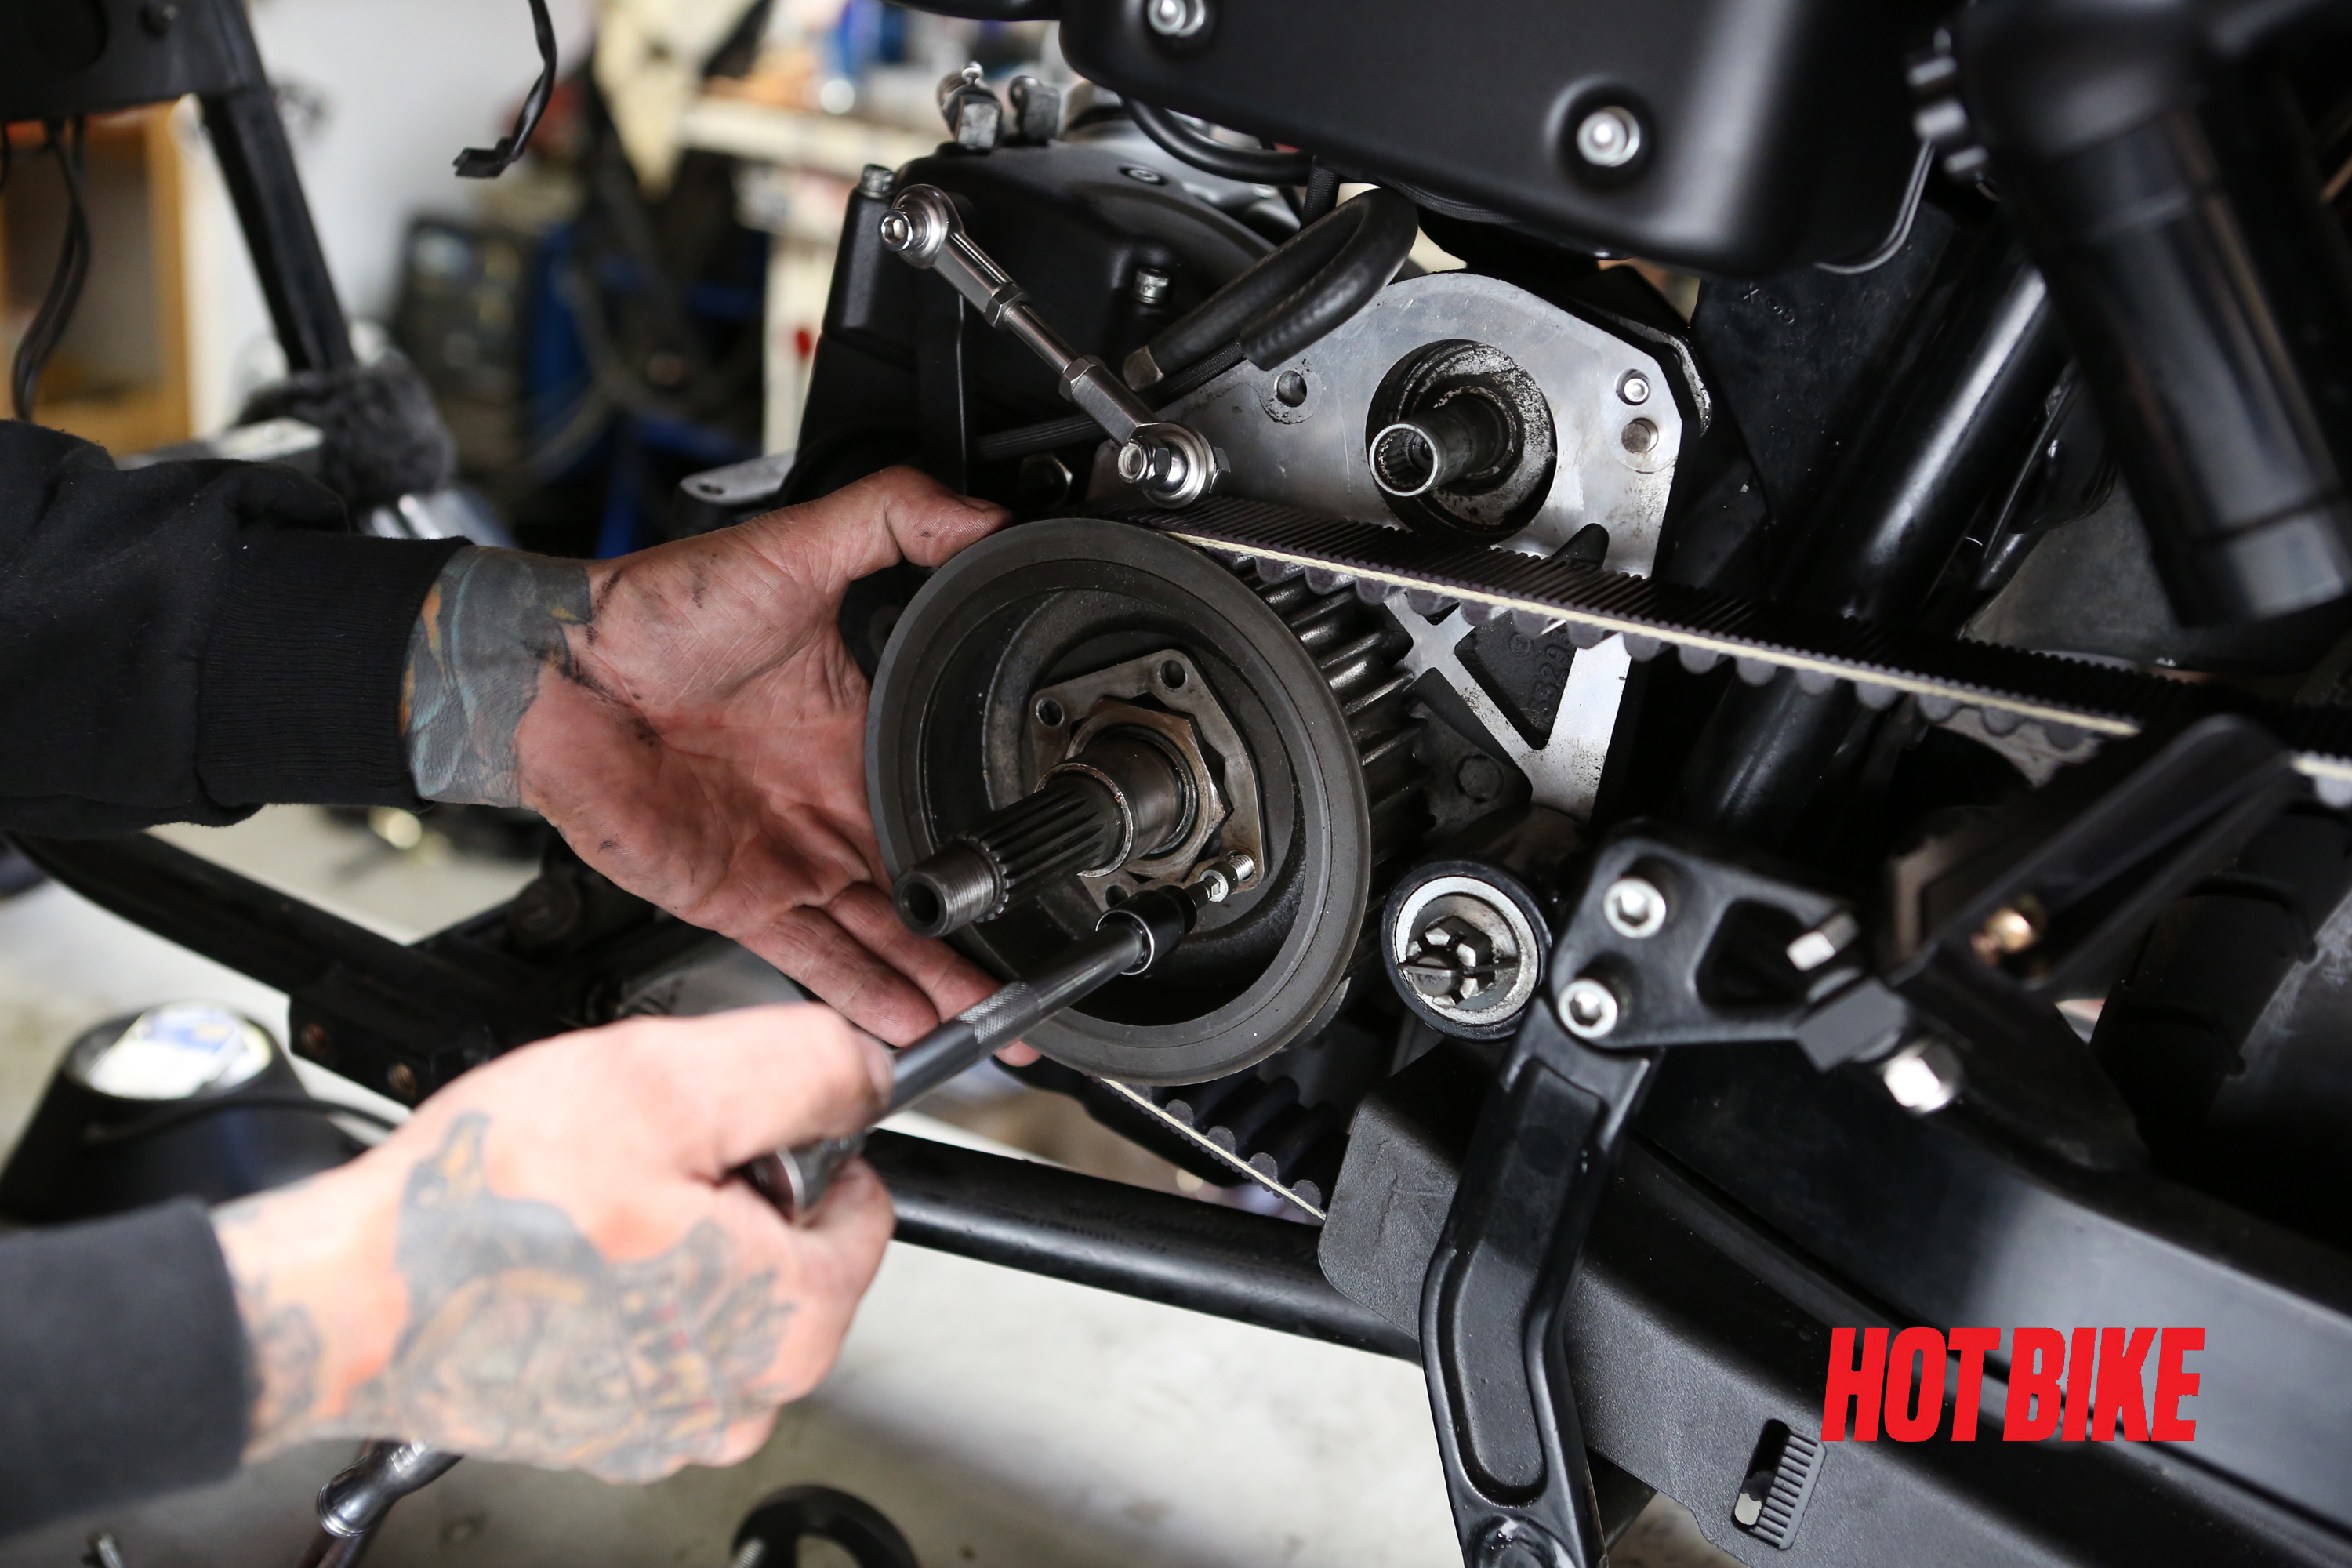
- Using the JIMS transmission main shaft nut-removing tool (Part # 94660-37A), we can easily remove the main shaft nut.
Words: Chip Kastelnik Photos: Mikey Van Senus
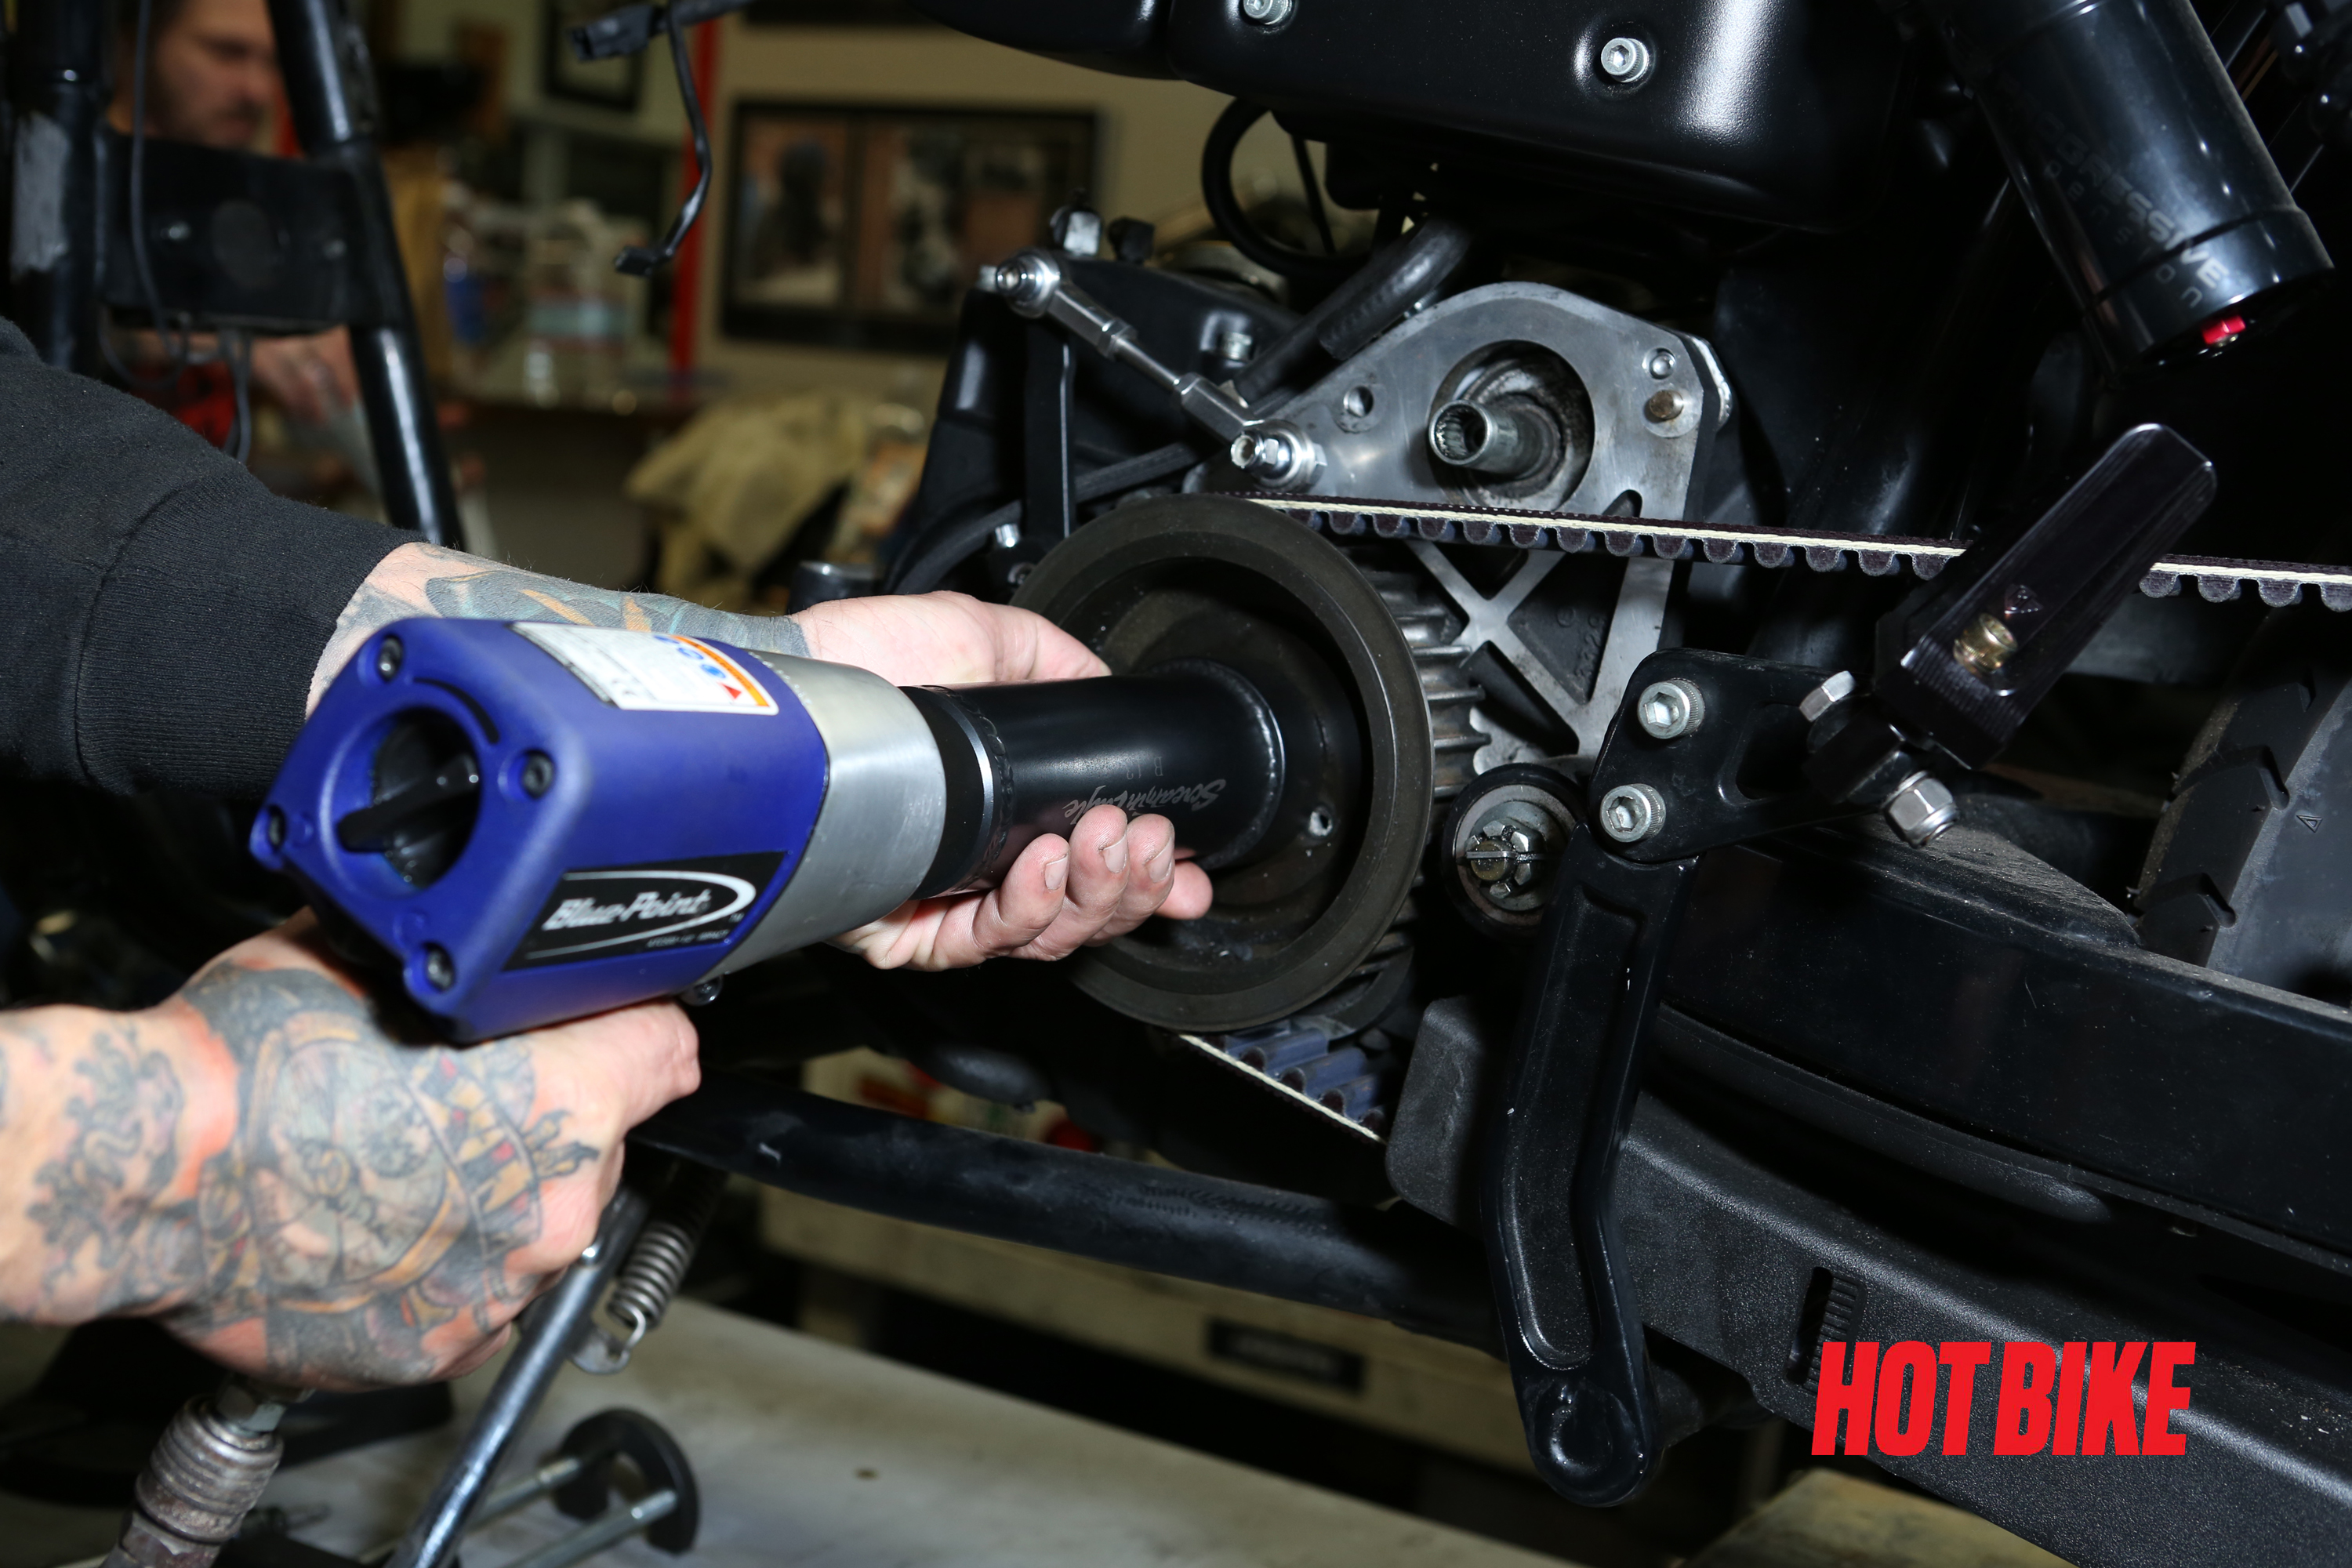
- Slide the JIMS tool over the main shaft and onto the transmission main shaft nut and proceed to remove. You might need to use some heat on stubborn nuts that do not want to loosen.
Words: Chip Kastelnik Photos: Mikey Van Senus
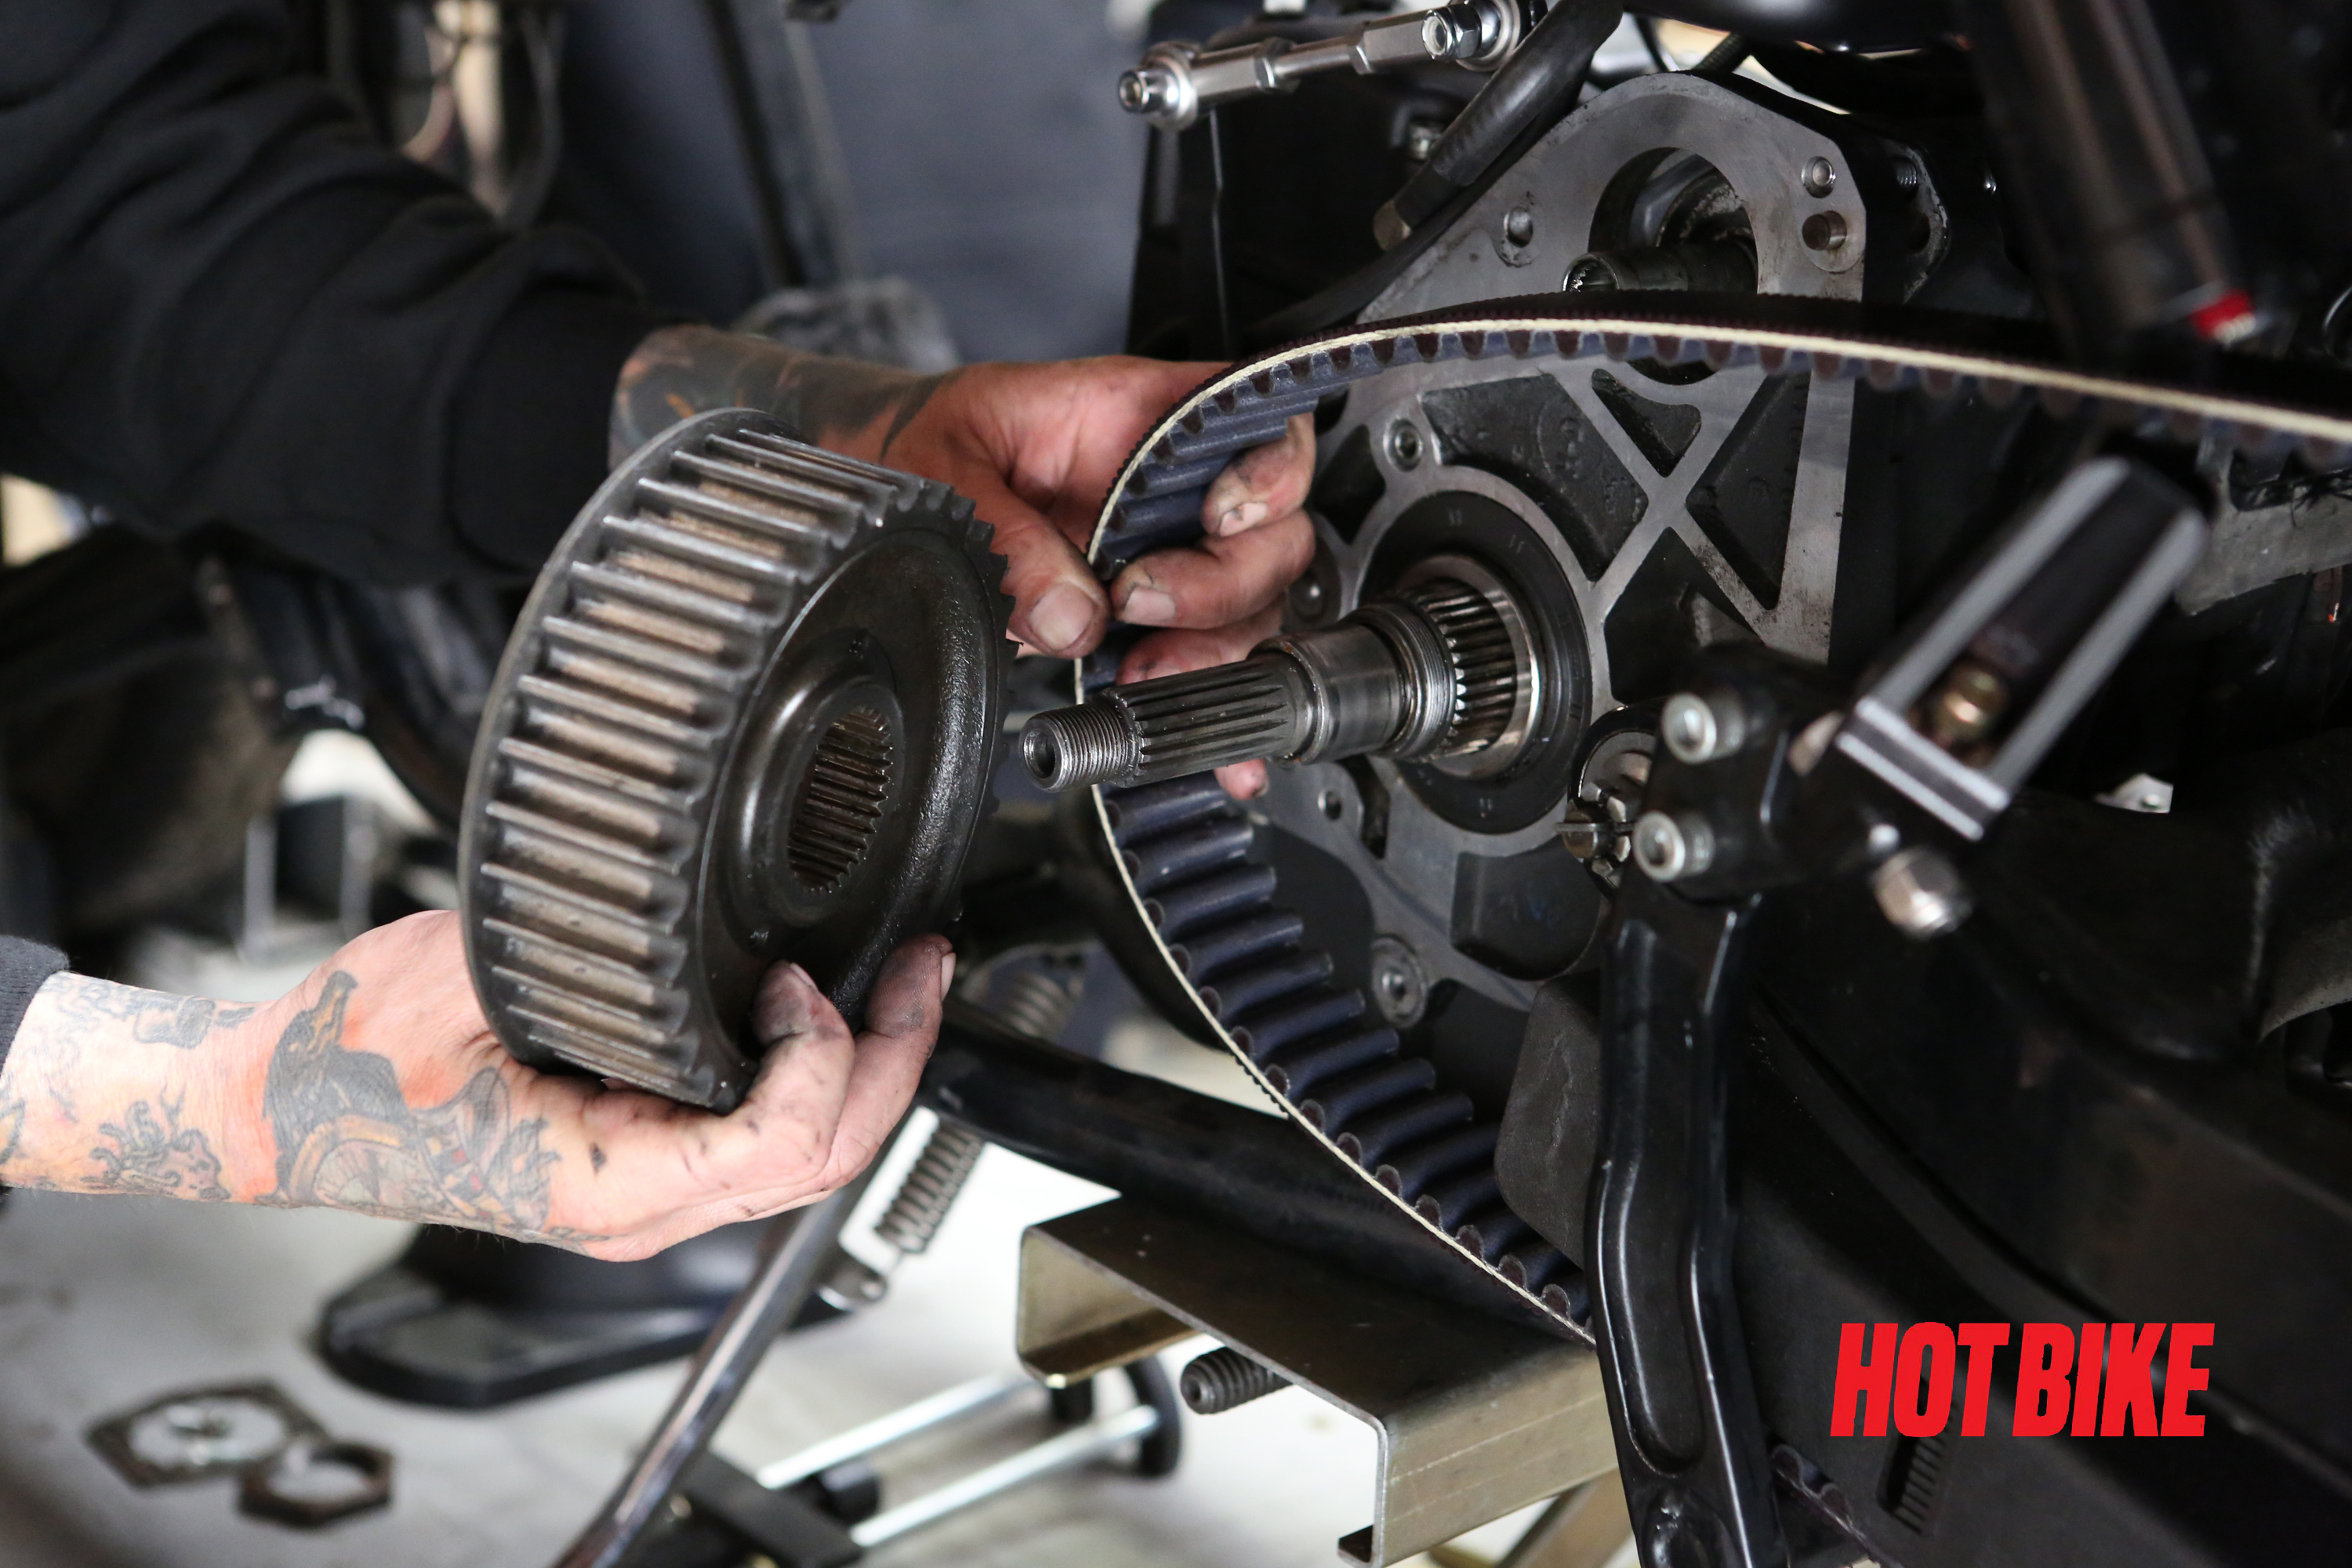
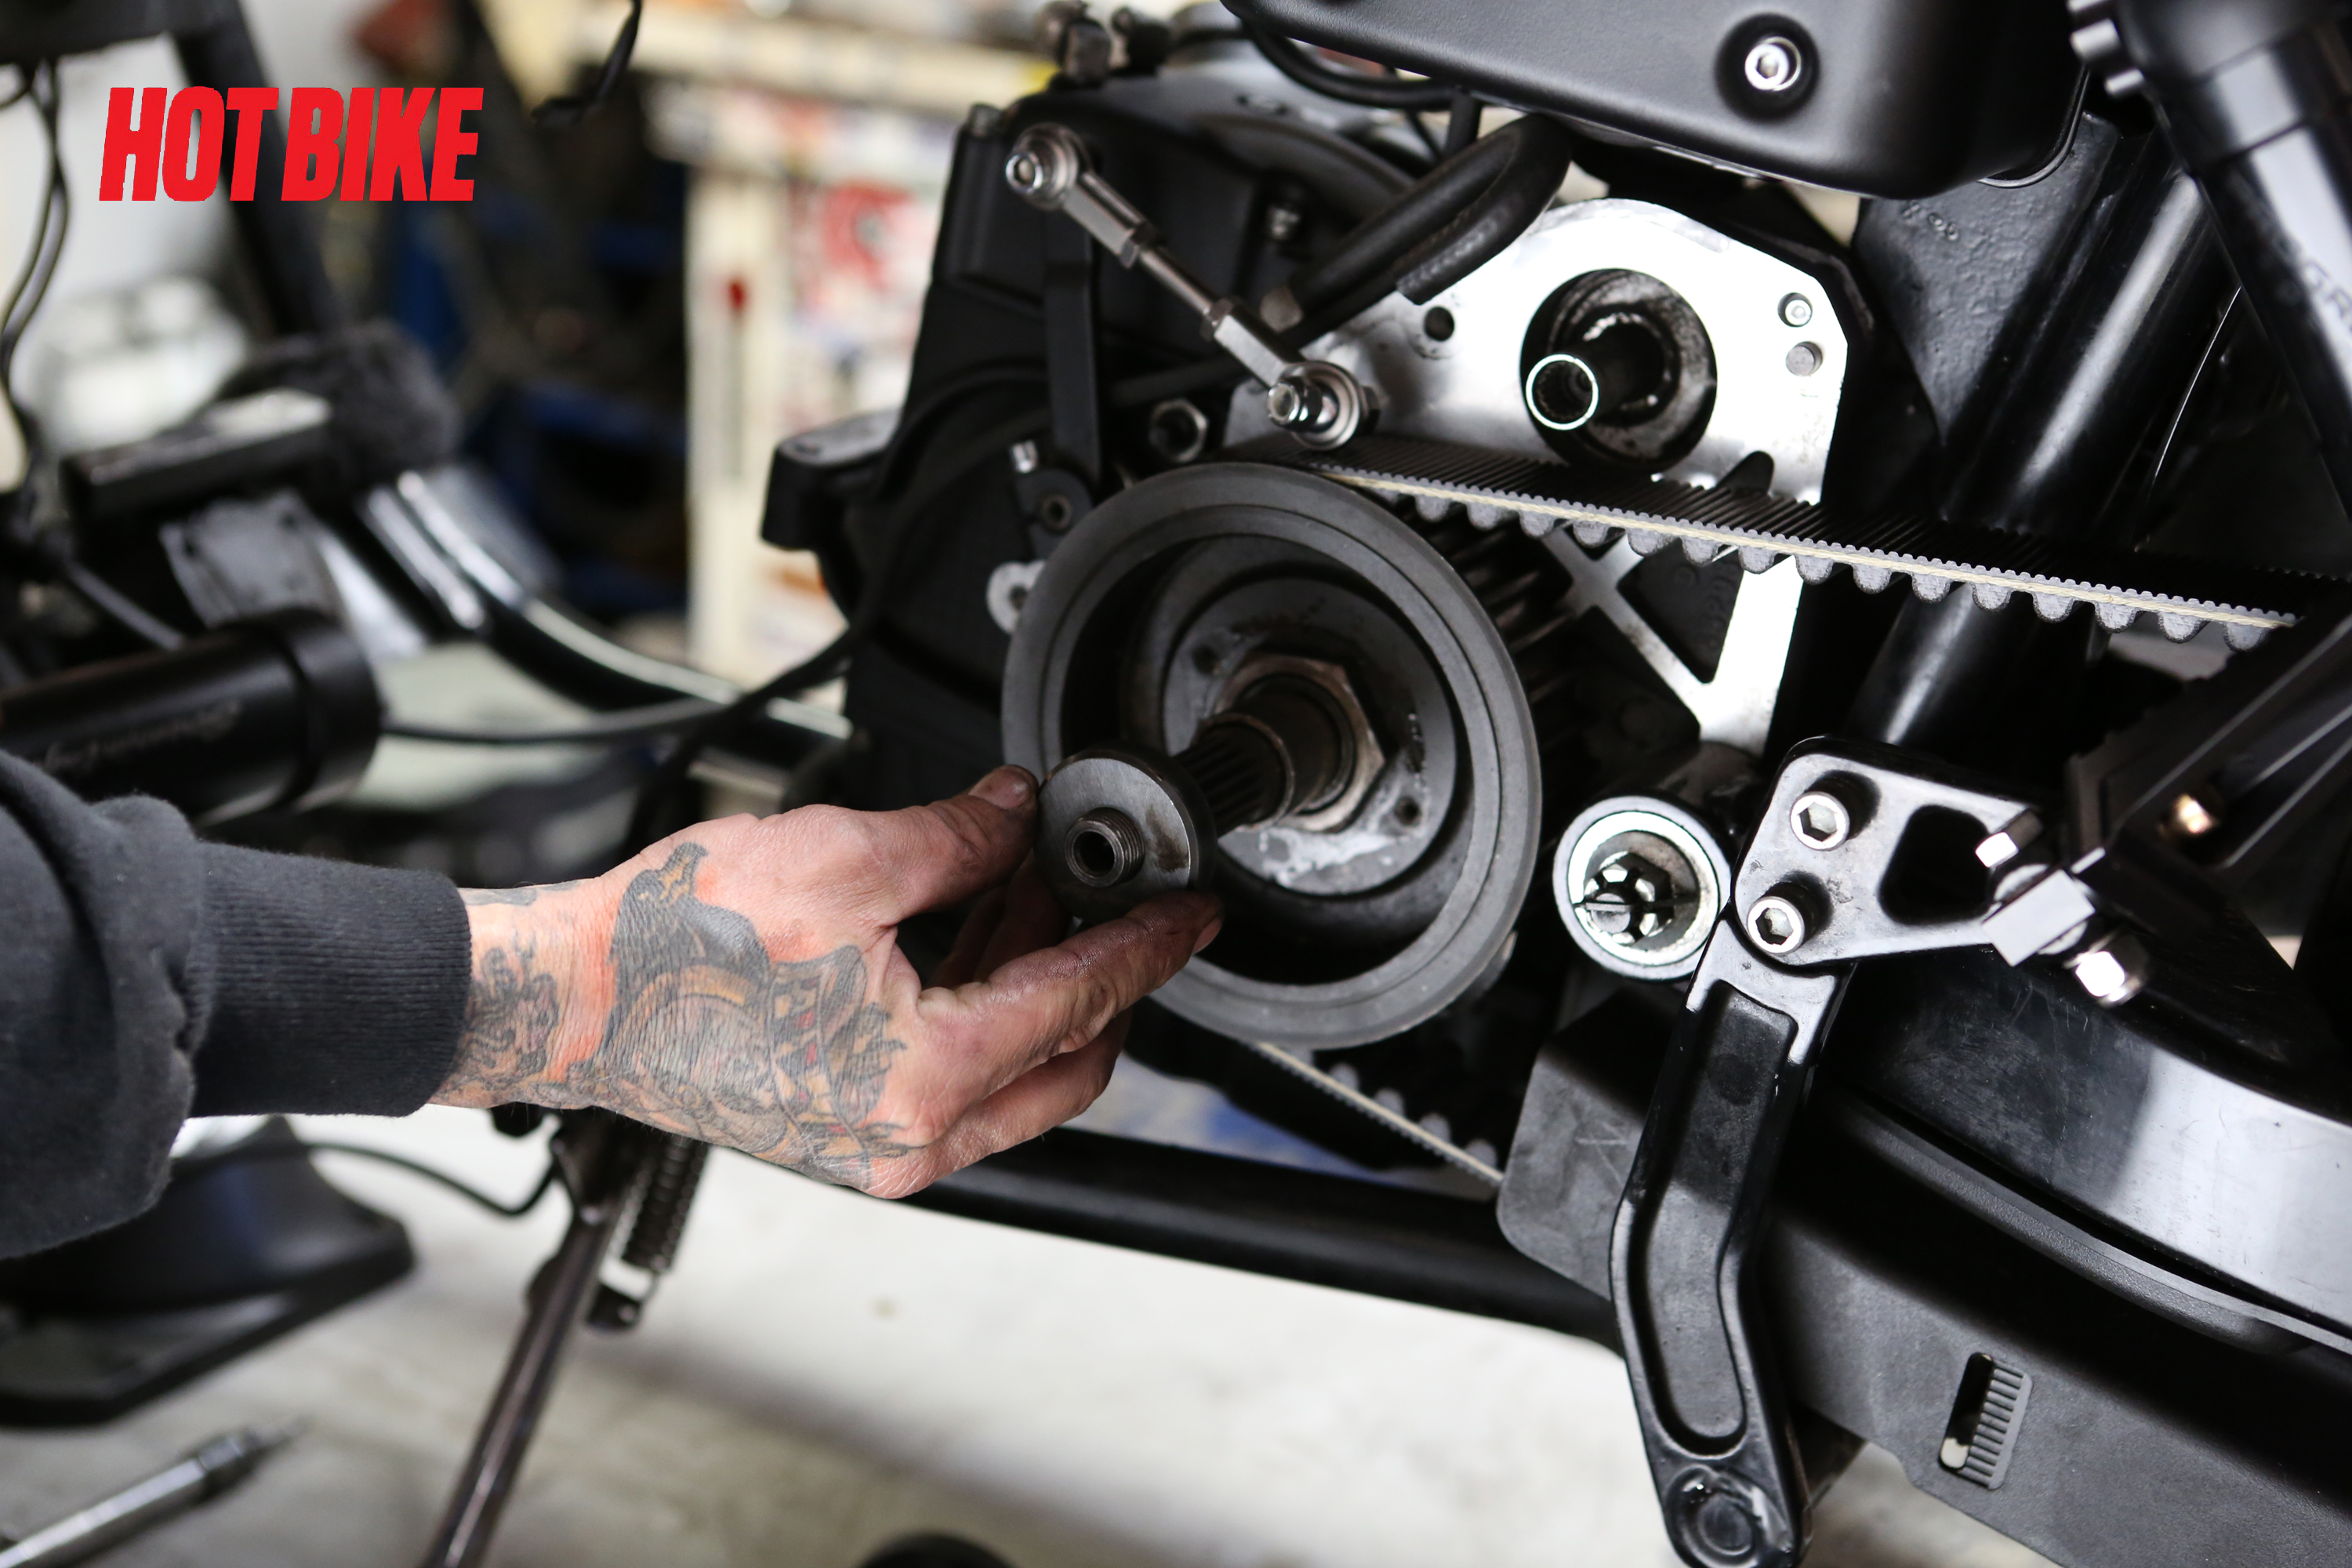
- After the nut is removed you can slide the pulley off of the transmission main shaft.
Words: Chip Kastelnik Photos: Mikey Van Senus
- Remove the primary bearing race. To do this we used a JIMS primary bearing race remover tool (Part # 34902-84).
Words: Chip Kastelnik Photos: Mikey Van Senus
- Next we will be going to the other side of the bike for easy access to the transmission top cover.
Words: Chip Kastelnik Photos: Mikey Van Senus
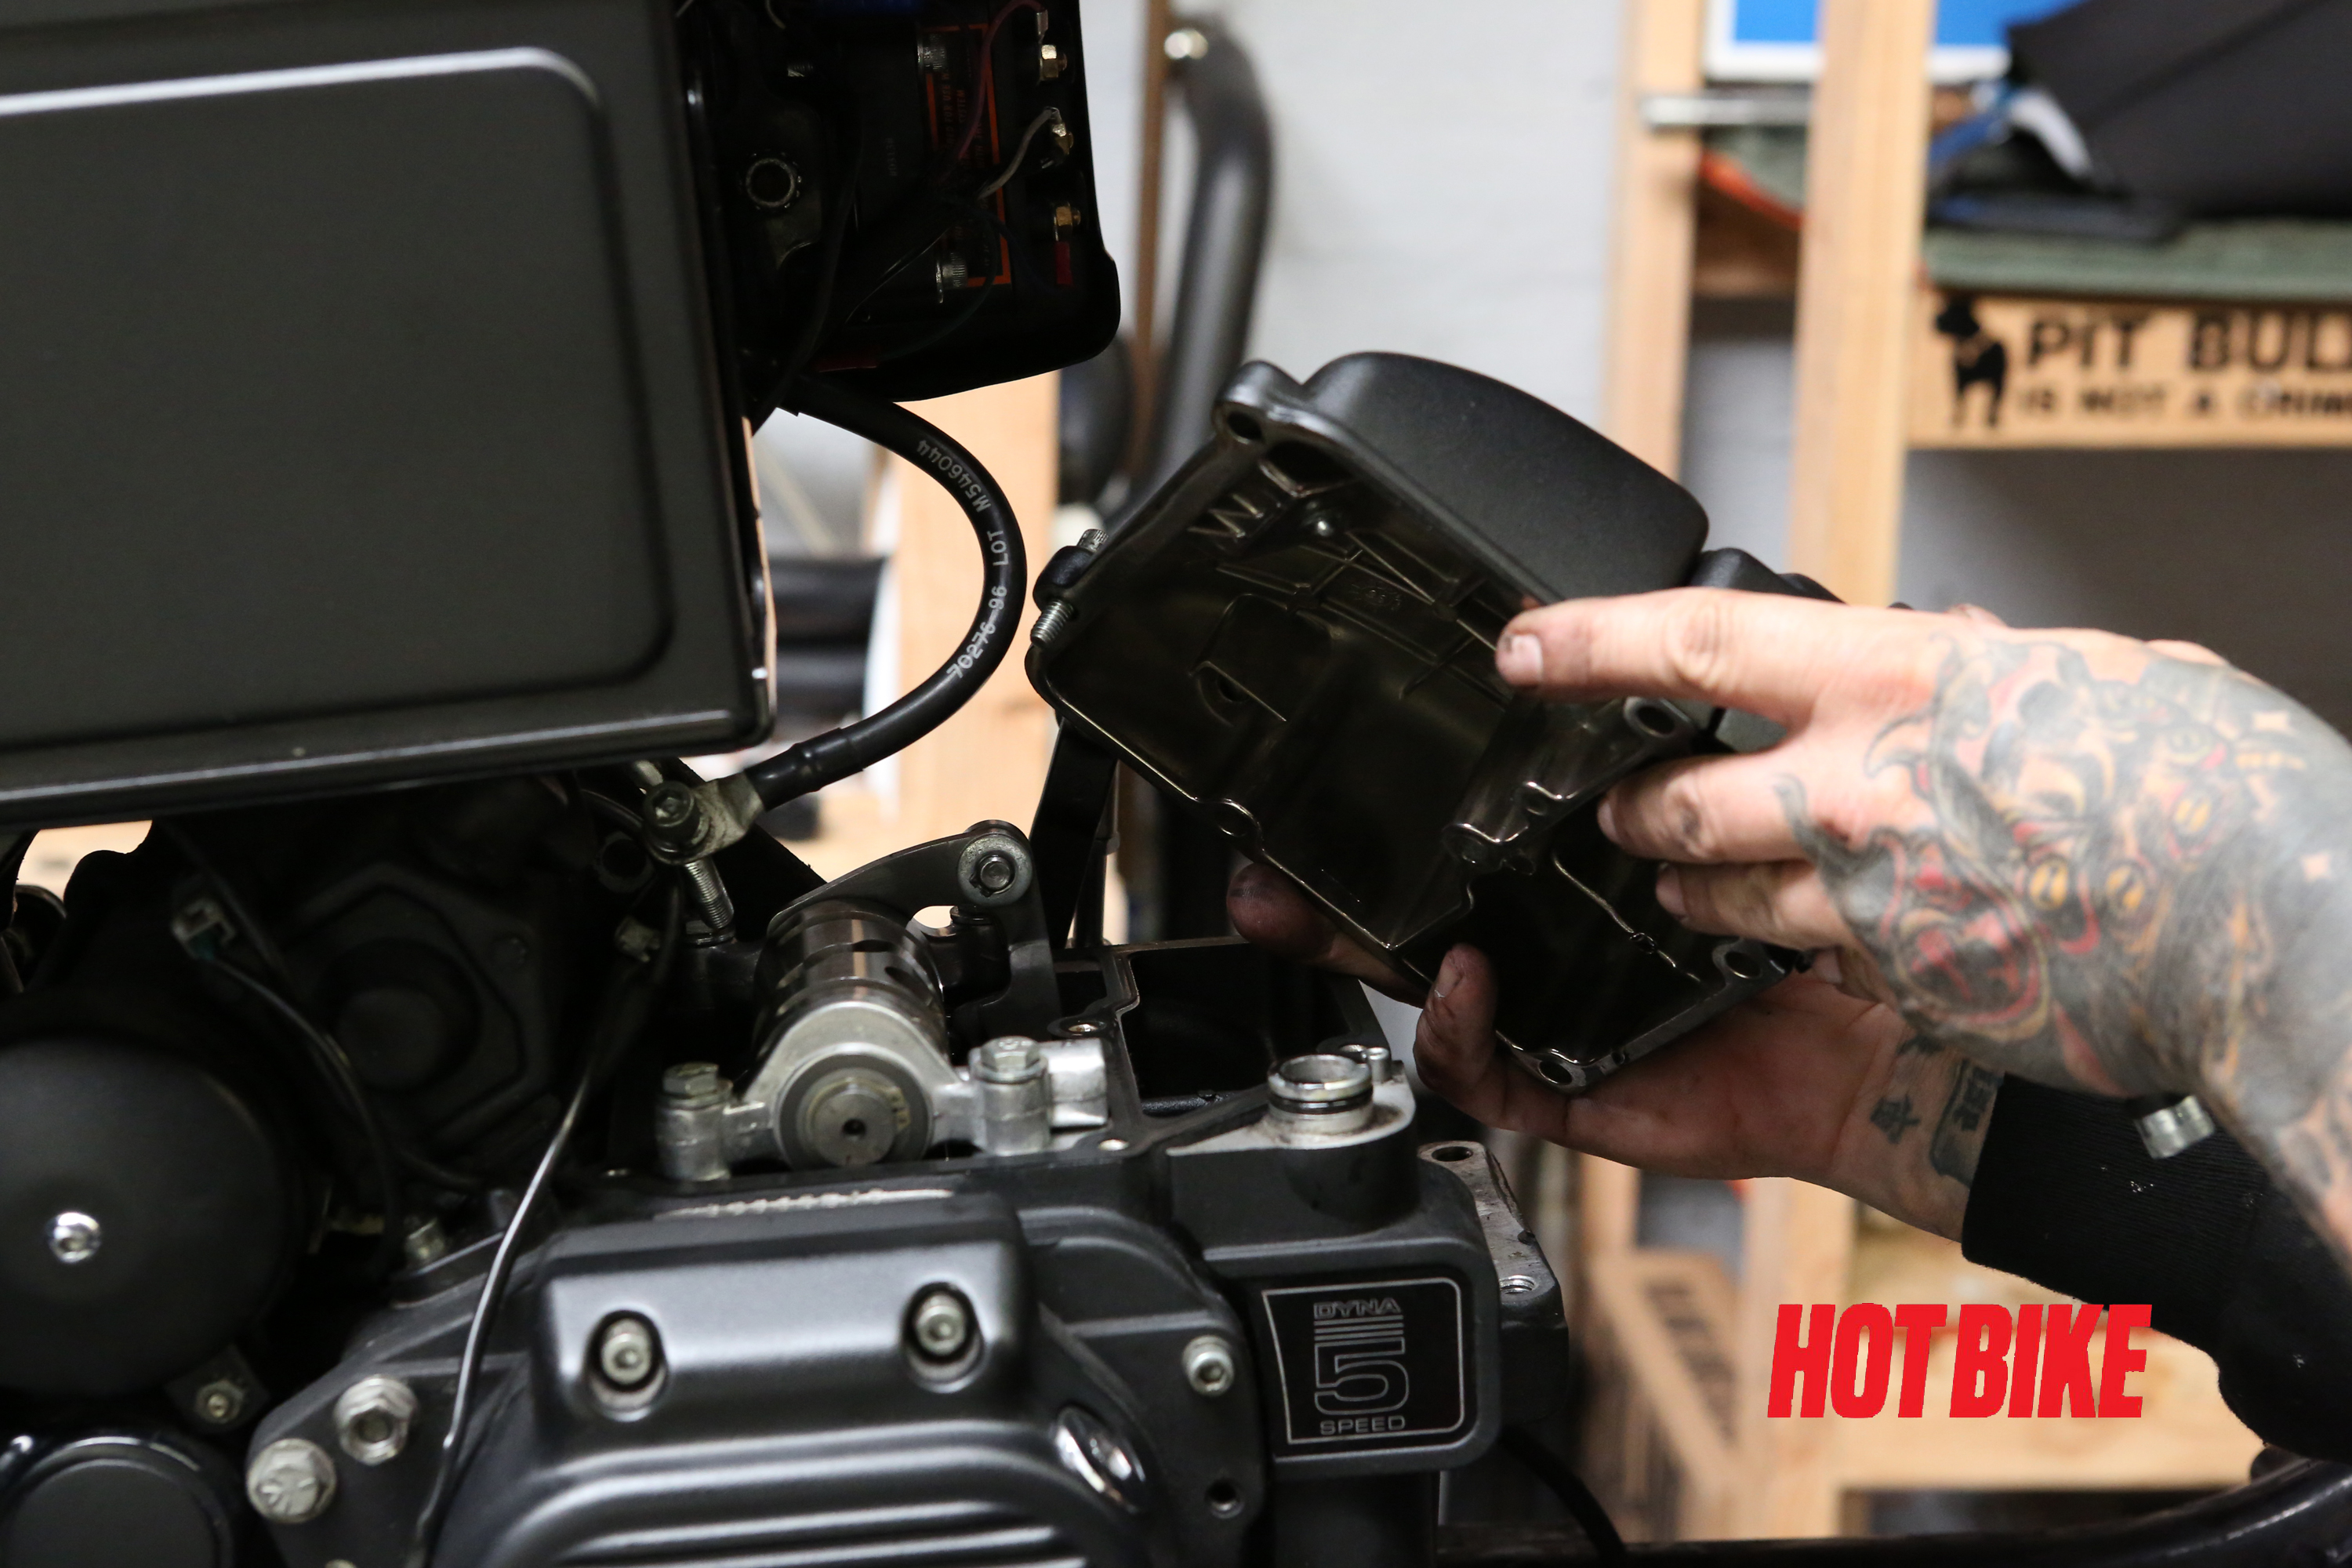
- Remove the transmission top cover and old gasket.
Words: Chip Kastelnik Photos: Mikey Van Senus

- Once the top cover is off and the bolts are in a safe spot, remove the transmission side cover and old gasket.
Words: Chip Kastelnik Photos: Mikey Van Senus
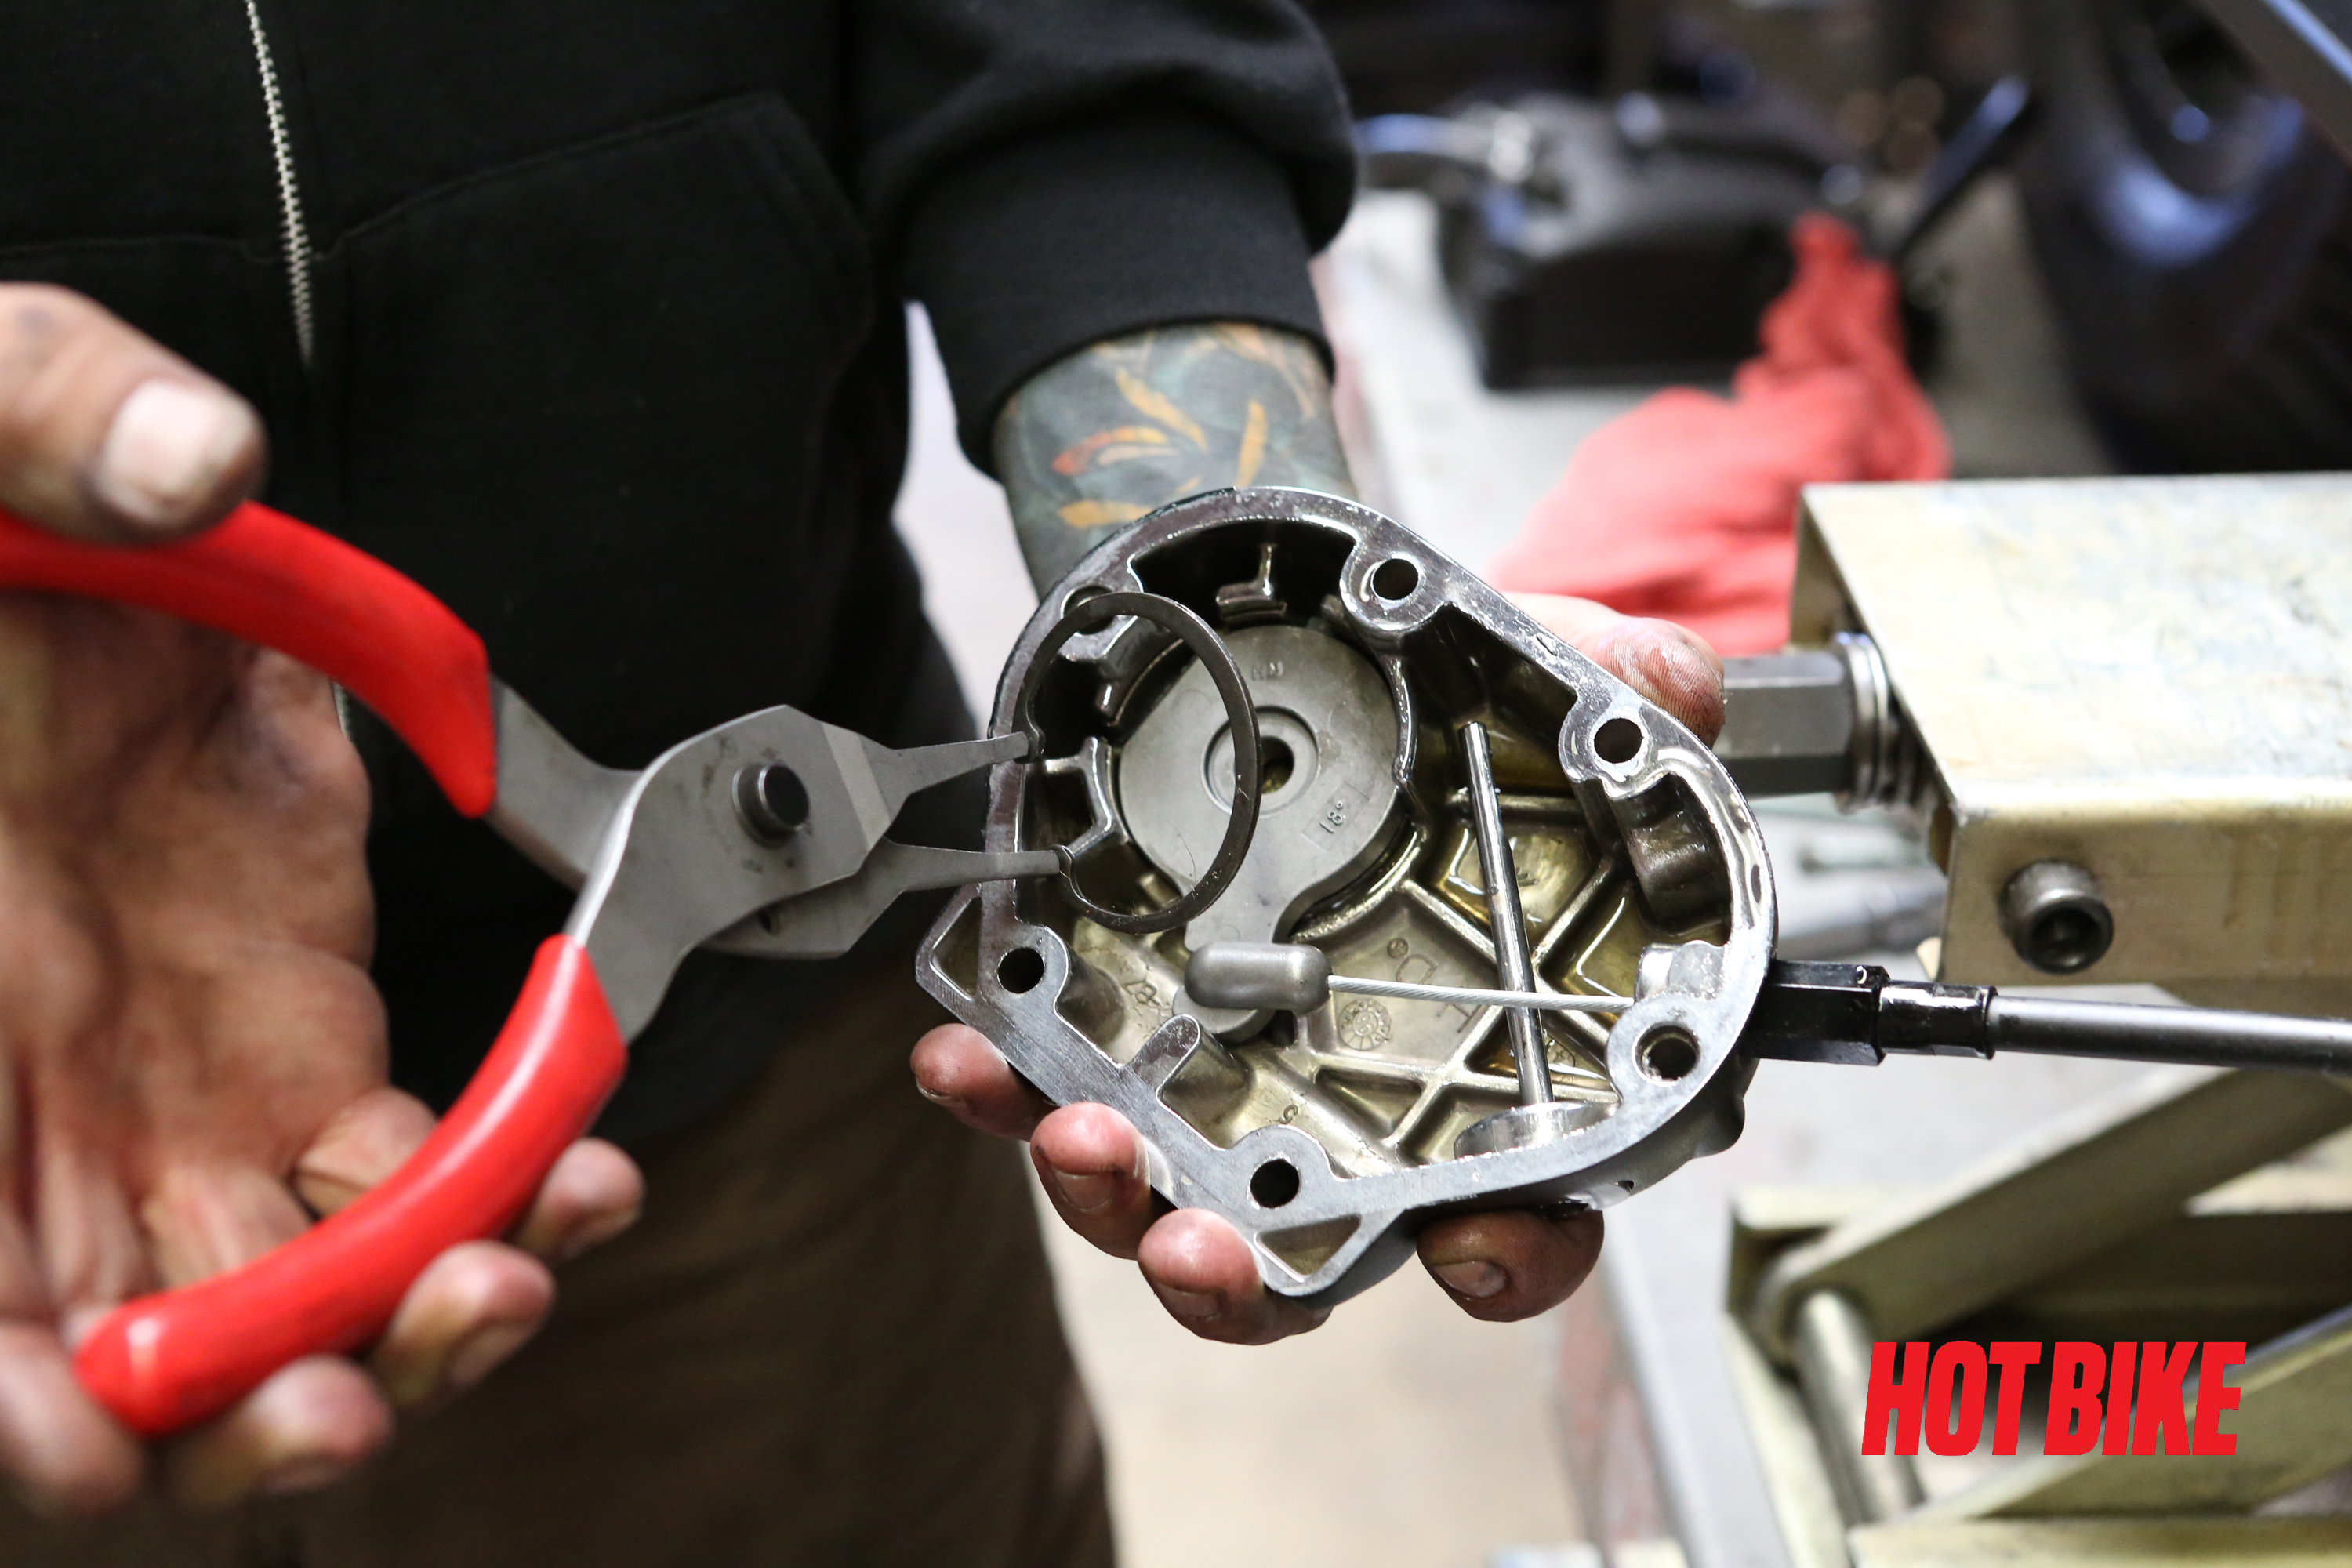
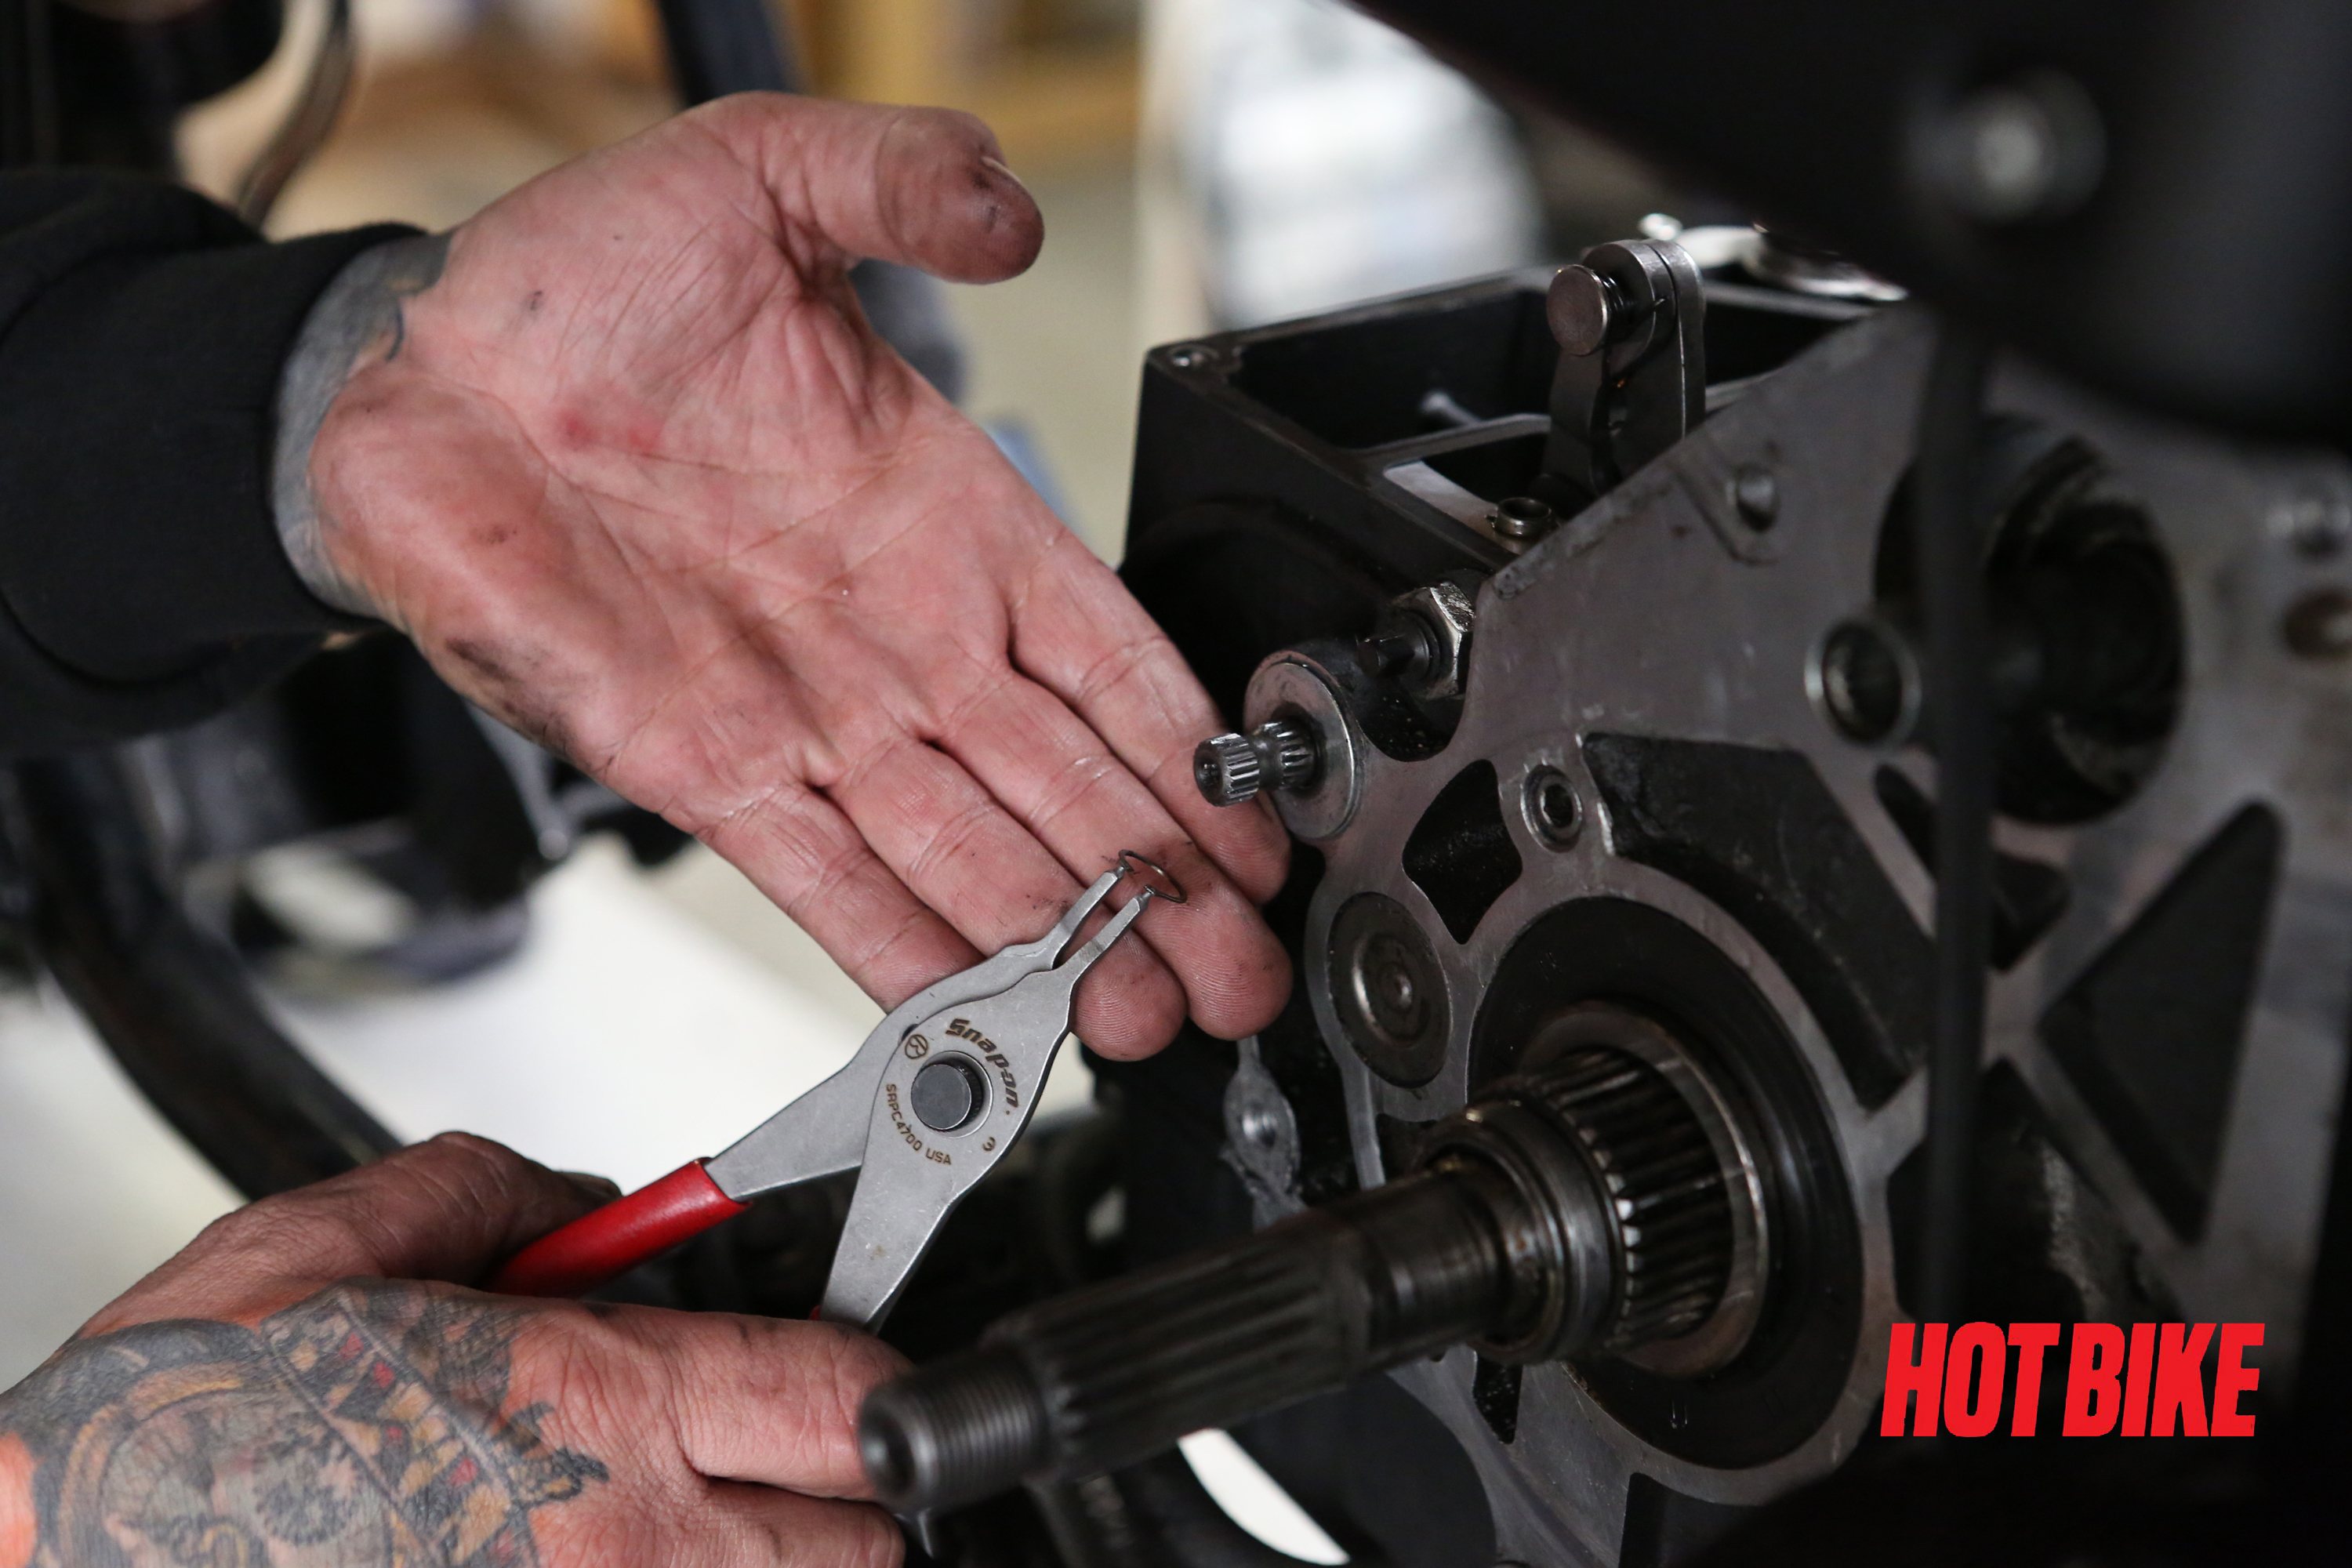
- Using a snap-ring plier, remove the snap ring that holds the ball and ramp in place.
Words: Chip Kastelnik Photos: Mikey Van Senus
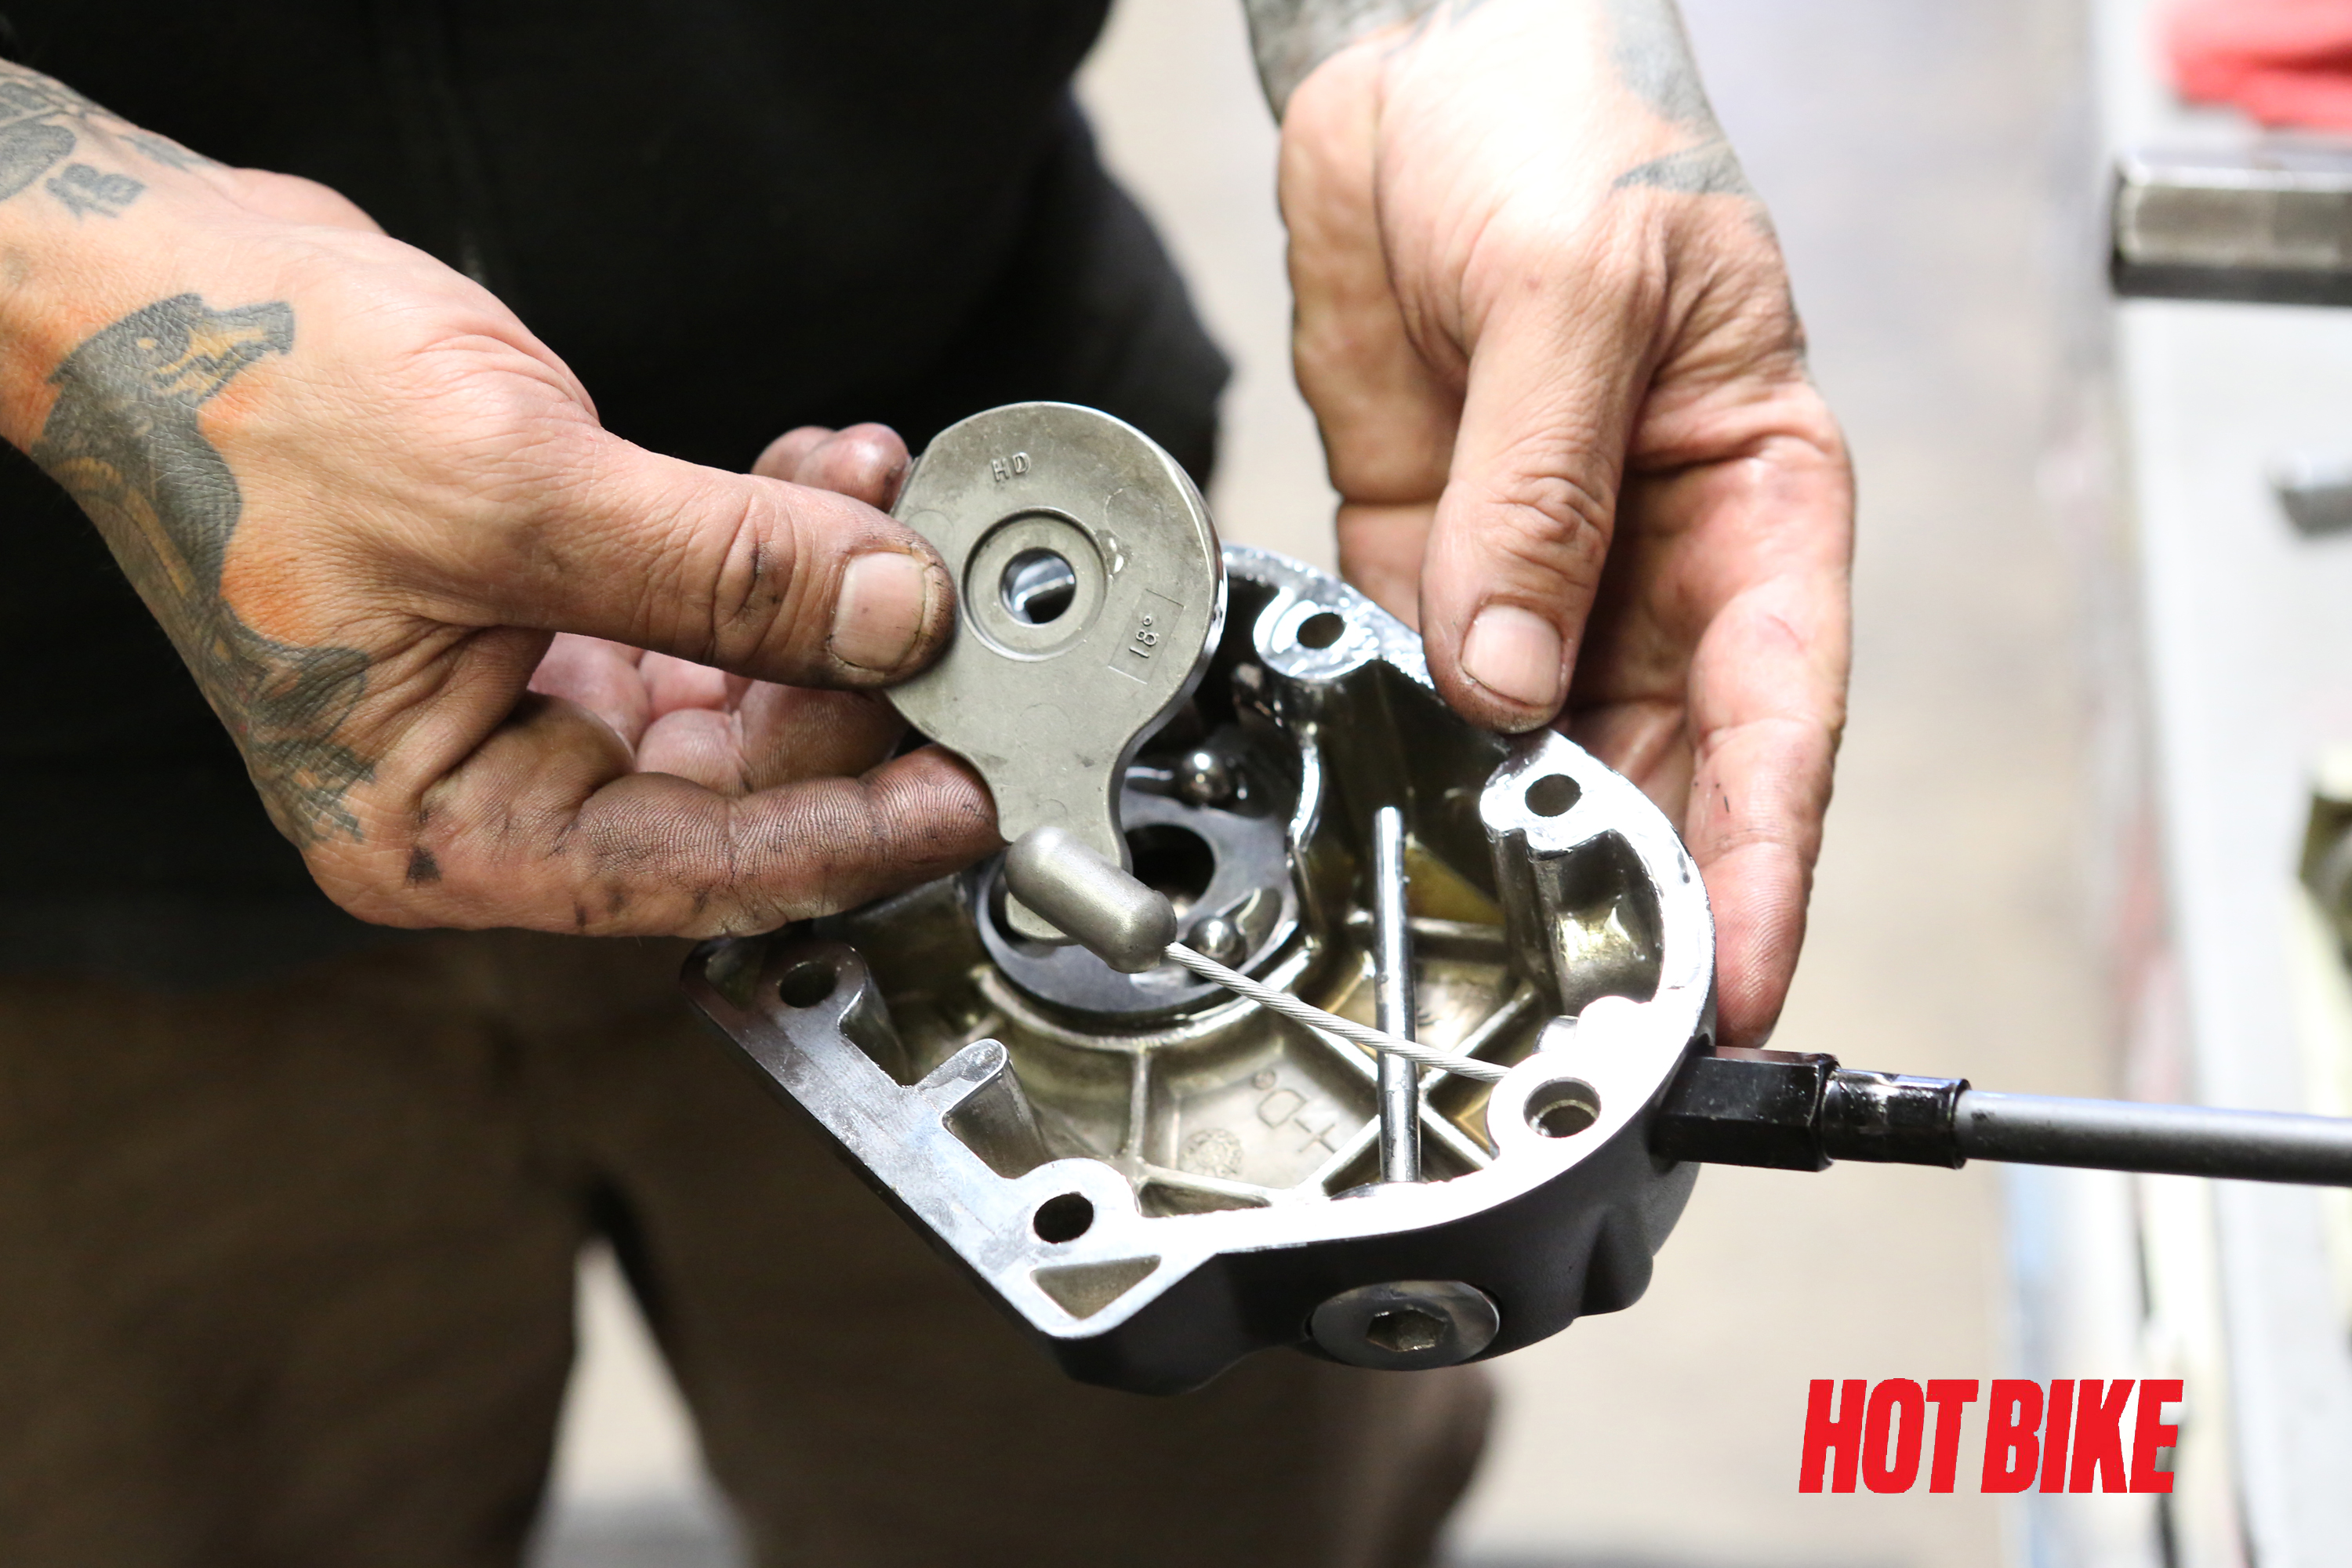
- Take the ball and ramp out of the side cover and remove the cable for the ramp mechanism. This will enable you to remove the clutch cable from the side cover.
Words: Chip Kastelnik Photos: Mikey Van Senus

- Using a 9/16-inch wrench, remove the clutch cable from the side cover.
Words: Chip Kastelnik Photos: Mikey Van Senus
- Remove the stock oil chucker.
Words: Chip Kastelnik Photos: Mikey Van Senus
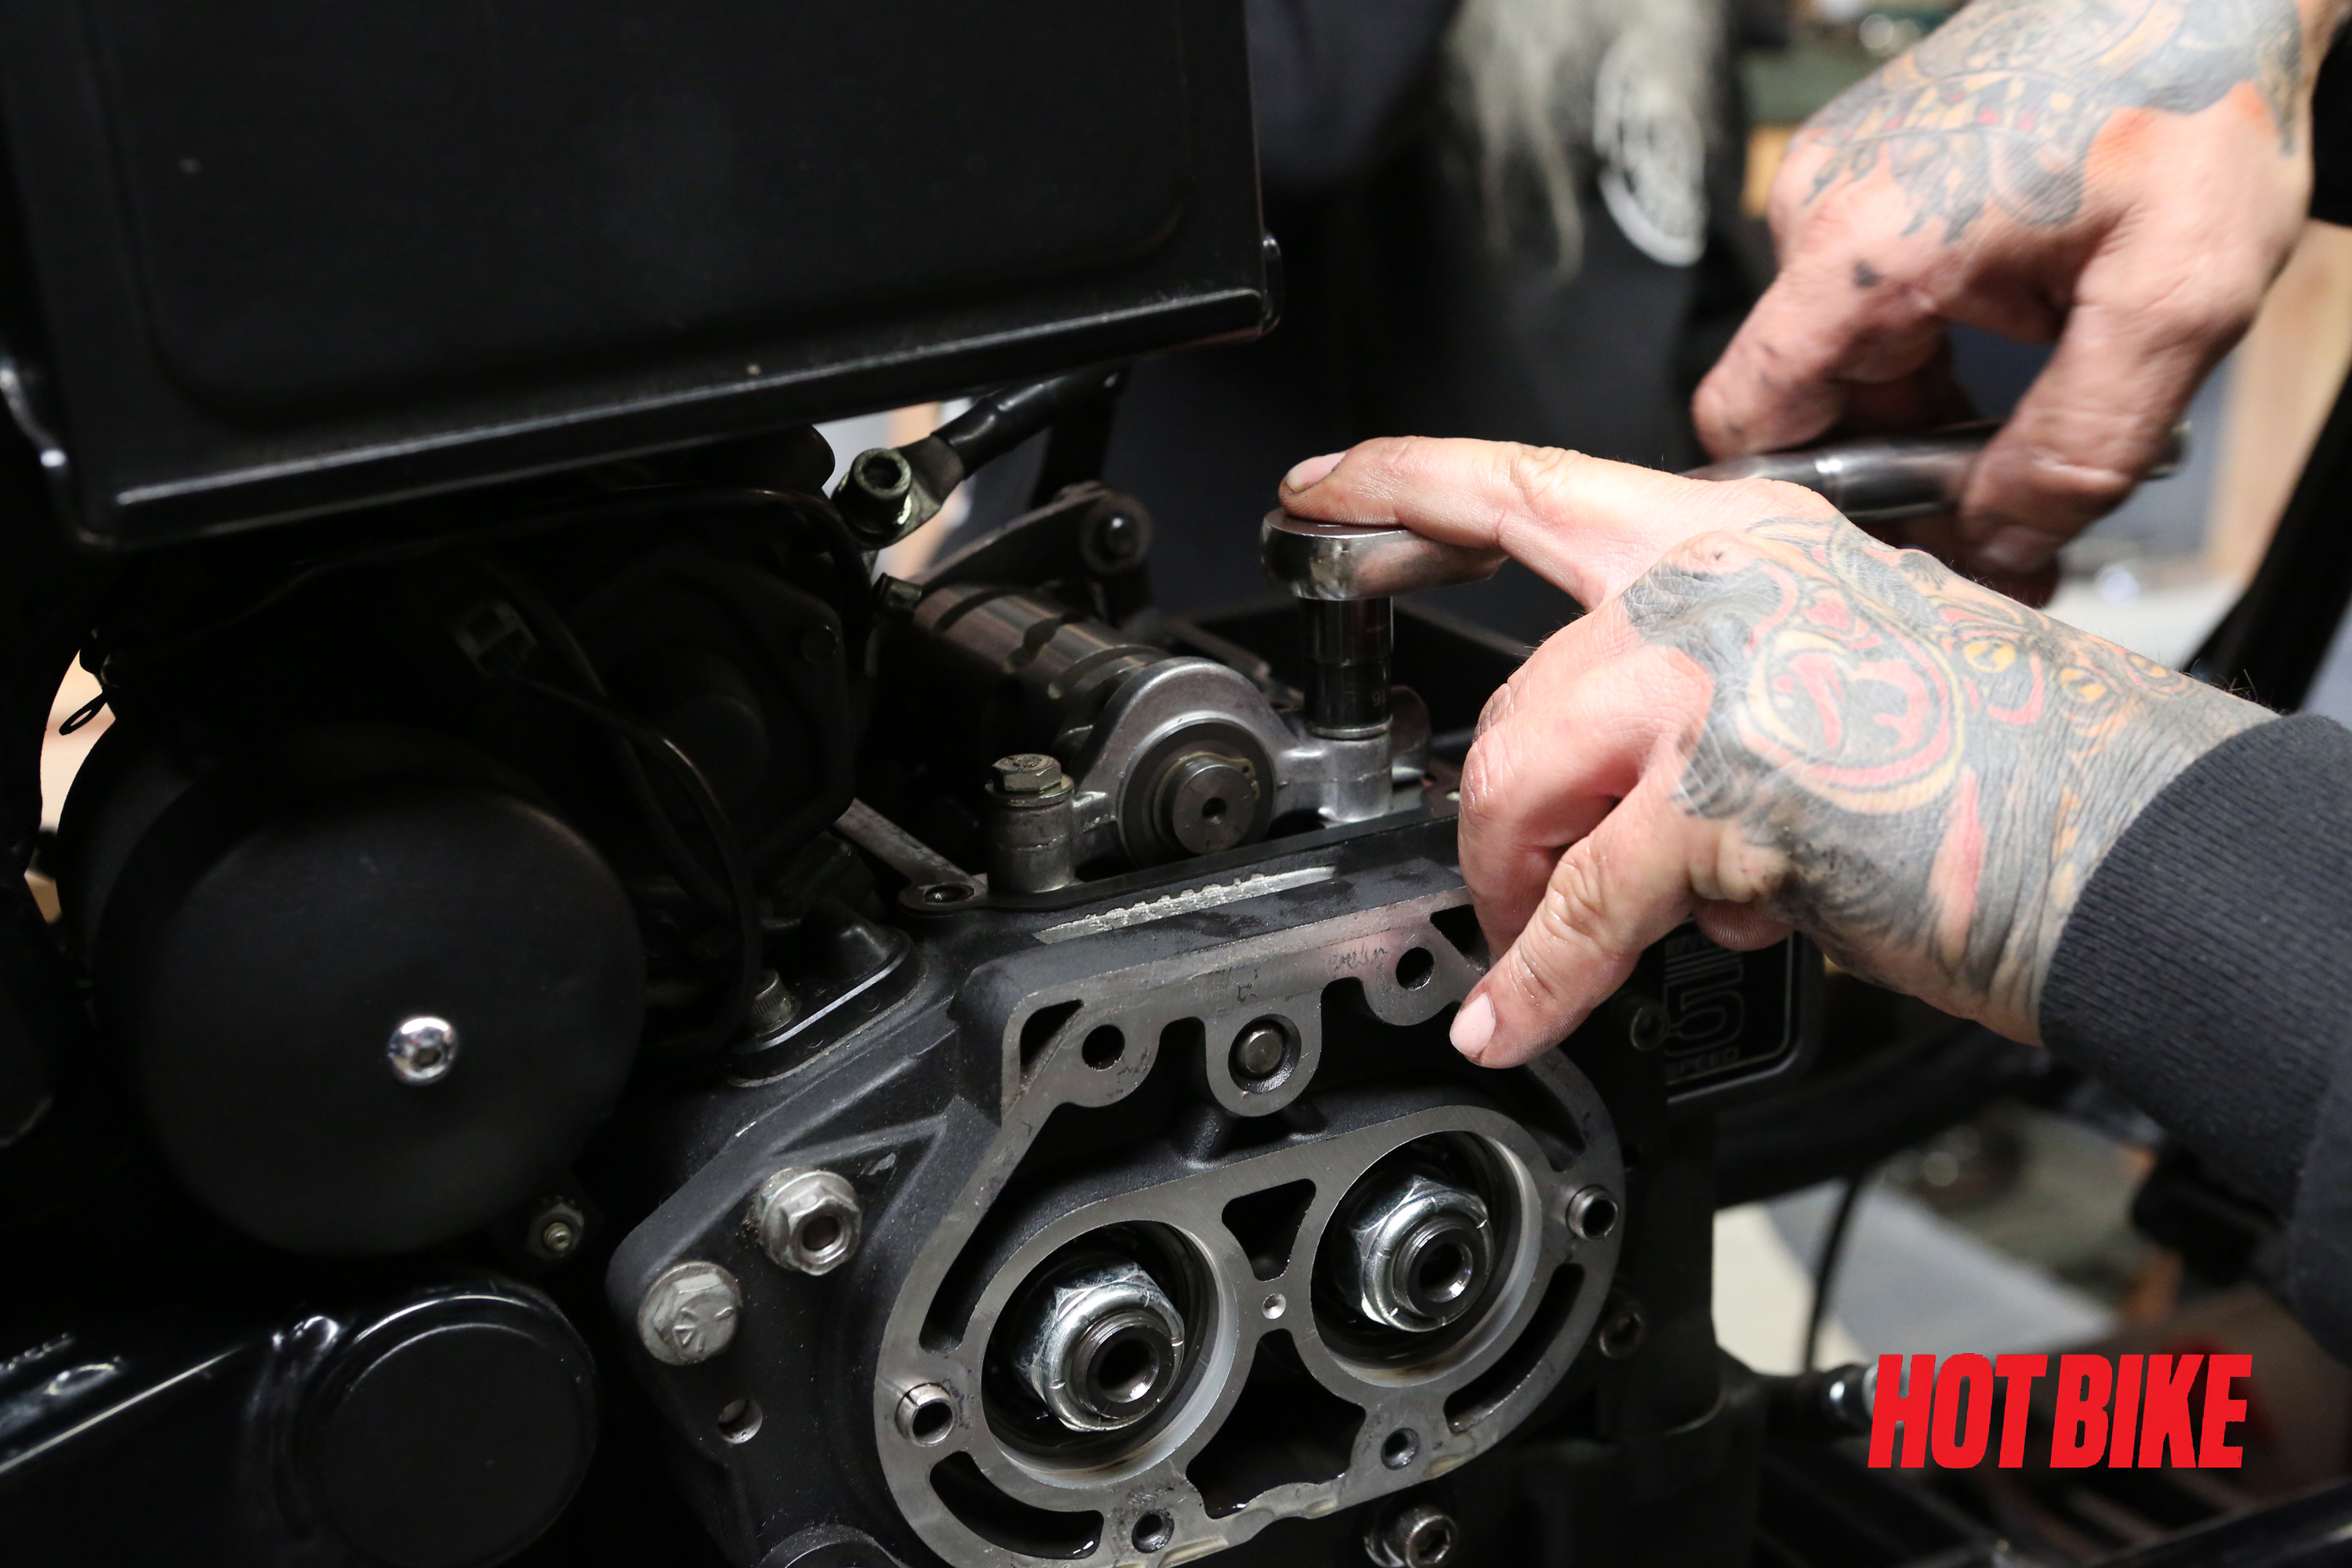
- Using a 7/16-inch socket, remove the five-speed shift drum.
Words: Chip Kastelnik Photos: Mikey Van Senus
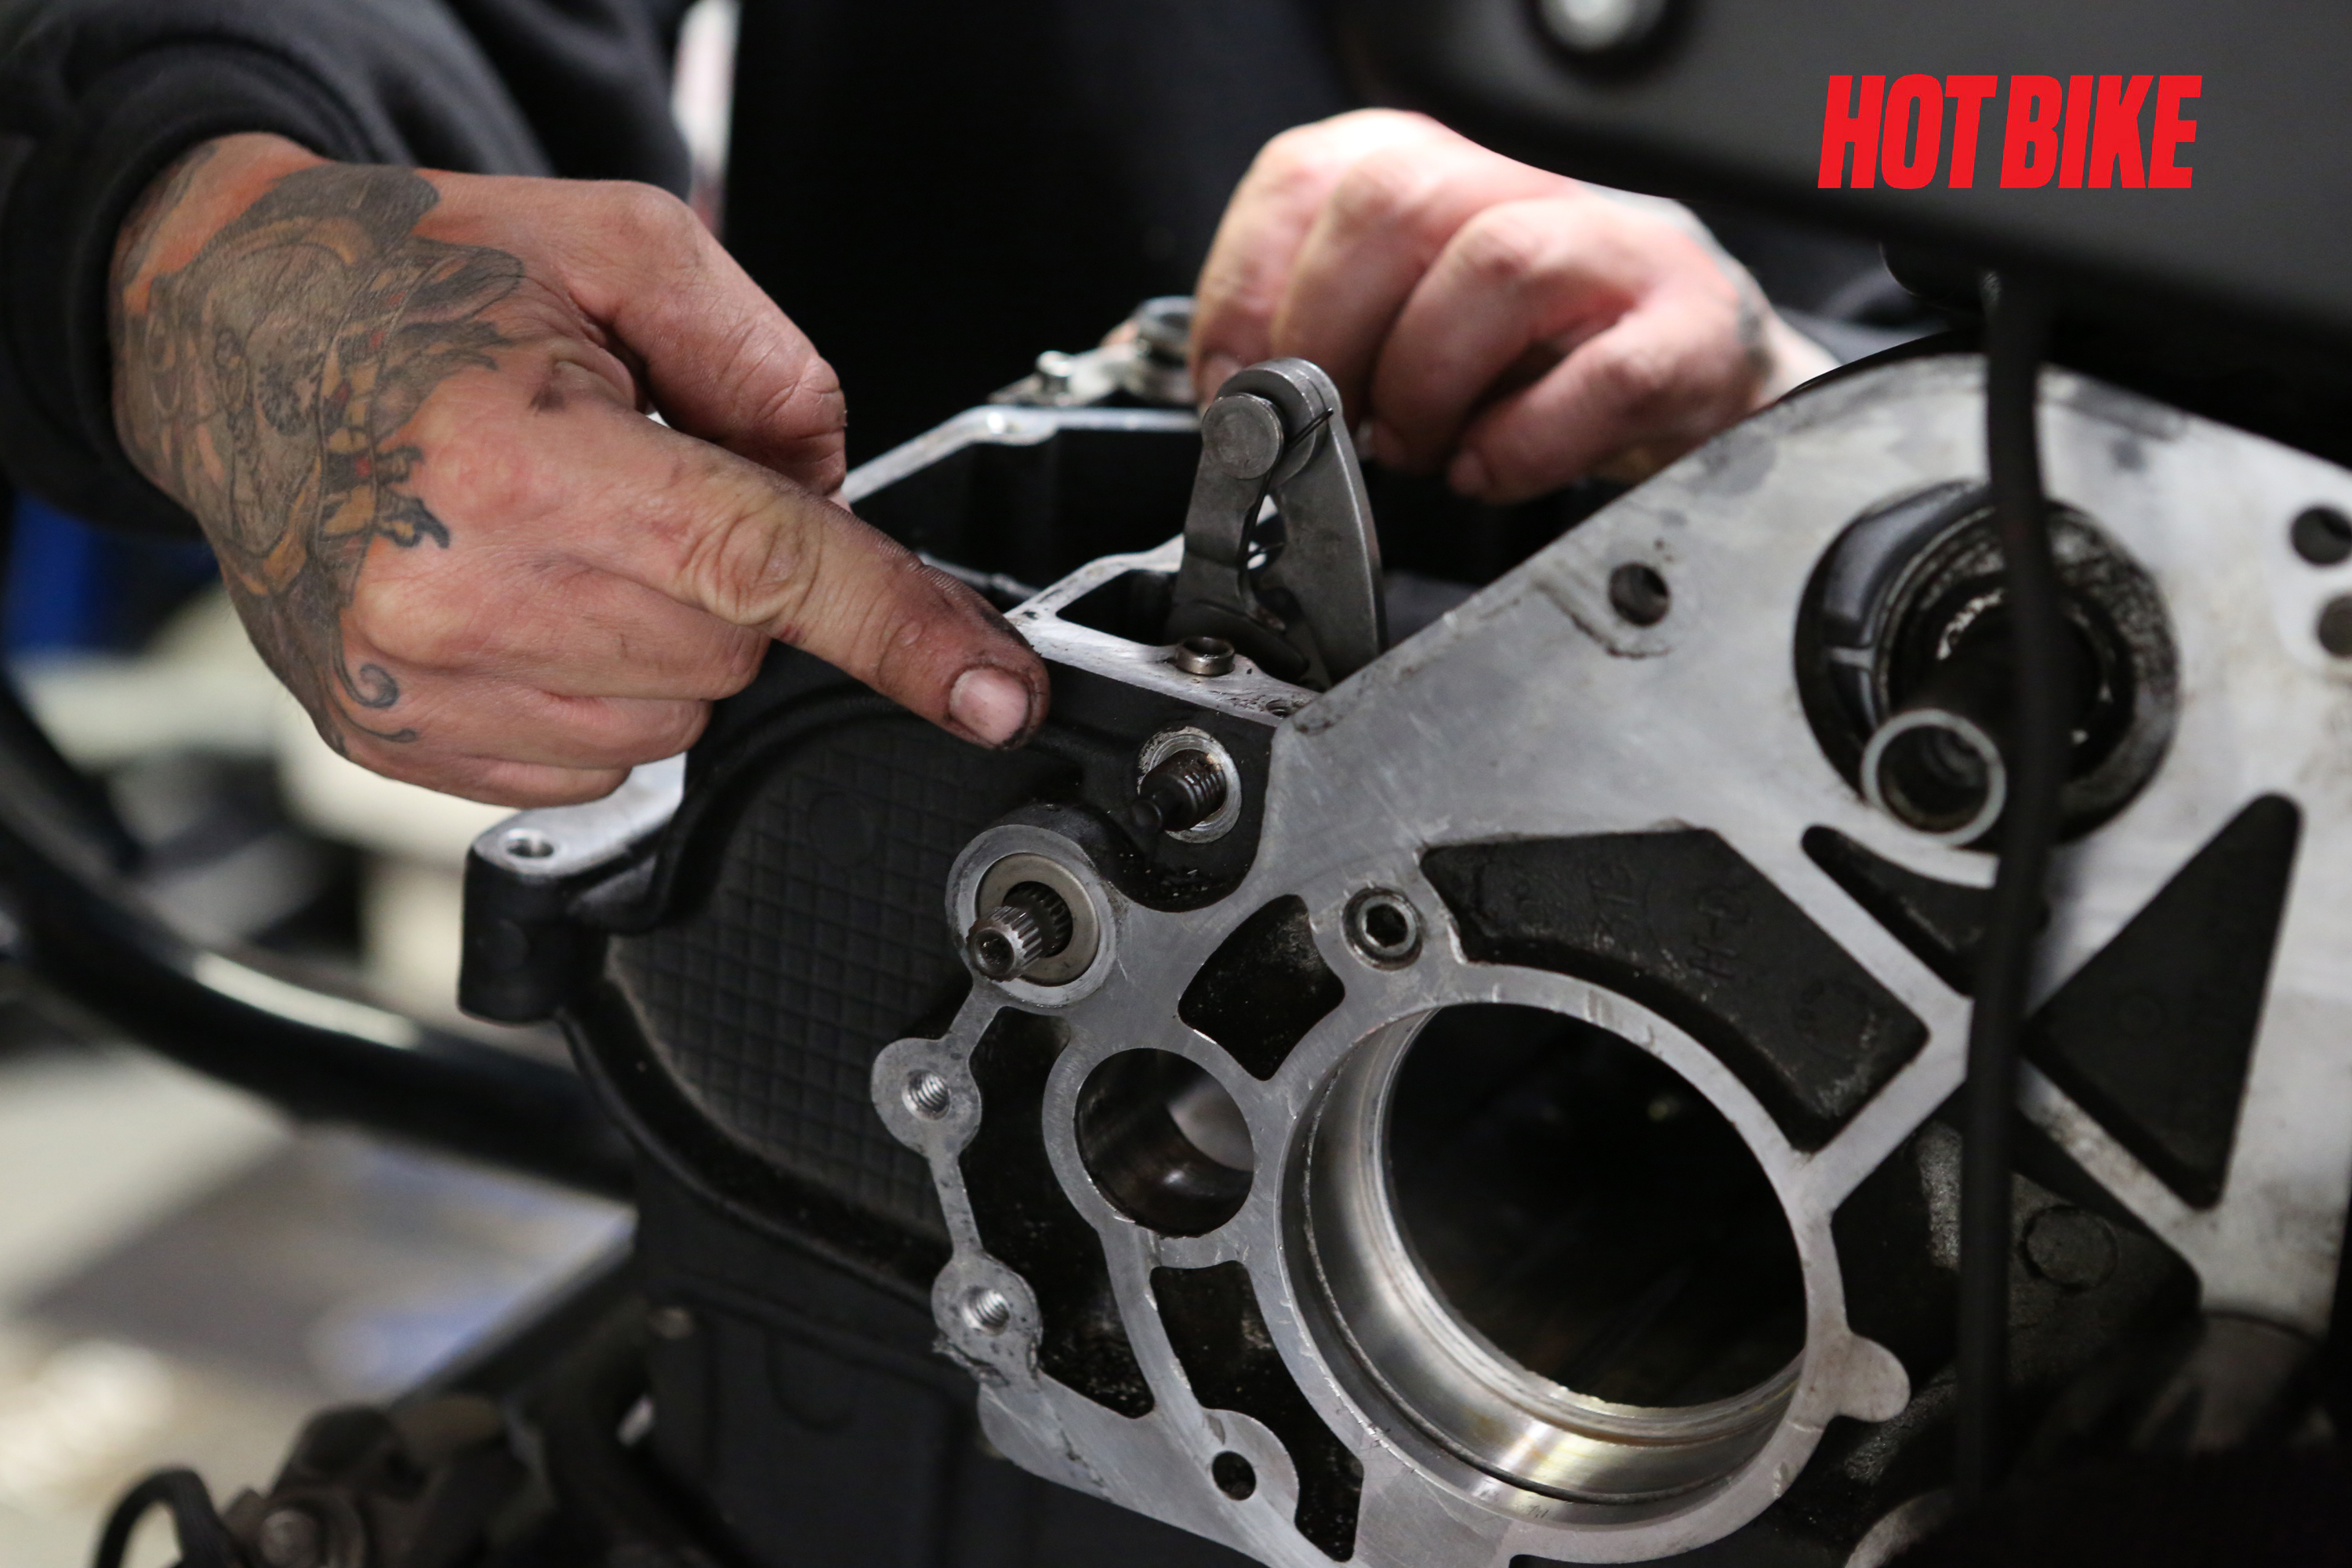
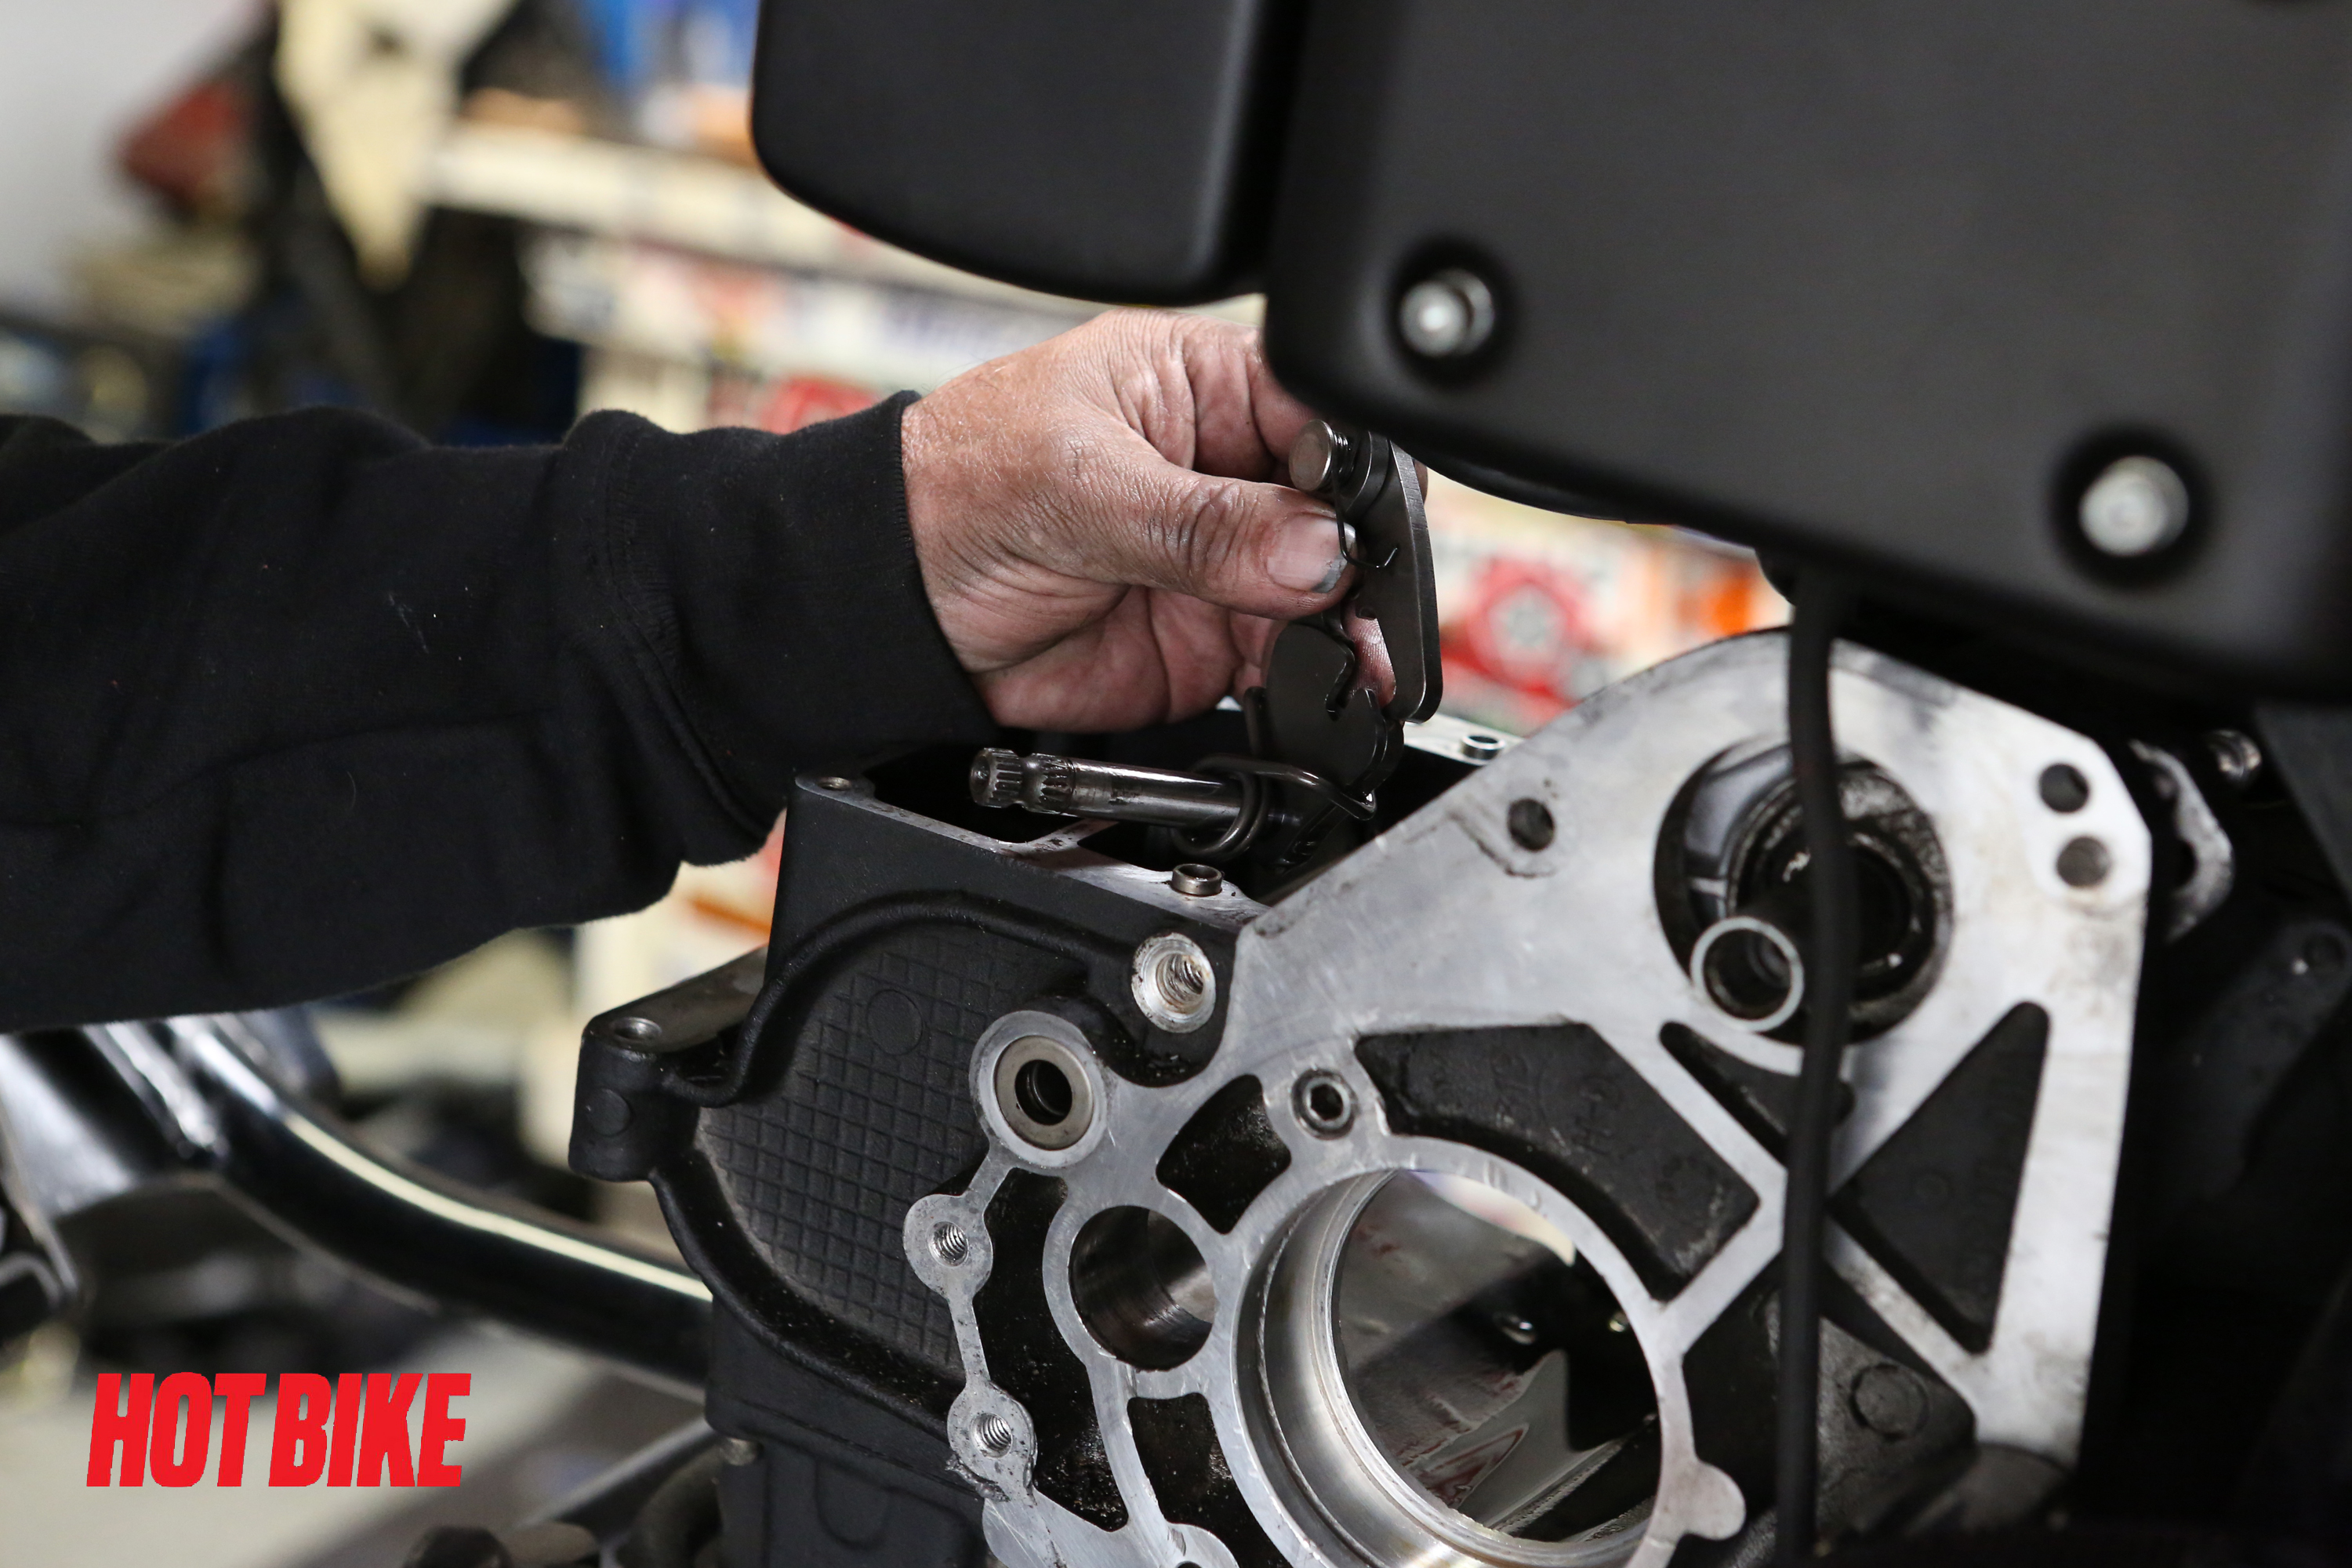
- After the four bolts that hold the shift drum are removed, carefully pull the shift pawl upward and out of the shift drum. Be sure not to pull too hard, as damage to the shift pawl spring may occur.
Words: Chip Kastelnik Photos: Mikey Van Senus
- With the shift pawl out of the way, remove the shift drum by lifting it up and off its dowel pins.
Words: Chip Kastelnik Photos: Mikey Van Senus
- Take the bolt out of the shift lever that is attached to the shifter pawl.
Words: Chip Kastelnik Photos: Mikey Van Senus
- Using a snap-ring plier, remove the snap ring by spreading it open and sliding it over the splined shaft.
Words: Chip Kastelnik Photos: Mikey Van Senus

- Take off the washer that sits behind the snap ring.
Words: Chip Kastelnik Photos: Mikey Van Senus
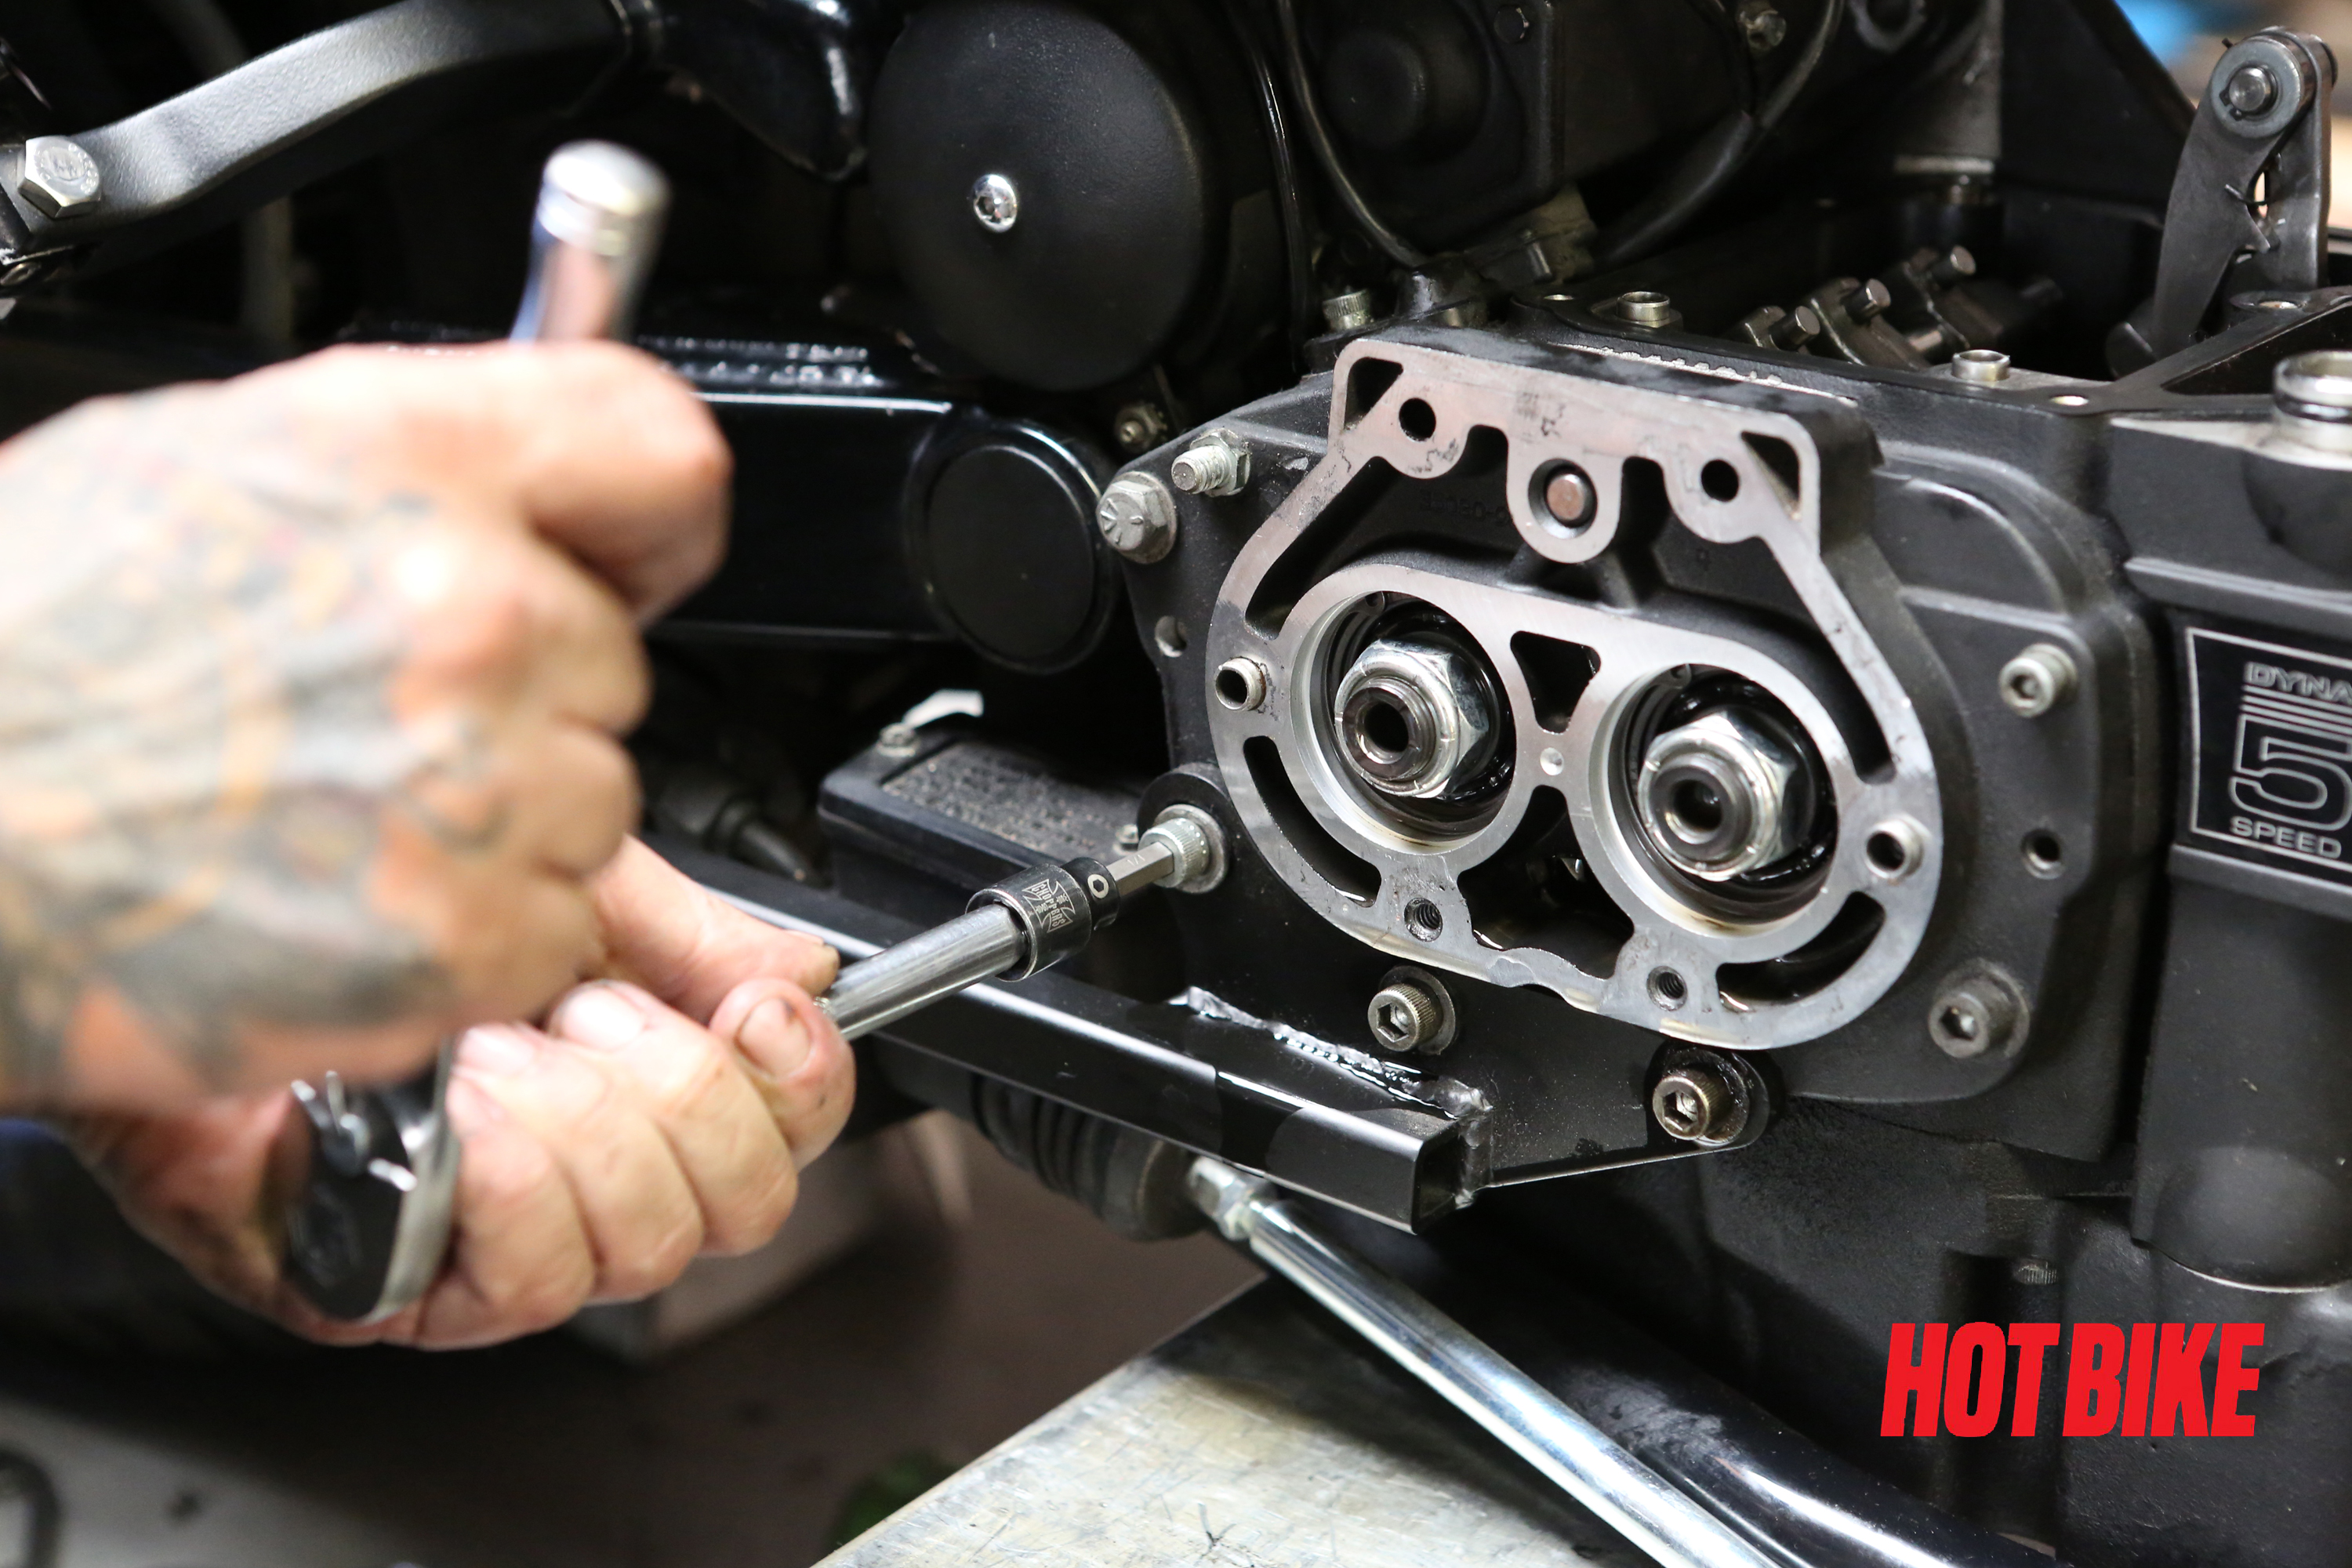
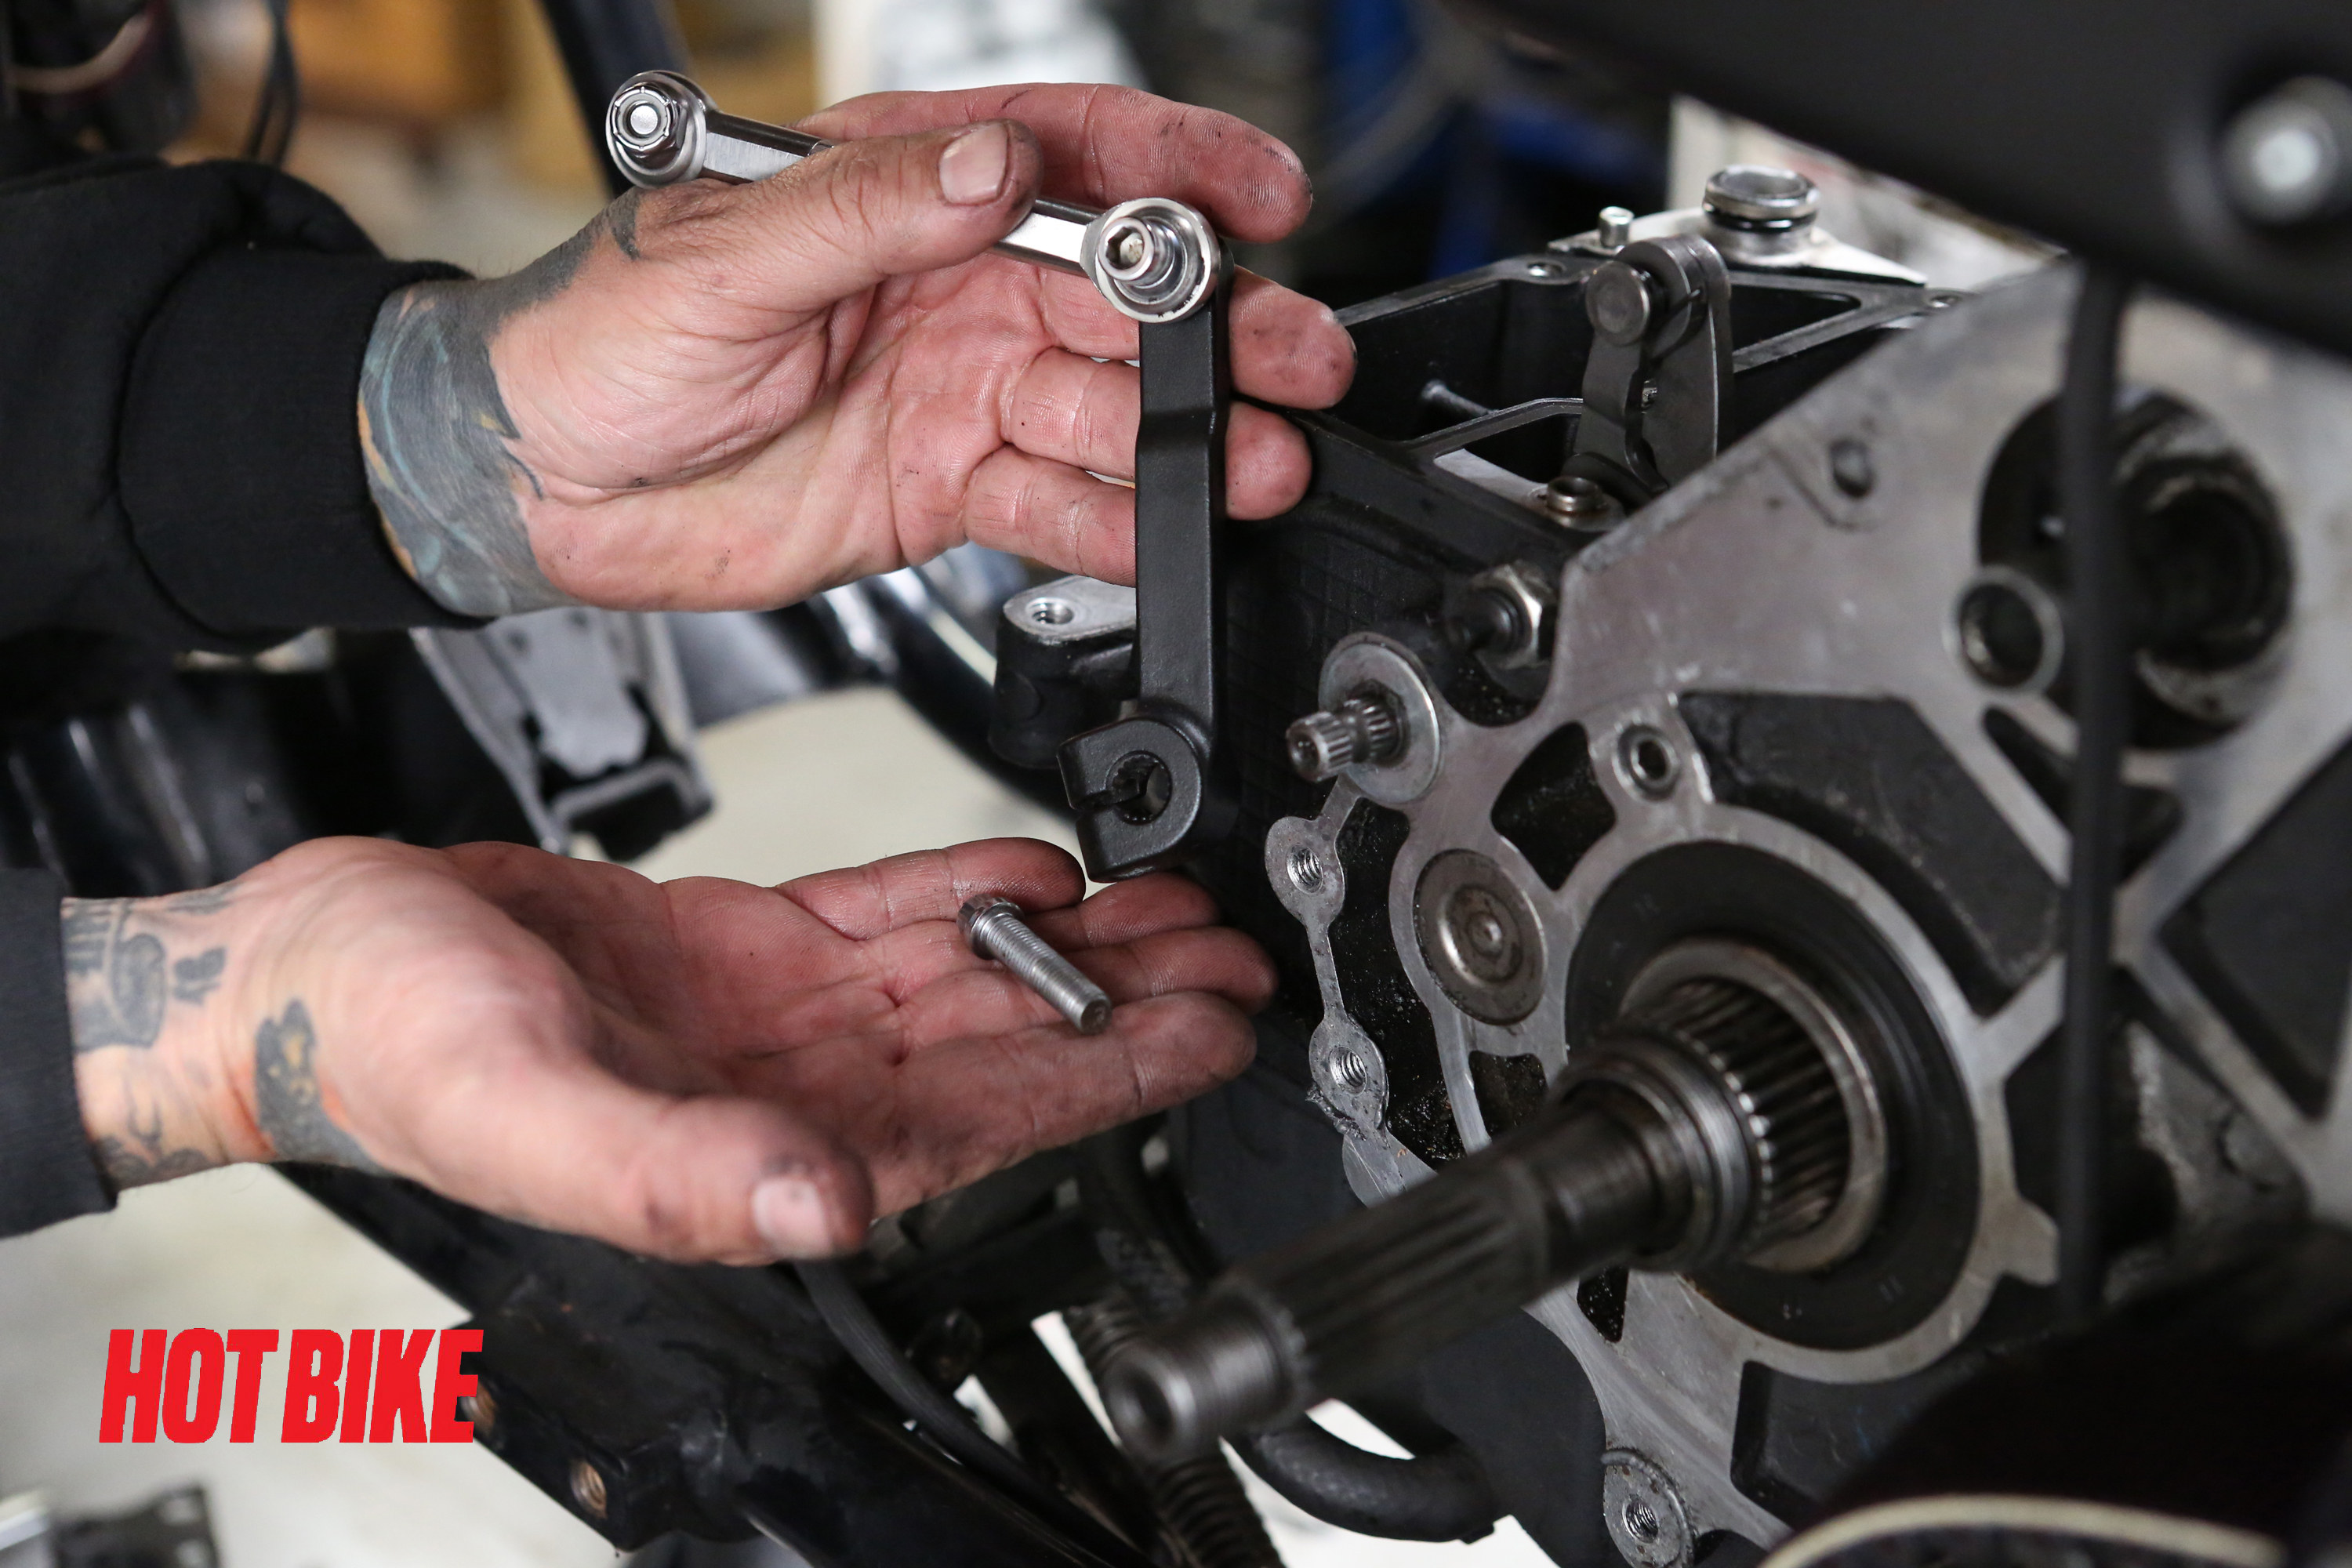
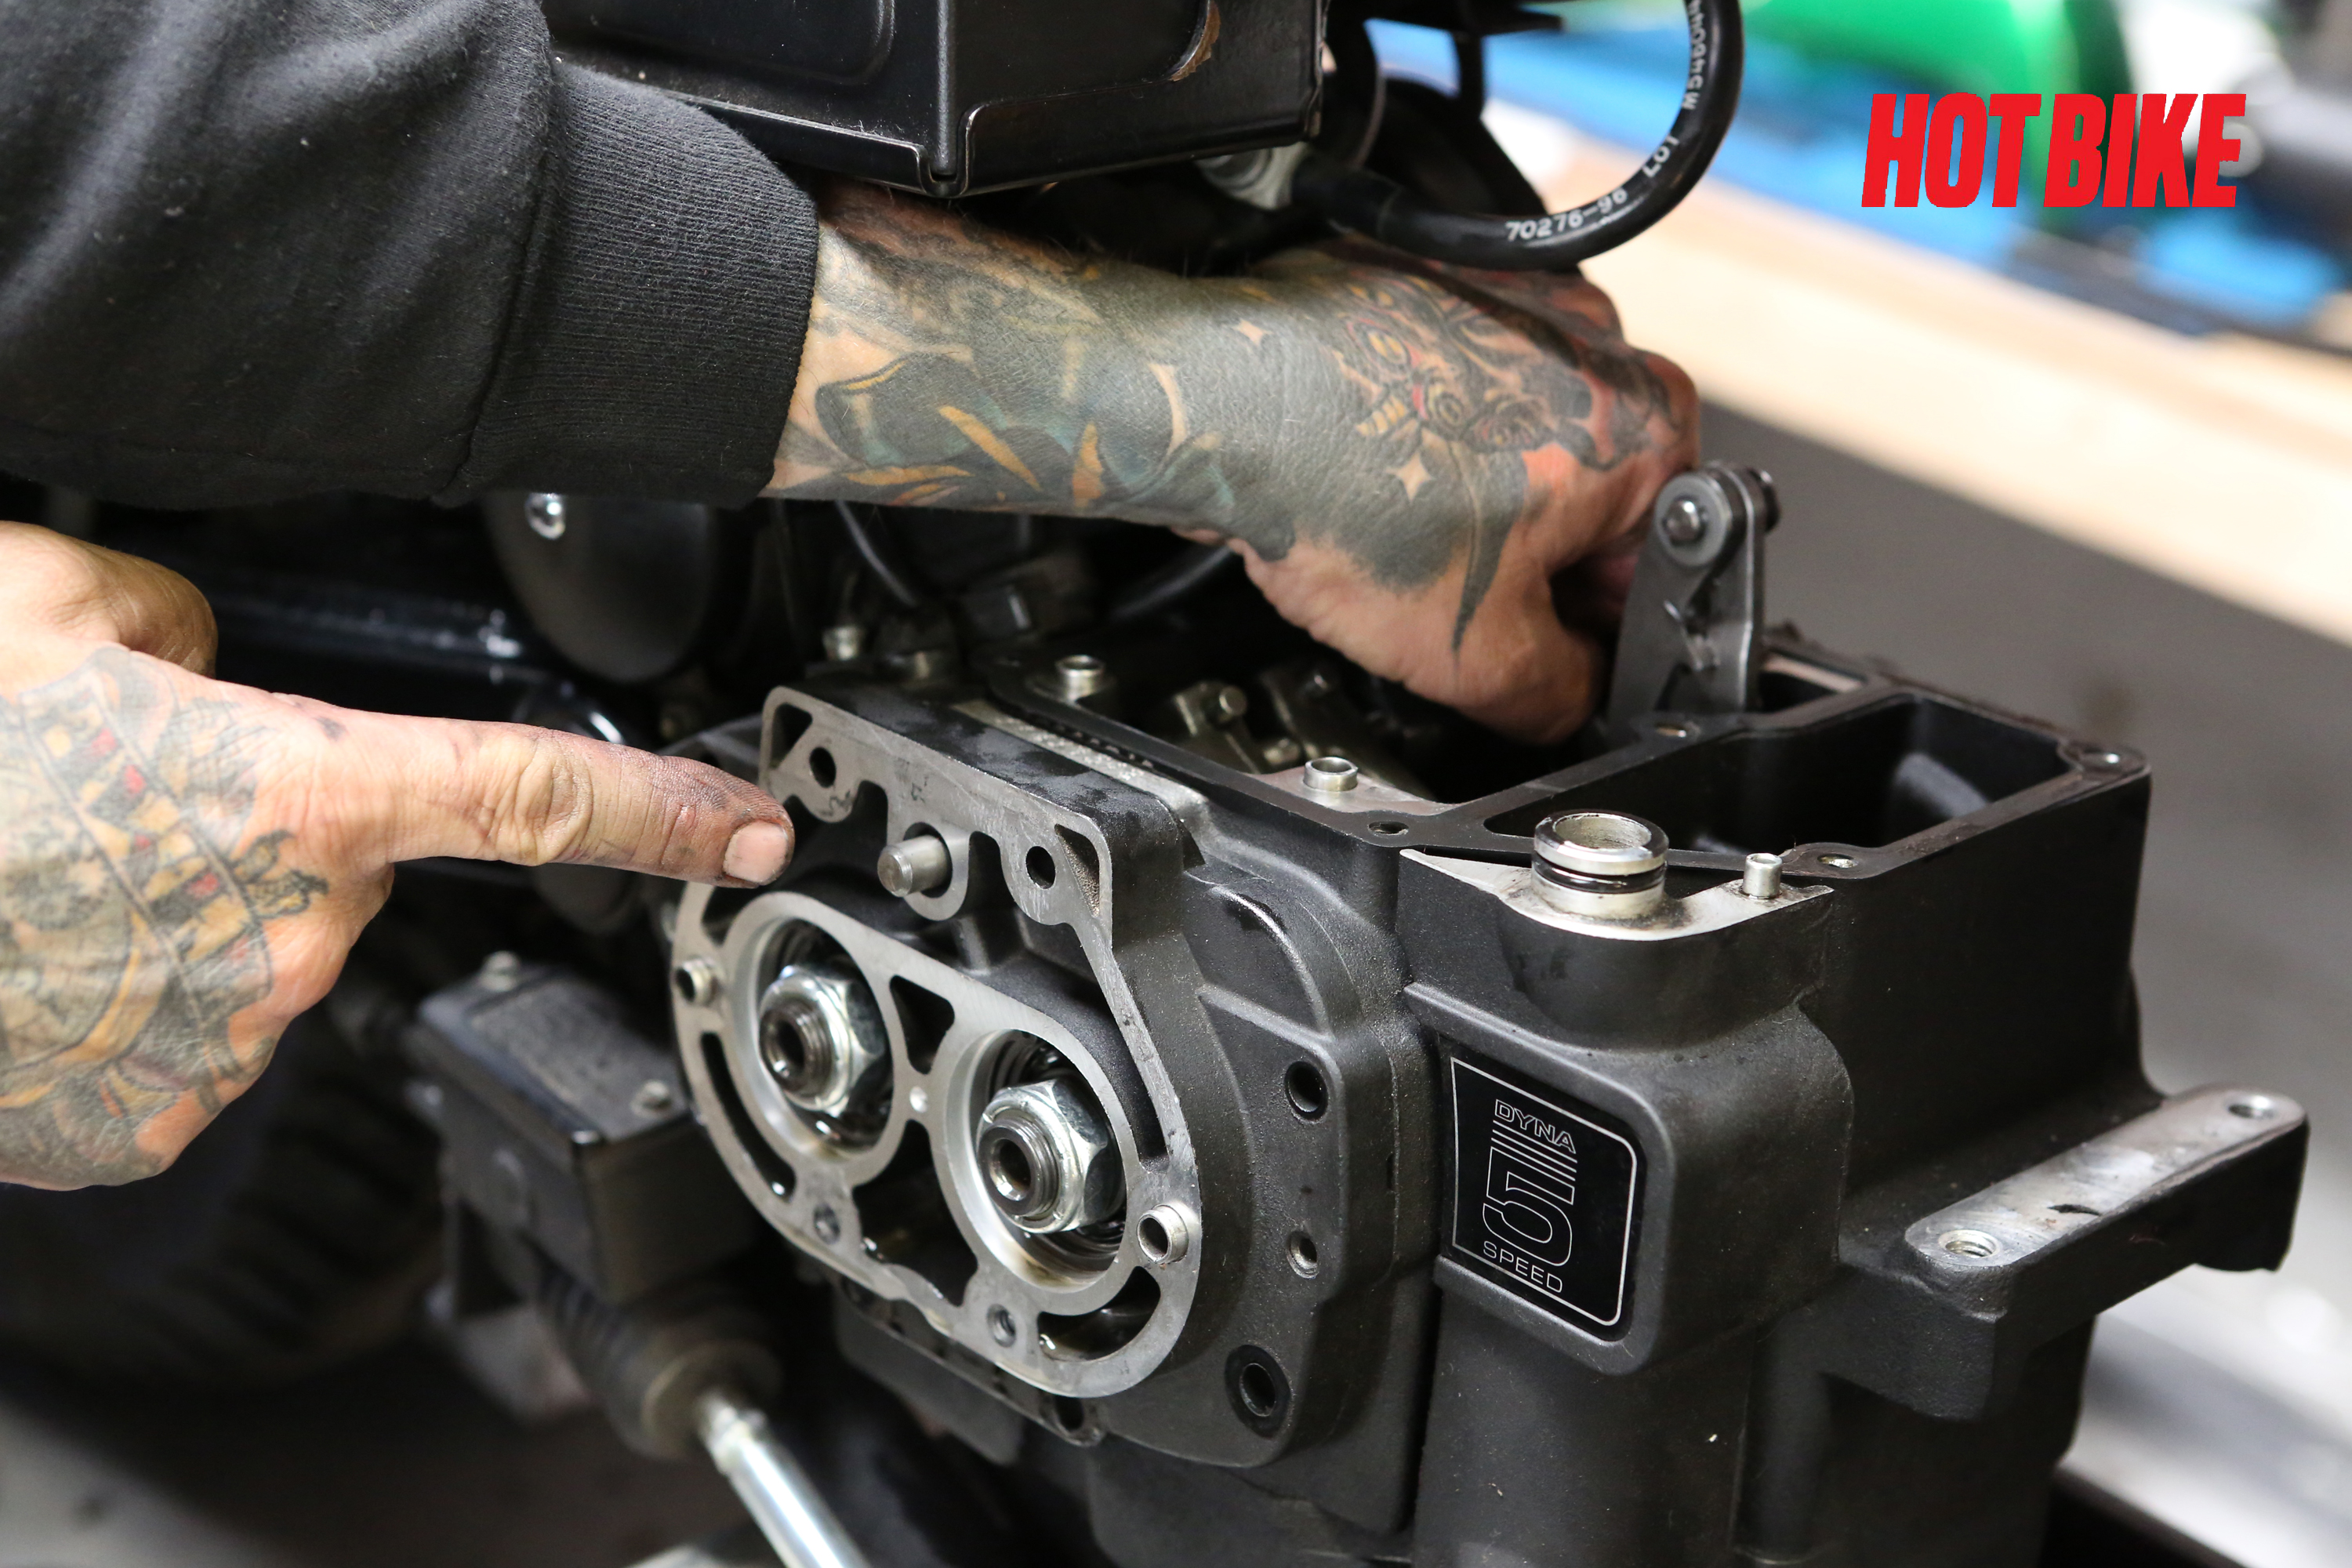
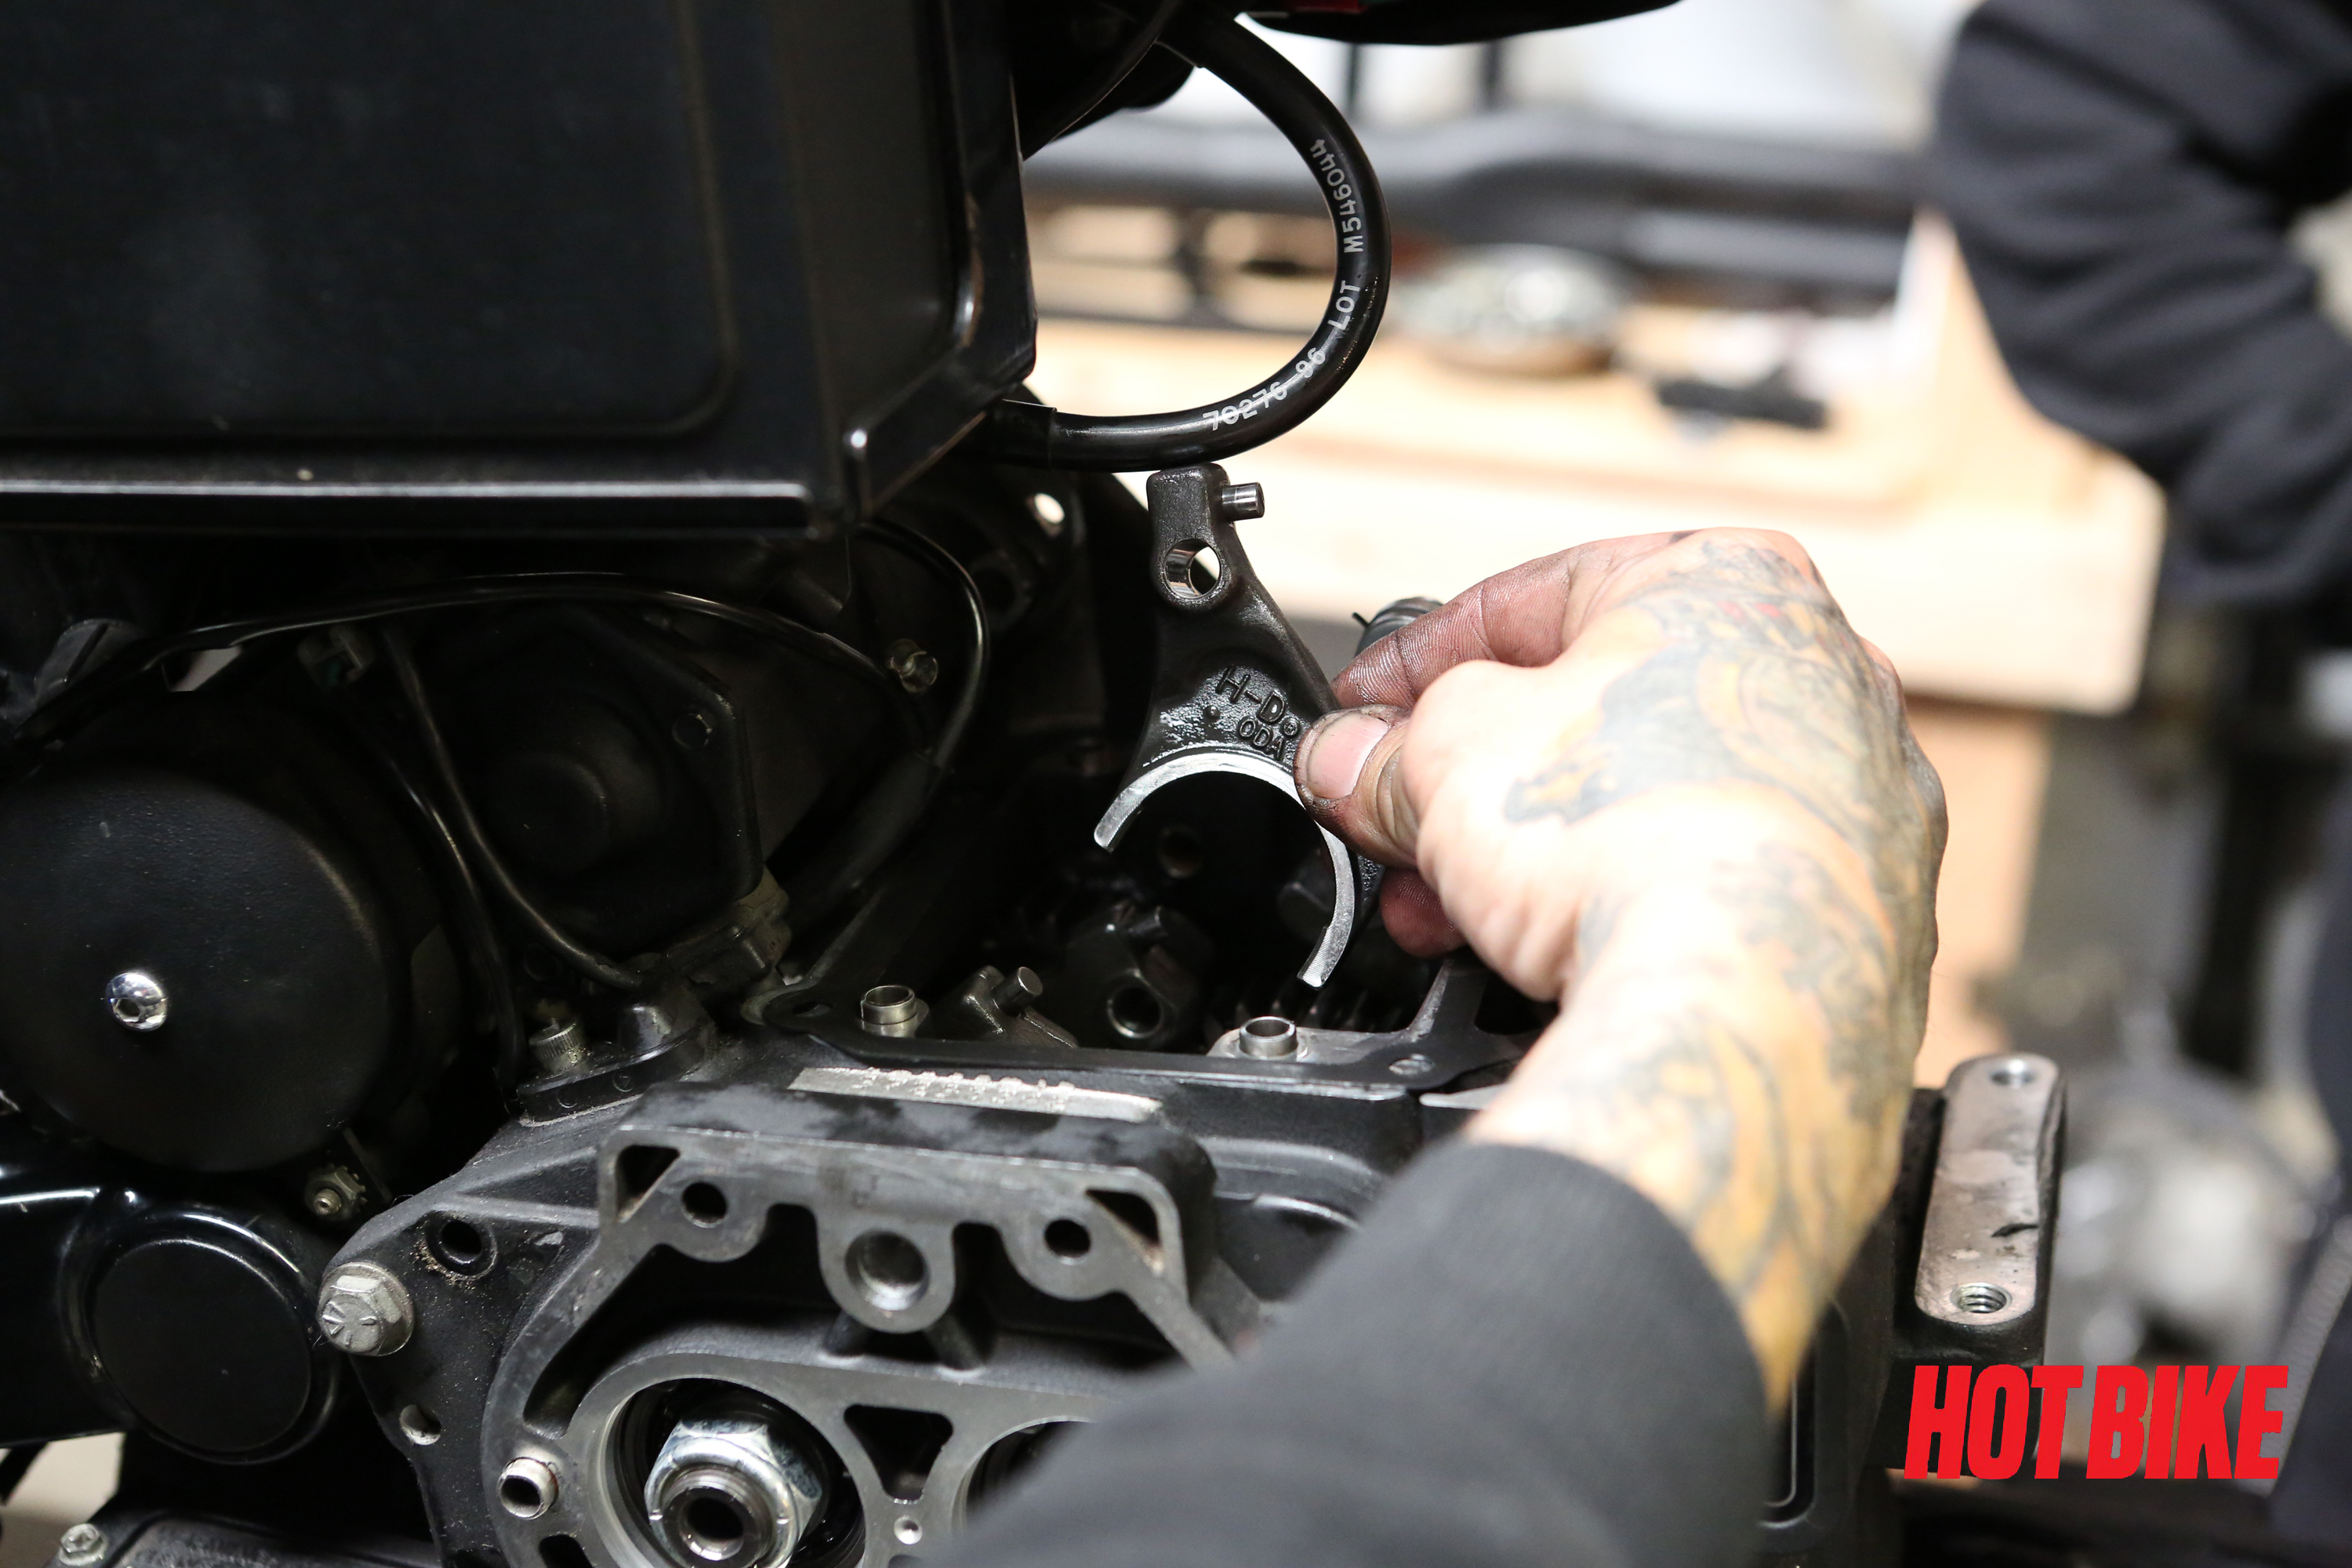
- Move back to the other side of the bike and remove the six bolts that secure the transmission trapdoor to the transmission case.
Words: Chip Kastelnik Photos: Mikey Van Senus
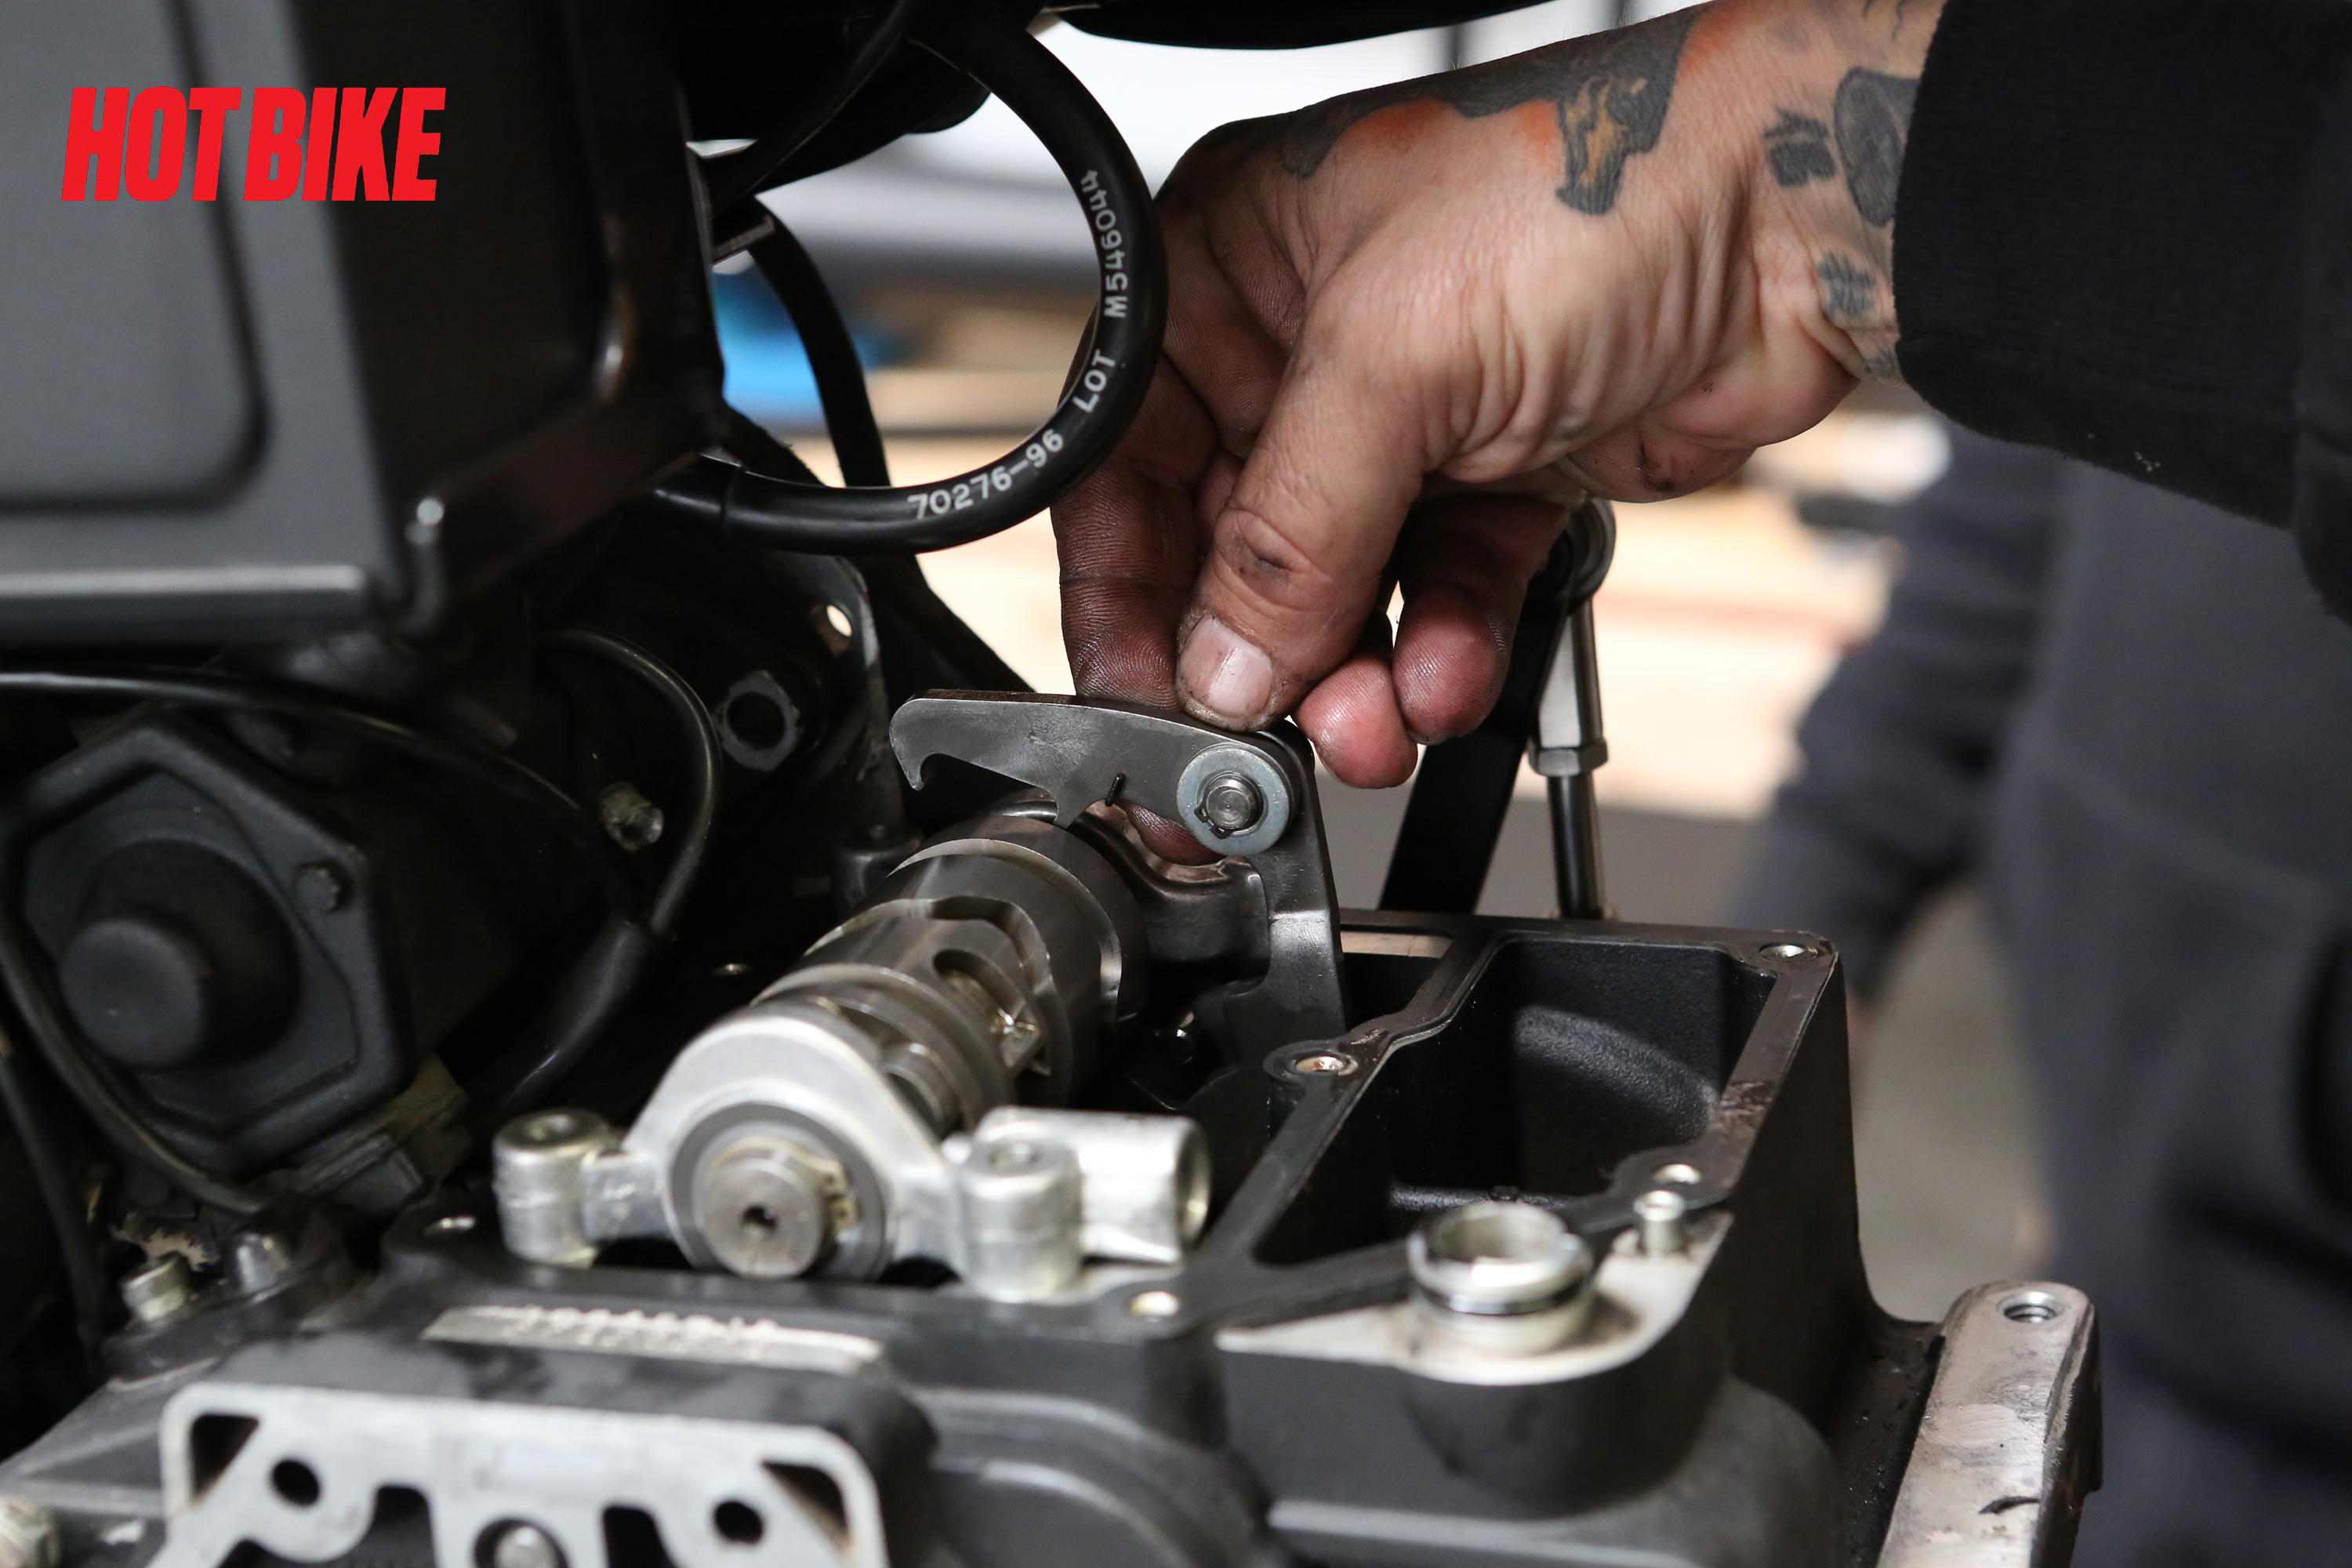
- Slide the shifter fork retaining rod out of the transmission case. Do so by simply grabbing the rod and sliding it out of the case. It should slide out with ease.
Words: Chip Kastelnik Photos: Mikey Van Senus
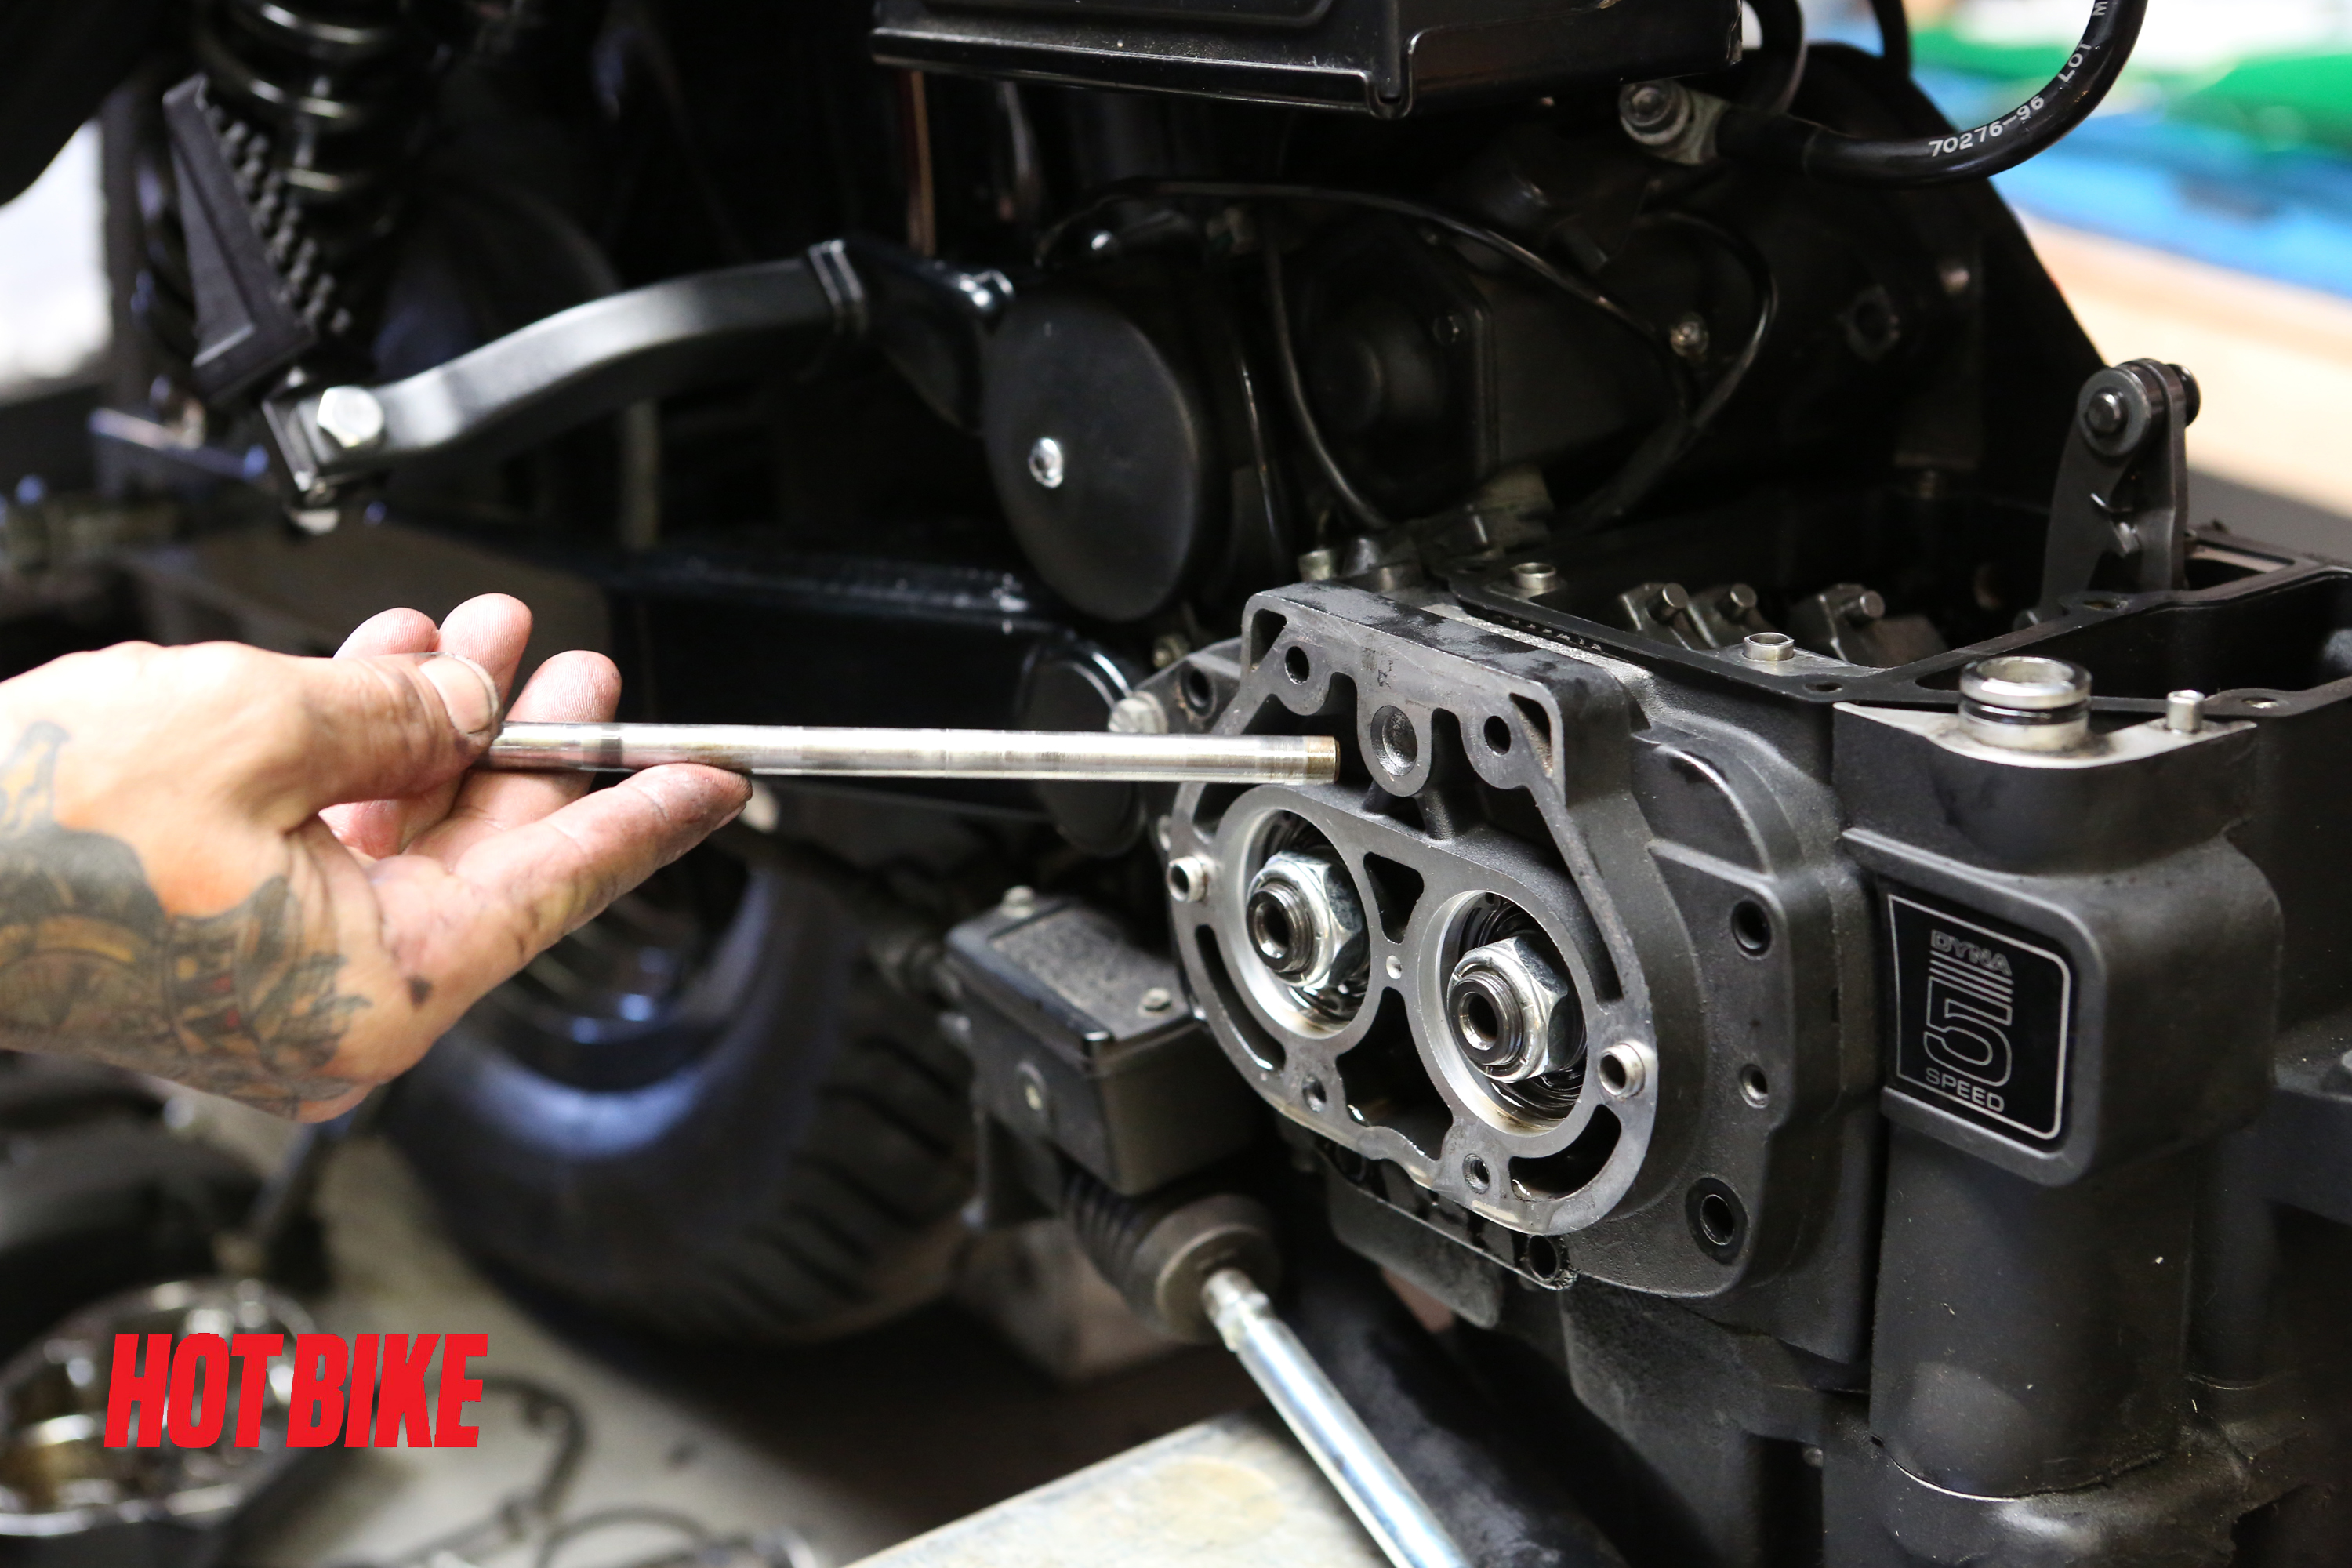
- Remove the shifter fork retaining rod.
Words: Chip Kastelnik Photos: Mikey Van Senus
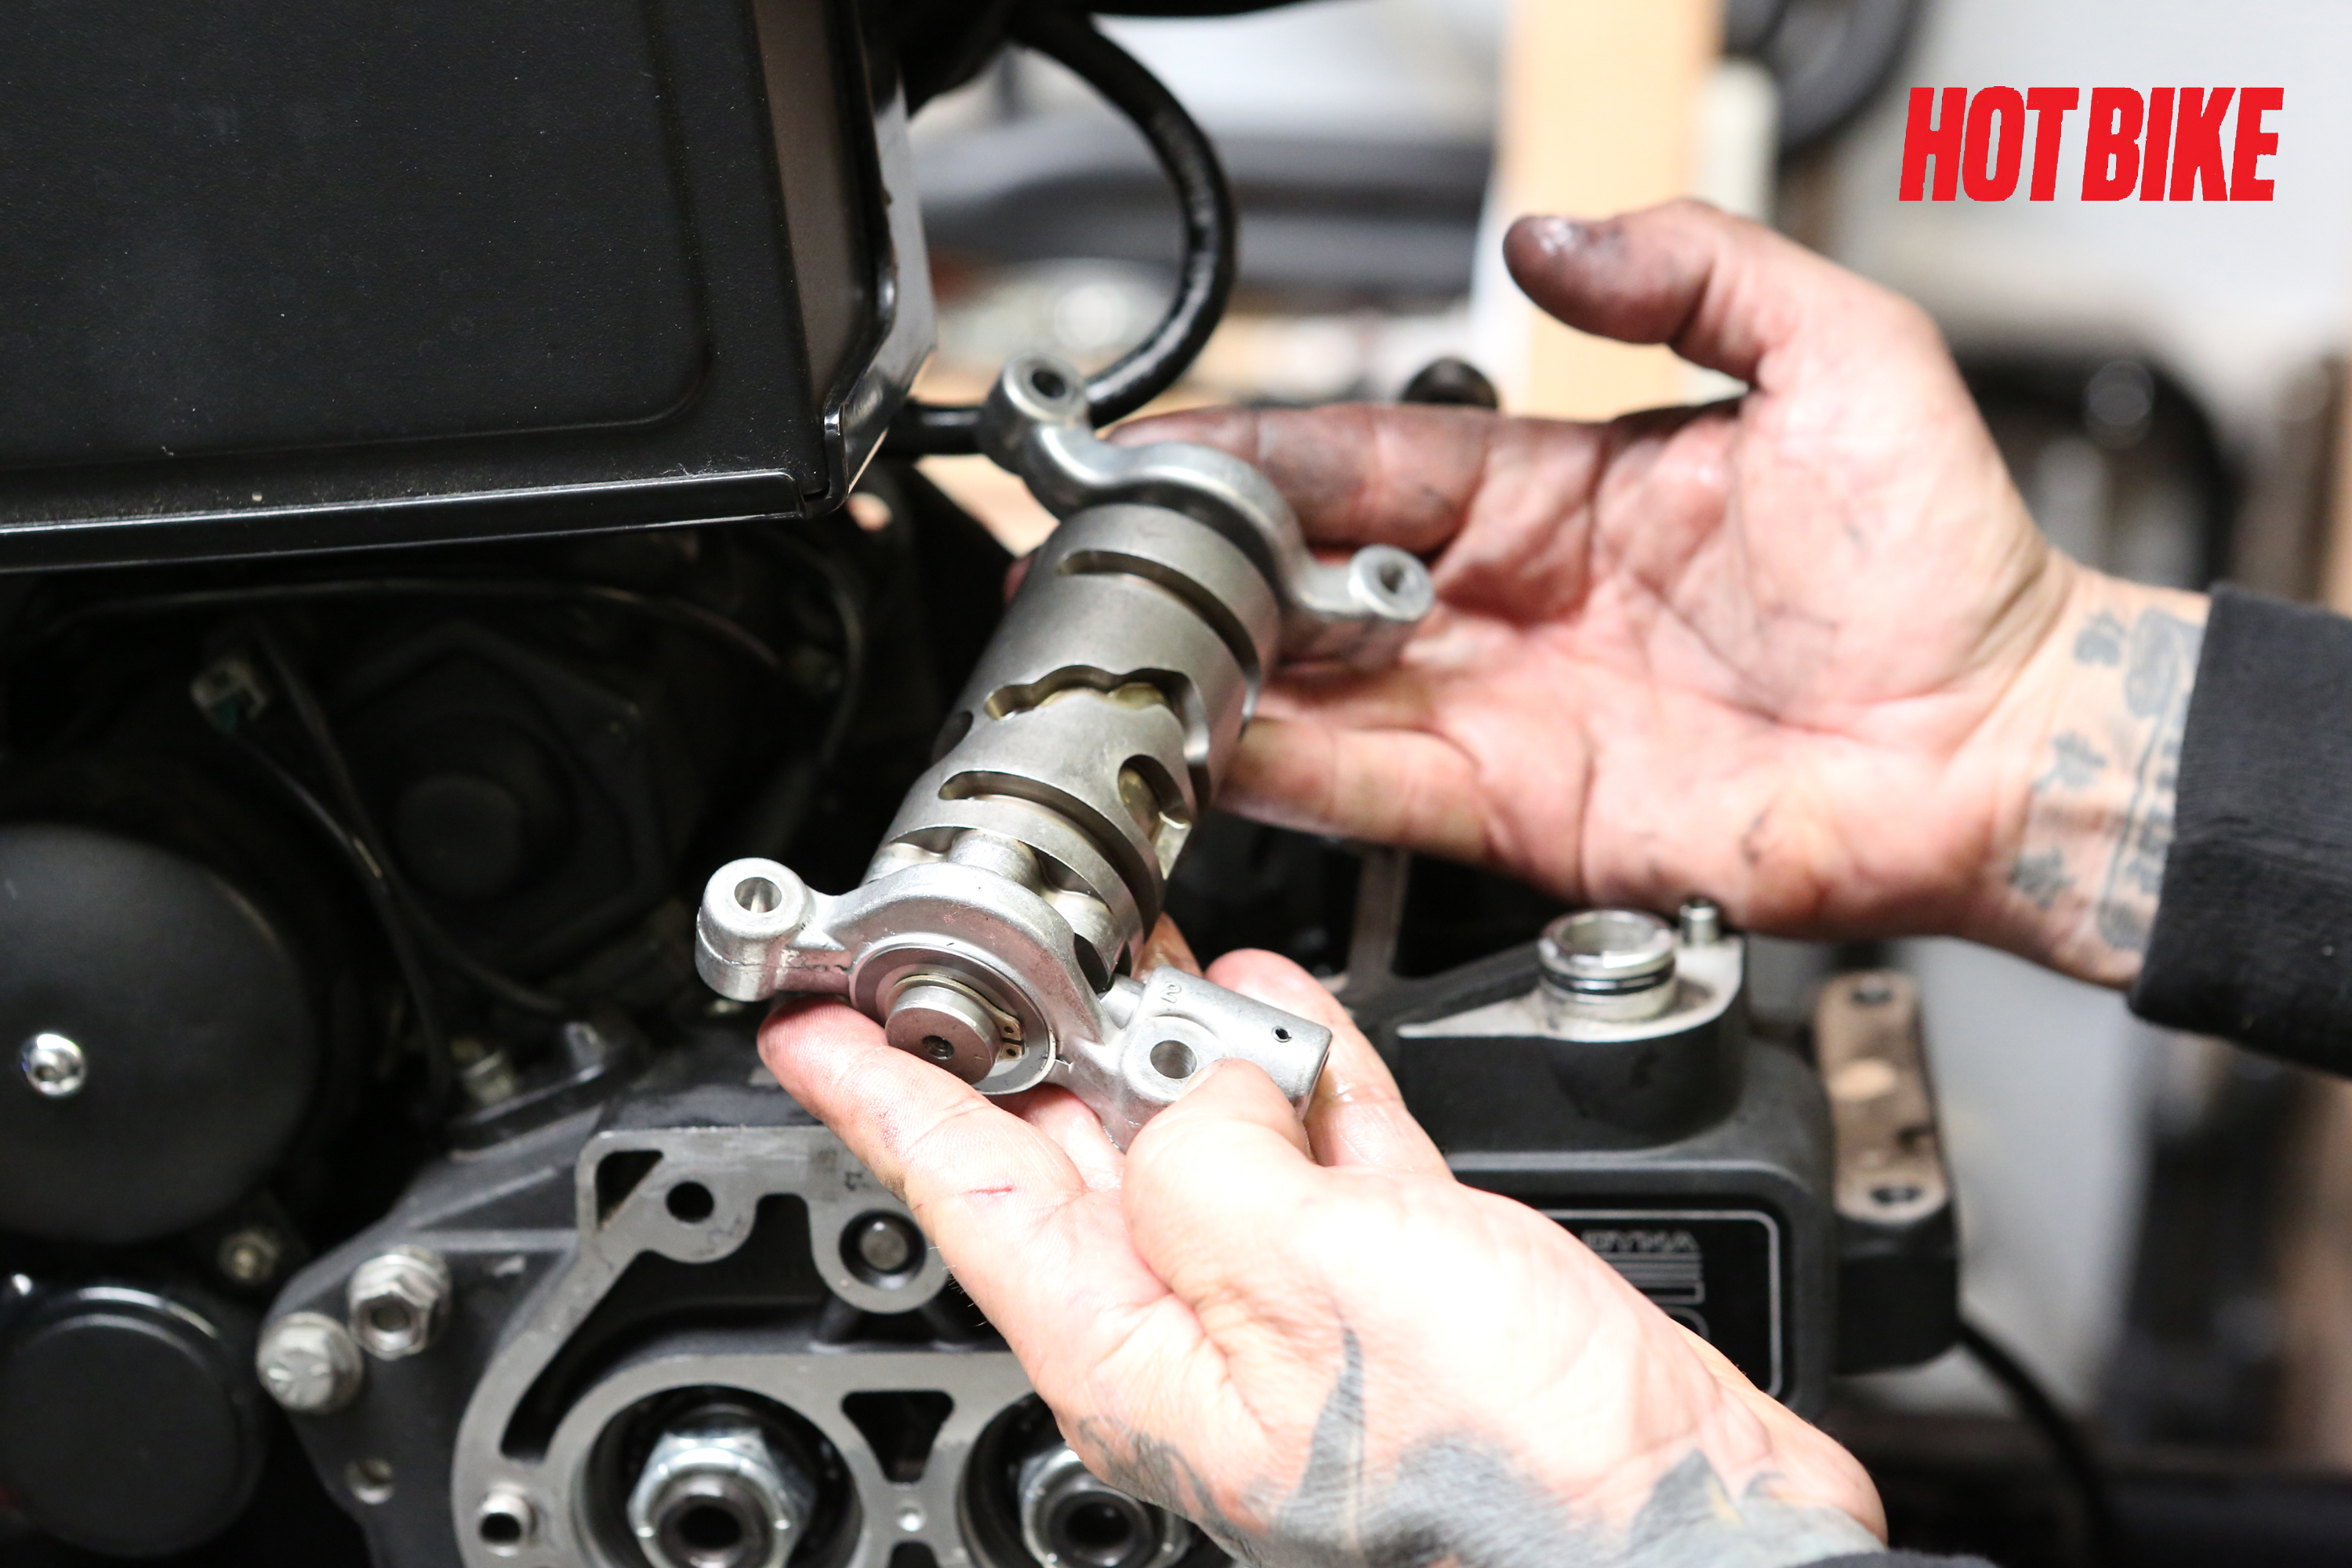
- Remove the stock five-speed shift forks.
Words: Chip Kastelnik Photos: Mikey Van Senus
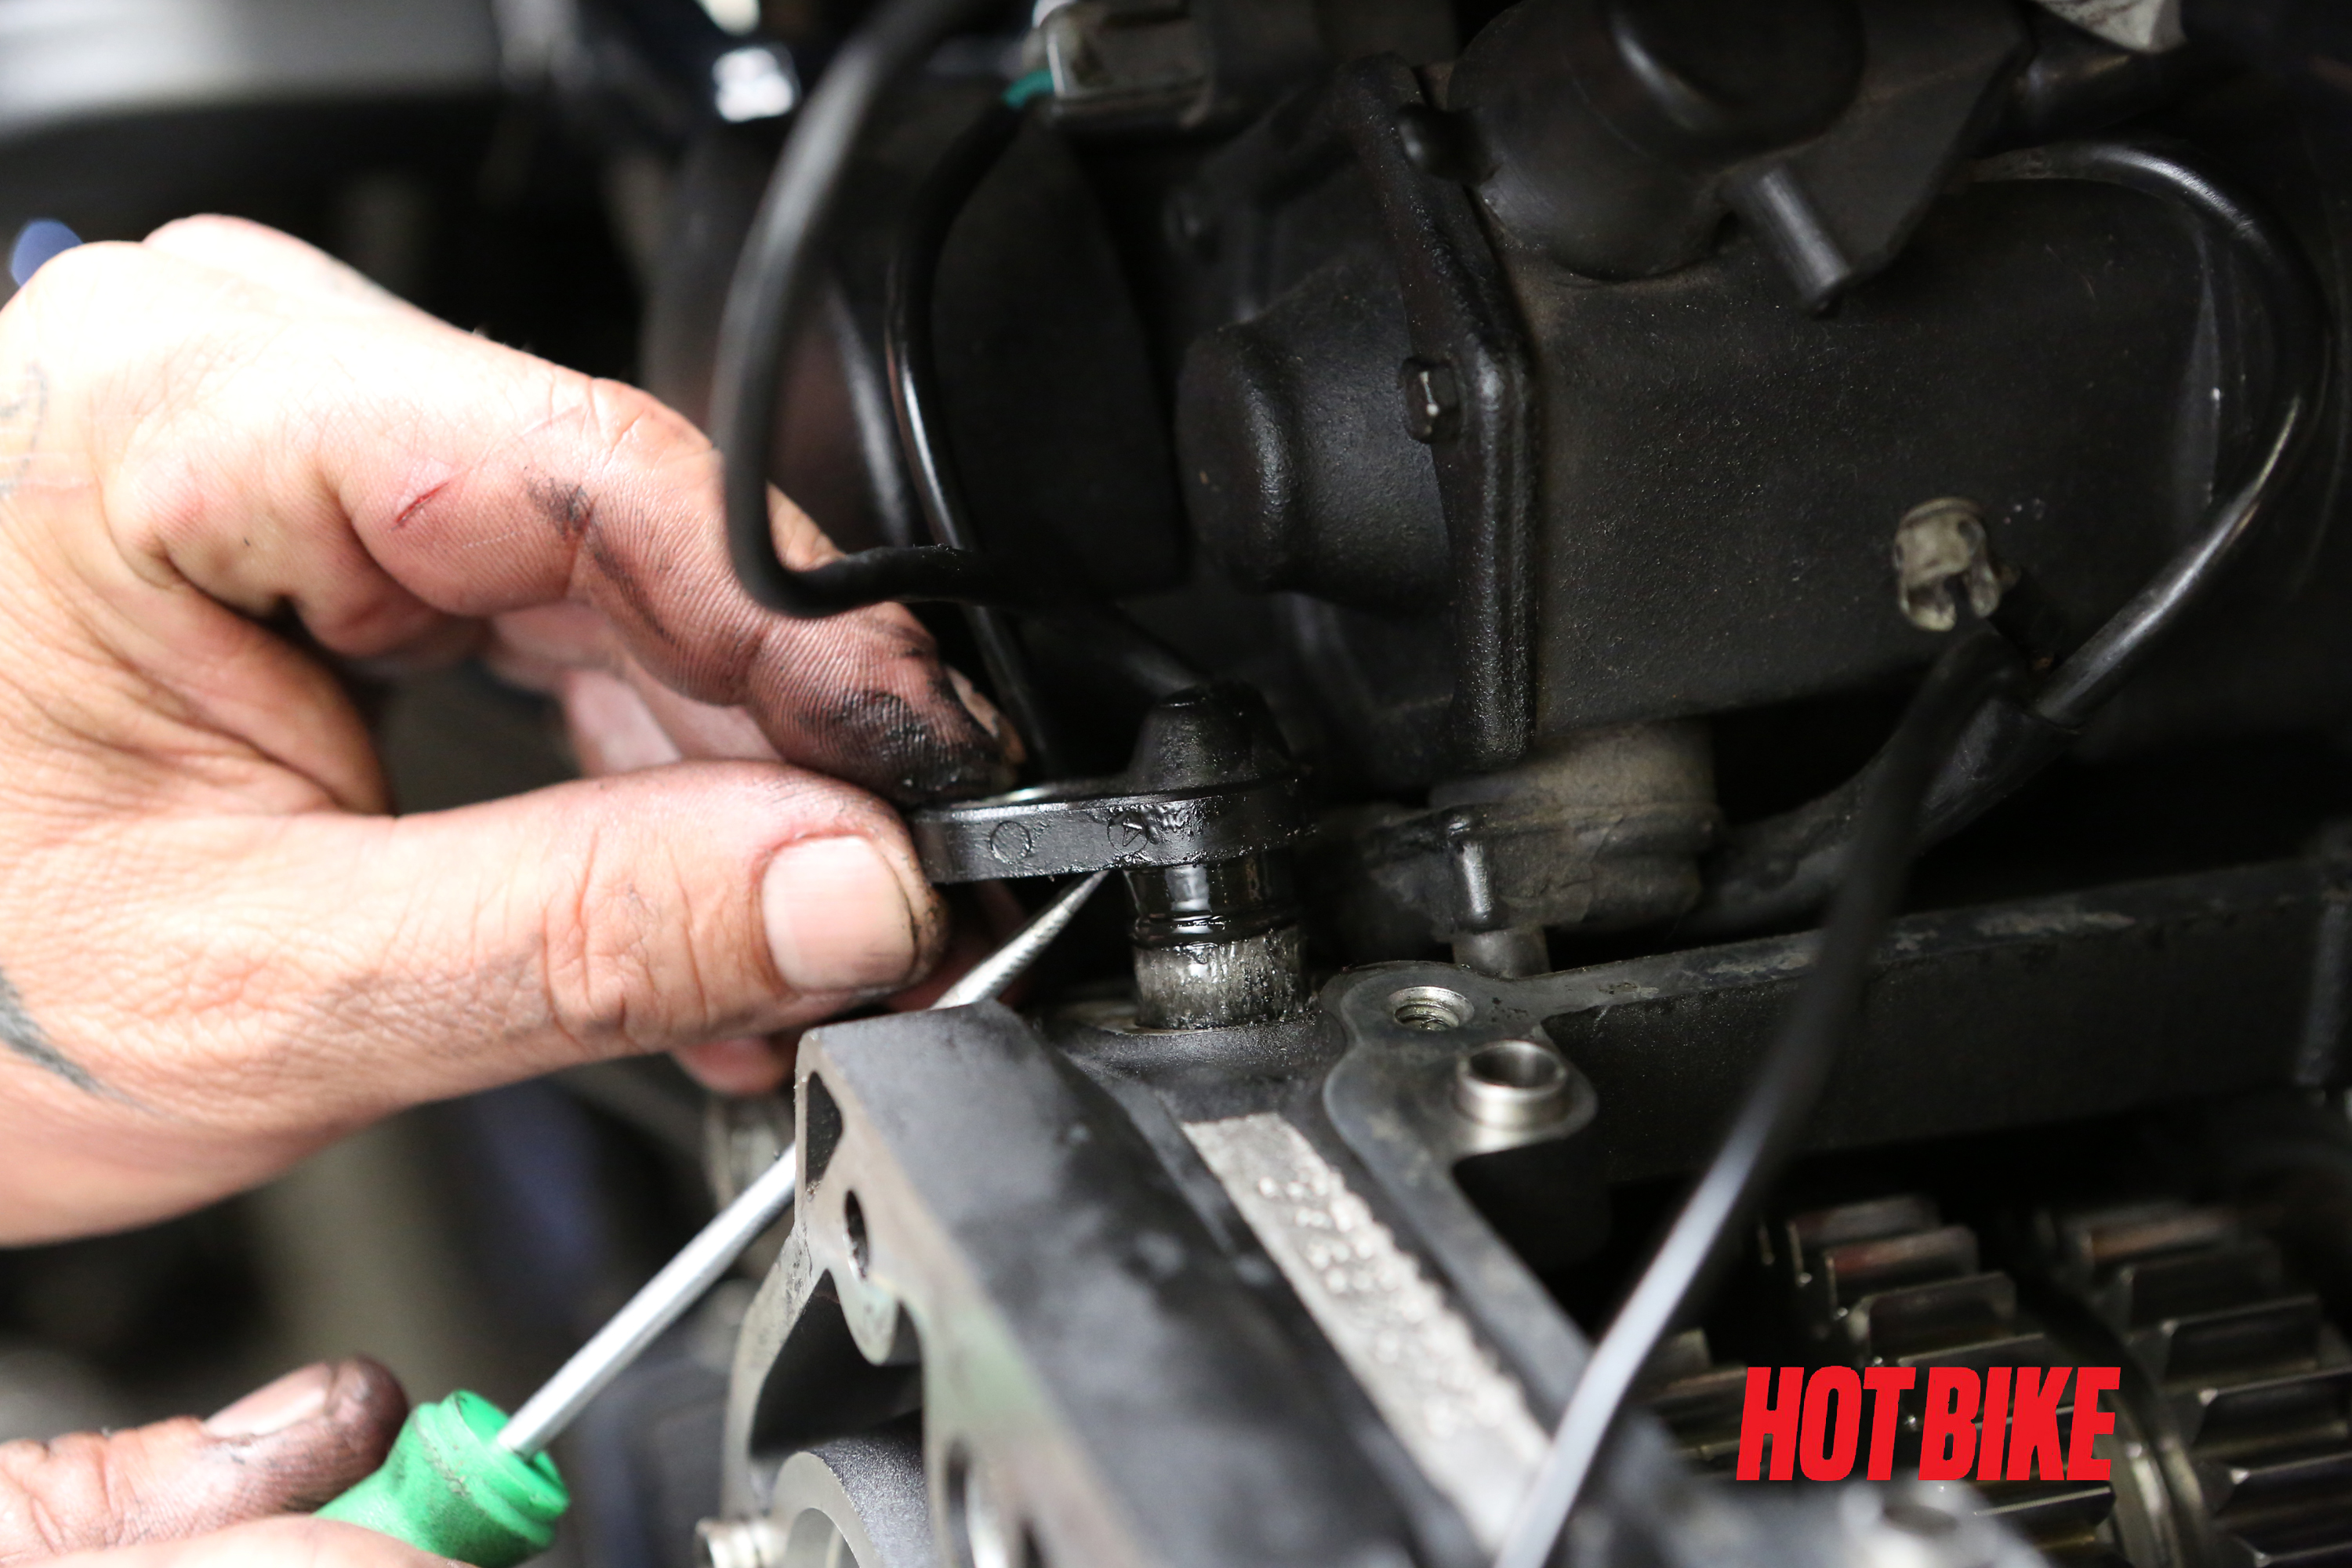
- Unscrew the speedo sensor bolt and remove the sensor.
Words: Chip Kastelnik Photos: Mikey Van Senus
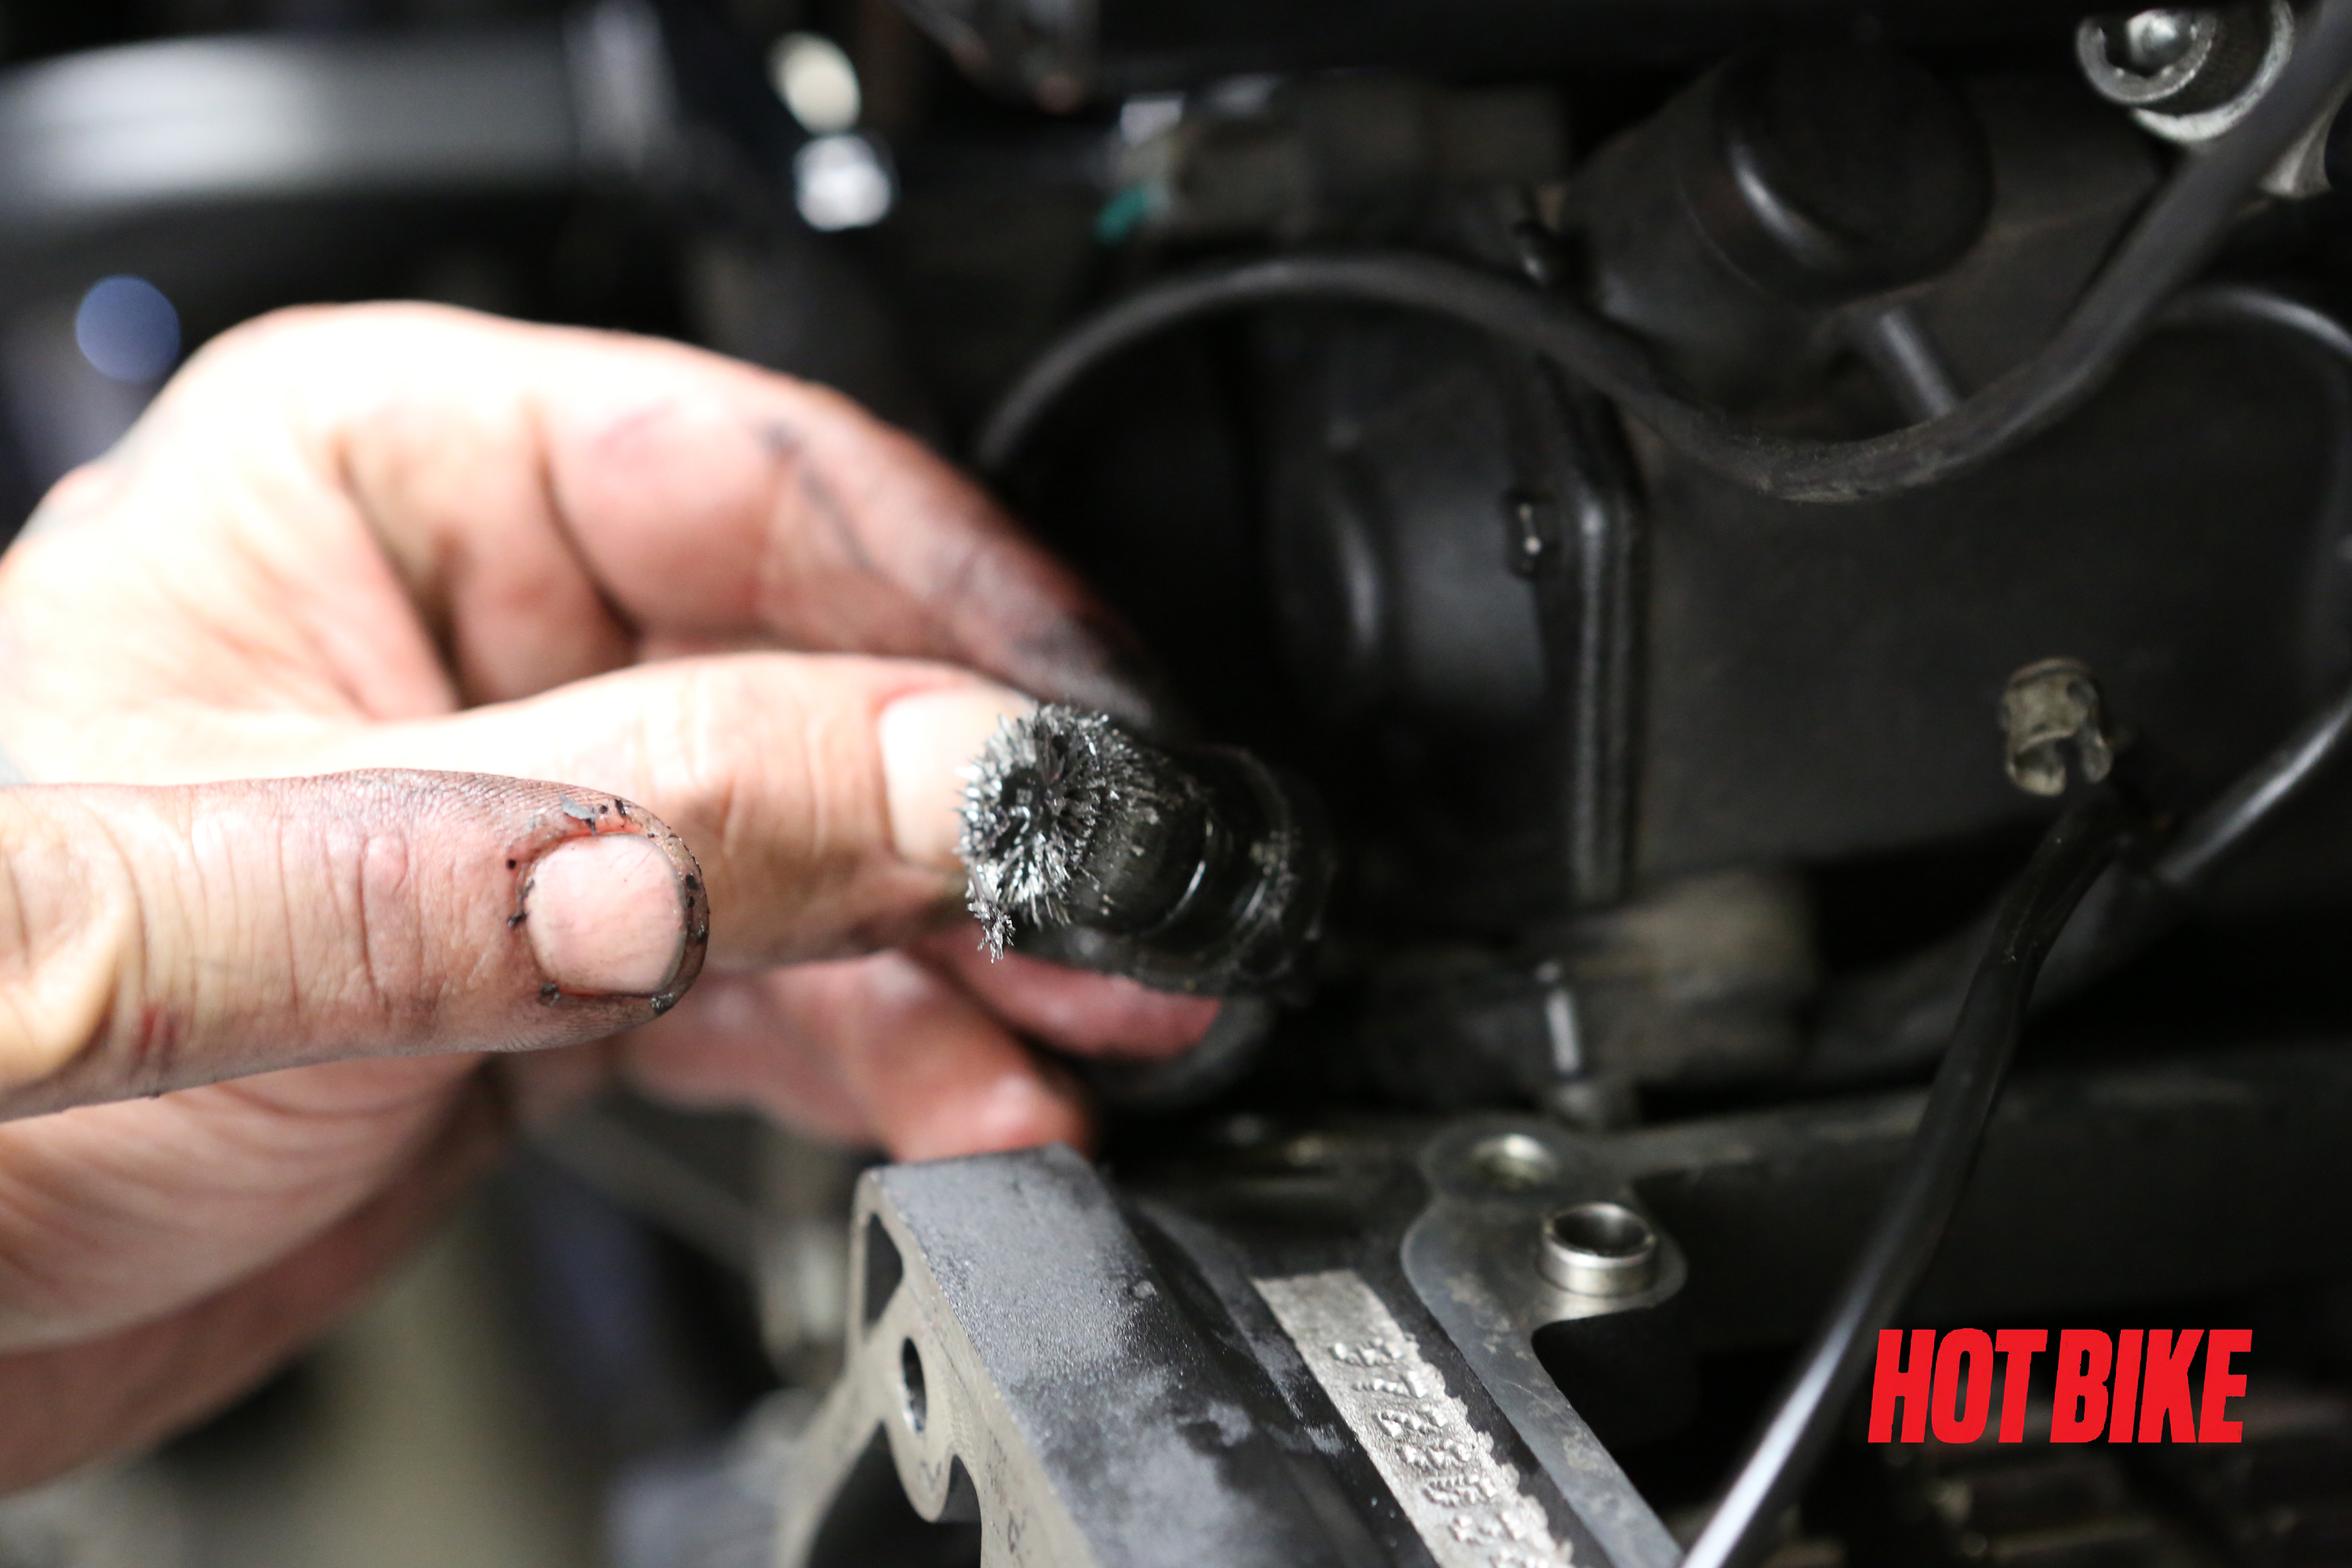
- Notice any metal on the sensor once it is pulled from the transmission case? This particular sensor has seen better days.
Words: Chip Kastelnik Photos: Mikey Van Senus
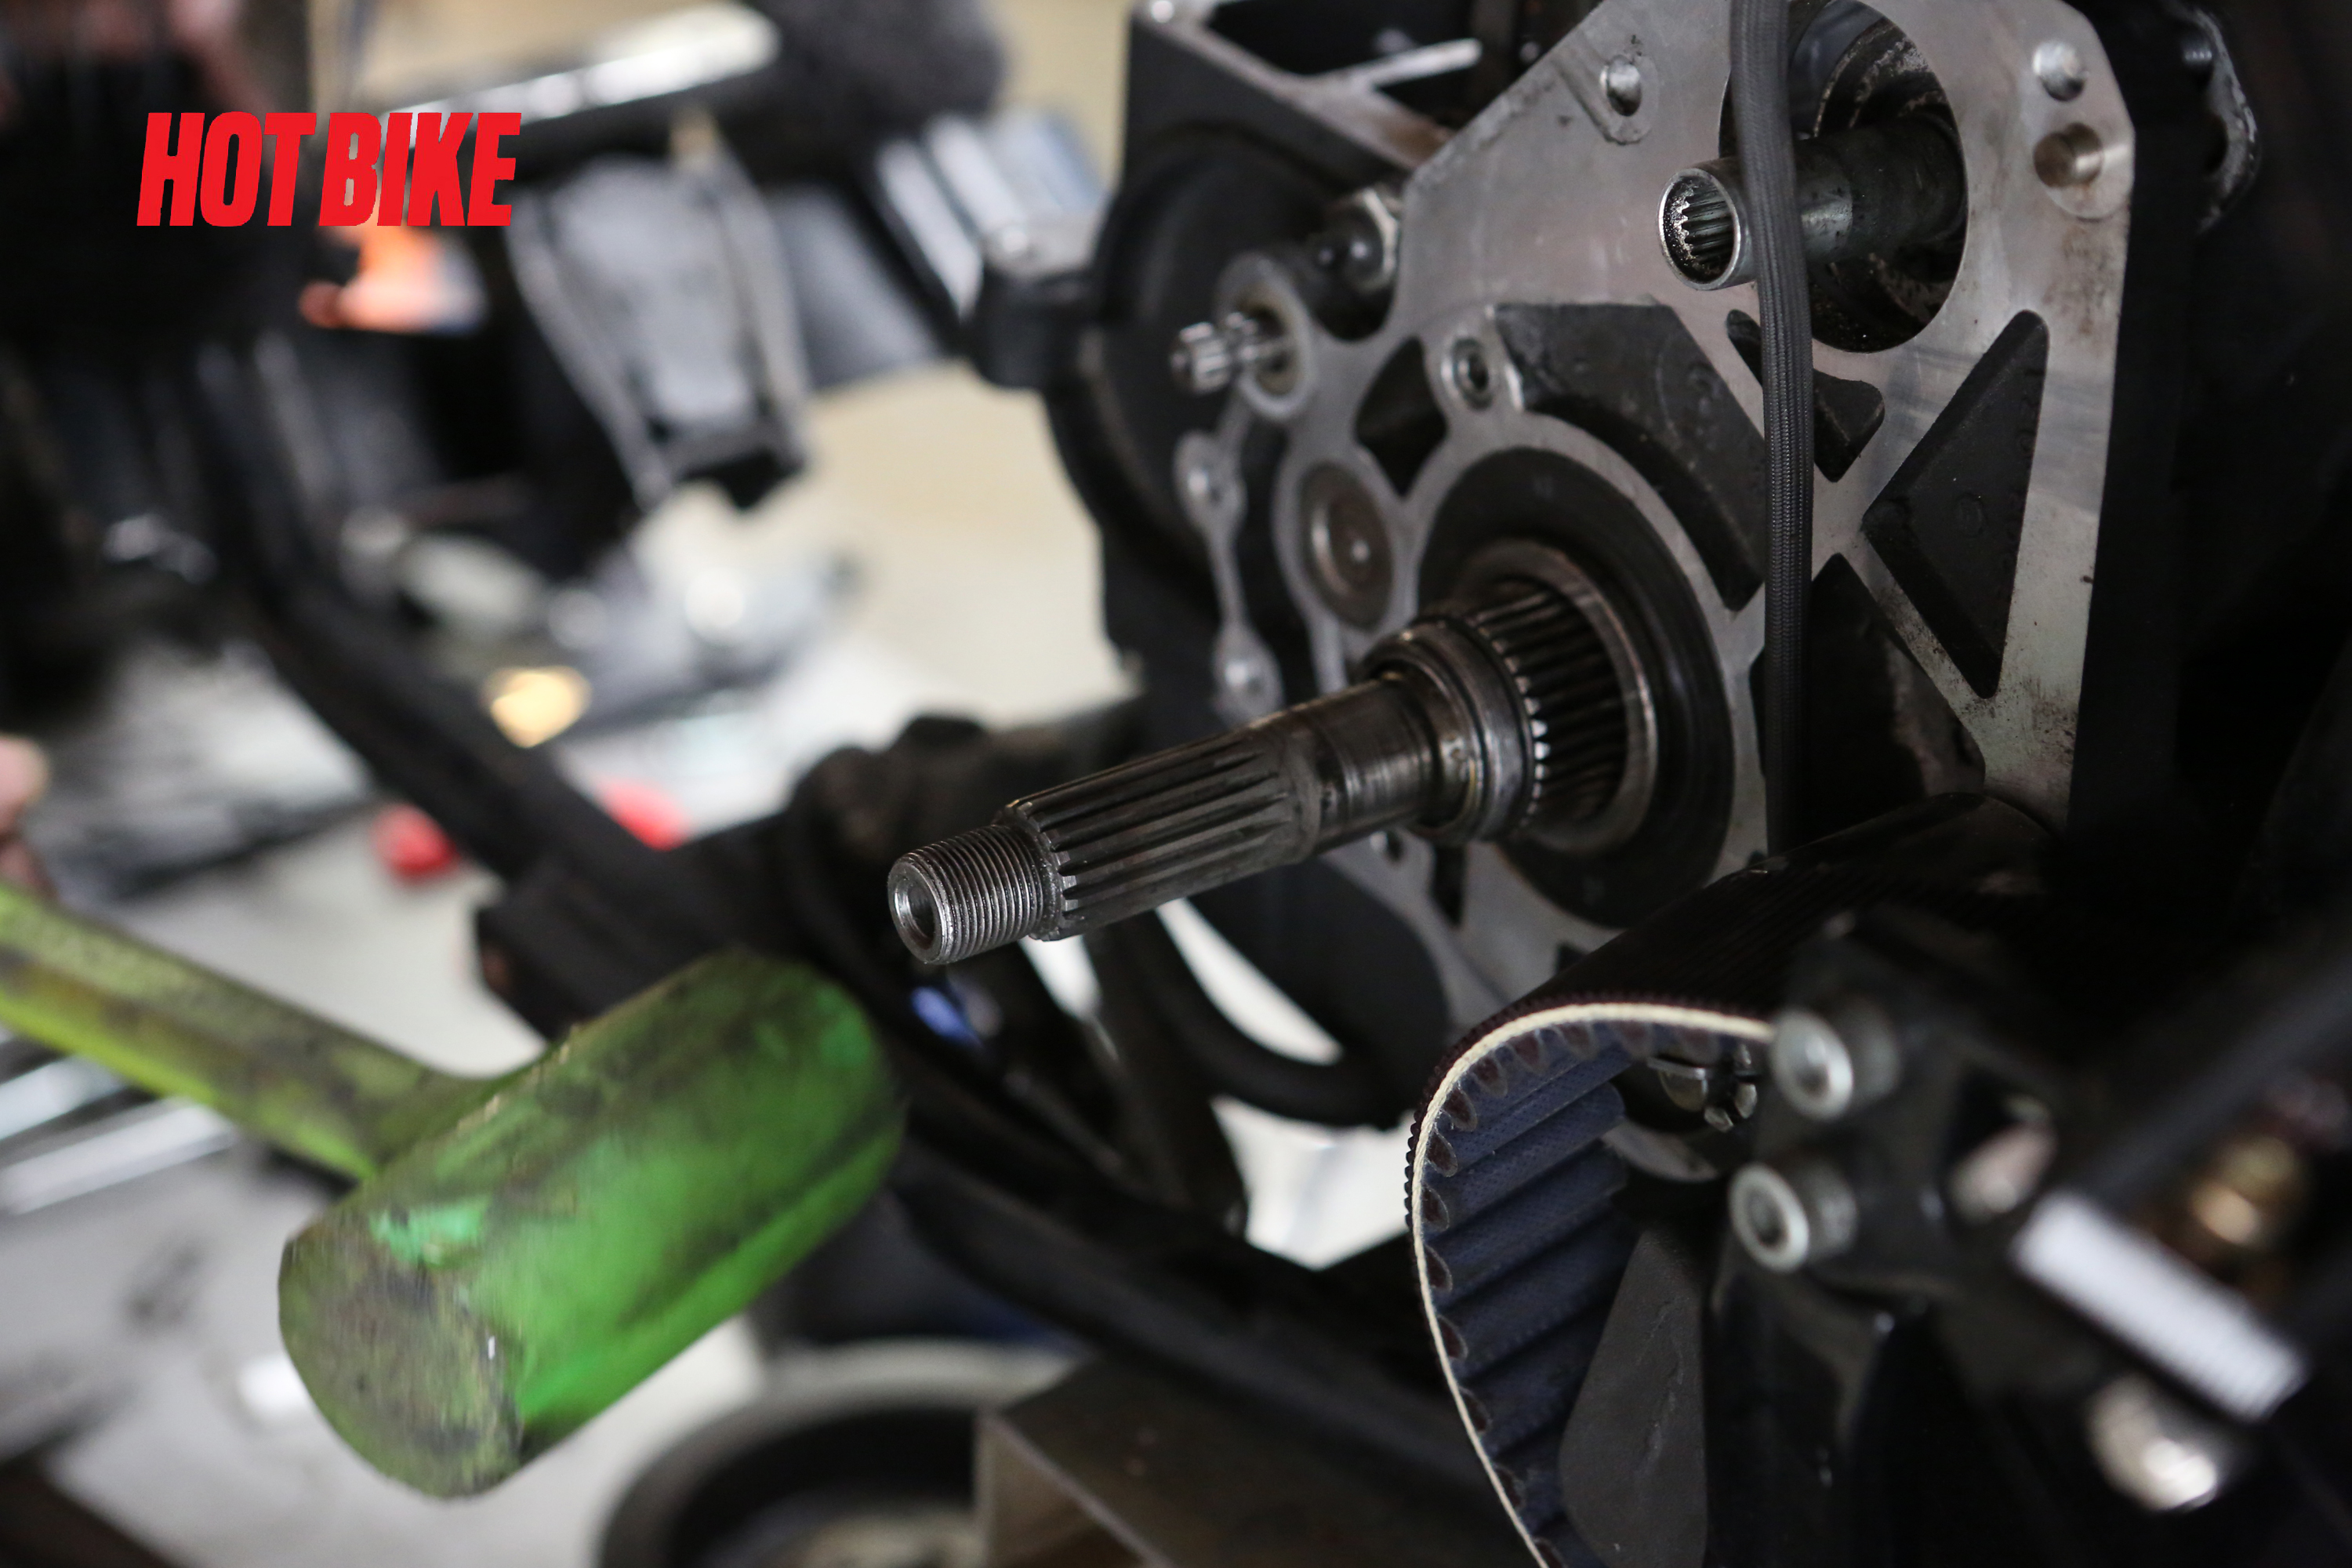
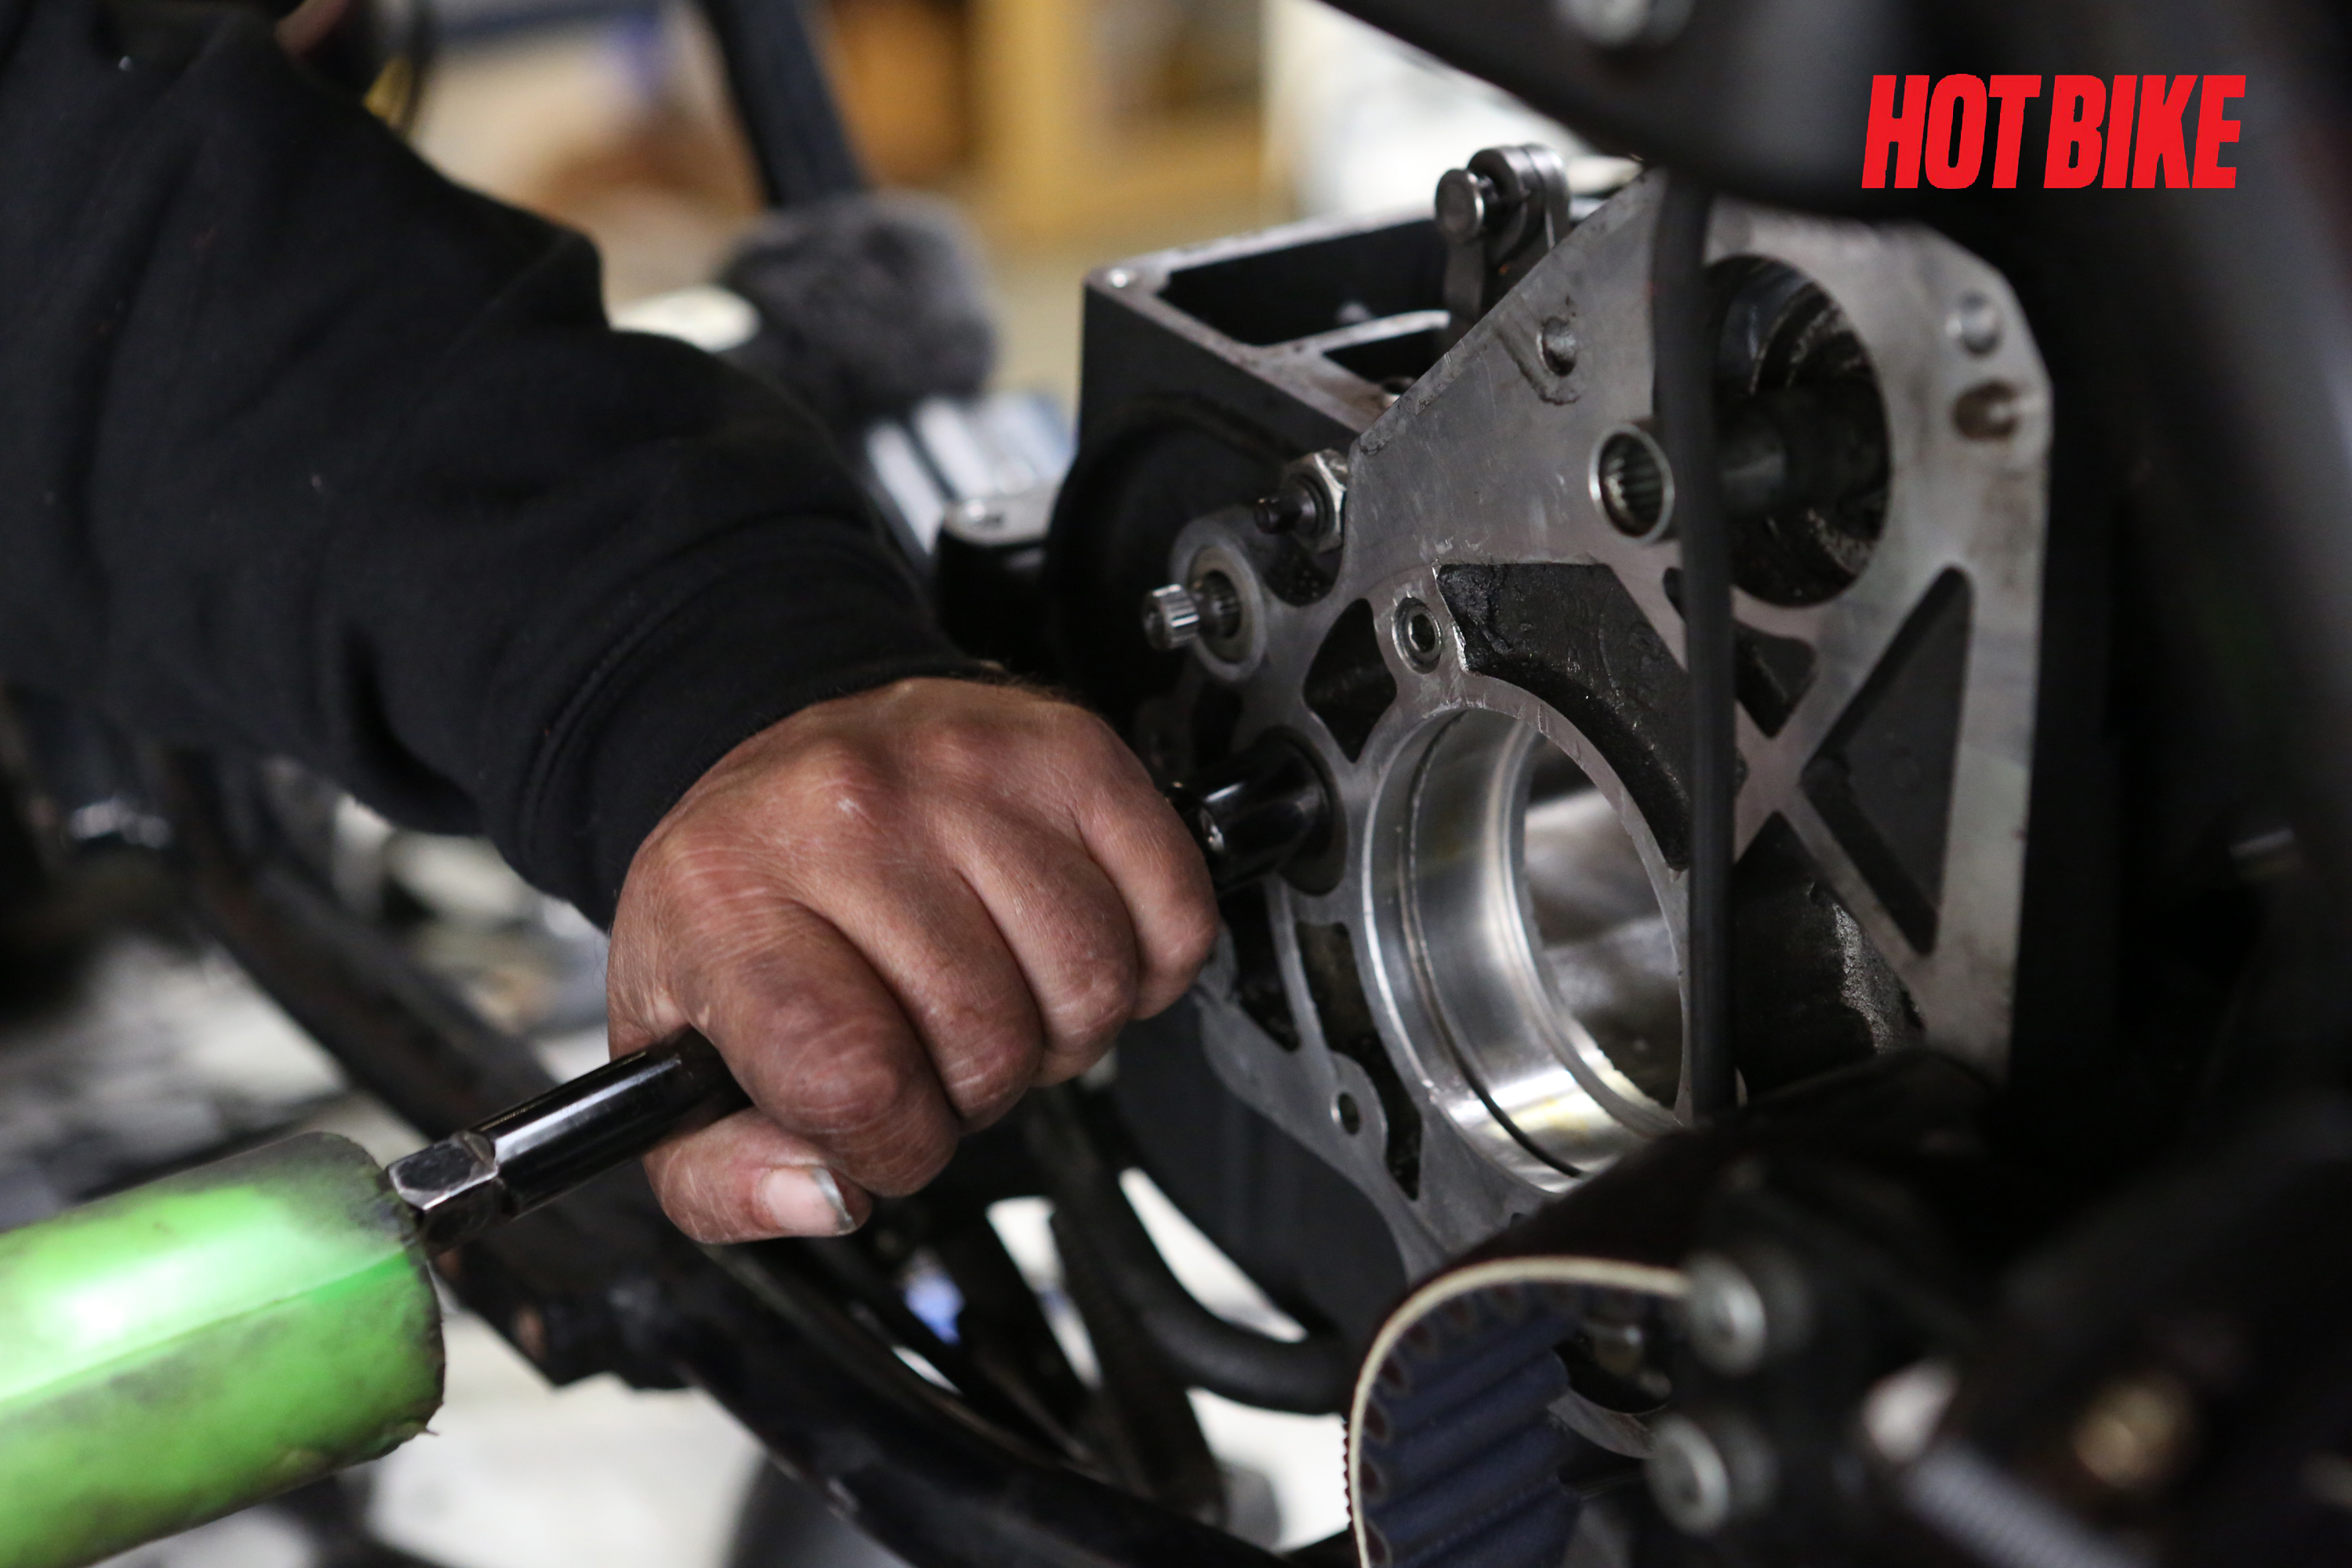
- Using a rubber mallet or mean green in this case, lightly tap the main shaft to free the trapdoor from its seal to the transmission case.
Words: Chip Kastelnik Photos: Mikey Van Senus
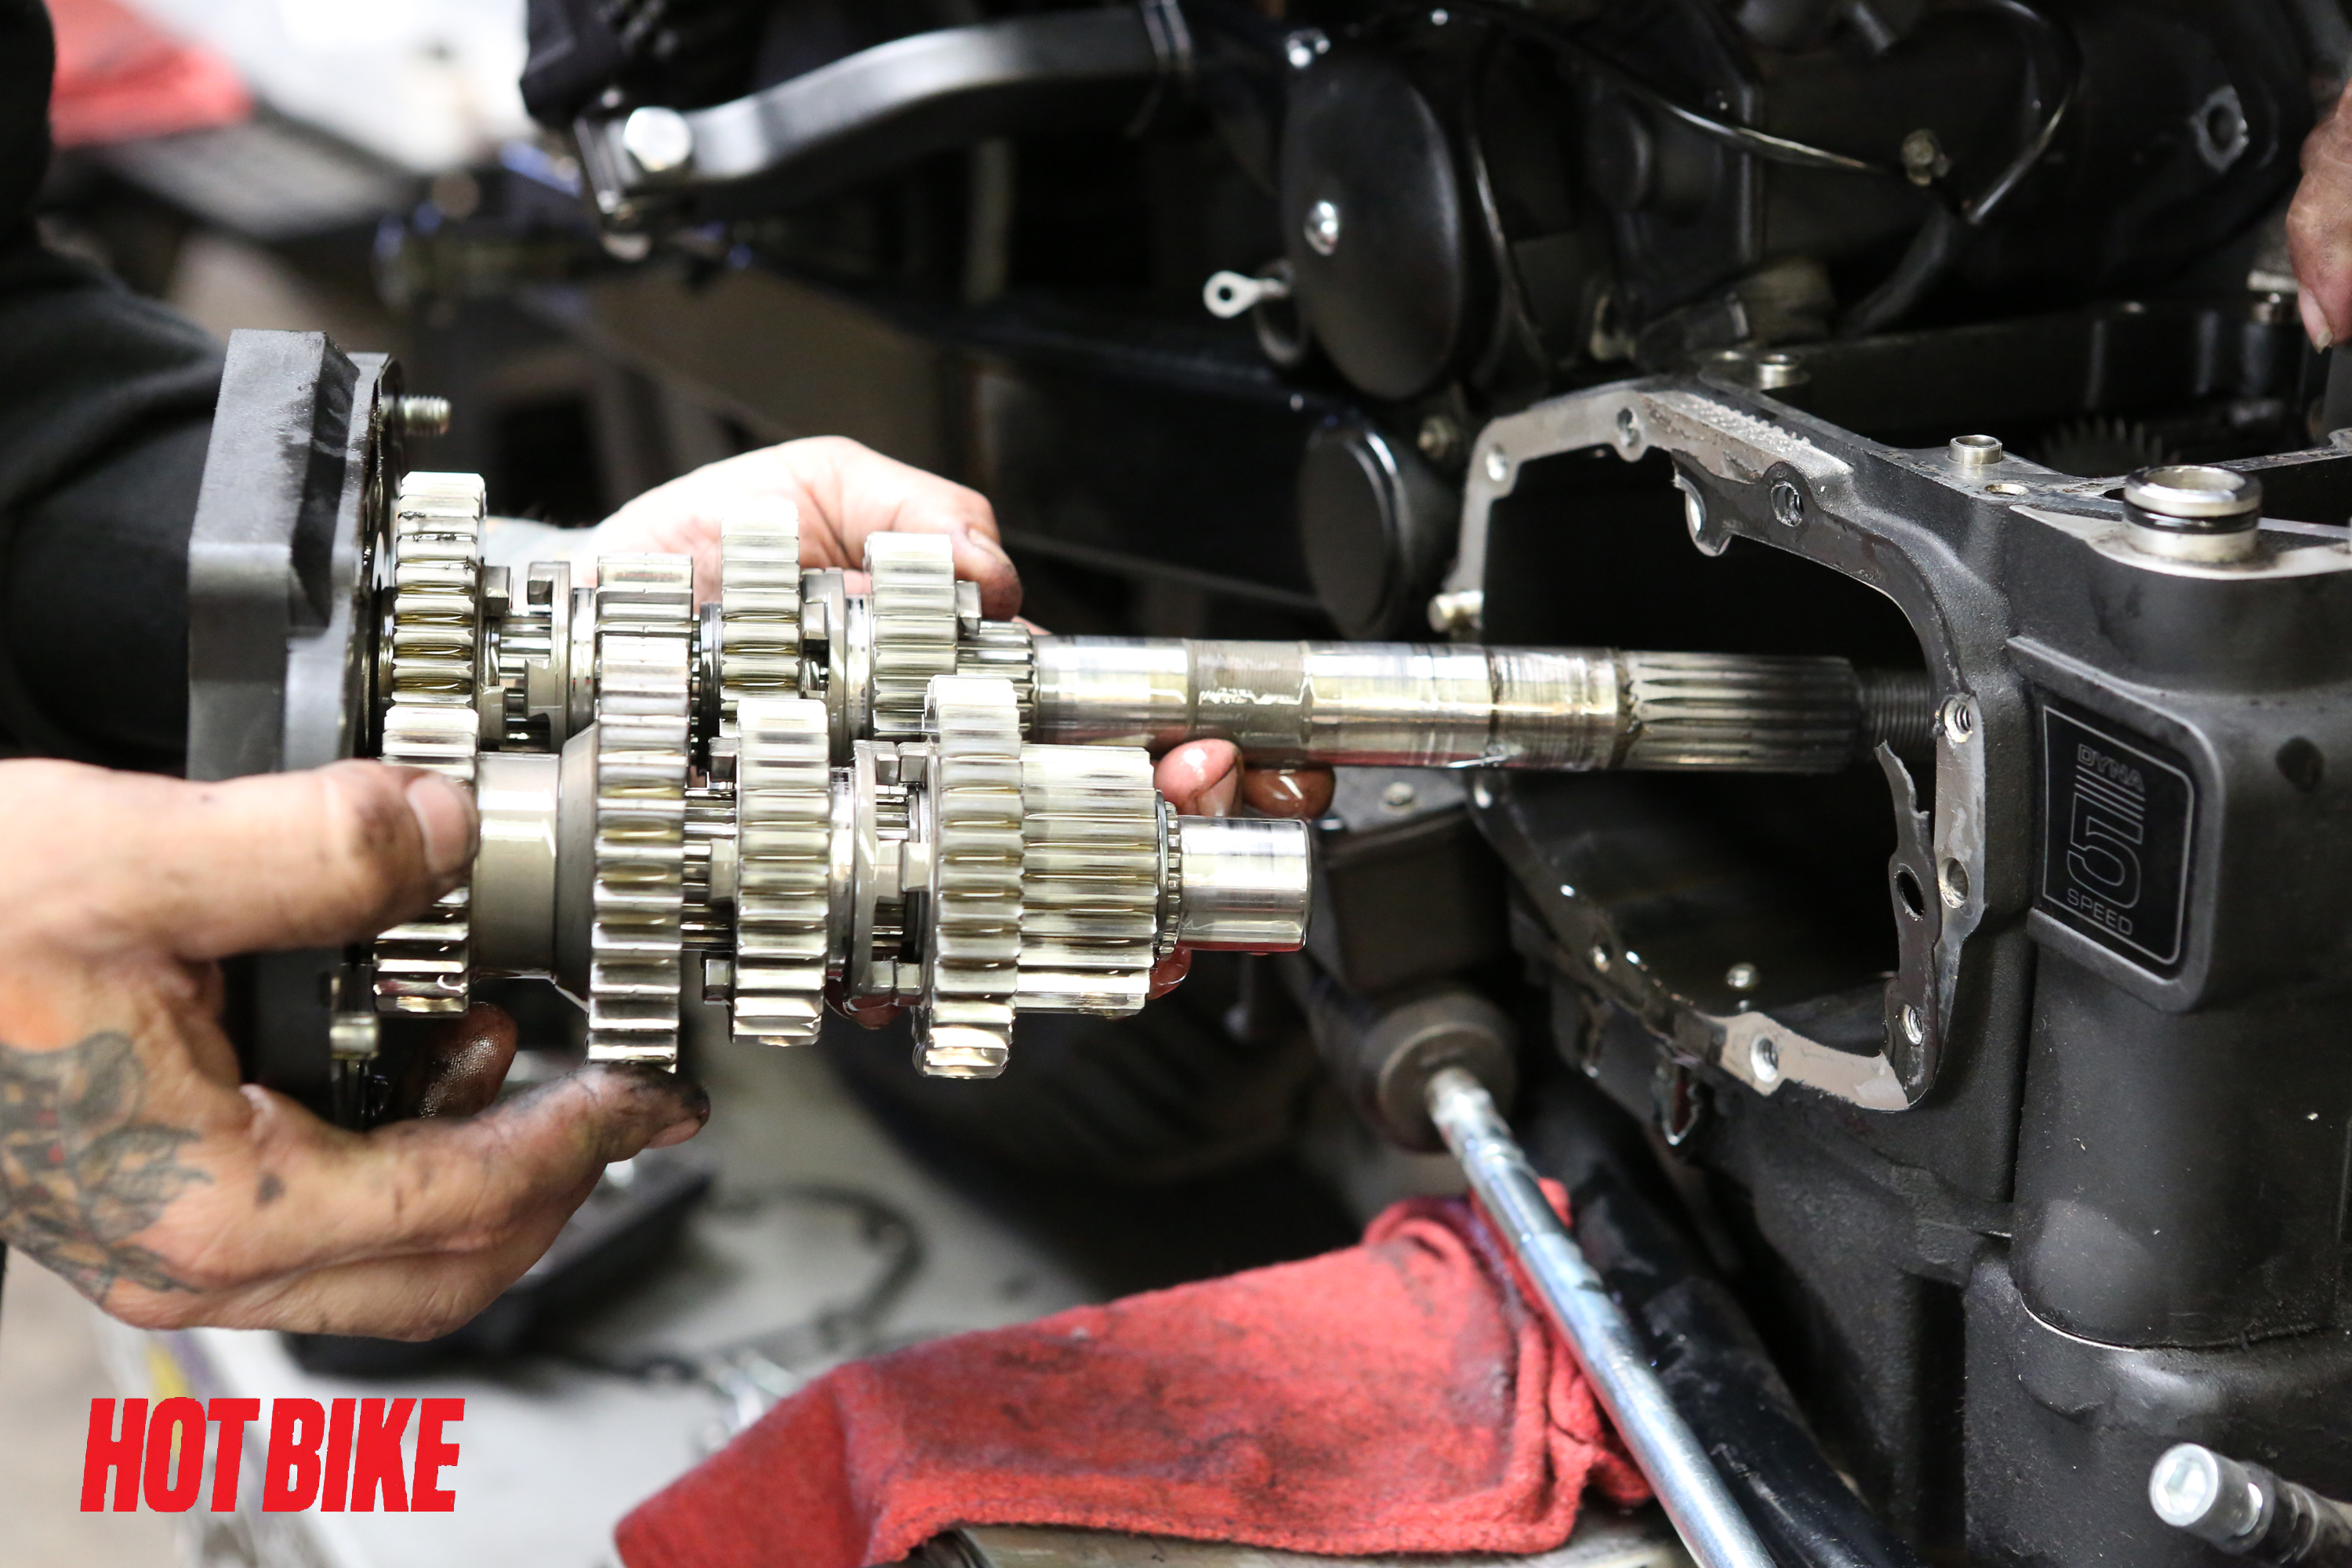
- At this time you should be able to simply pull the stock five-speed setup from the transmission case as a whole complete assembly.
Words: Chip Kastelnik Photos: Mikey Van Senus
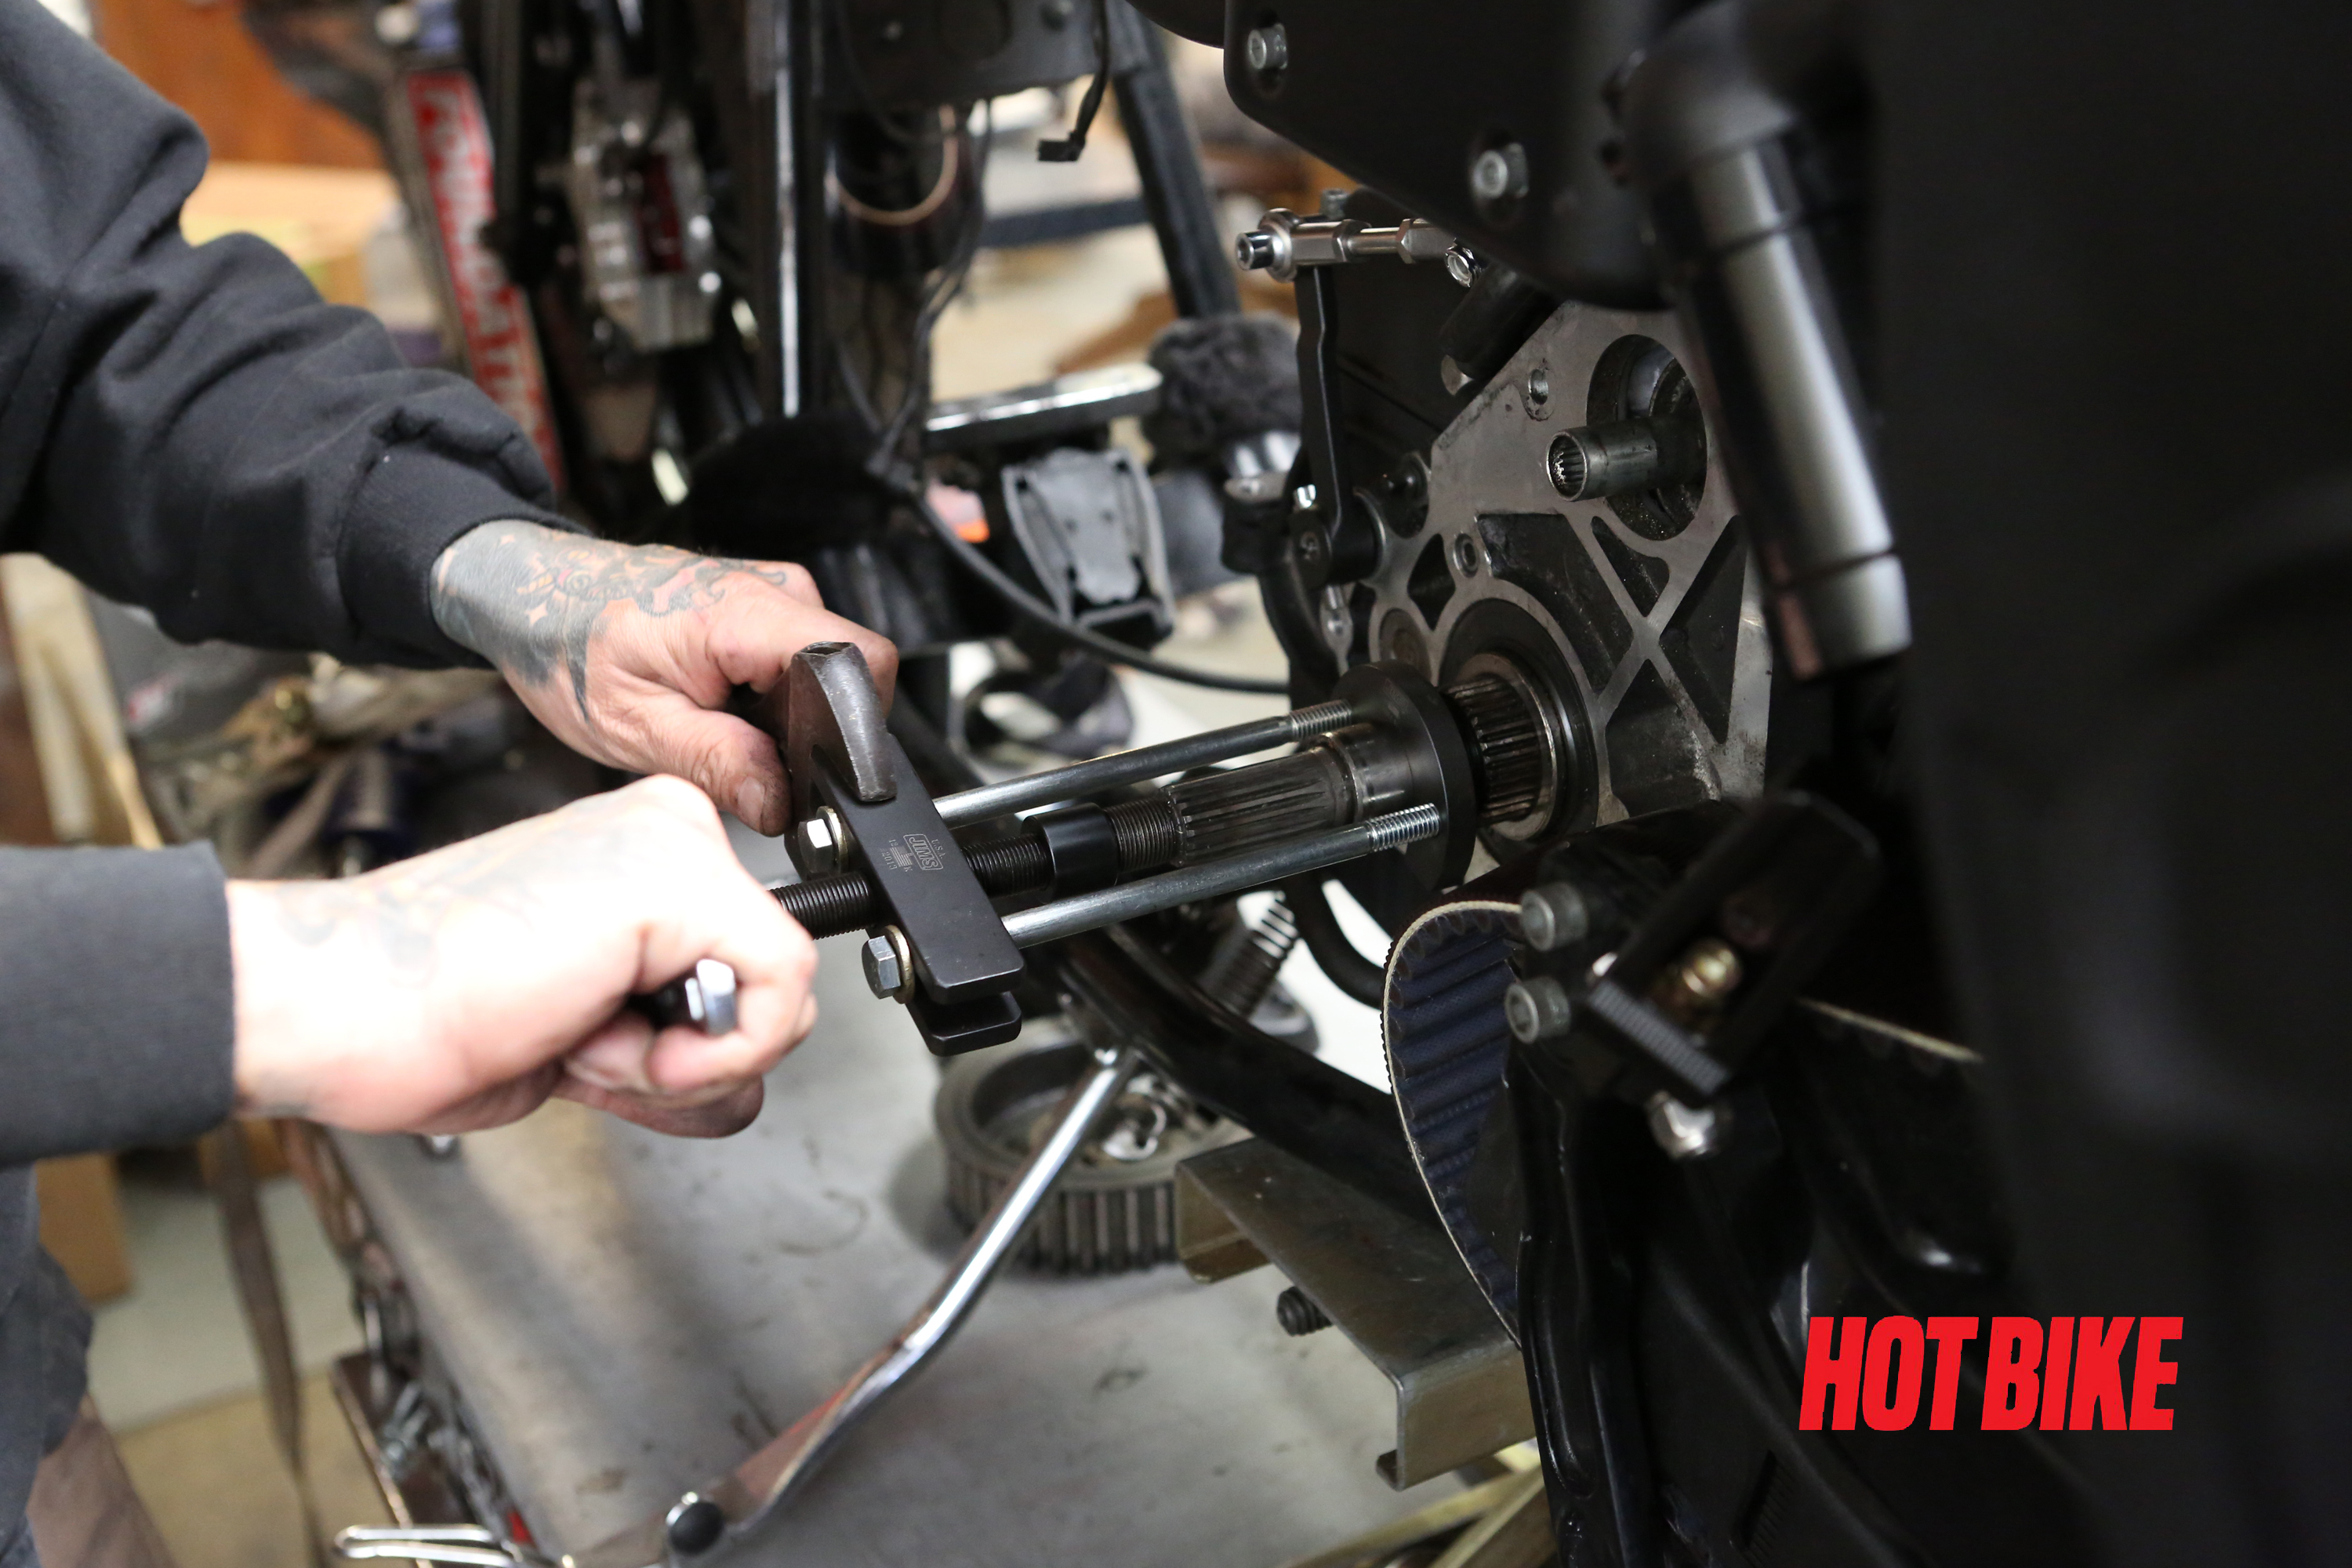
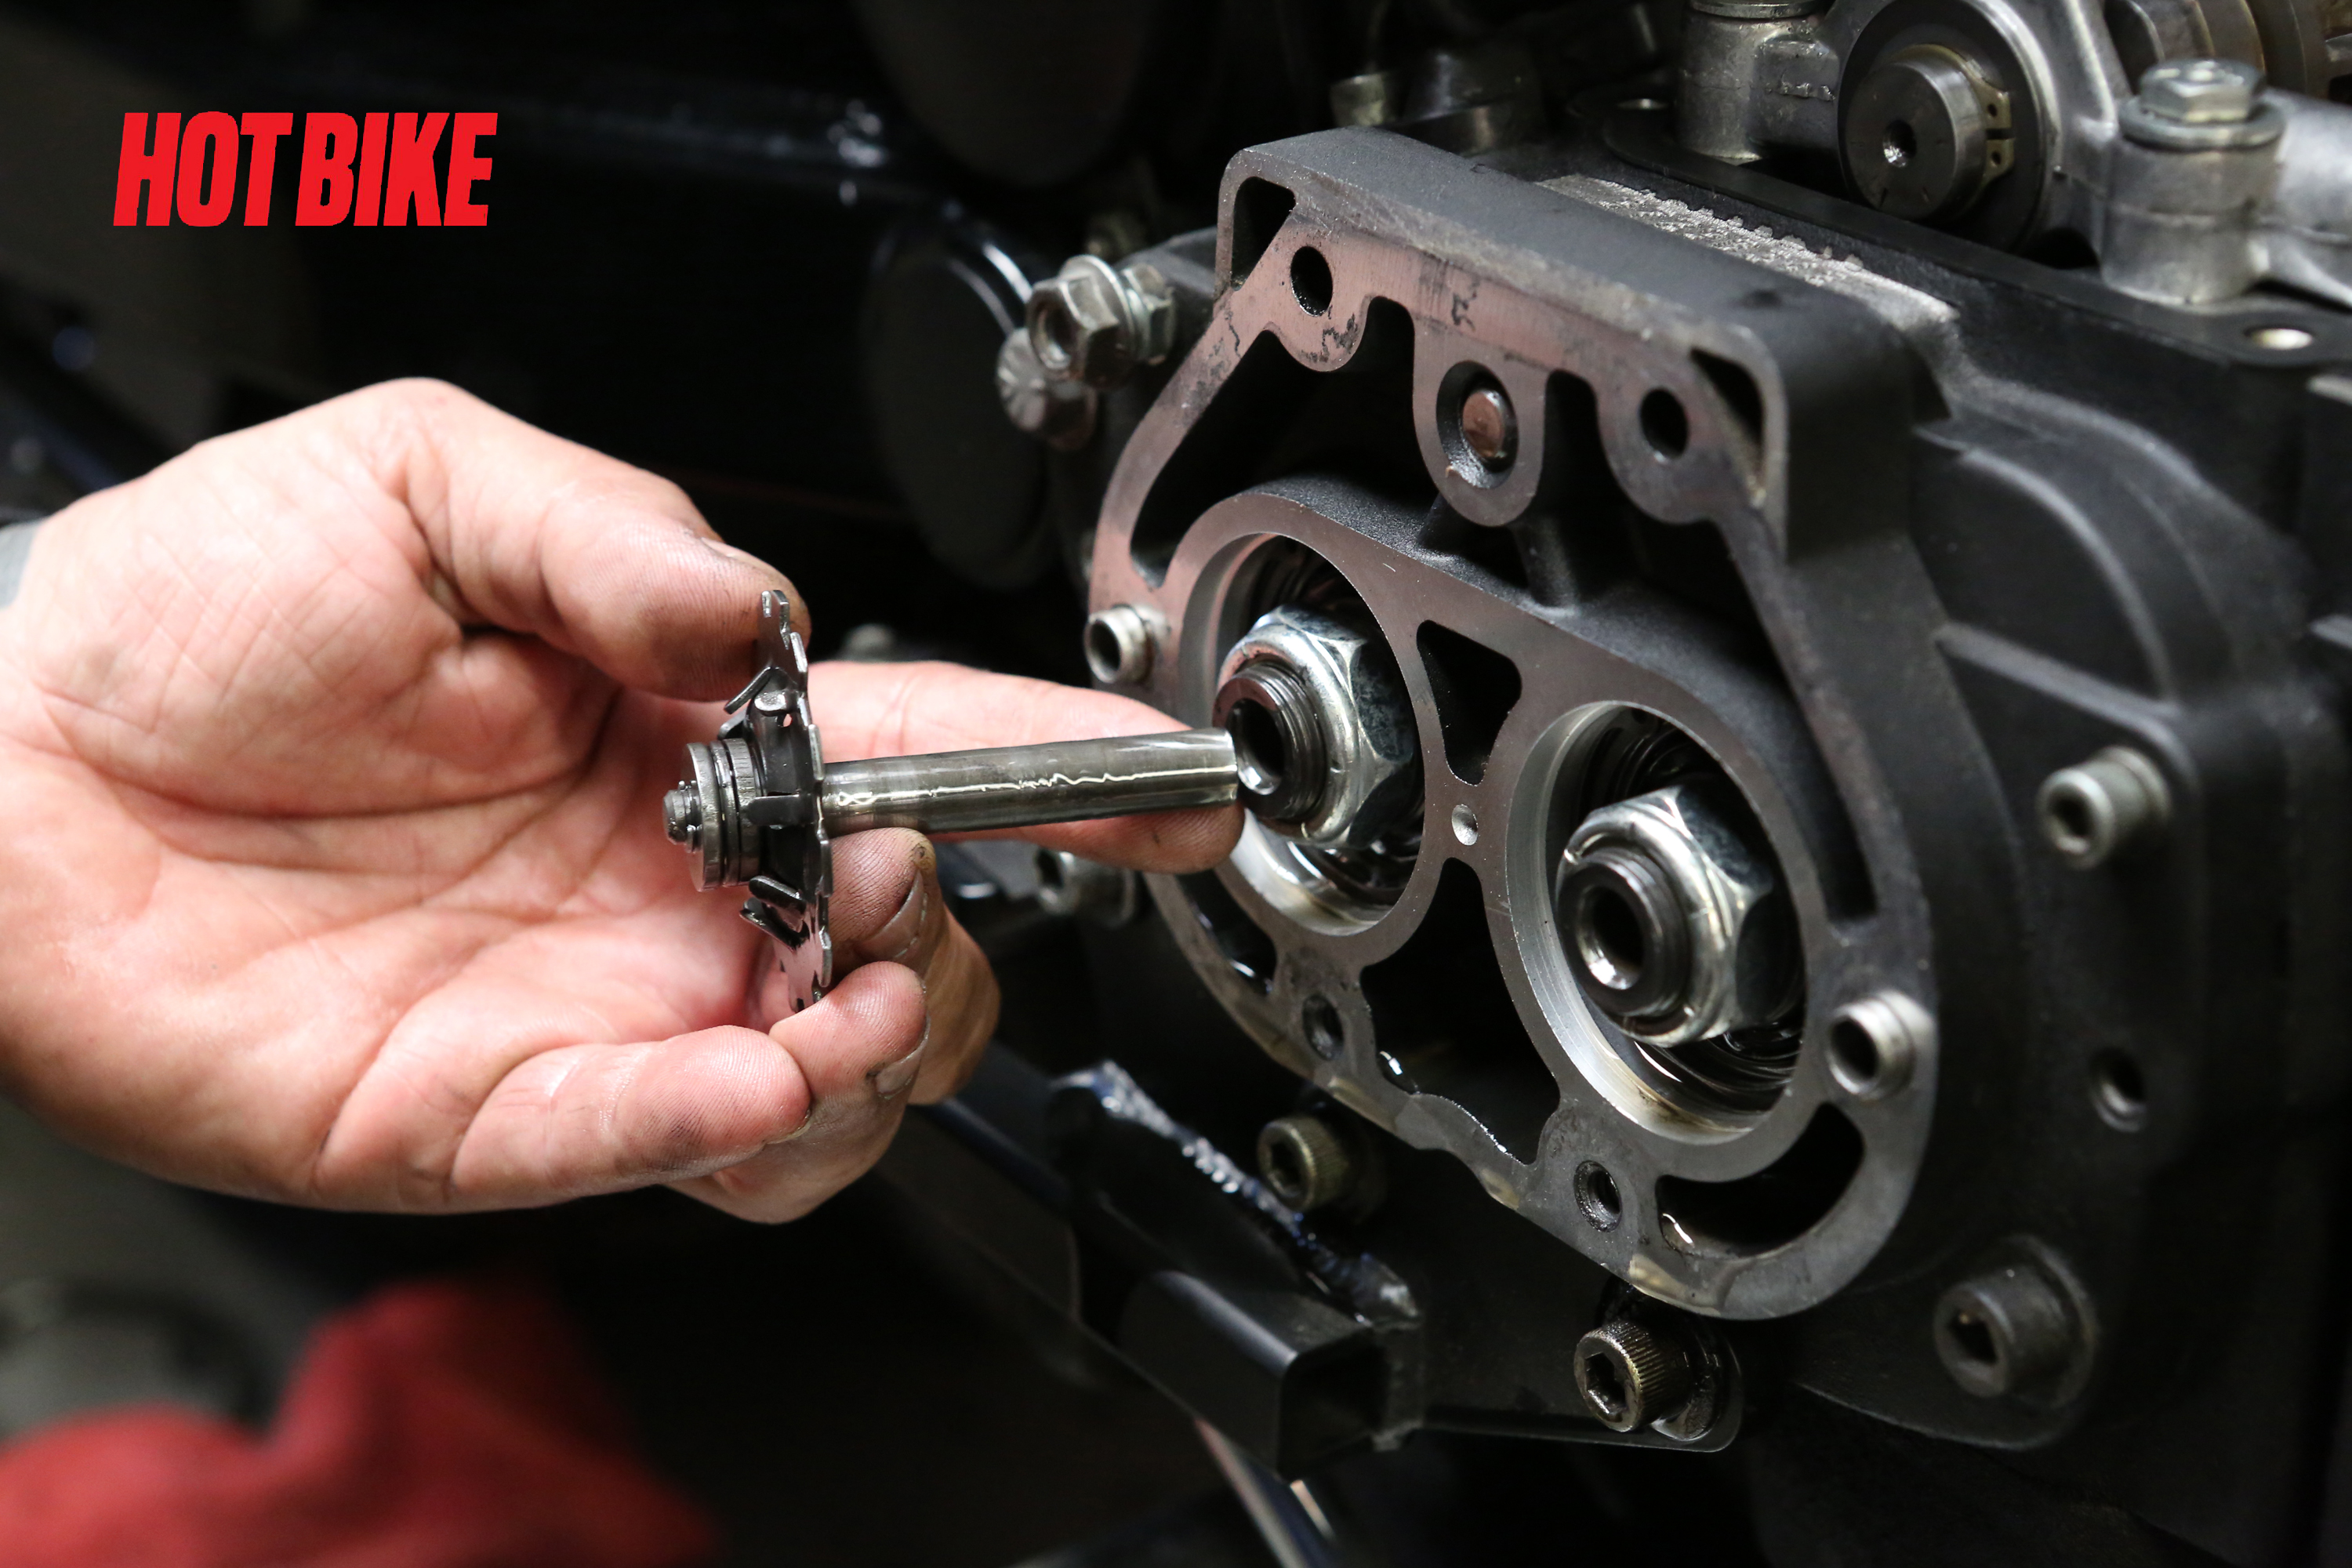
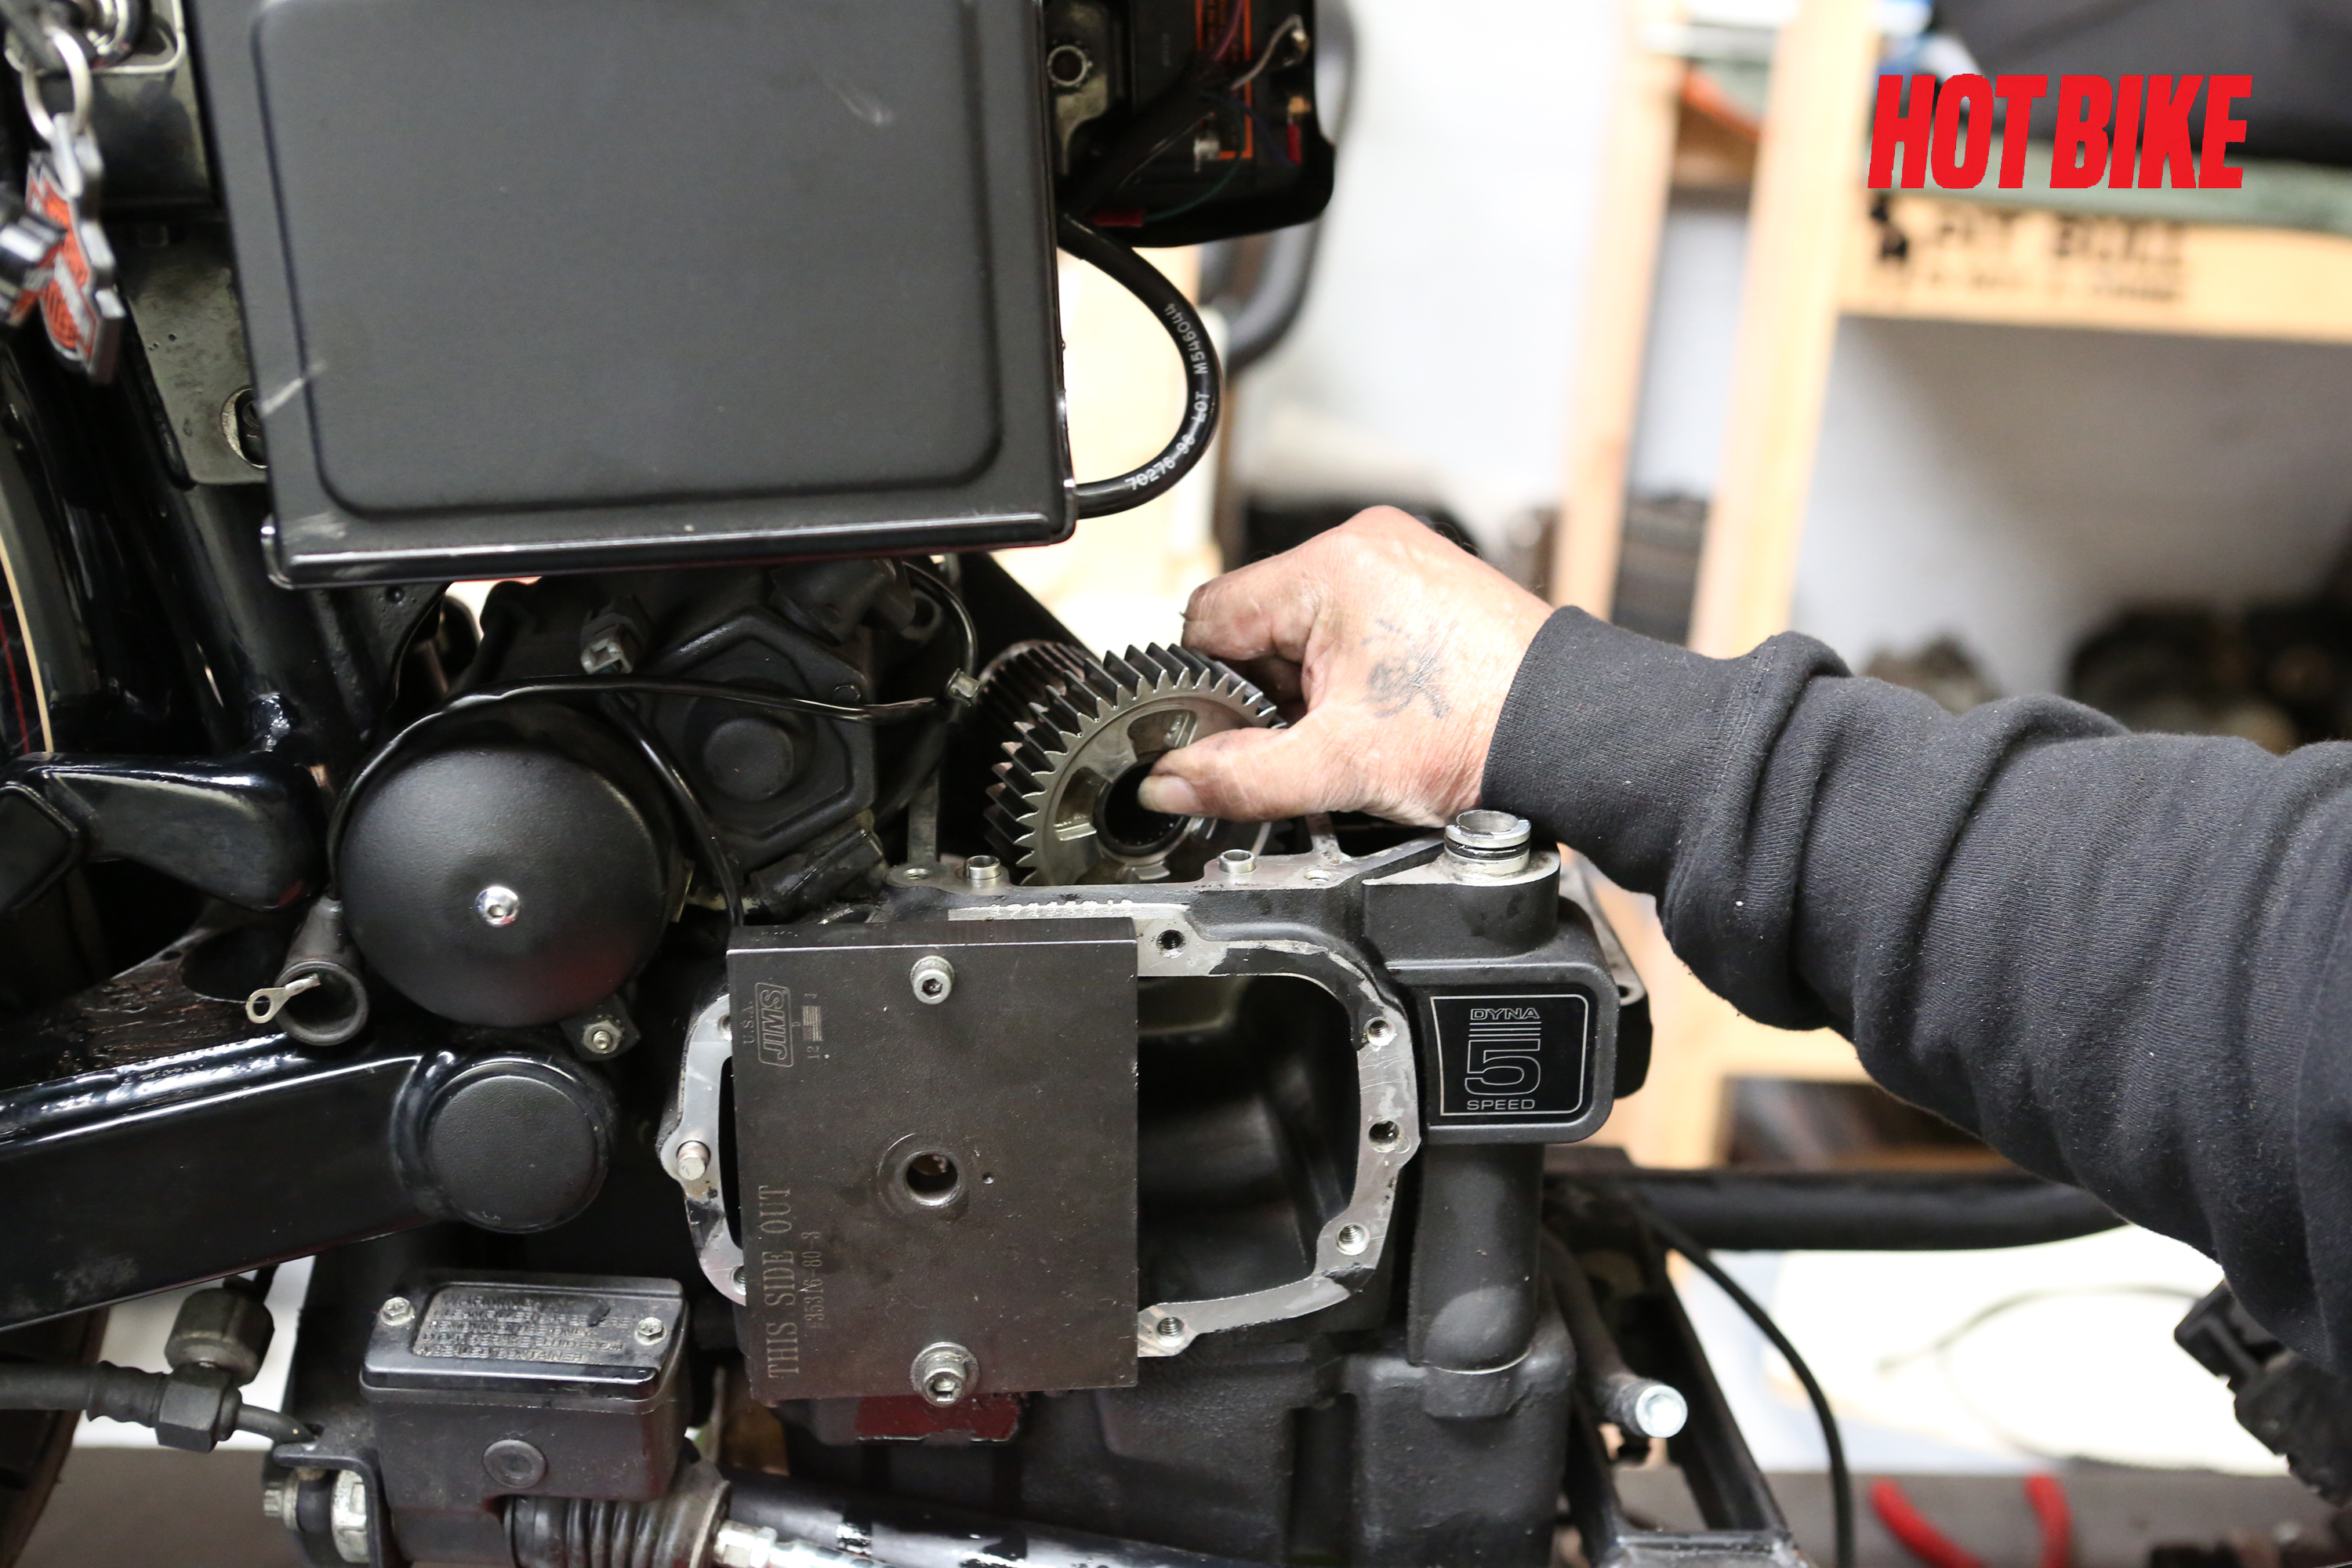
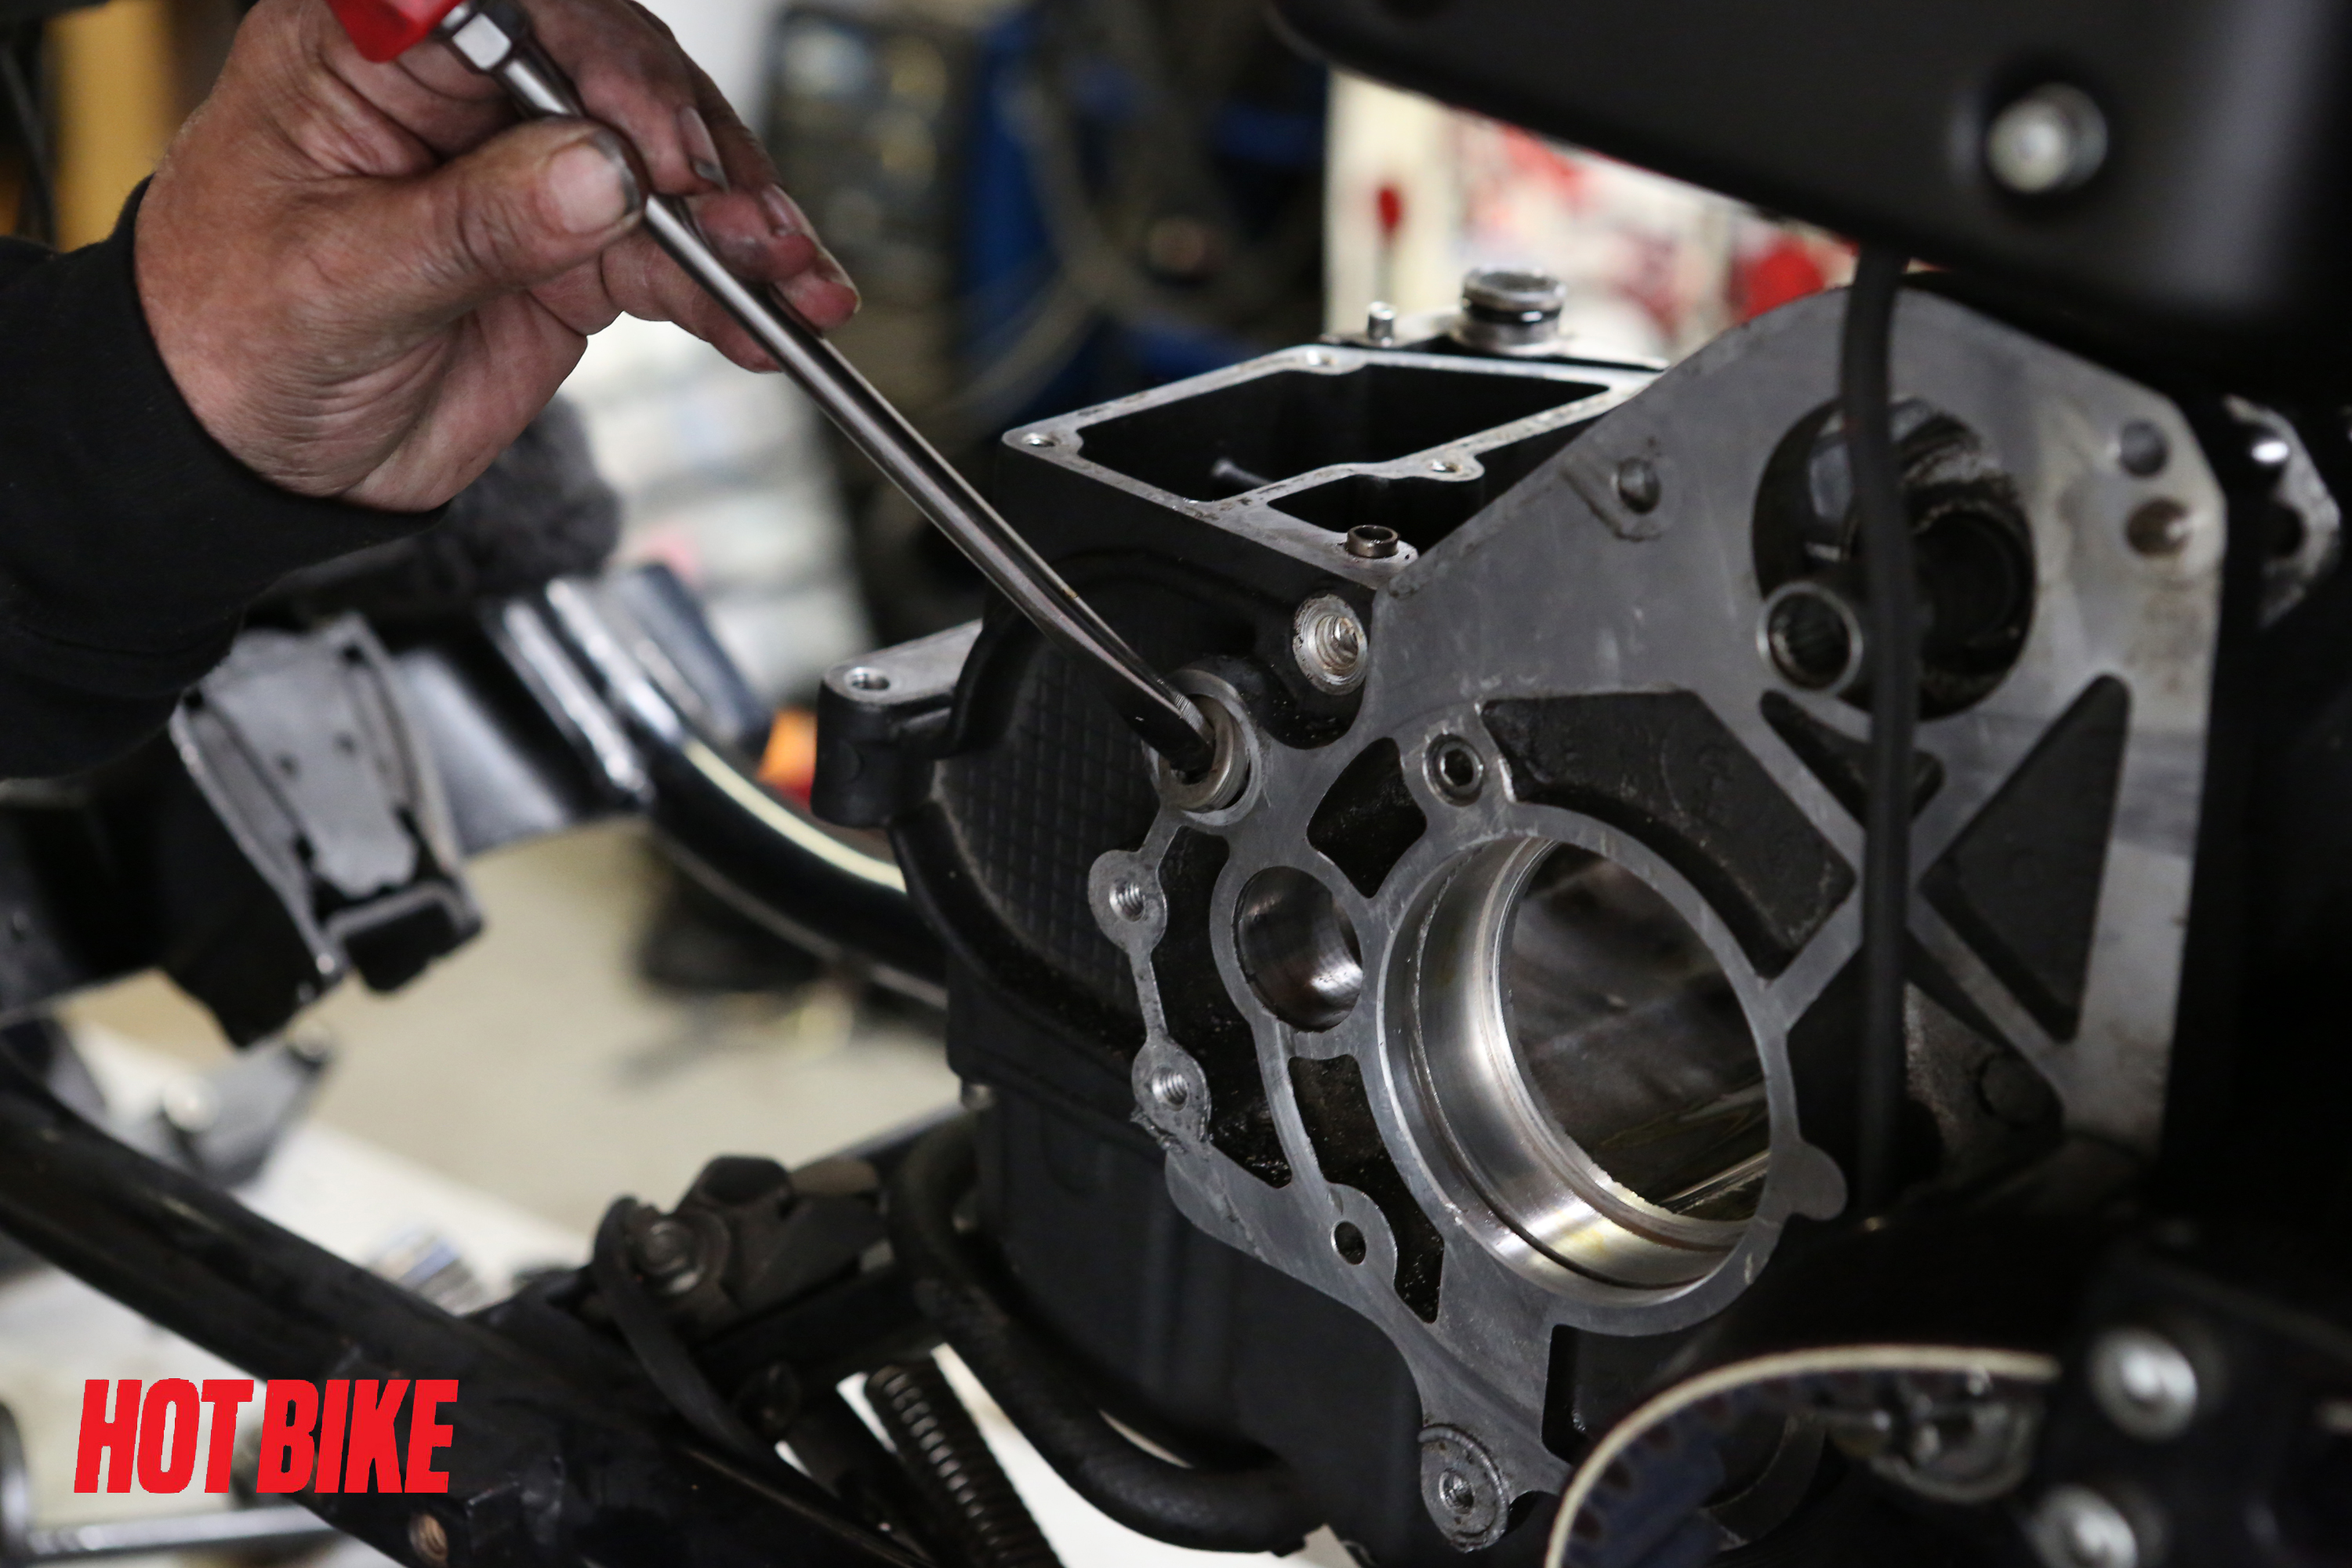
- Next we remove the fifth main drive gear. Use the correct puller, like this JIMS five-speed transmission main drive gear puller tool (Part # 35316-80), so no damage can occur.
Words: Chip Kastelnik Photos: Mikey Van Senus
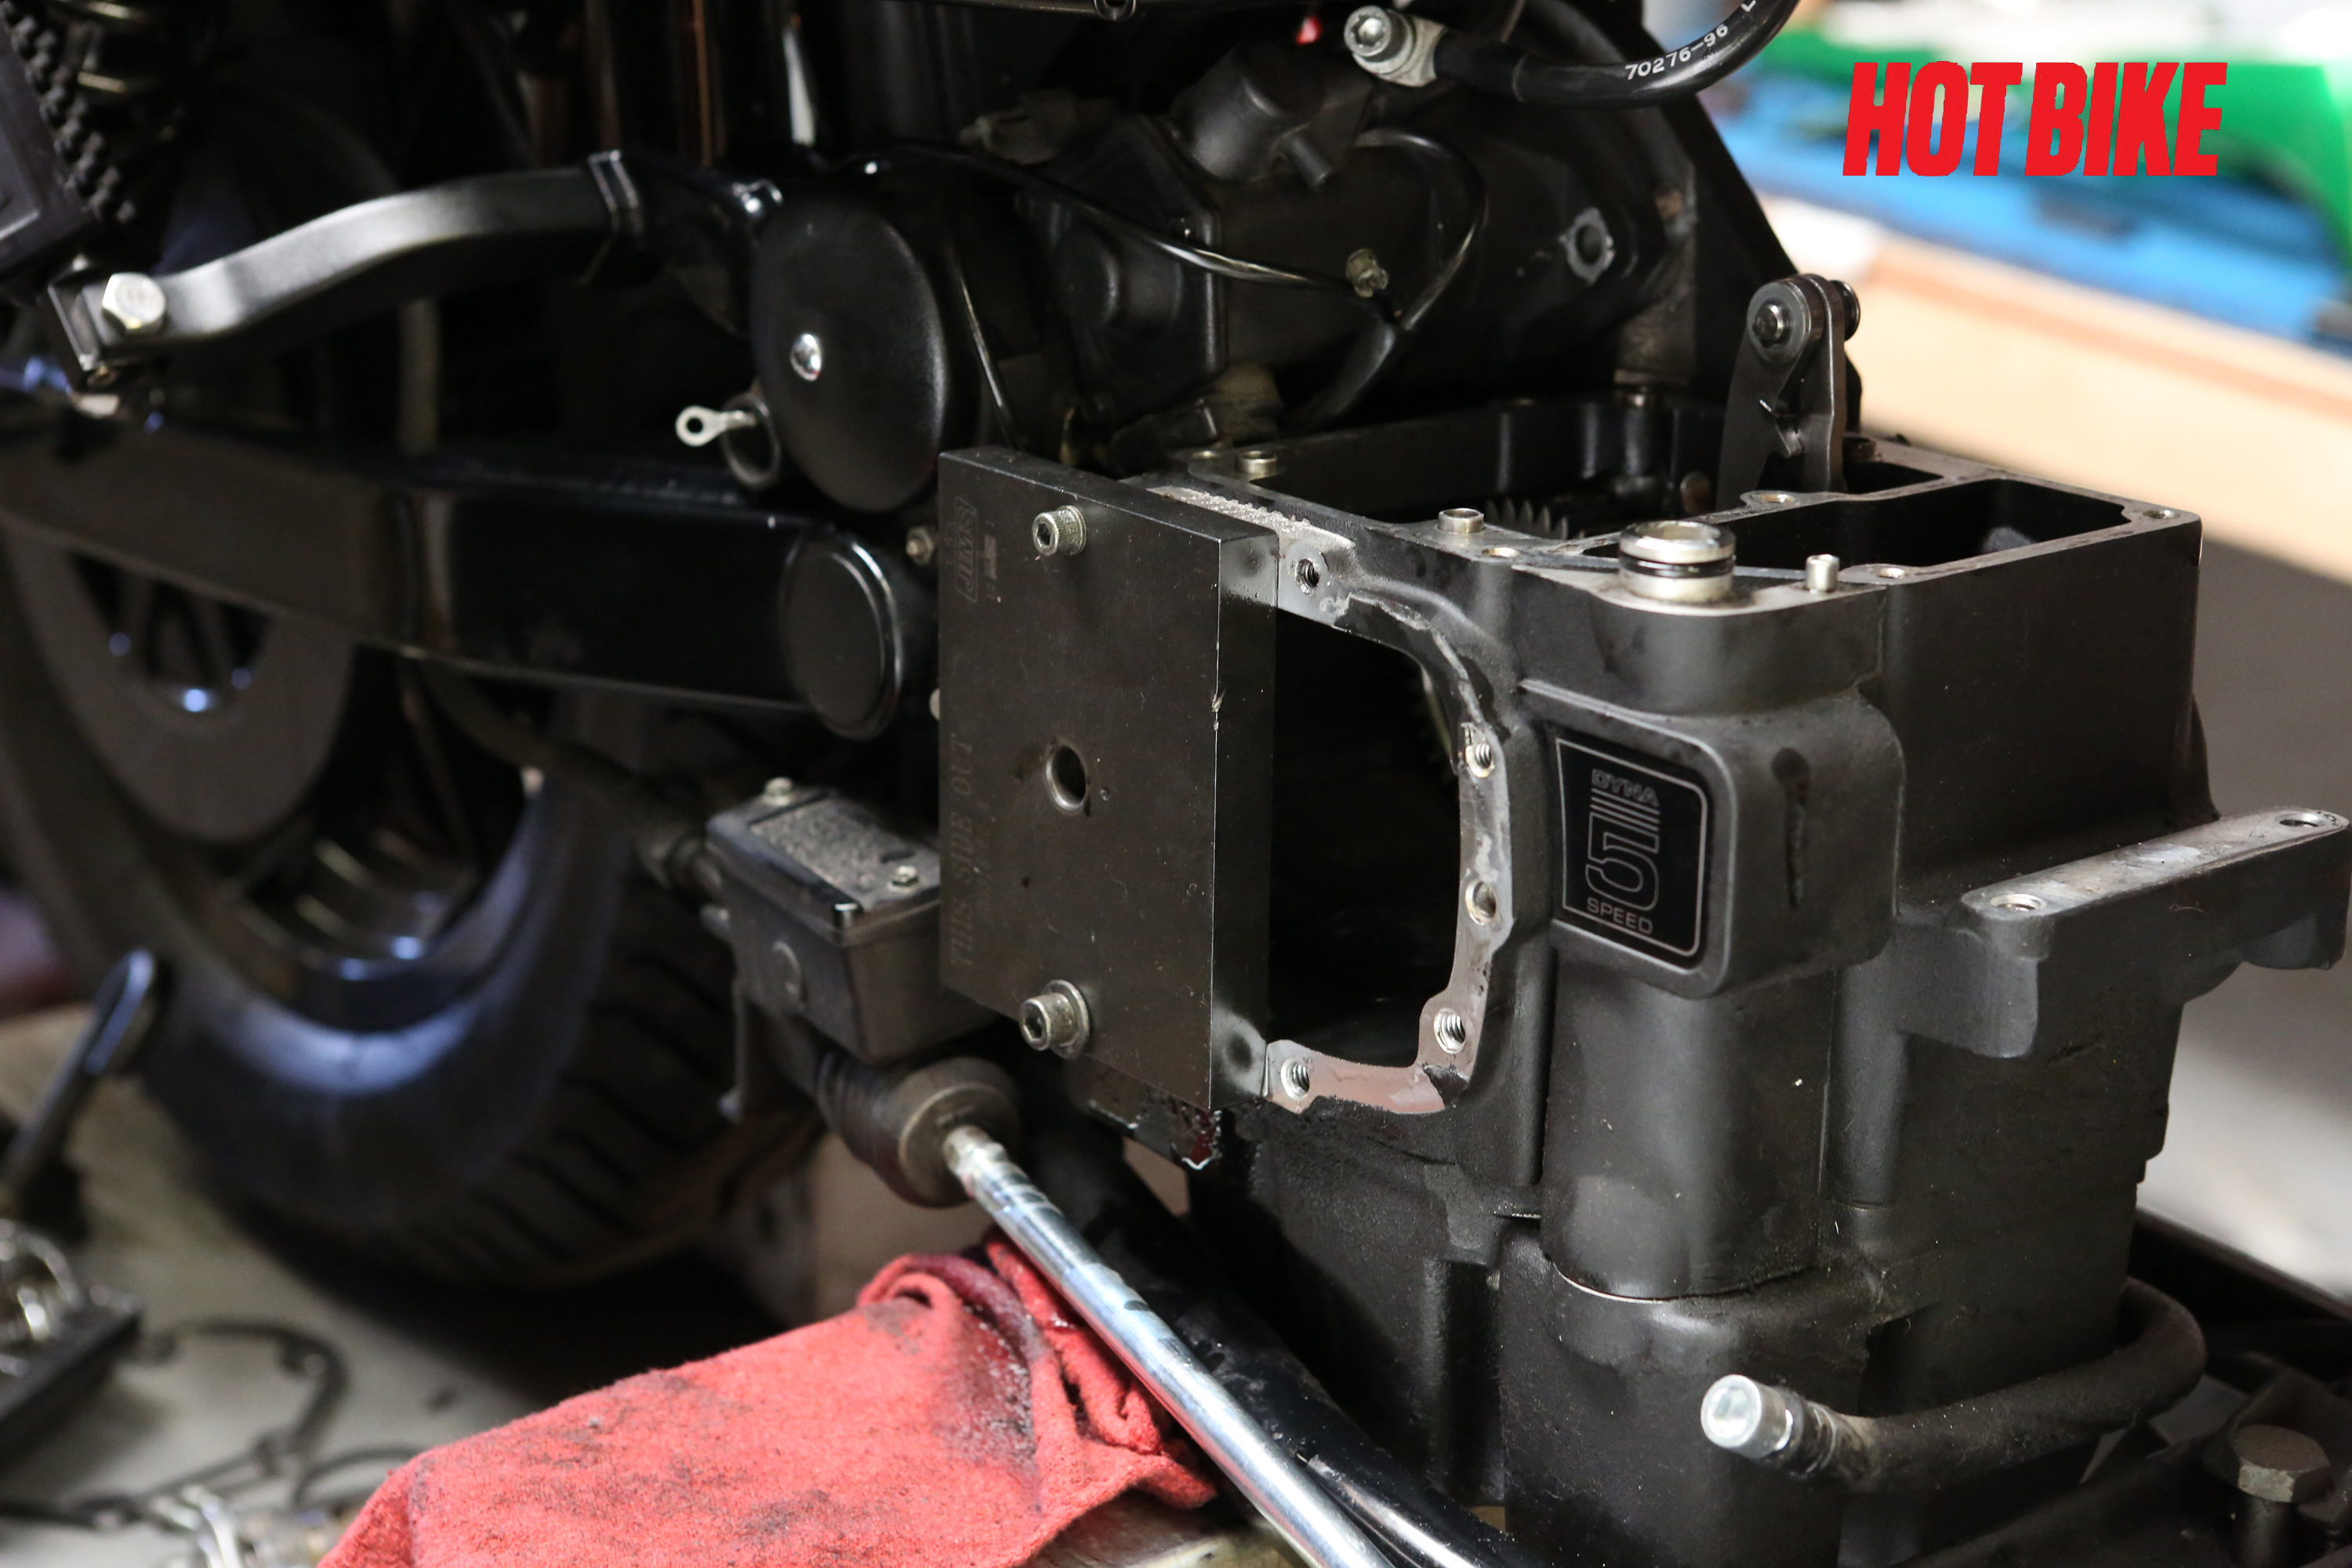
- We install the steel, flat main plate on the front of the transmission case. Use the existing transmission bolts to secure the main plate to the case. The plate is marked “This side out,” so we made that happen.
Words: Chip Kastelnik Photos: Mikey Van Senus
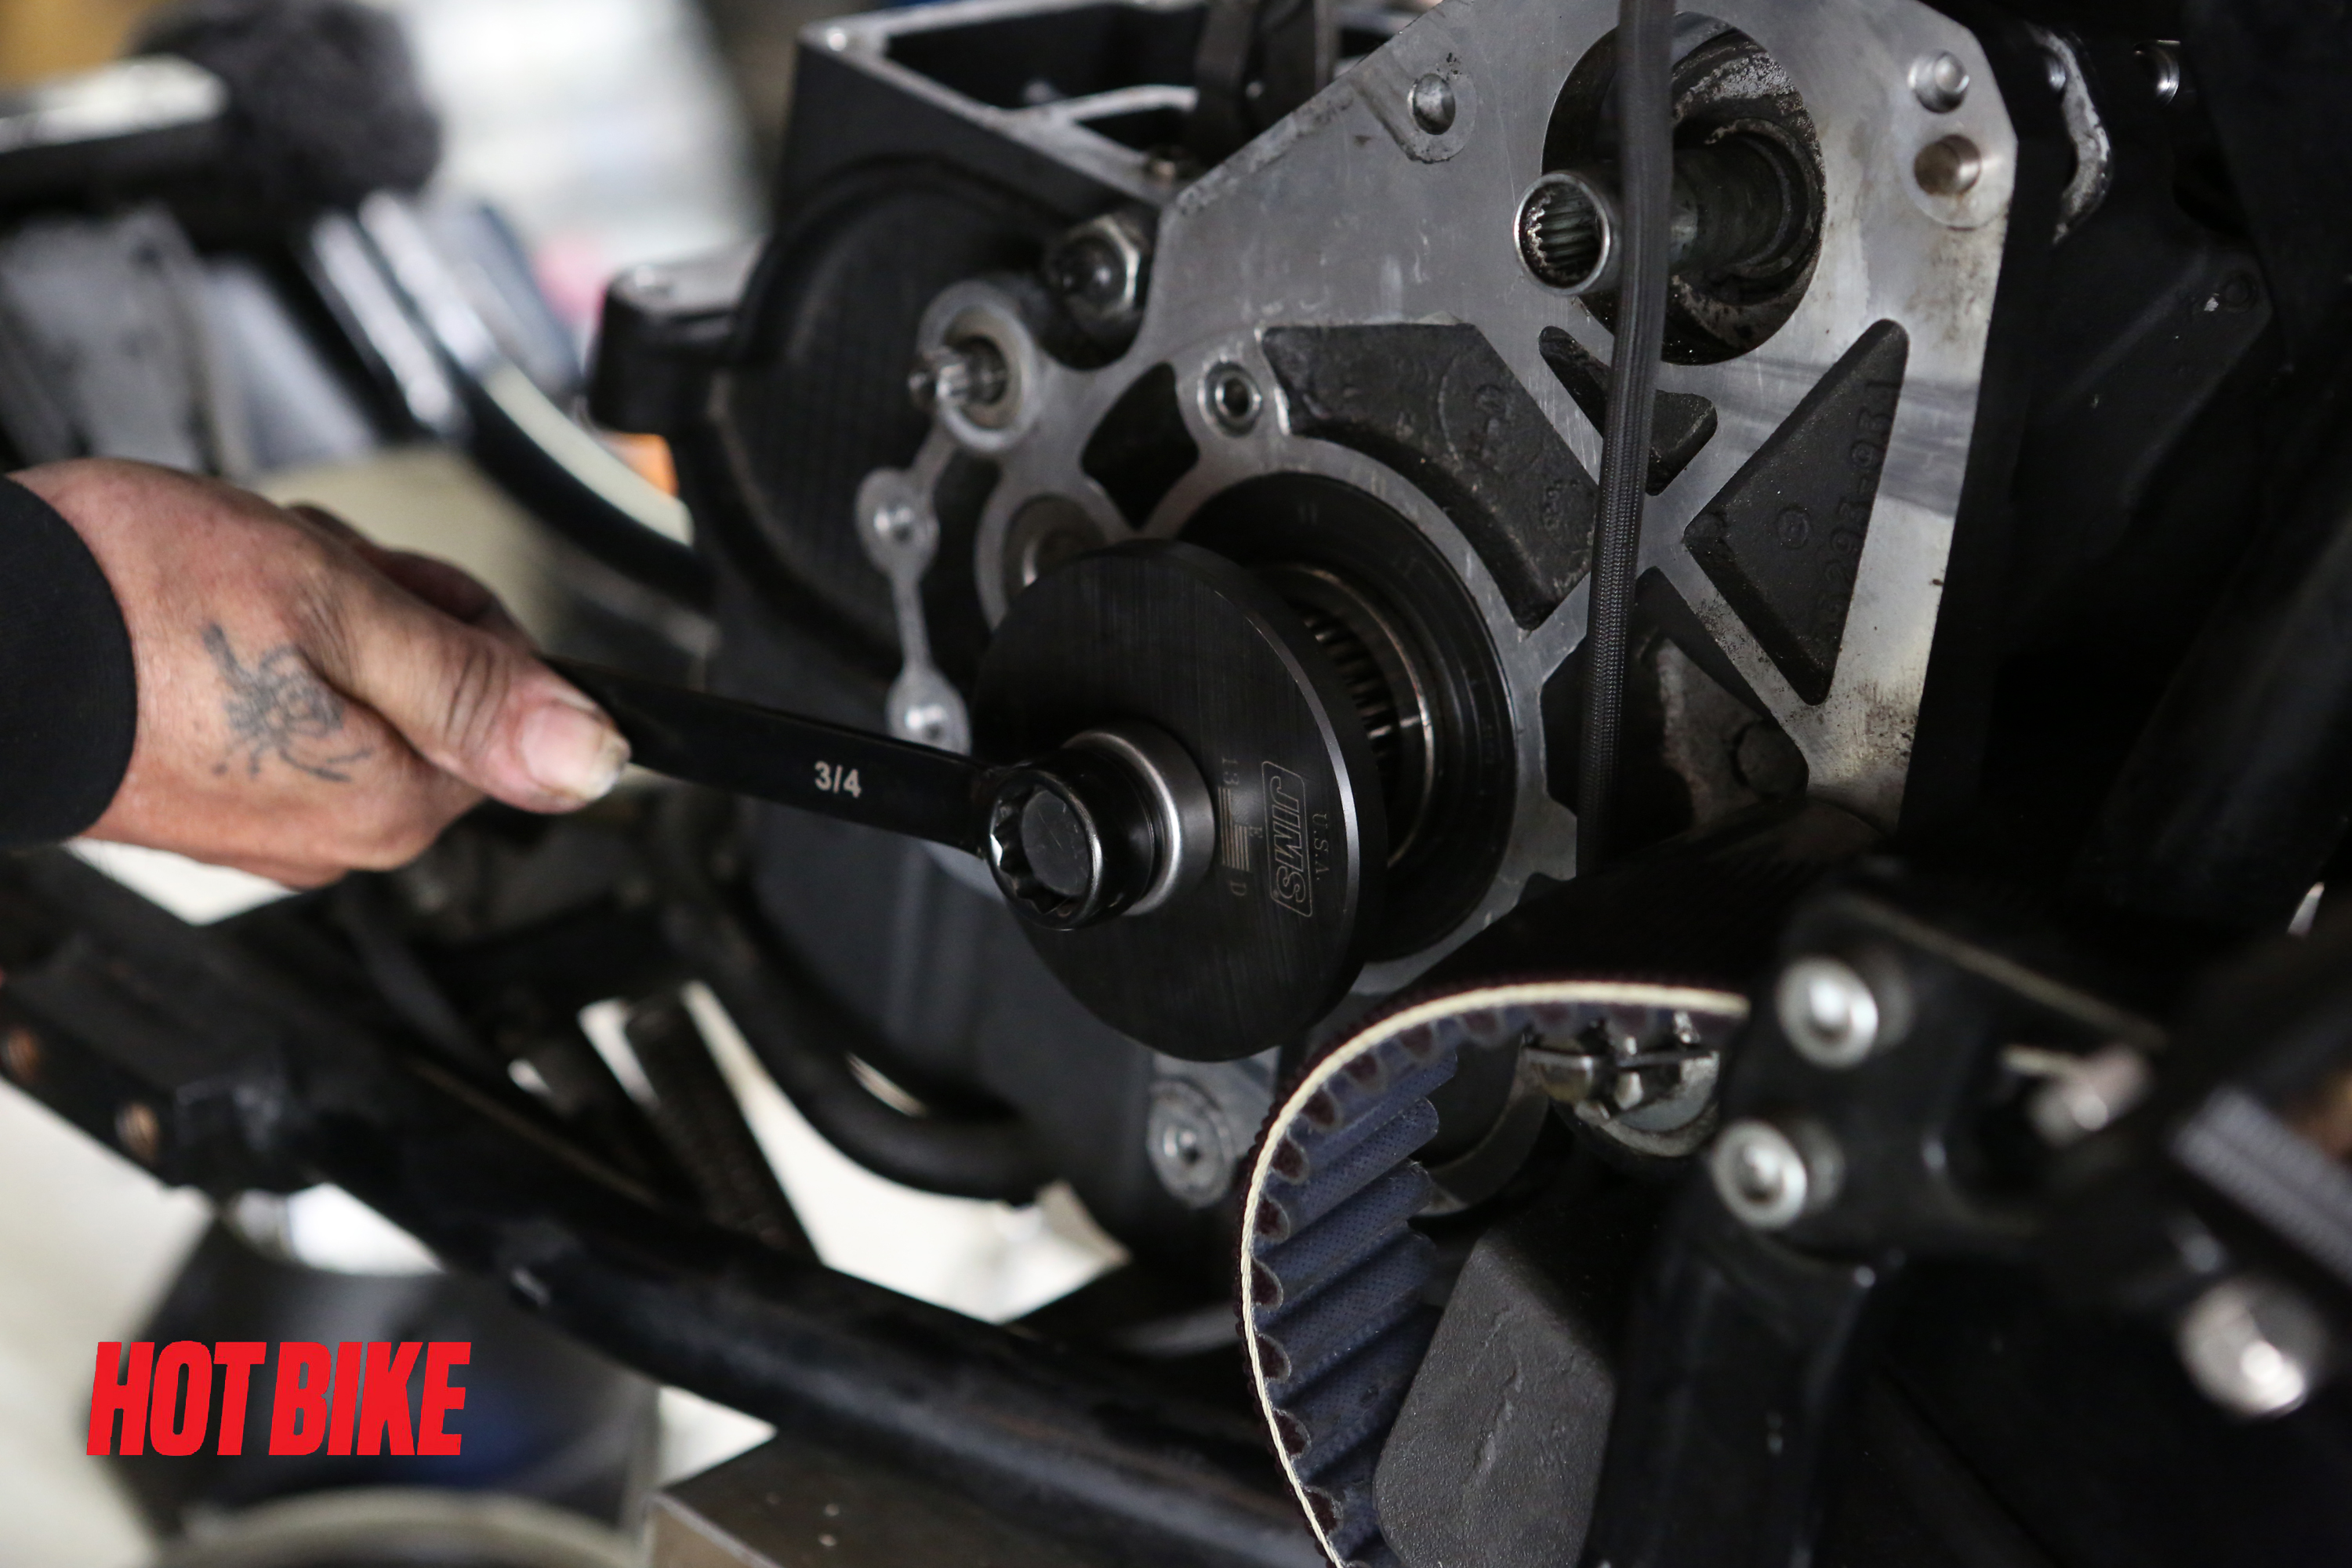
- Install the gear plate on the outside of the fifth main drive gear. Insert the threaded rod through the main drive gear plate, hold the rod end with a 3/4-inch wrench and turn the nut with another 3/4-inch wrench or ratchet, and the fifth main drive gear will begin to move out of the main drive gear bearing.
Words: Chip Kastelnik Photos: Mikey Van Senus
- Once the fifth main drive gear is free from the bearing and out of the inside of the transmission, unscrew the nut and remove the threaded rod from the trans case. The gear will be loose, and at this time it can be removed from the trans case and placed with the rest of the tired stock five-speed gearset.
Words: Chip Kastelnik Photos: Mikey Van Senus
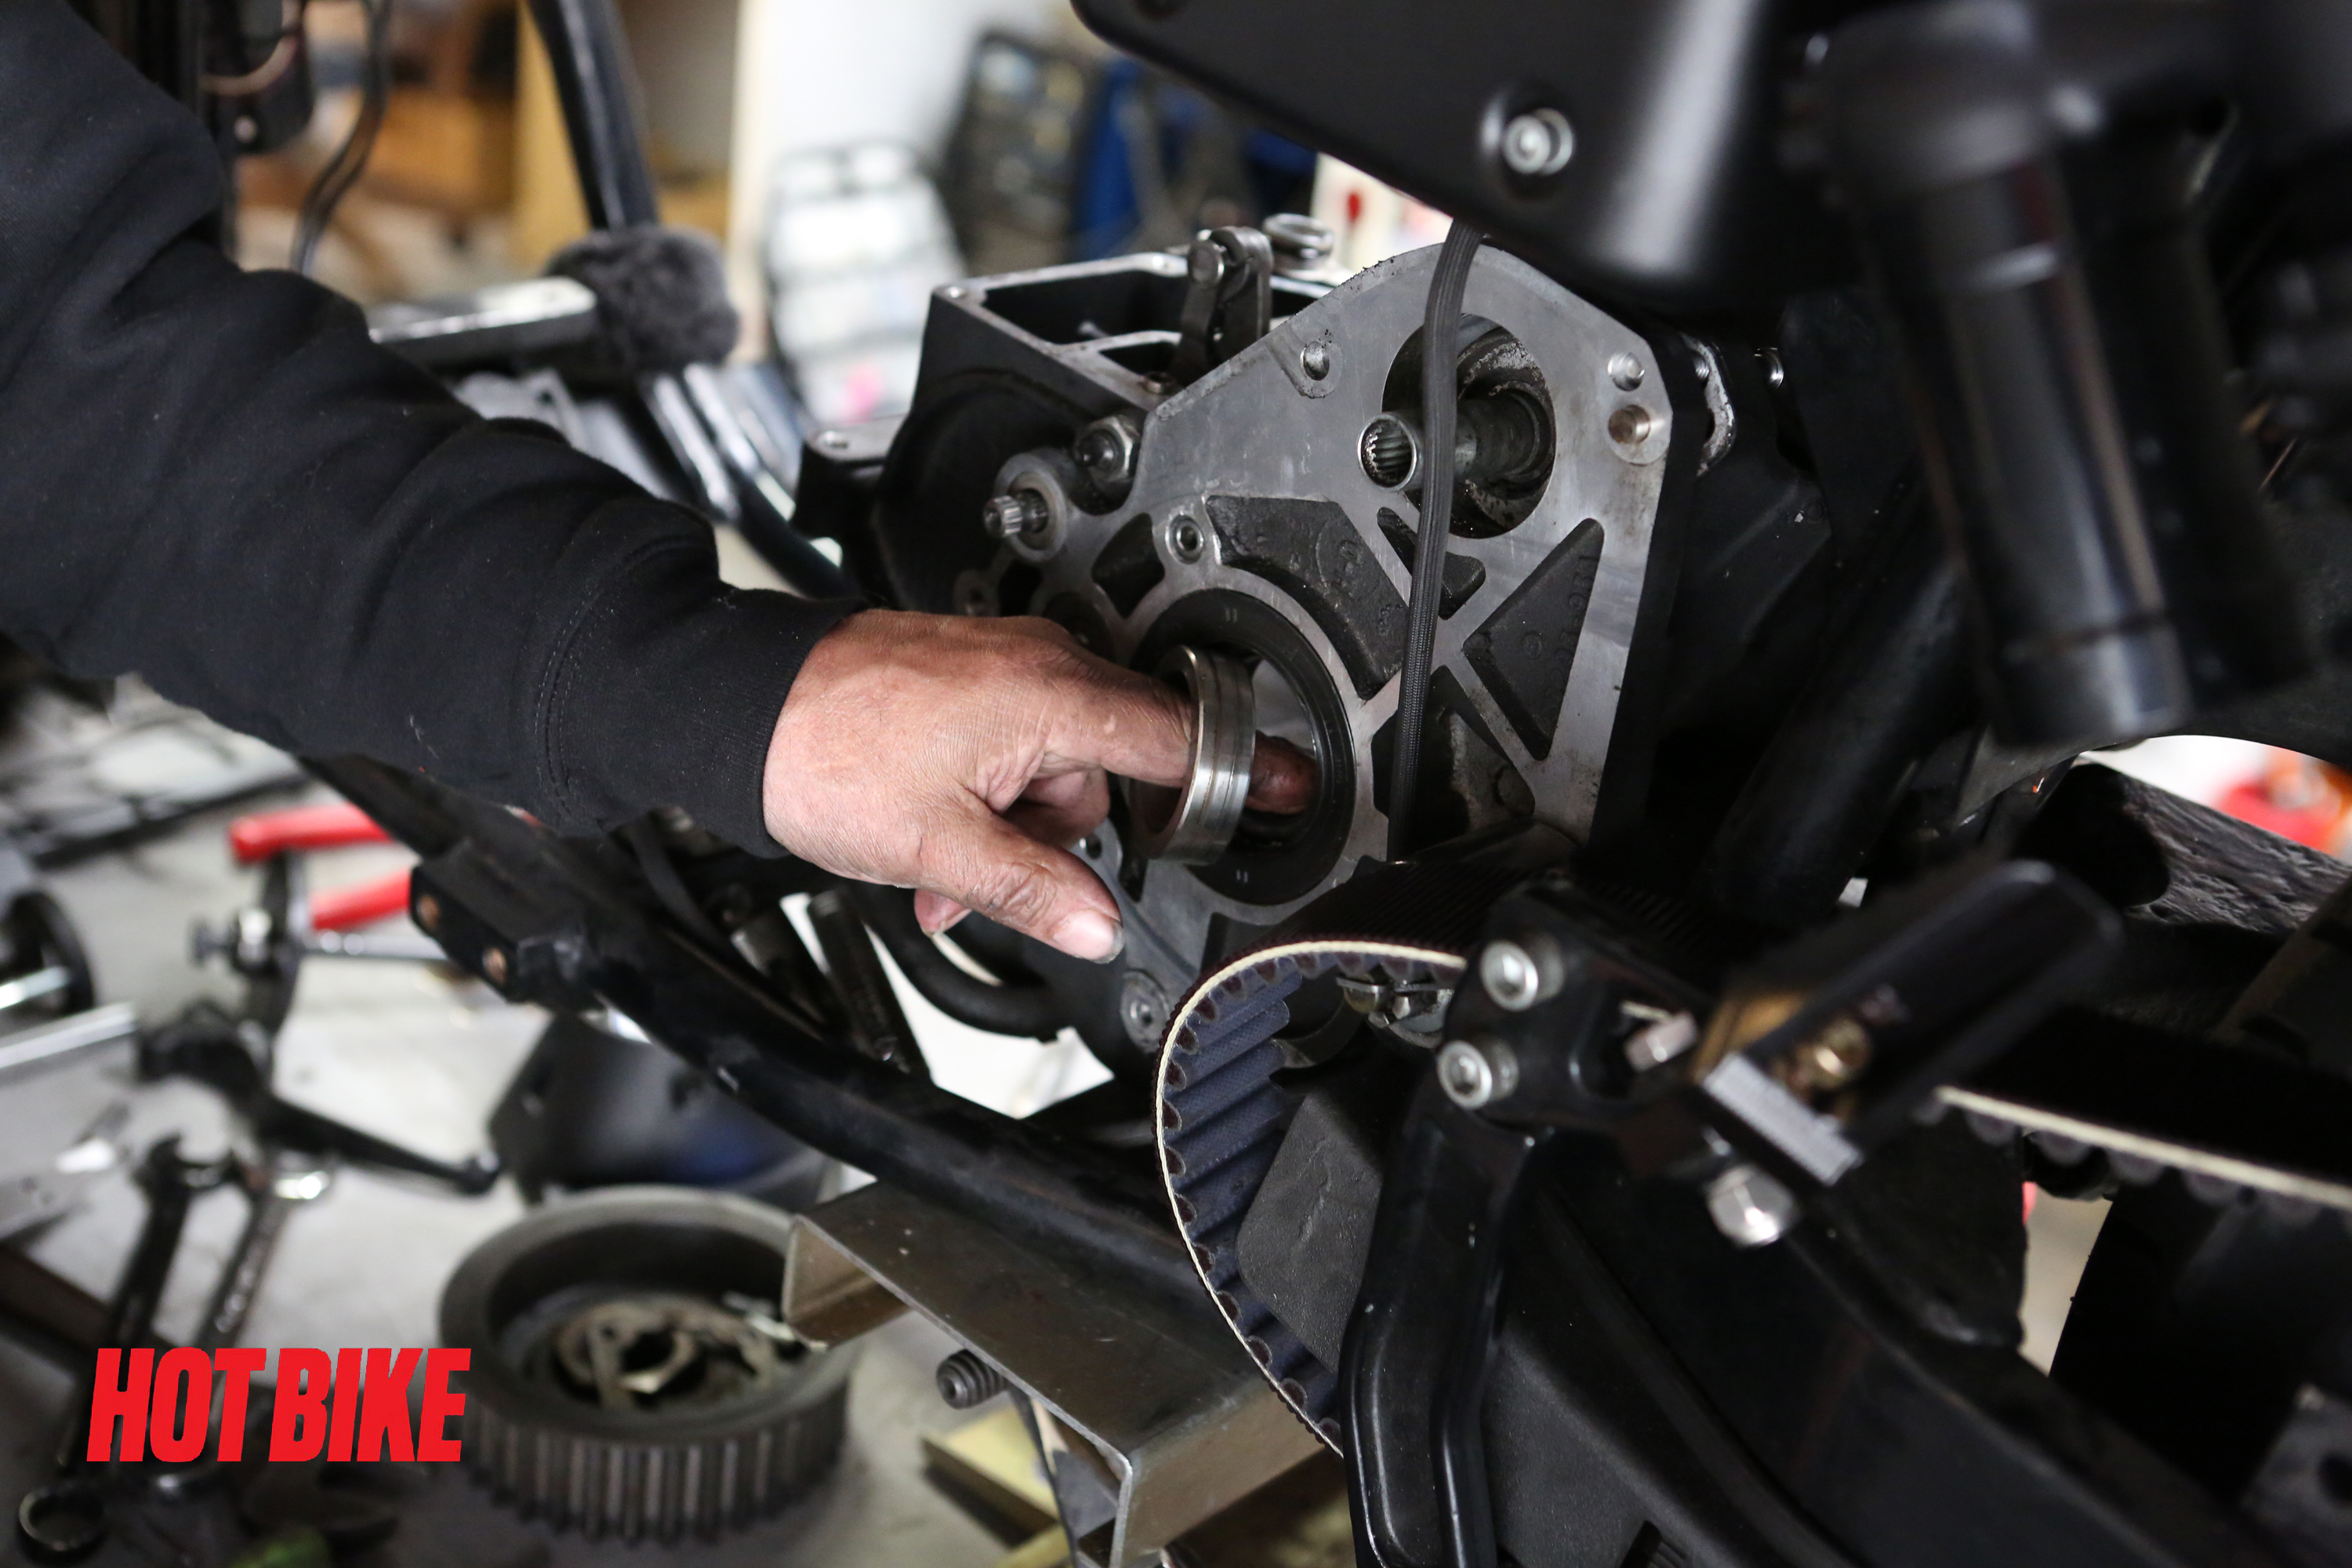
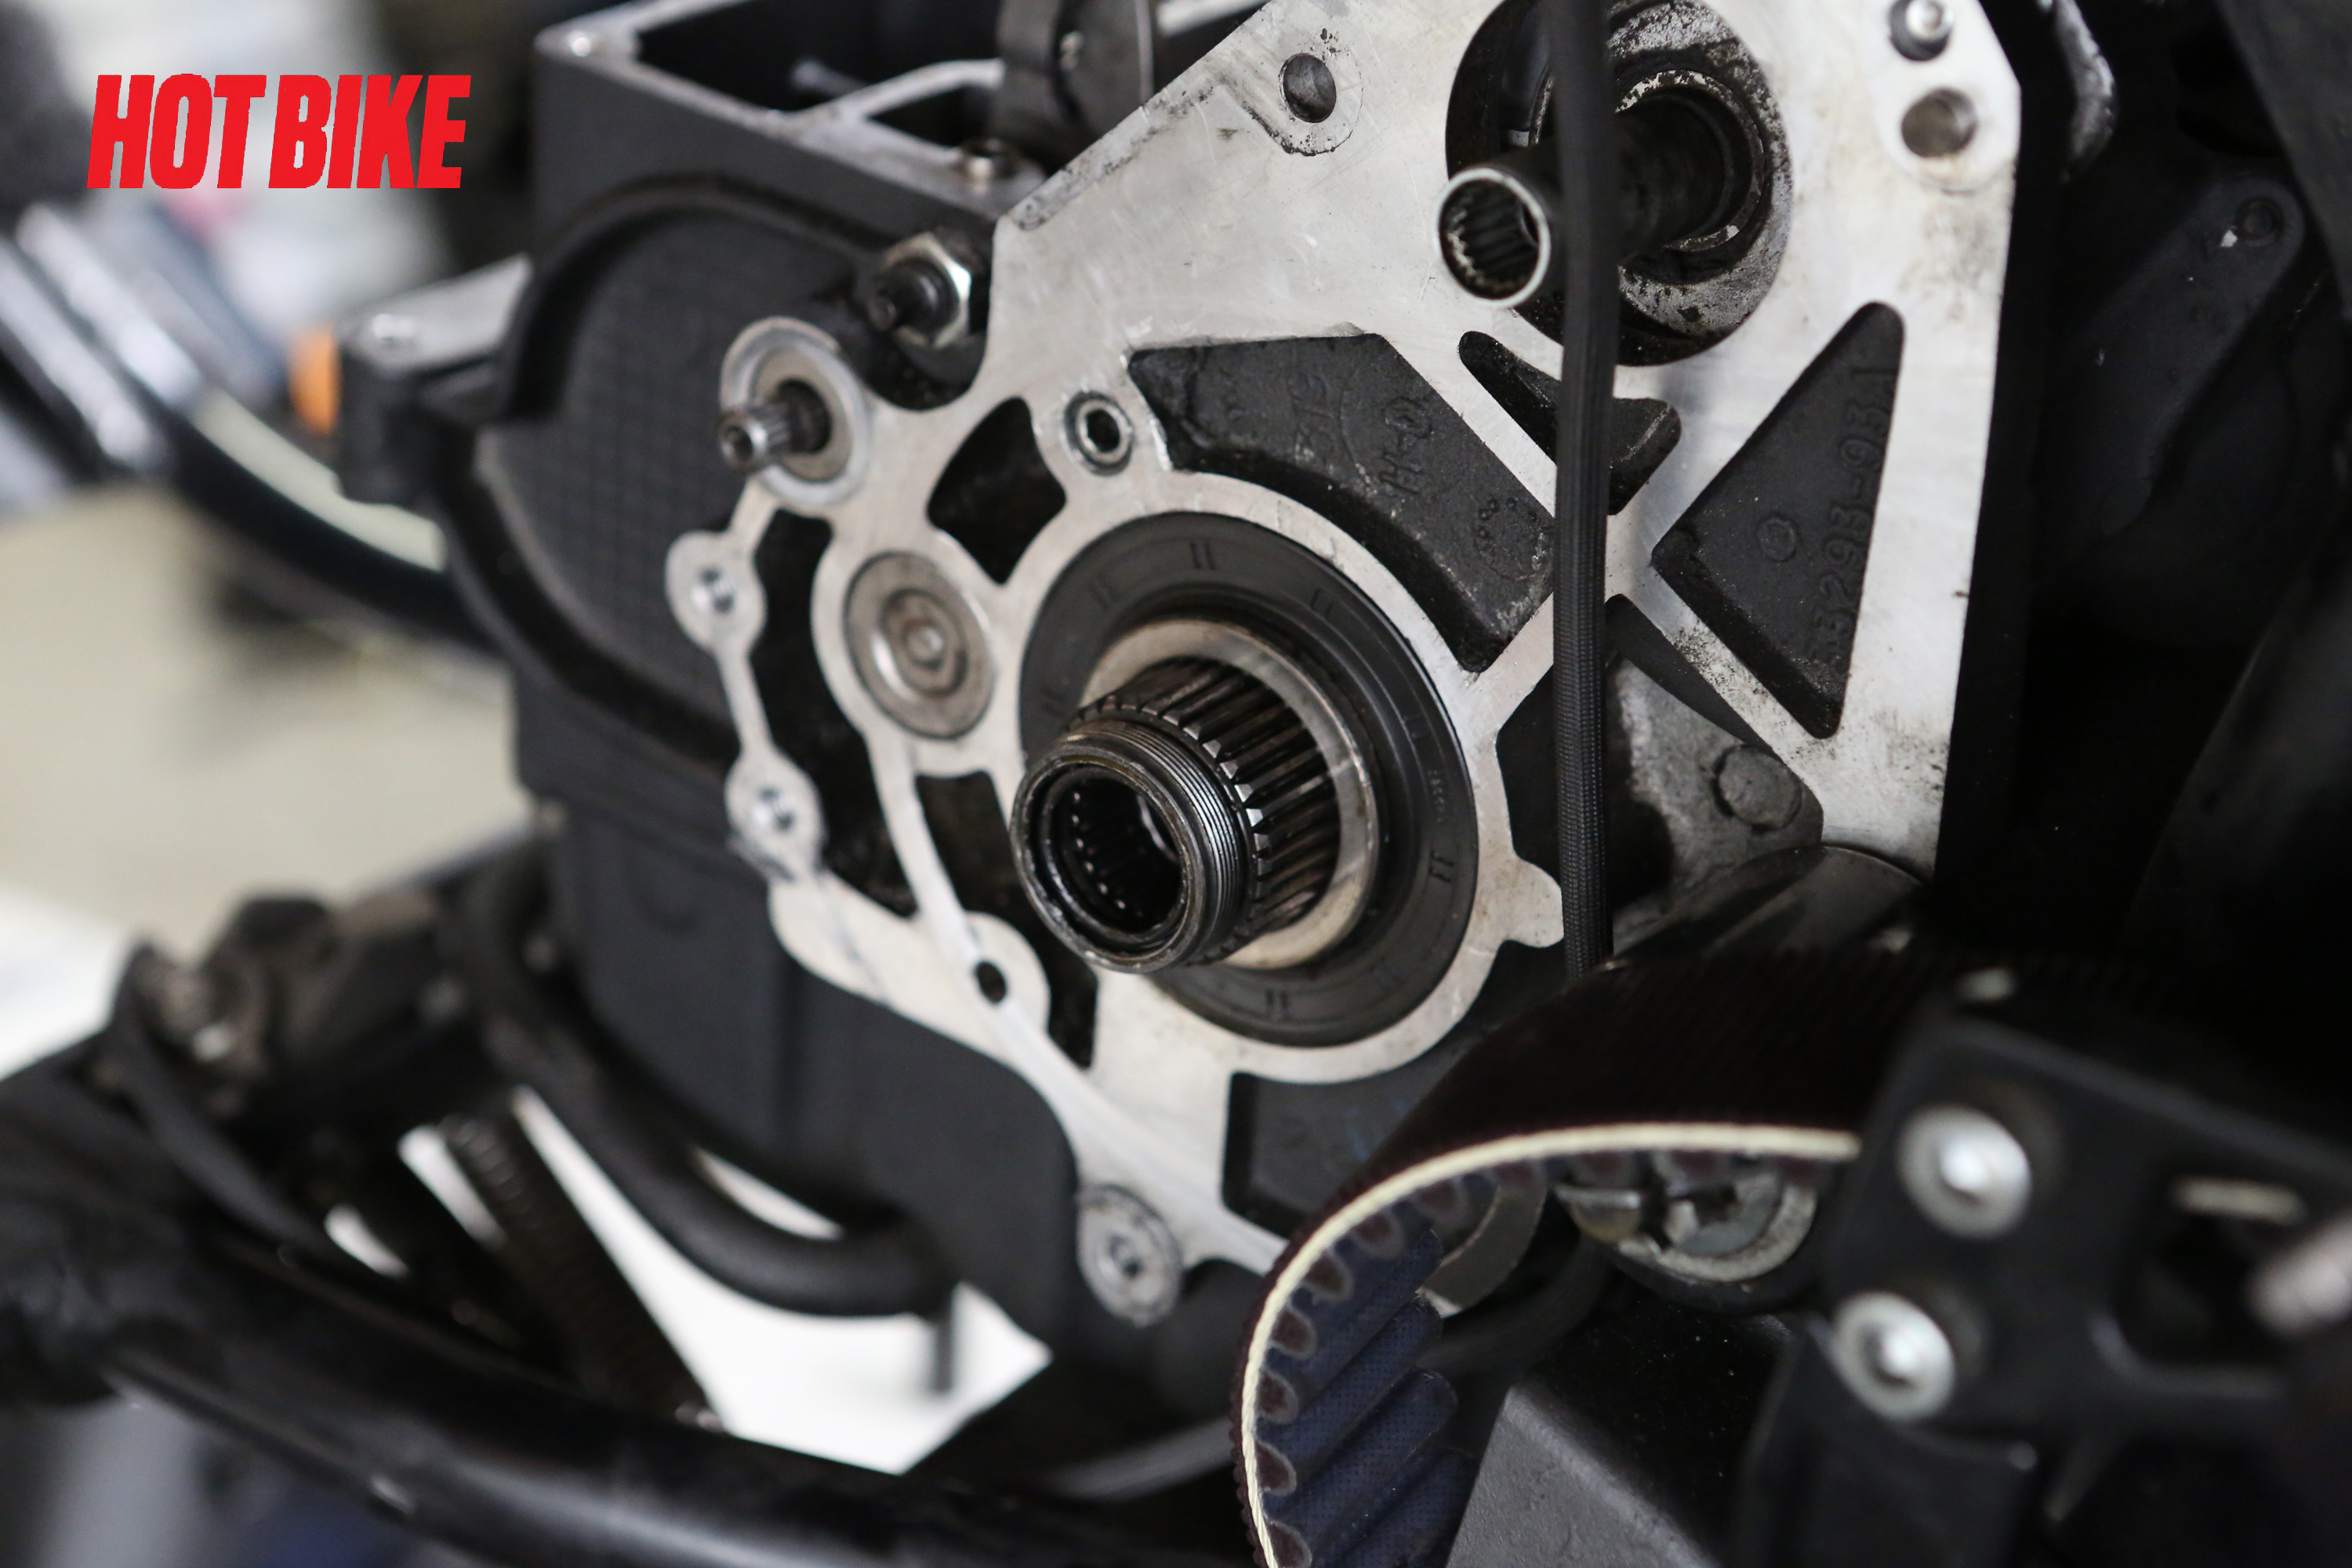
- Remove the seal spacer from the main shaft seal.
Words: Chip Kastelnik Photos: Mikey Van Senus
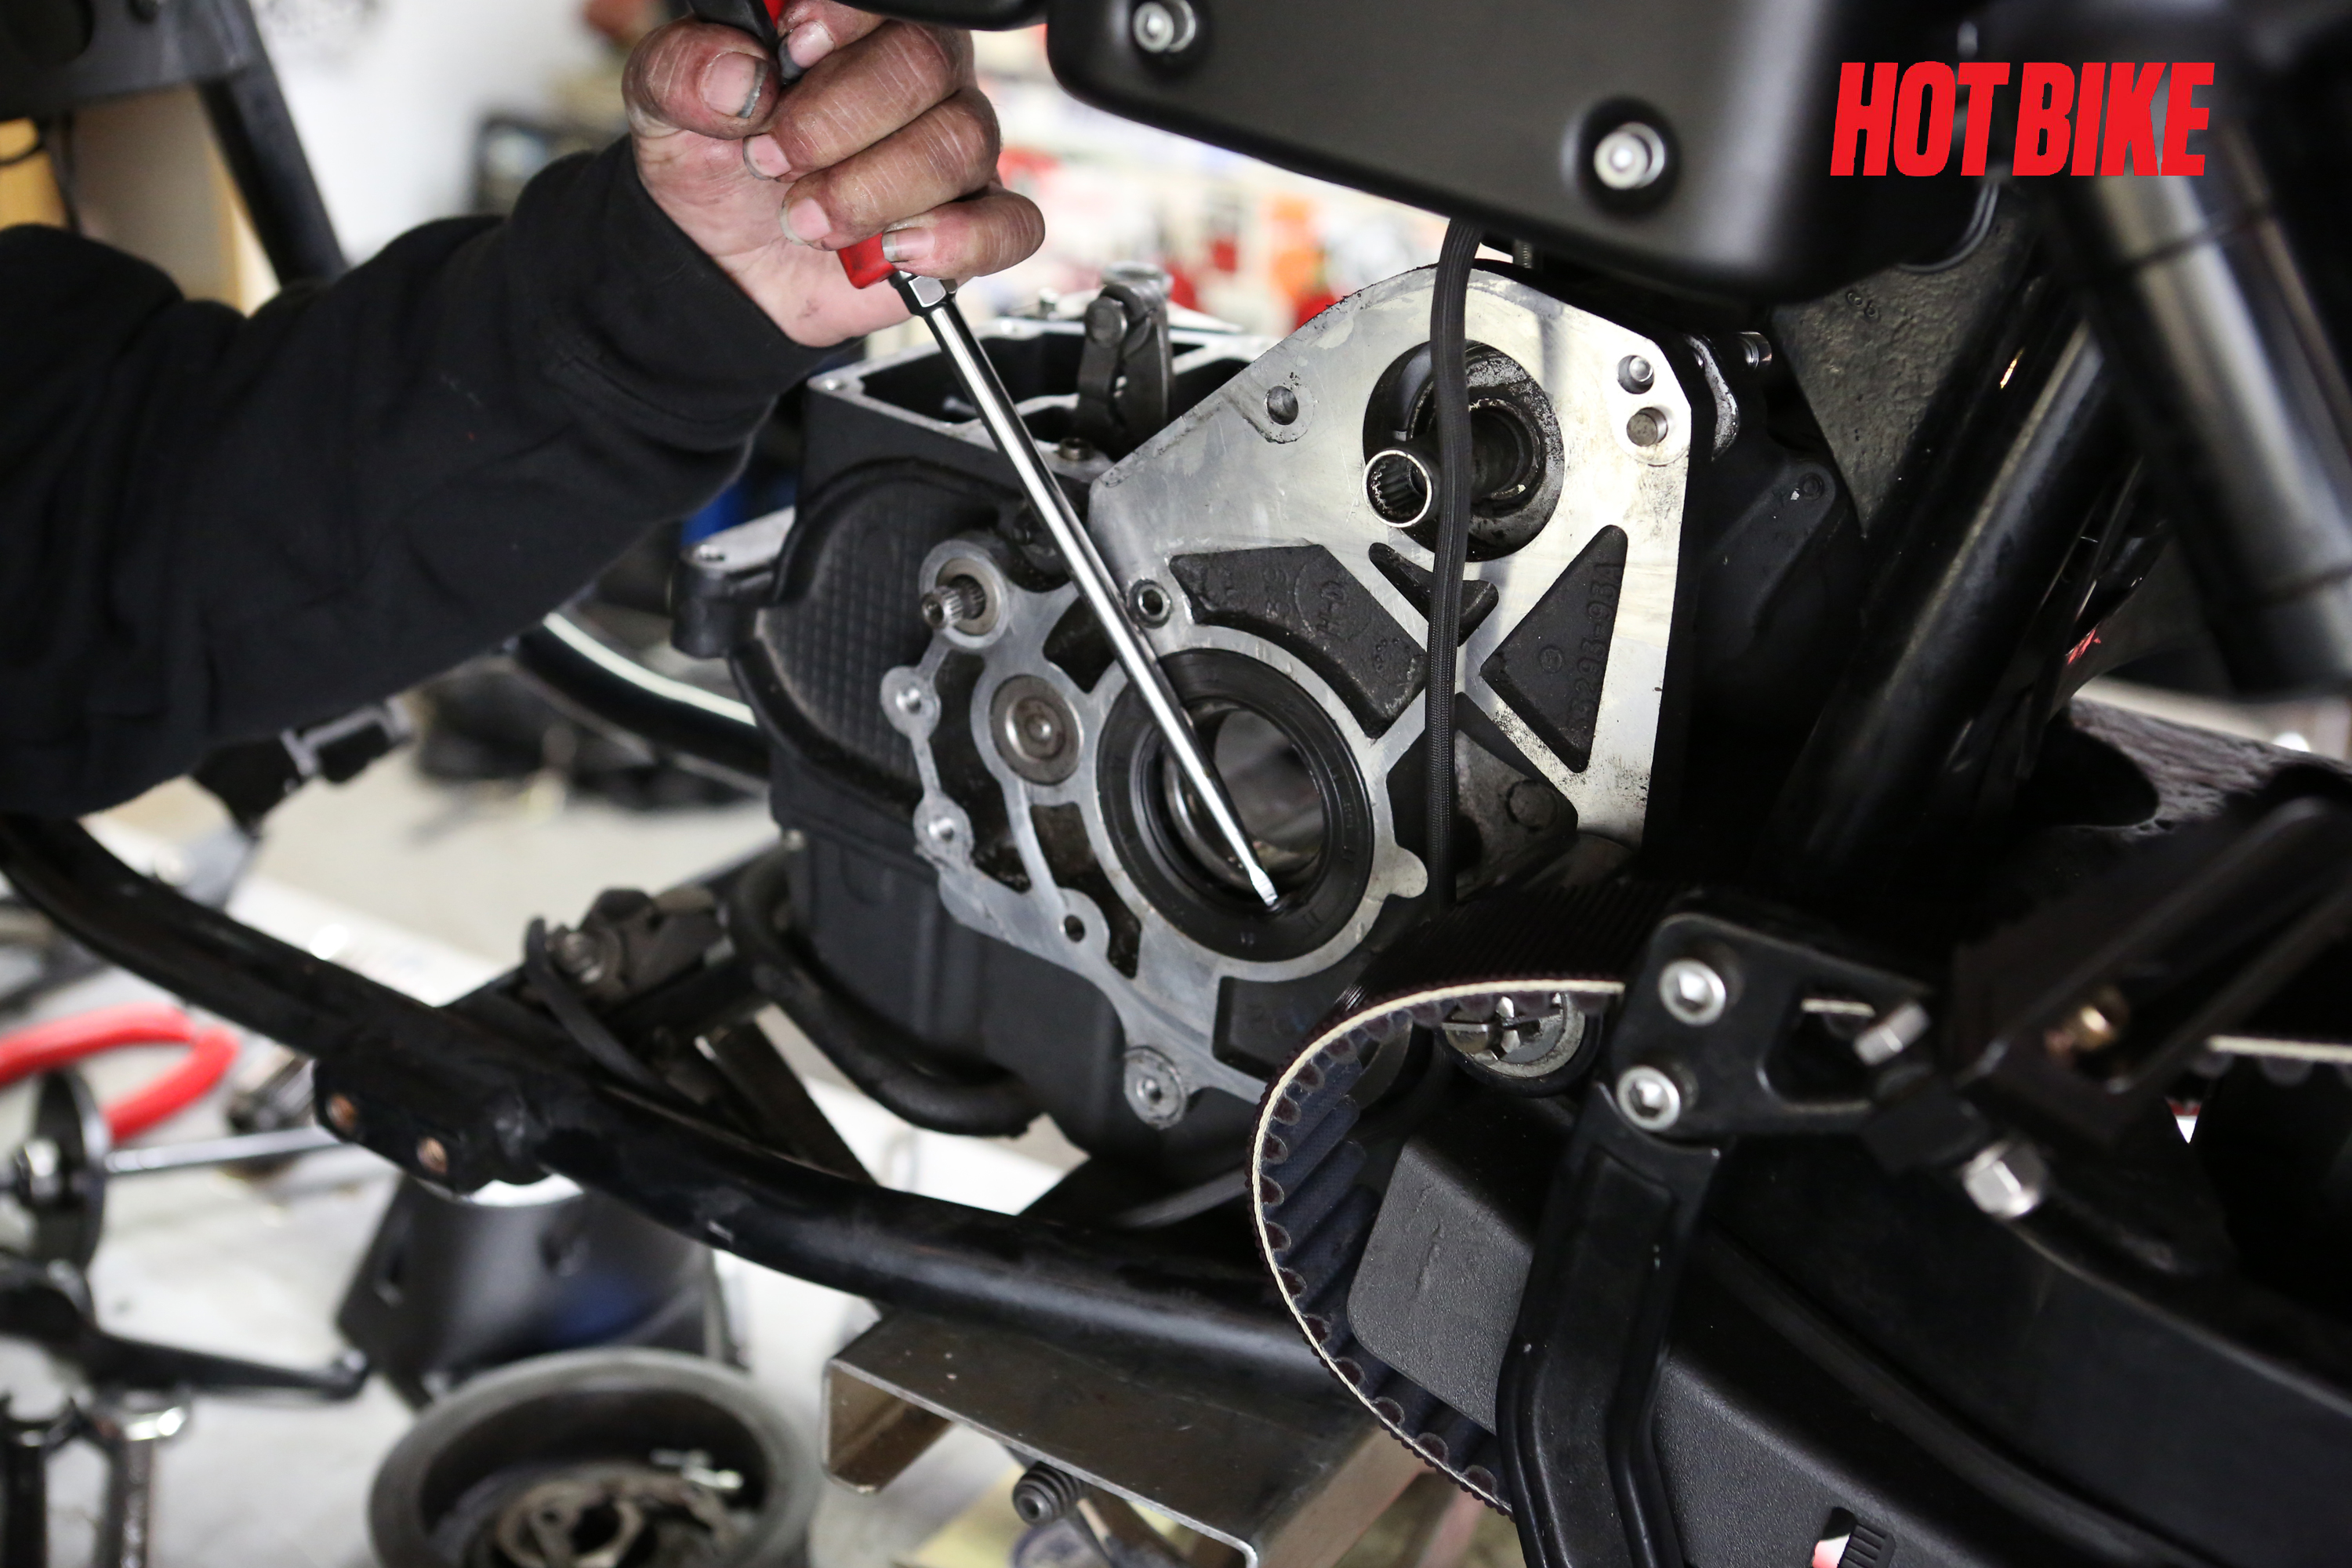
- A flat-head screwdriver will suffice to remove the main shaft seal. Be careful not to jam the screwdriver deep into the seal or stab into the case; this seal should pop out of the transmission case fairly easily.
Words: Chip Kastelnik Photos: Mikey Van Senus
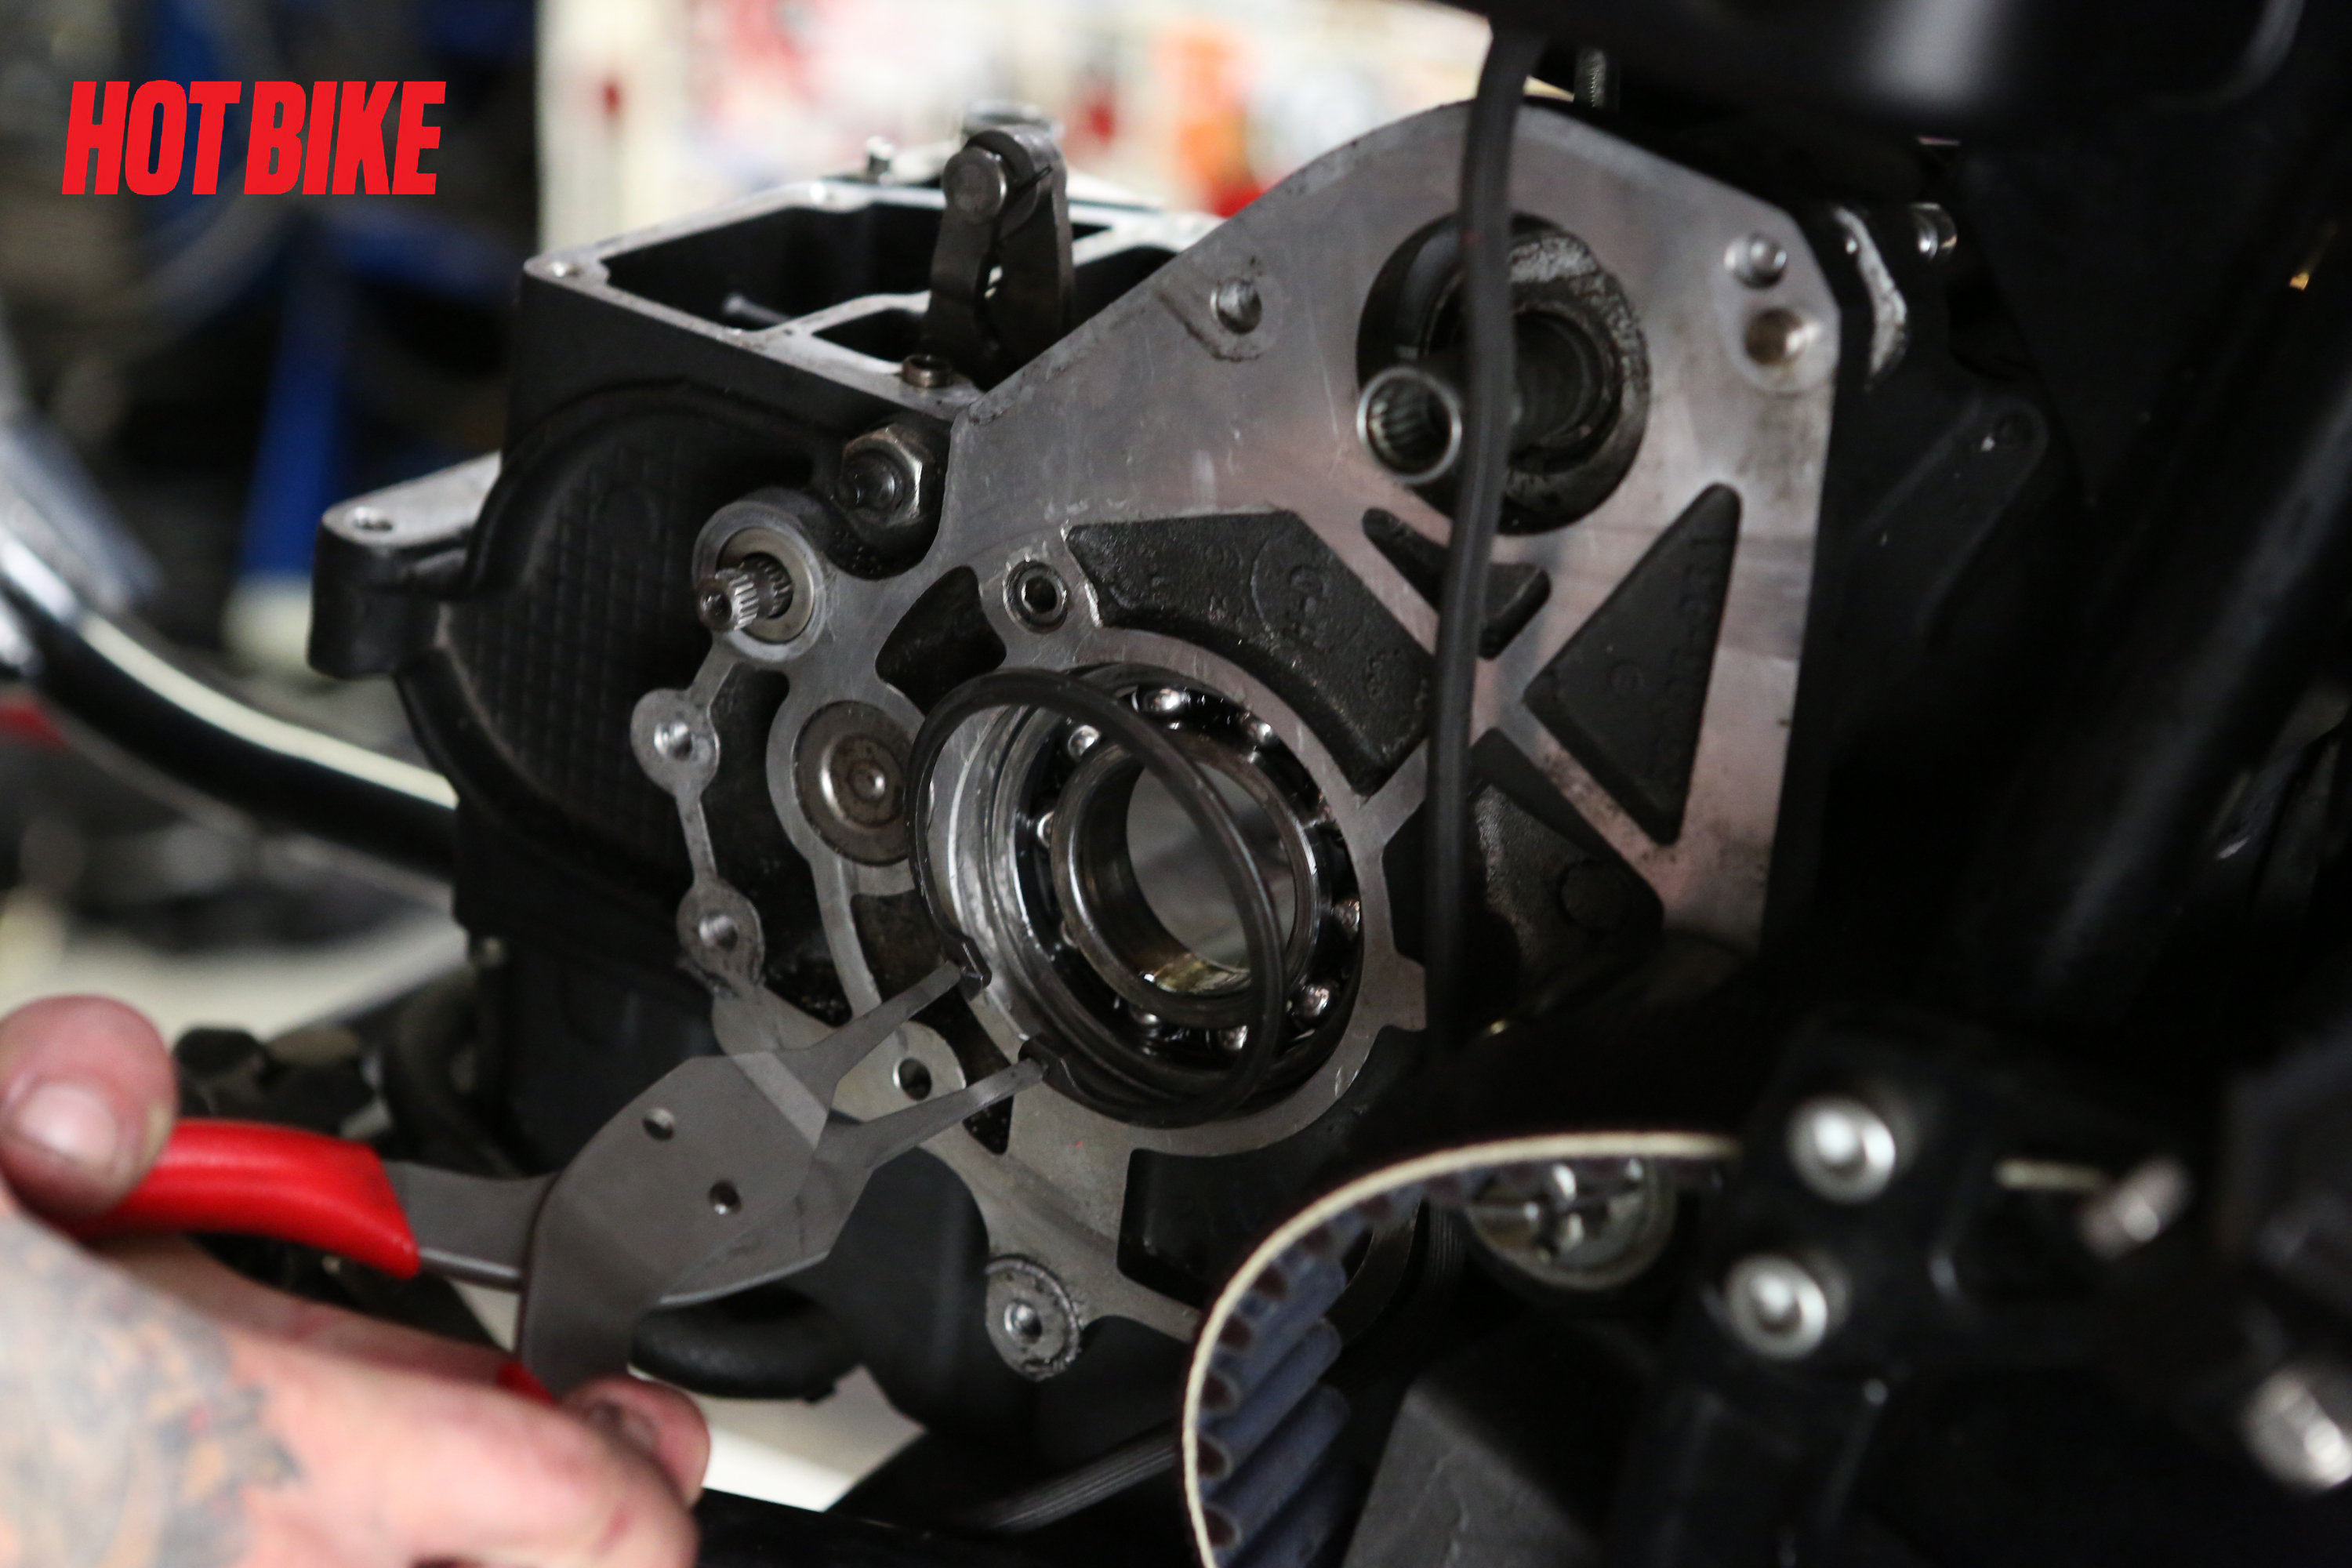
- Using a snap-ring plier, remove the snap ring that holds in the transmission main bearing.
Words: Chip Kastelnik Photos: Mikey Van Senus
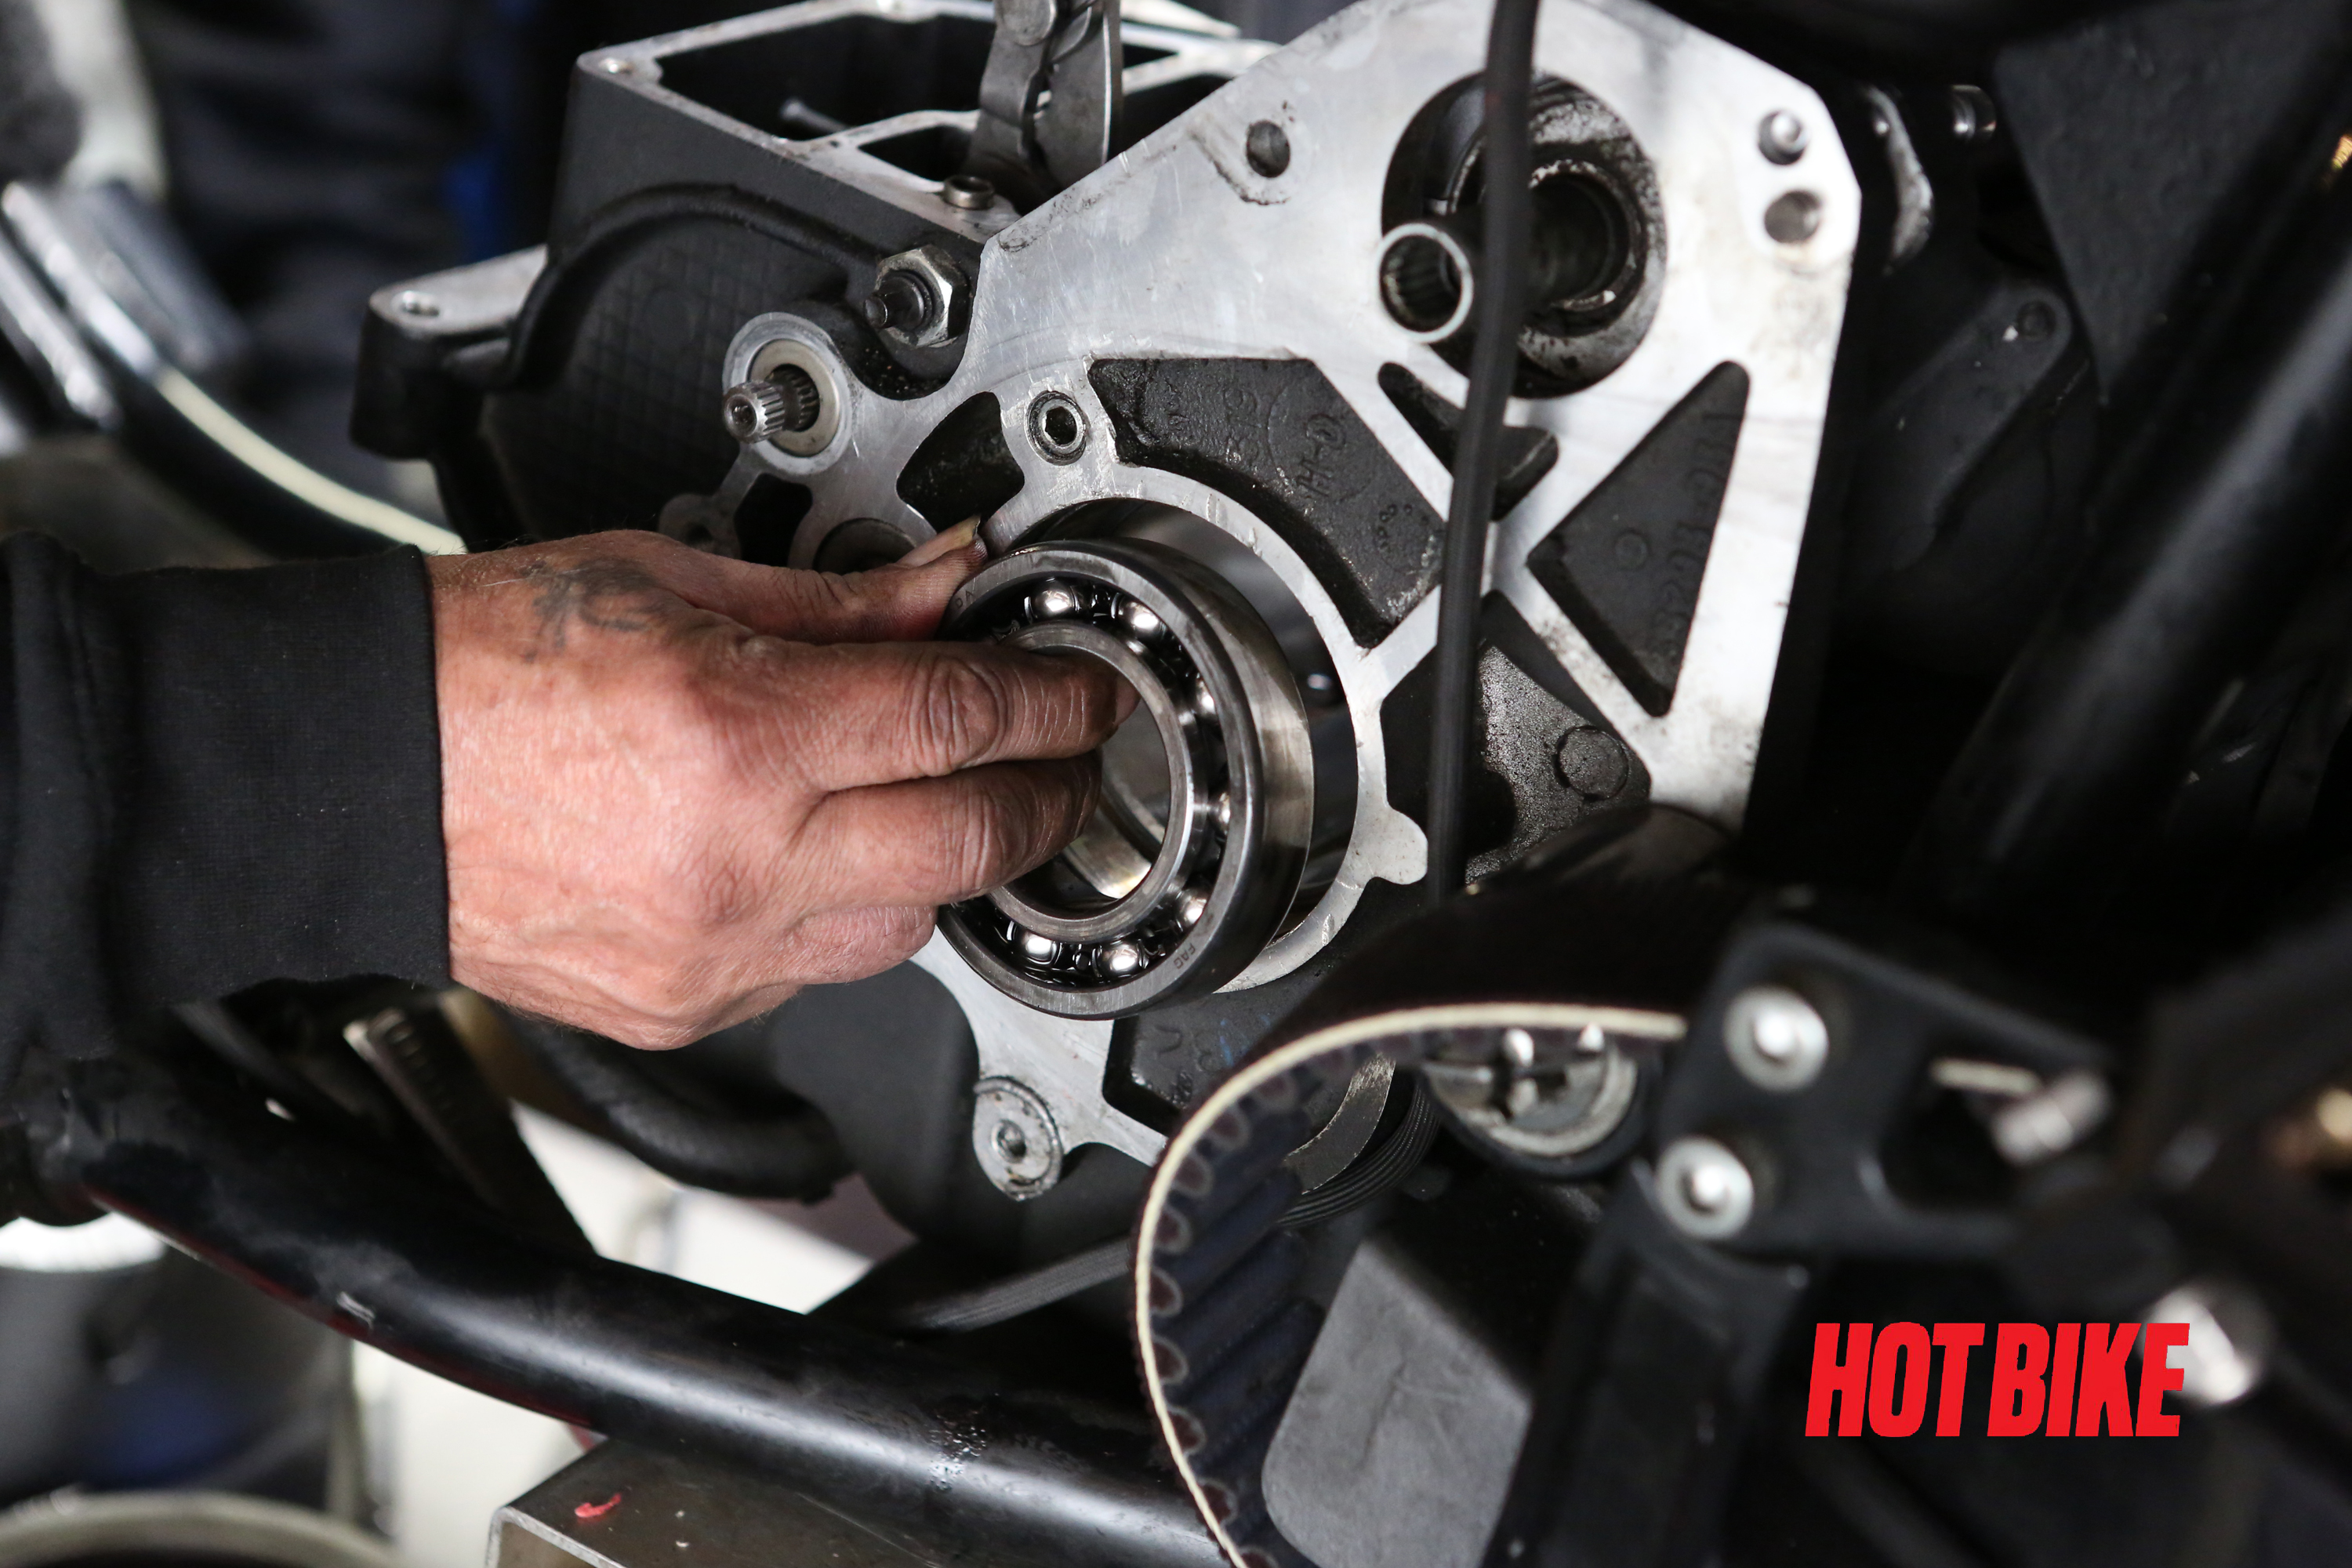
- At this point, we remove the transmission main bearing. JIMS has a main bearing remover tool (Part # 1720) if you can’t get the bearing out with your hands.
Words: Chip Kastelnik Photos: Mikey Van Senus
- Remove the countershaft end bearing that is installed in the case. To do so, simply tap the bearing from the outside of the case inward. This bearing should slide from the case with minimal effort.
Words: Chip Kastelnik Photos: Mikey Van Senus
- Remove the nut that holds the shifter pawl assembly on to the case. The hole in the transmission is case where the old countershaft bearing used to be and where we will be installing the new one that comes with the JIMS six-speed kit.
Words: Chip Kastelnik Photos: Mikey Van Senus
- Remove the shifter pawl from the transmission case.
- Using a flat-blade screwdriver, pop the shift shaft seal out of the transmission case.
Words: Chip Kastelnik Photos: Mikey Van Senus
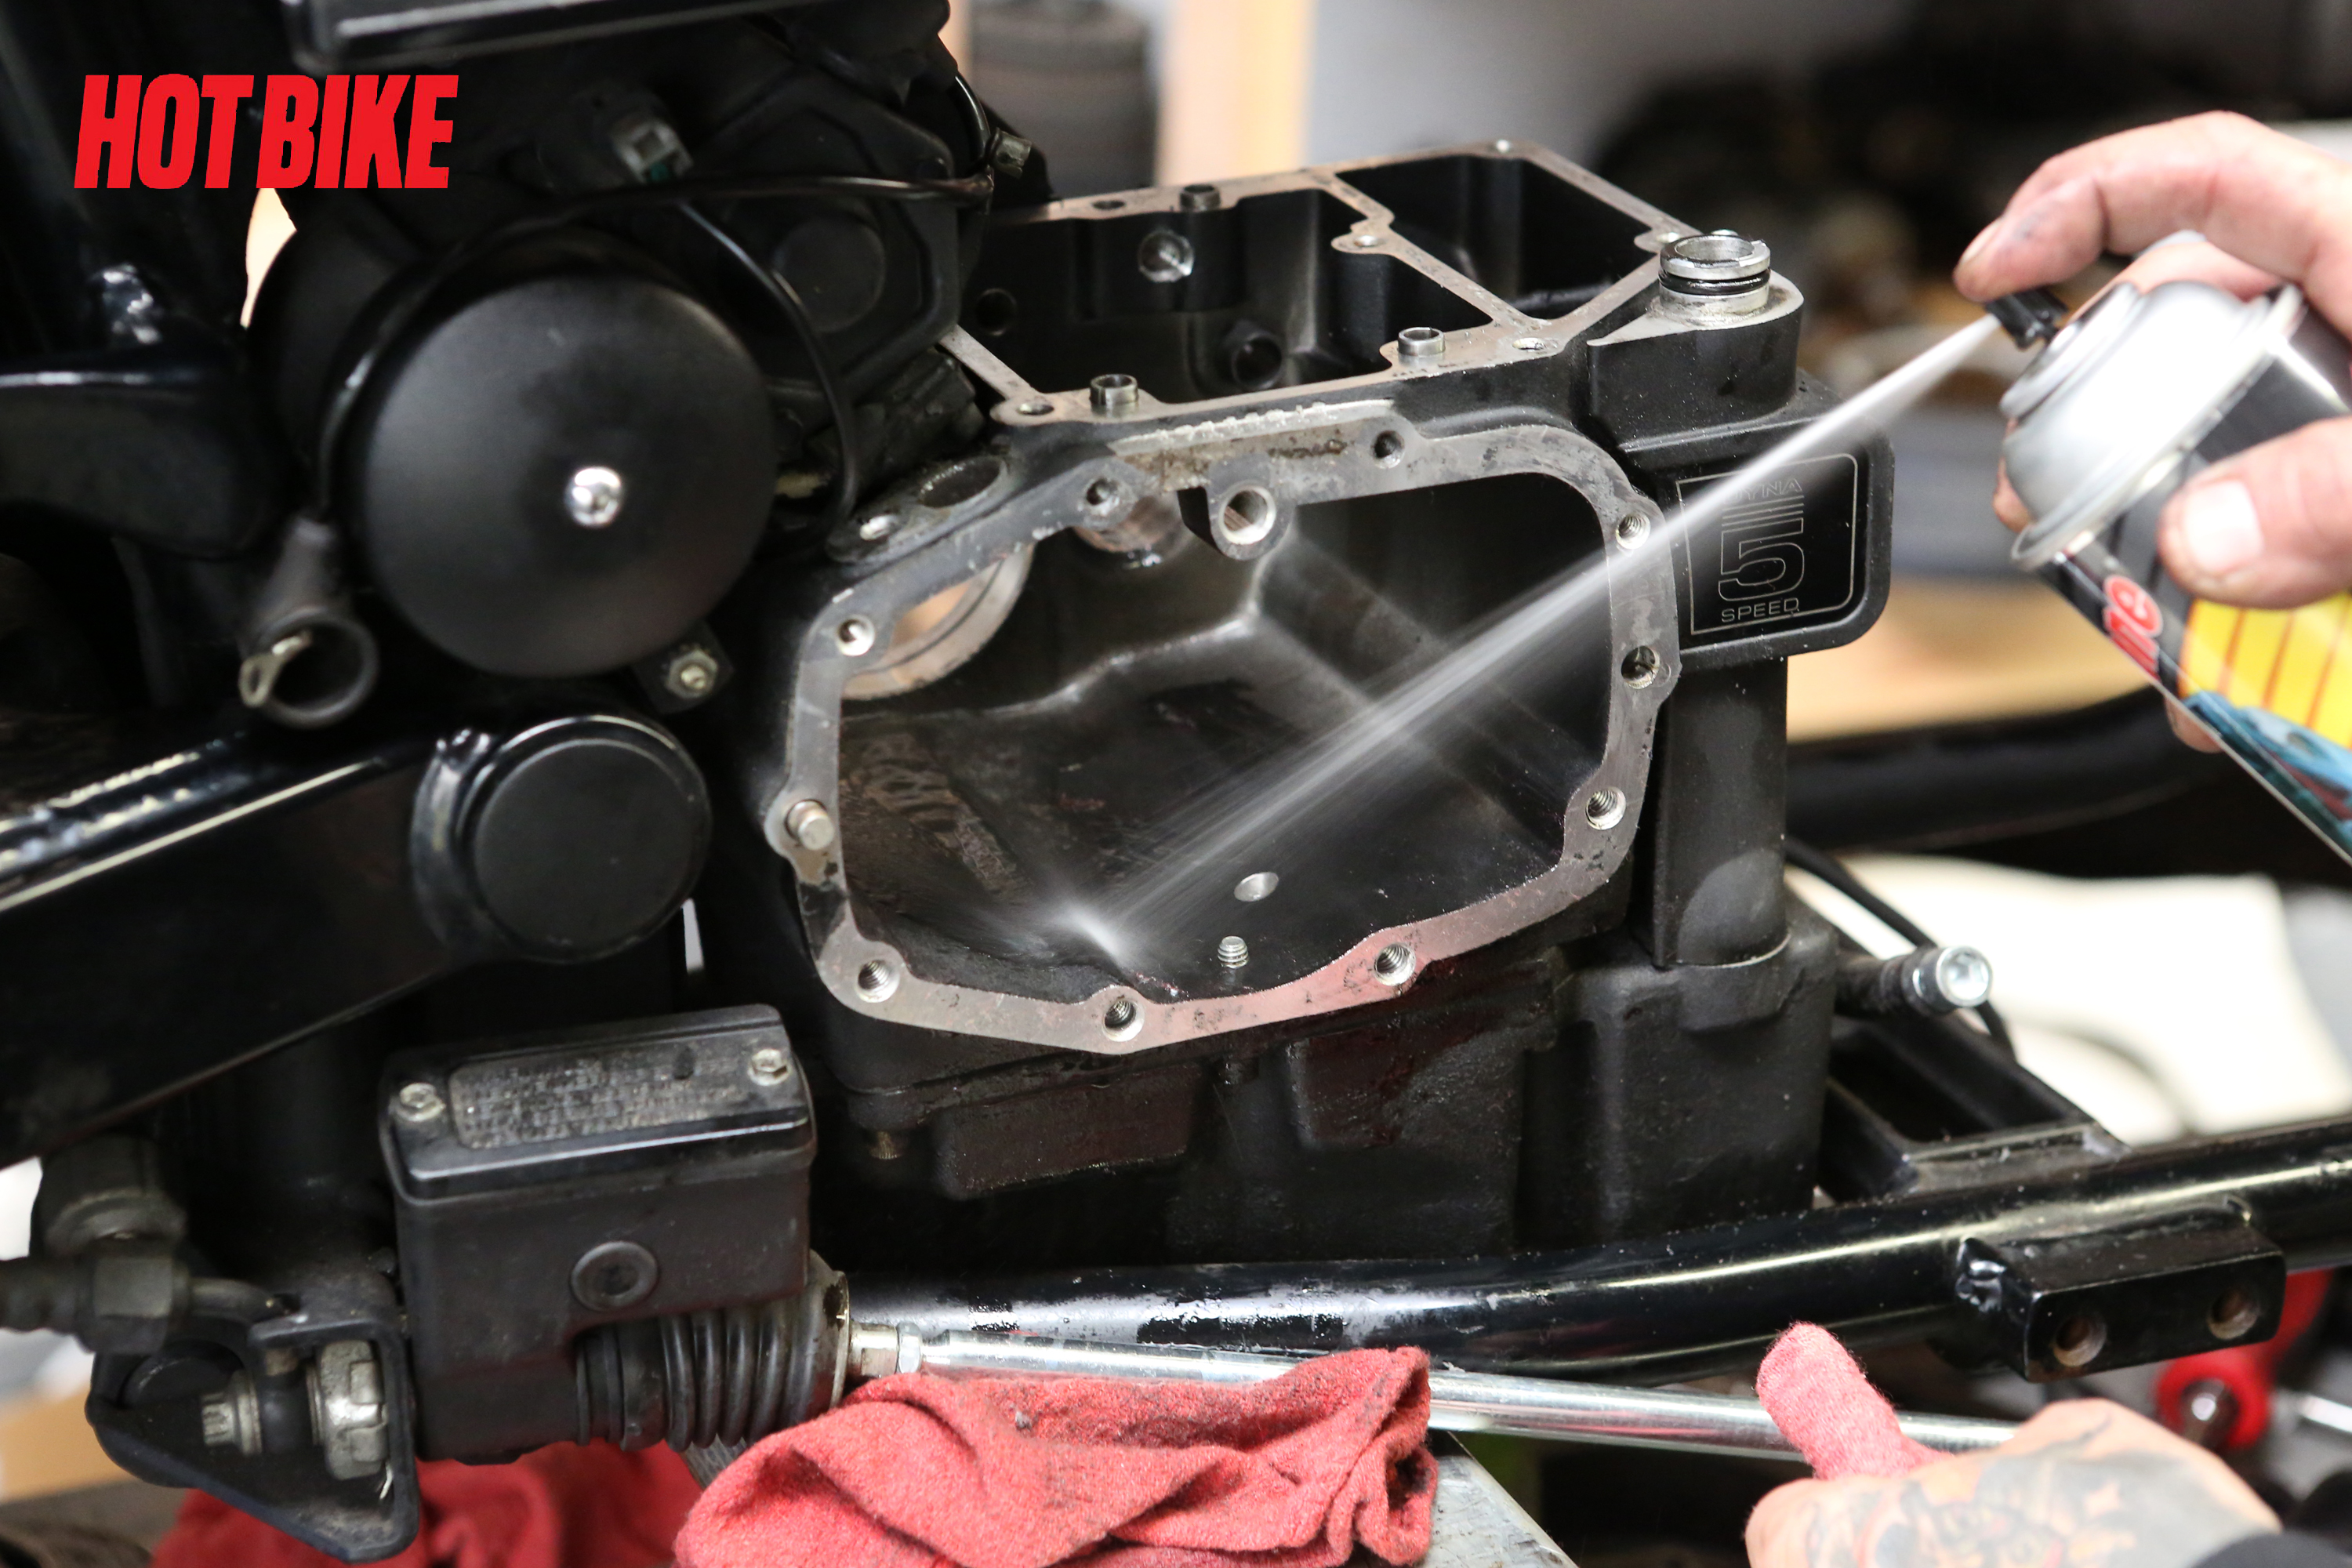
- We then clean the transmission case thoroughly and prepare to begin reassembly with the all-new JIMS six-speed gearset in the next part. It’s not to be missed!
Words: Chip Kastelnik Photos: Mikey Van Senus
Hot Bike’s old and tired 1997 Derelict Dyna has what seems a million miles on it, yet she keeps plugging away mile after mile. But after weeks of grinding gears and missing shifts with the bike’s old five-speed transmission we decided to take a peek inside. What we saw was a wrecked and worn tranny that needed some mechanical attention stat. Rather than chasing down every spring, pawl, and gasket at the dealership, we decided we were going to go the easy route and do a little R&R (remove and replace) with the help of JIMS USA. JIMS has just about every conceivable part to update and upgrade a four-, five-, or six-speed left- or right-side transmission. With that in mind we decided to get some modernization in the form of a JIMS six-speed Overdrive Super Kit. This kit has everything needed to convert your bike’s archaic five-speed tranny into a super six-speed. Featuring the highest-quality internal componentry such as aerospace-quality steel, race-proven forged gears, and American-made billet aluminum, these kits are nothing short of bombproof. JIMS has also spent a ton of research and development time making just the right ratios for both exciting inner-city gear jamming and relaxing open-road cruising, so the best of both worlds can be attained with this kit. Follow along as we show you just how this conversion is done.
Sources:


