
GPR Stabilizer Install Part 3 | Tech
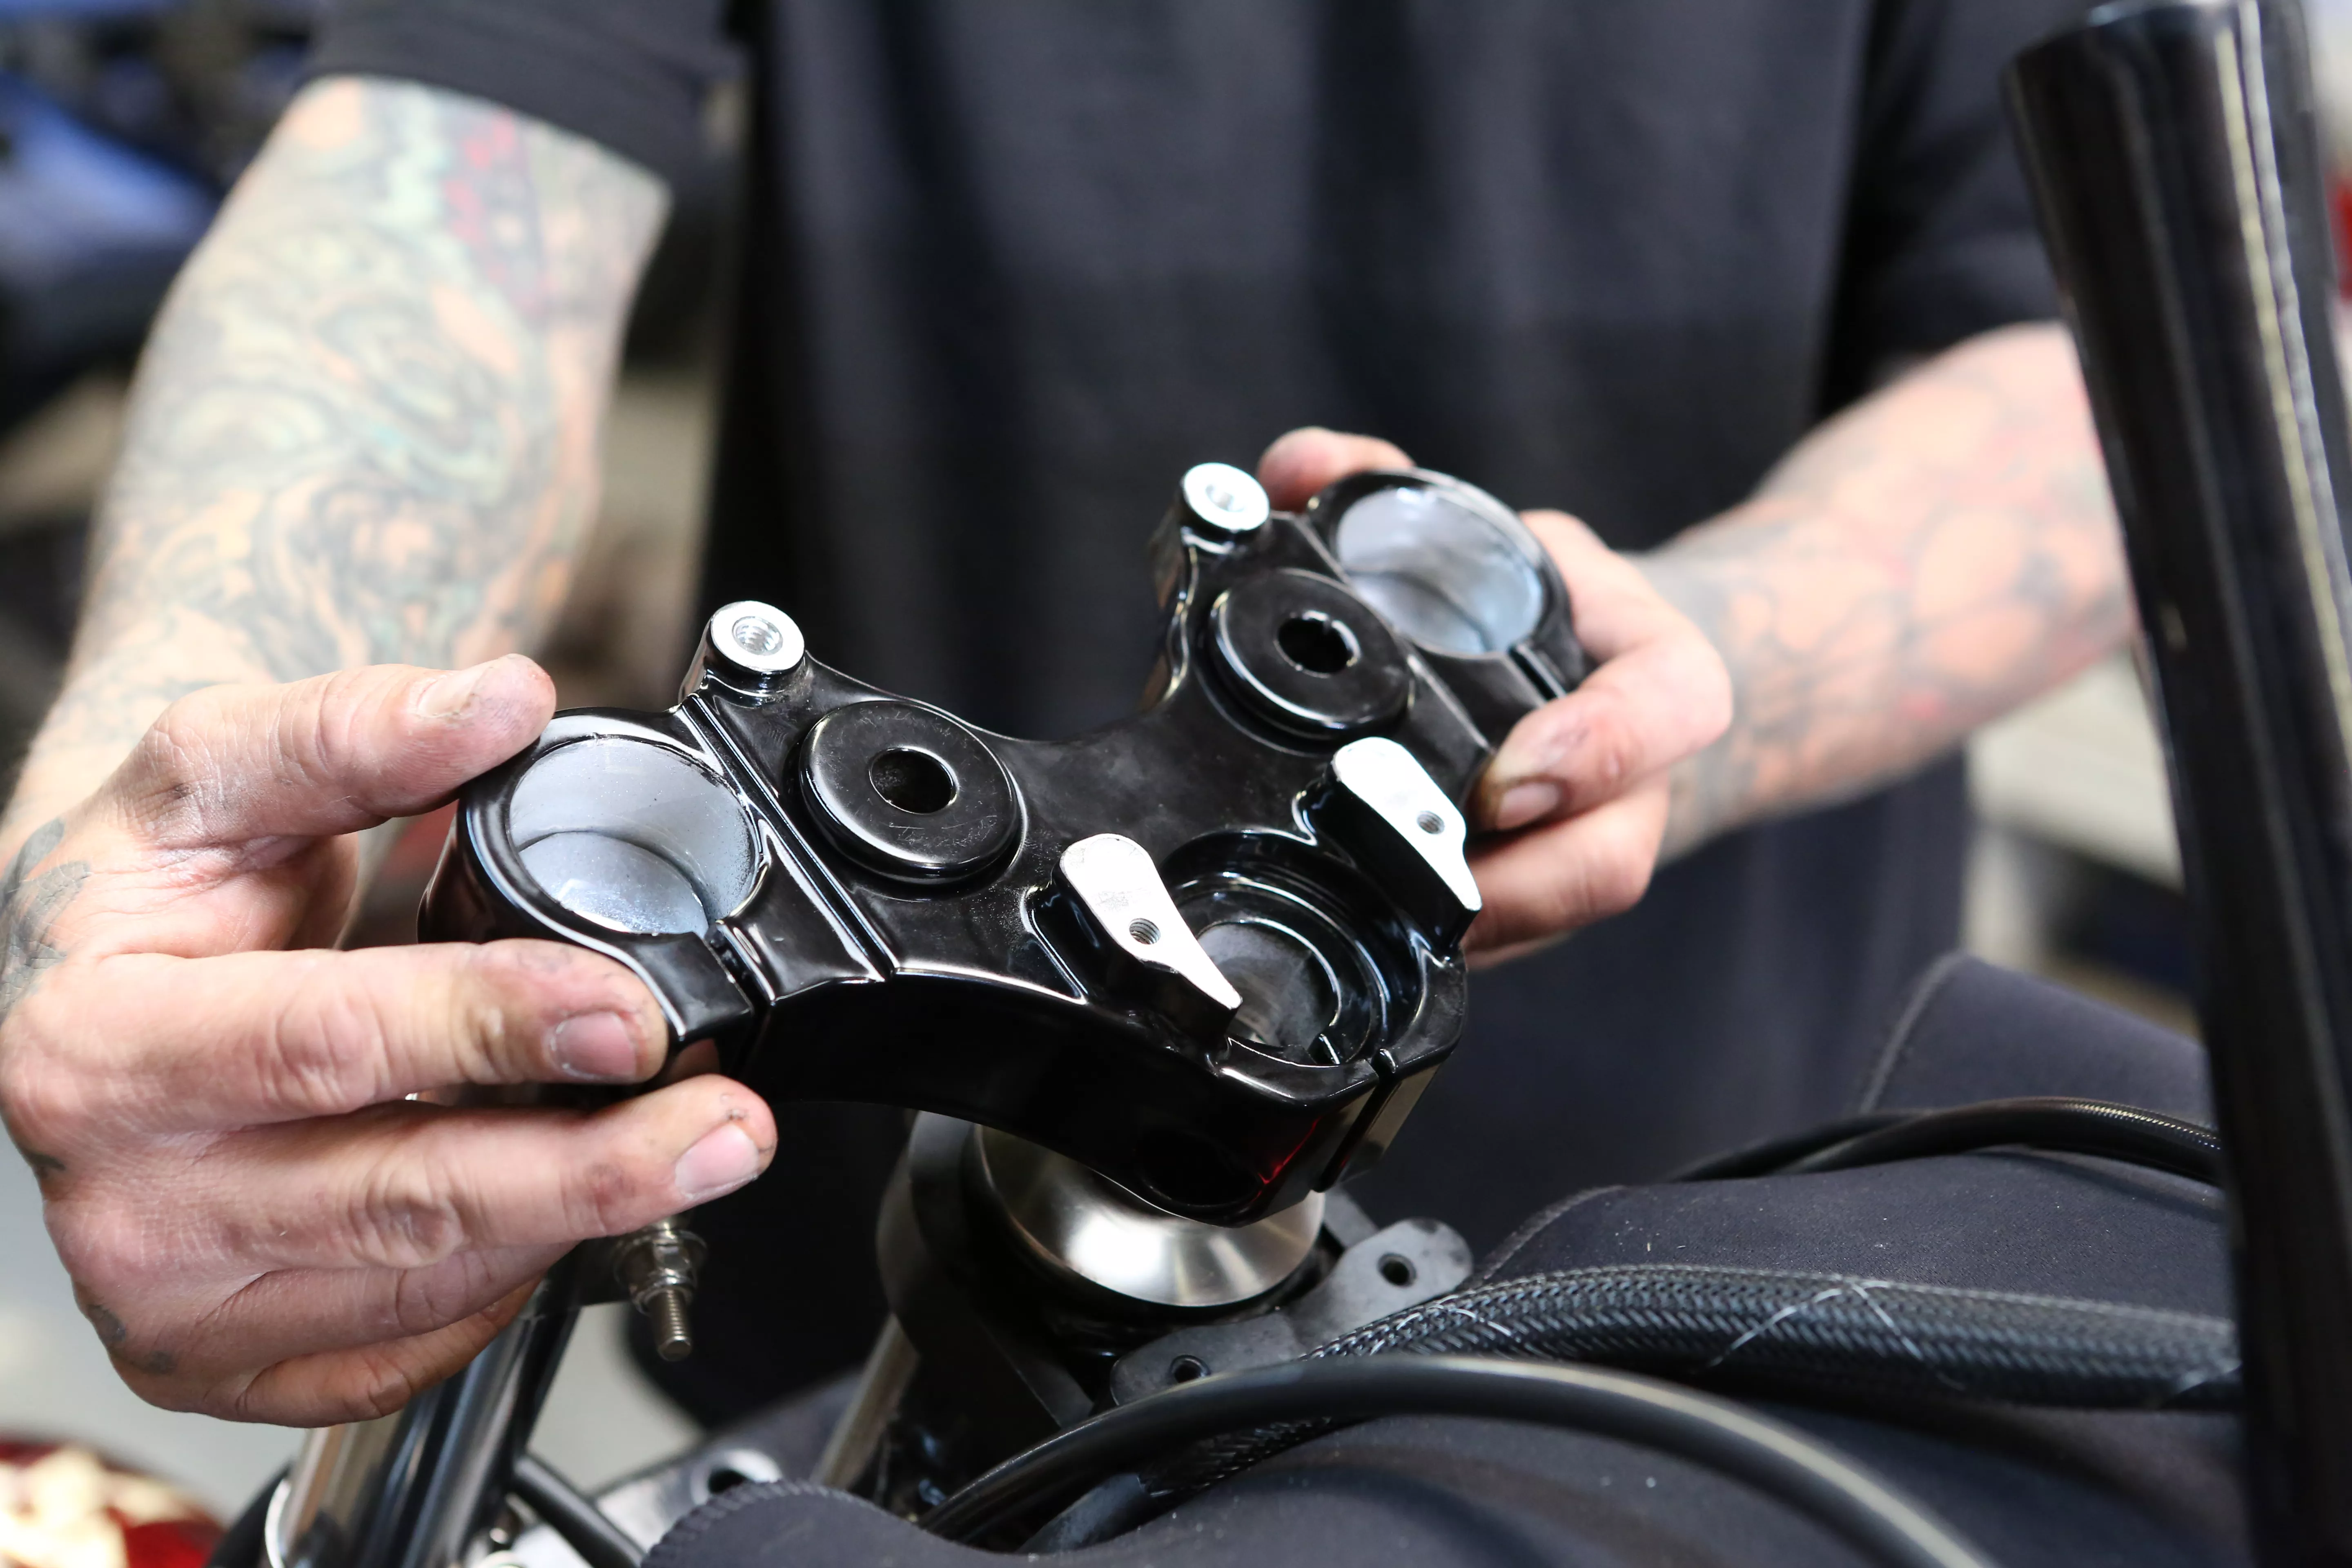
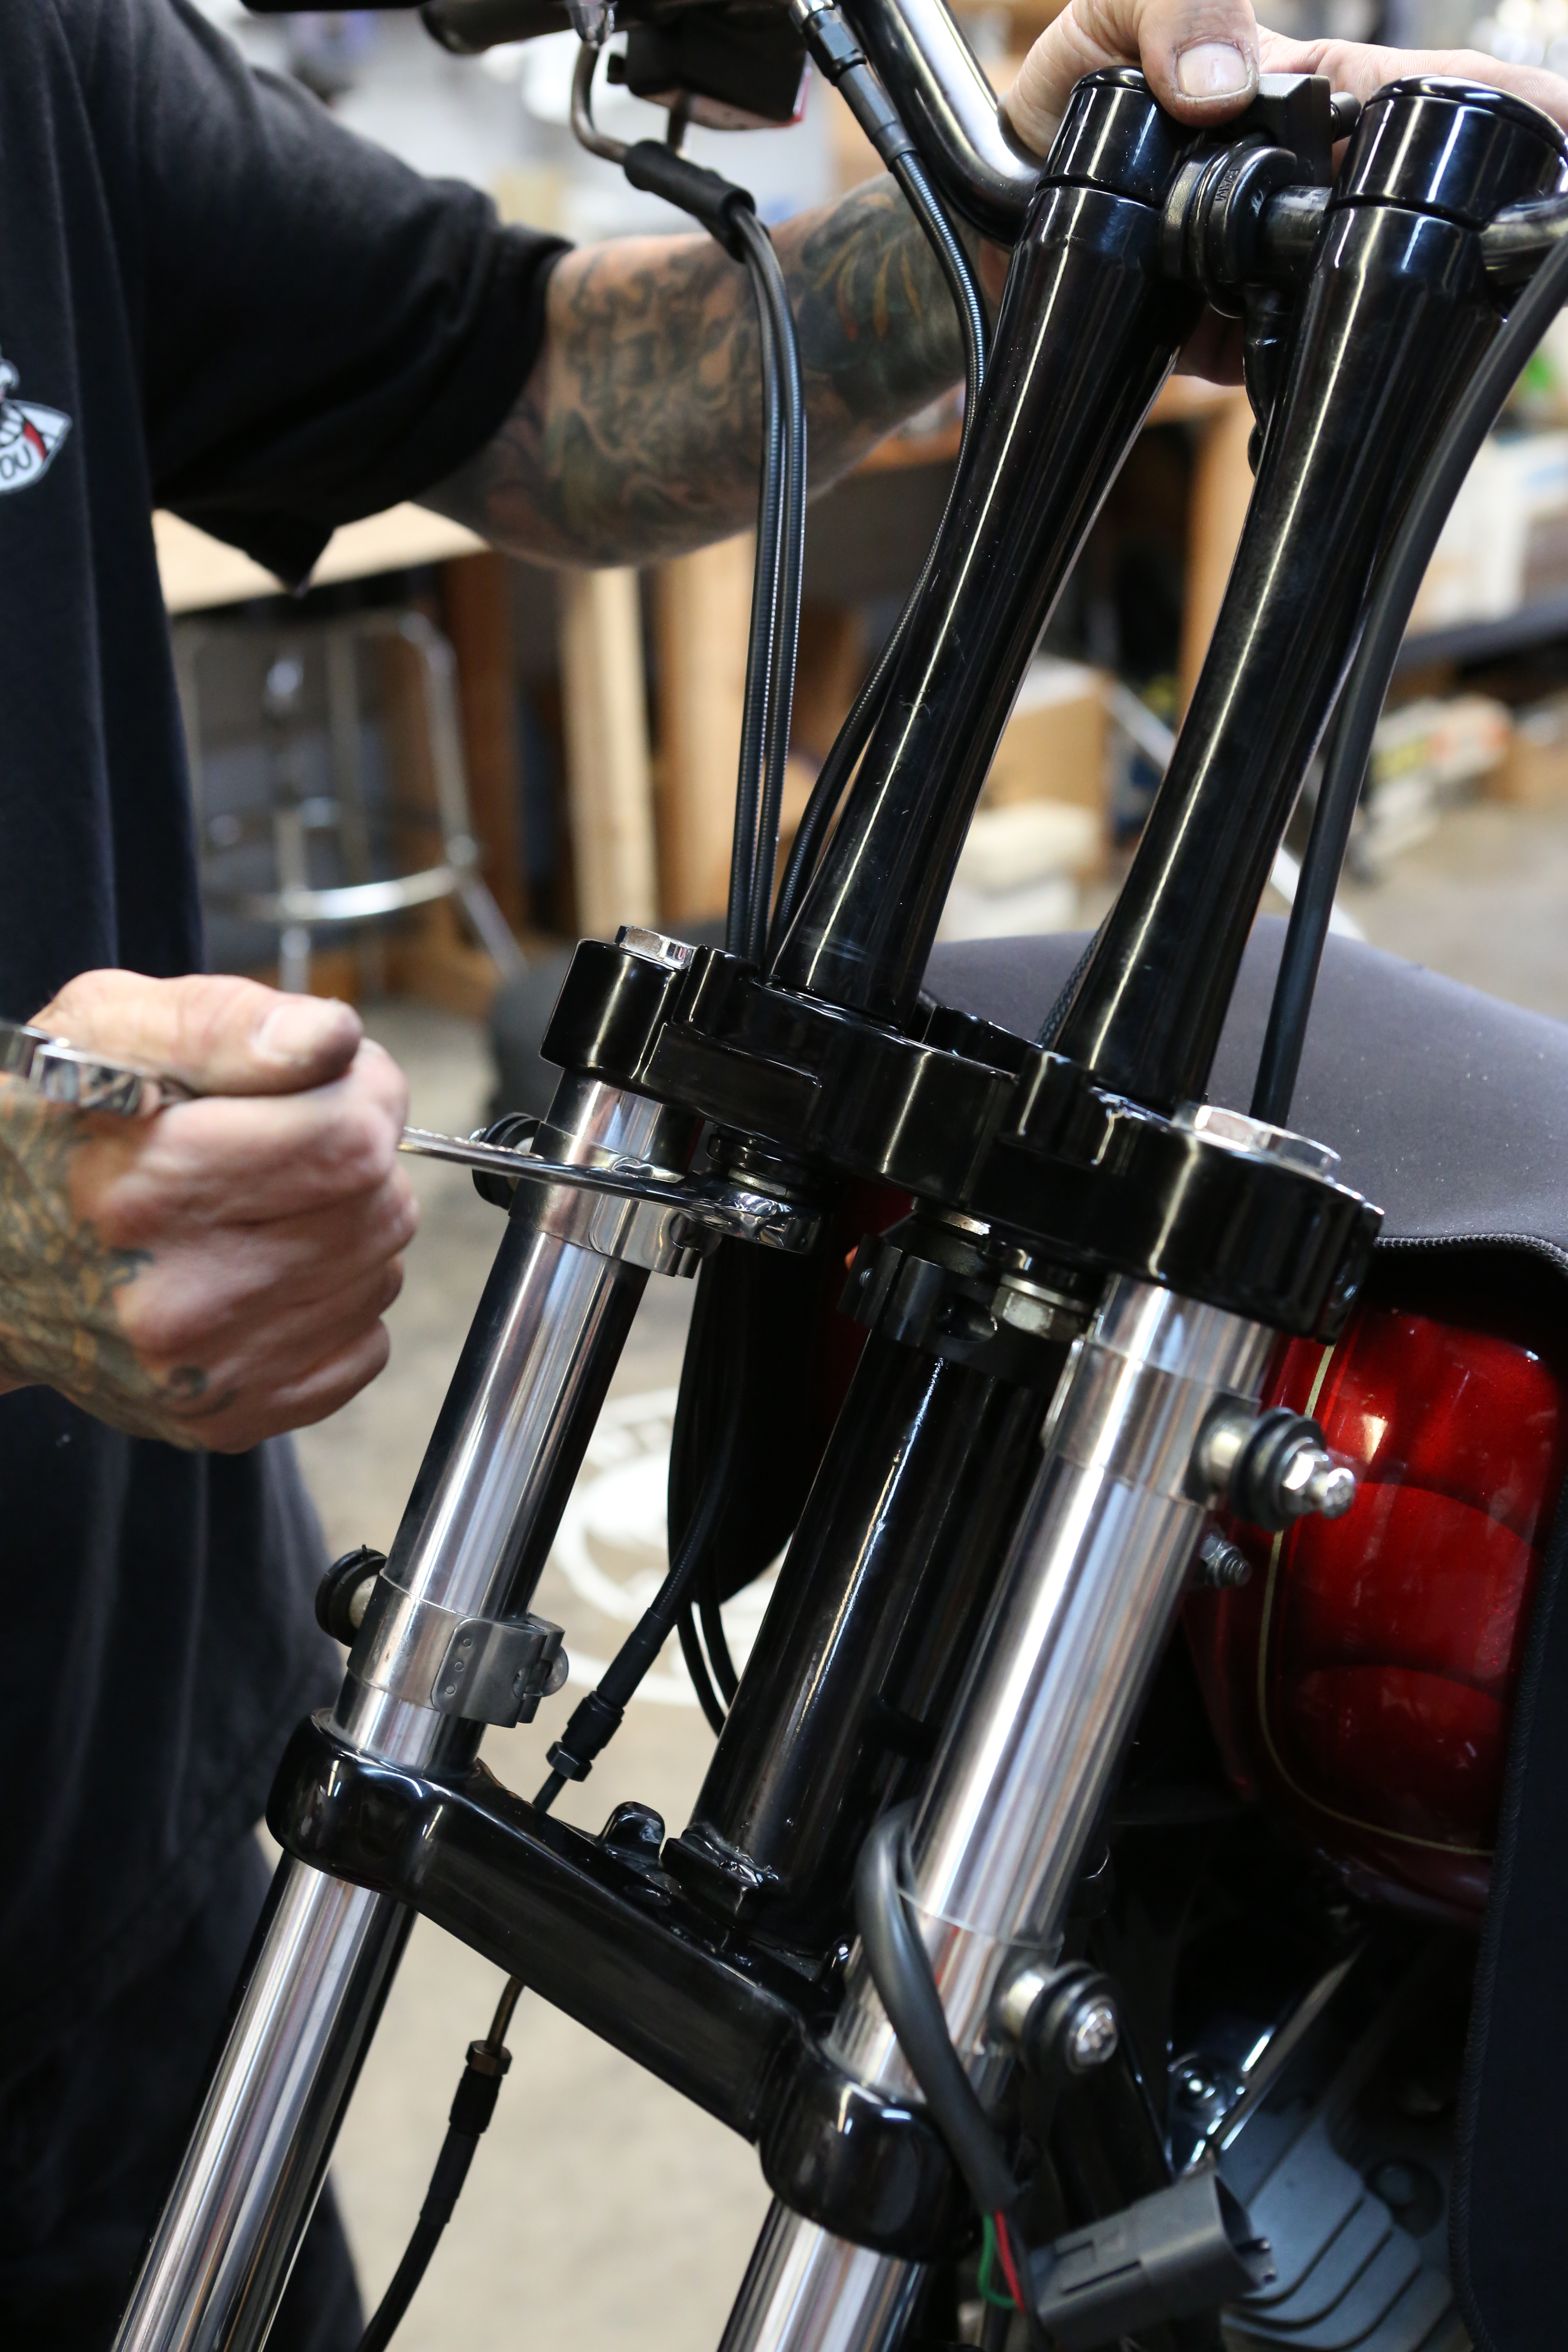
Install the GPR top triple tree. GPR trees come in a raw and black-anodized finish. We powdercoated this one so it matched his existing lower triple tree.
Words: Chip Kastelnik Photos: Mikey Van Senus
We left off in Part 2 of this install with installing the frame clamp and the dust shield. Now we’re putting the trees on before moving to the riser bolts.
For those of you just joining us, GPR stabilizers have been in the motorcycle industry for a very long time. If you’ve done any real work on a dirt bike, quad, ATV, or sportbike, chances are you know that the GPR stabilization components are second to none.
A few years back, GPR decided to see if it could appeal to the H-D market by trying to help relieve the frustrations of high-speed wobbles on XL and Dyna models. The crew at GPR had to make a kit that could allow the GPRV4 to mount easily yet remain as close to OEM specs as possible. The end result was a kit that consists of a triple tree, damper, and frame clamp that is easy to install, made of top-quality materials, and works like no other steering stabilizer system.
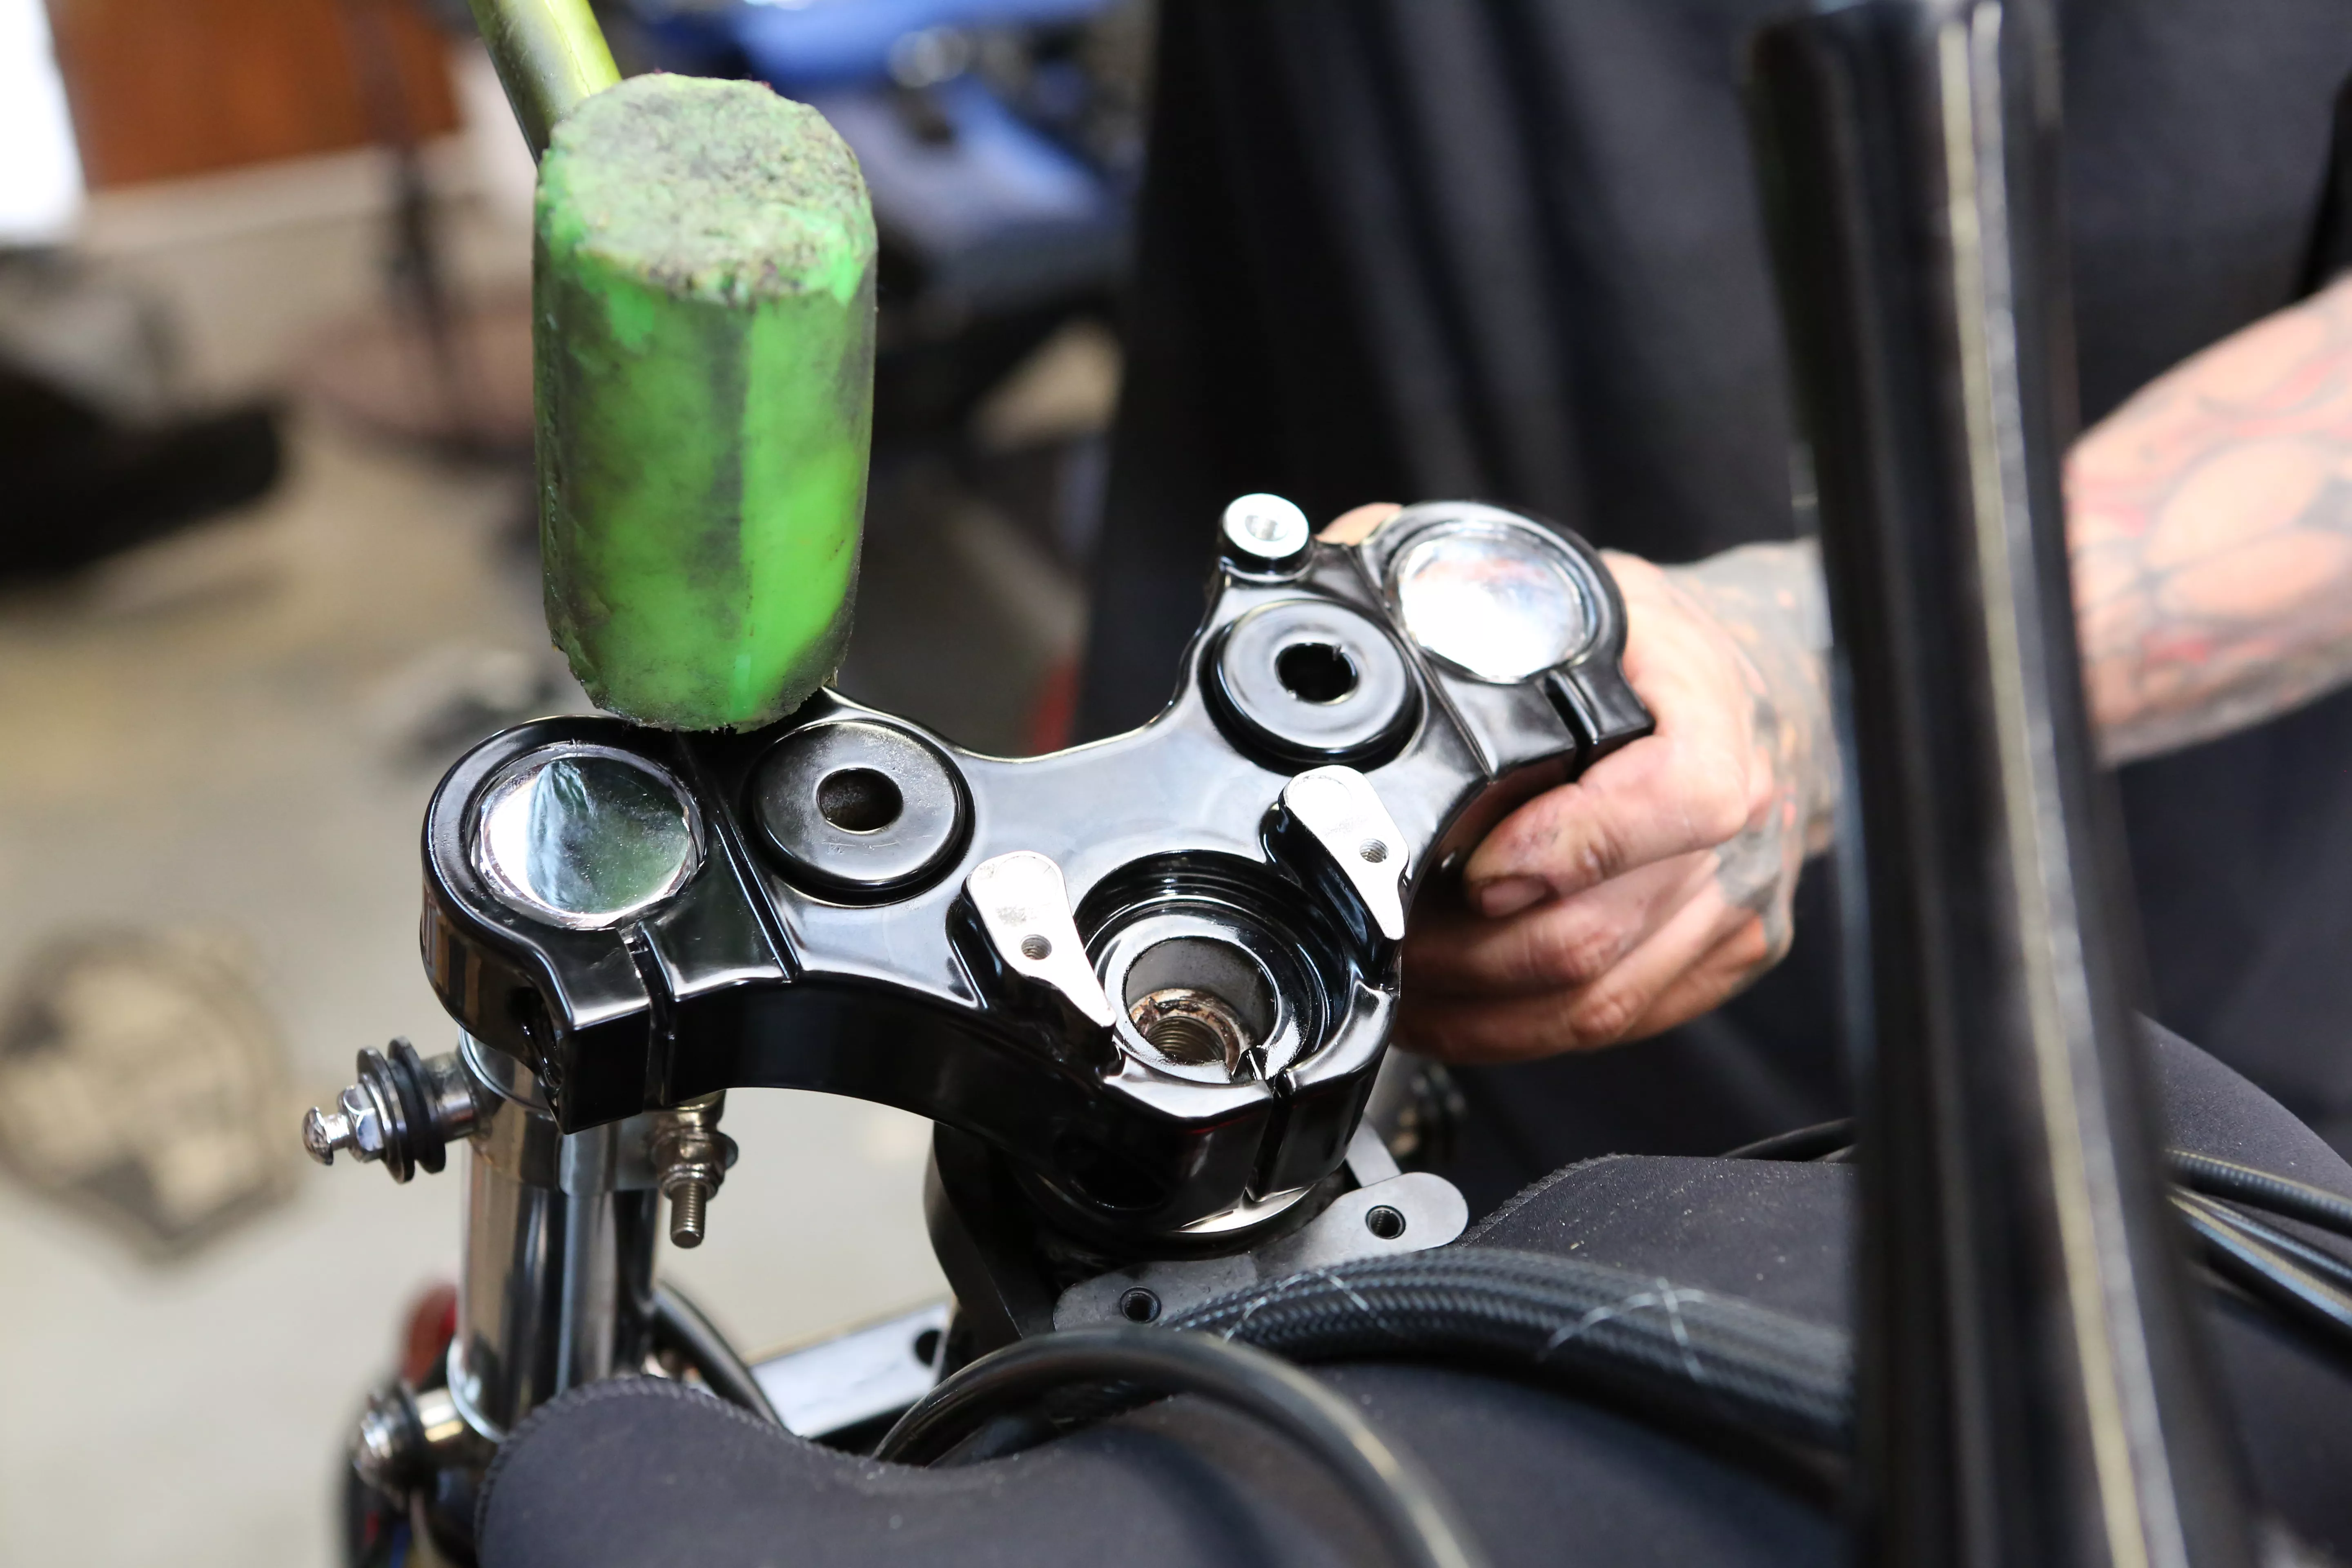
Using a rubber mallet and some silicone spray, tap the tree back onto the fork tubes.
Words: Chip Kastelnik Photos: Mikey Van Senus
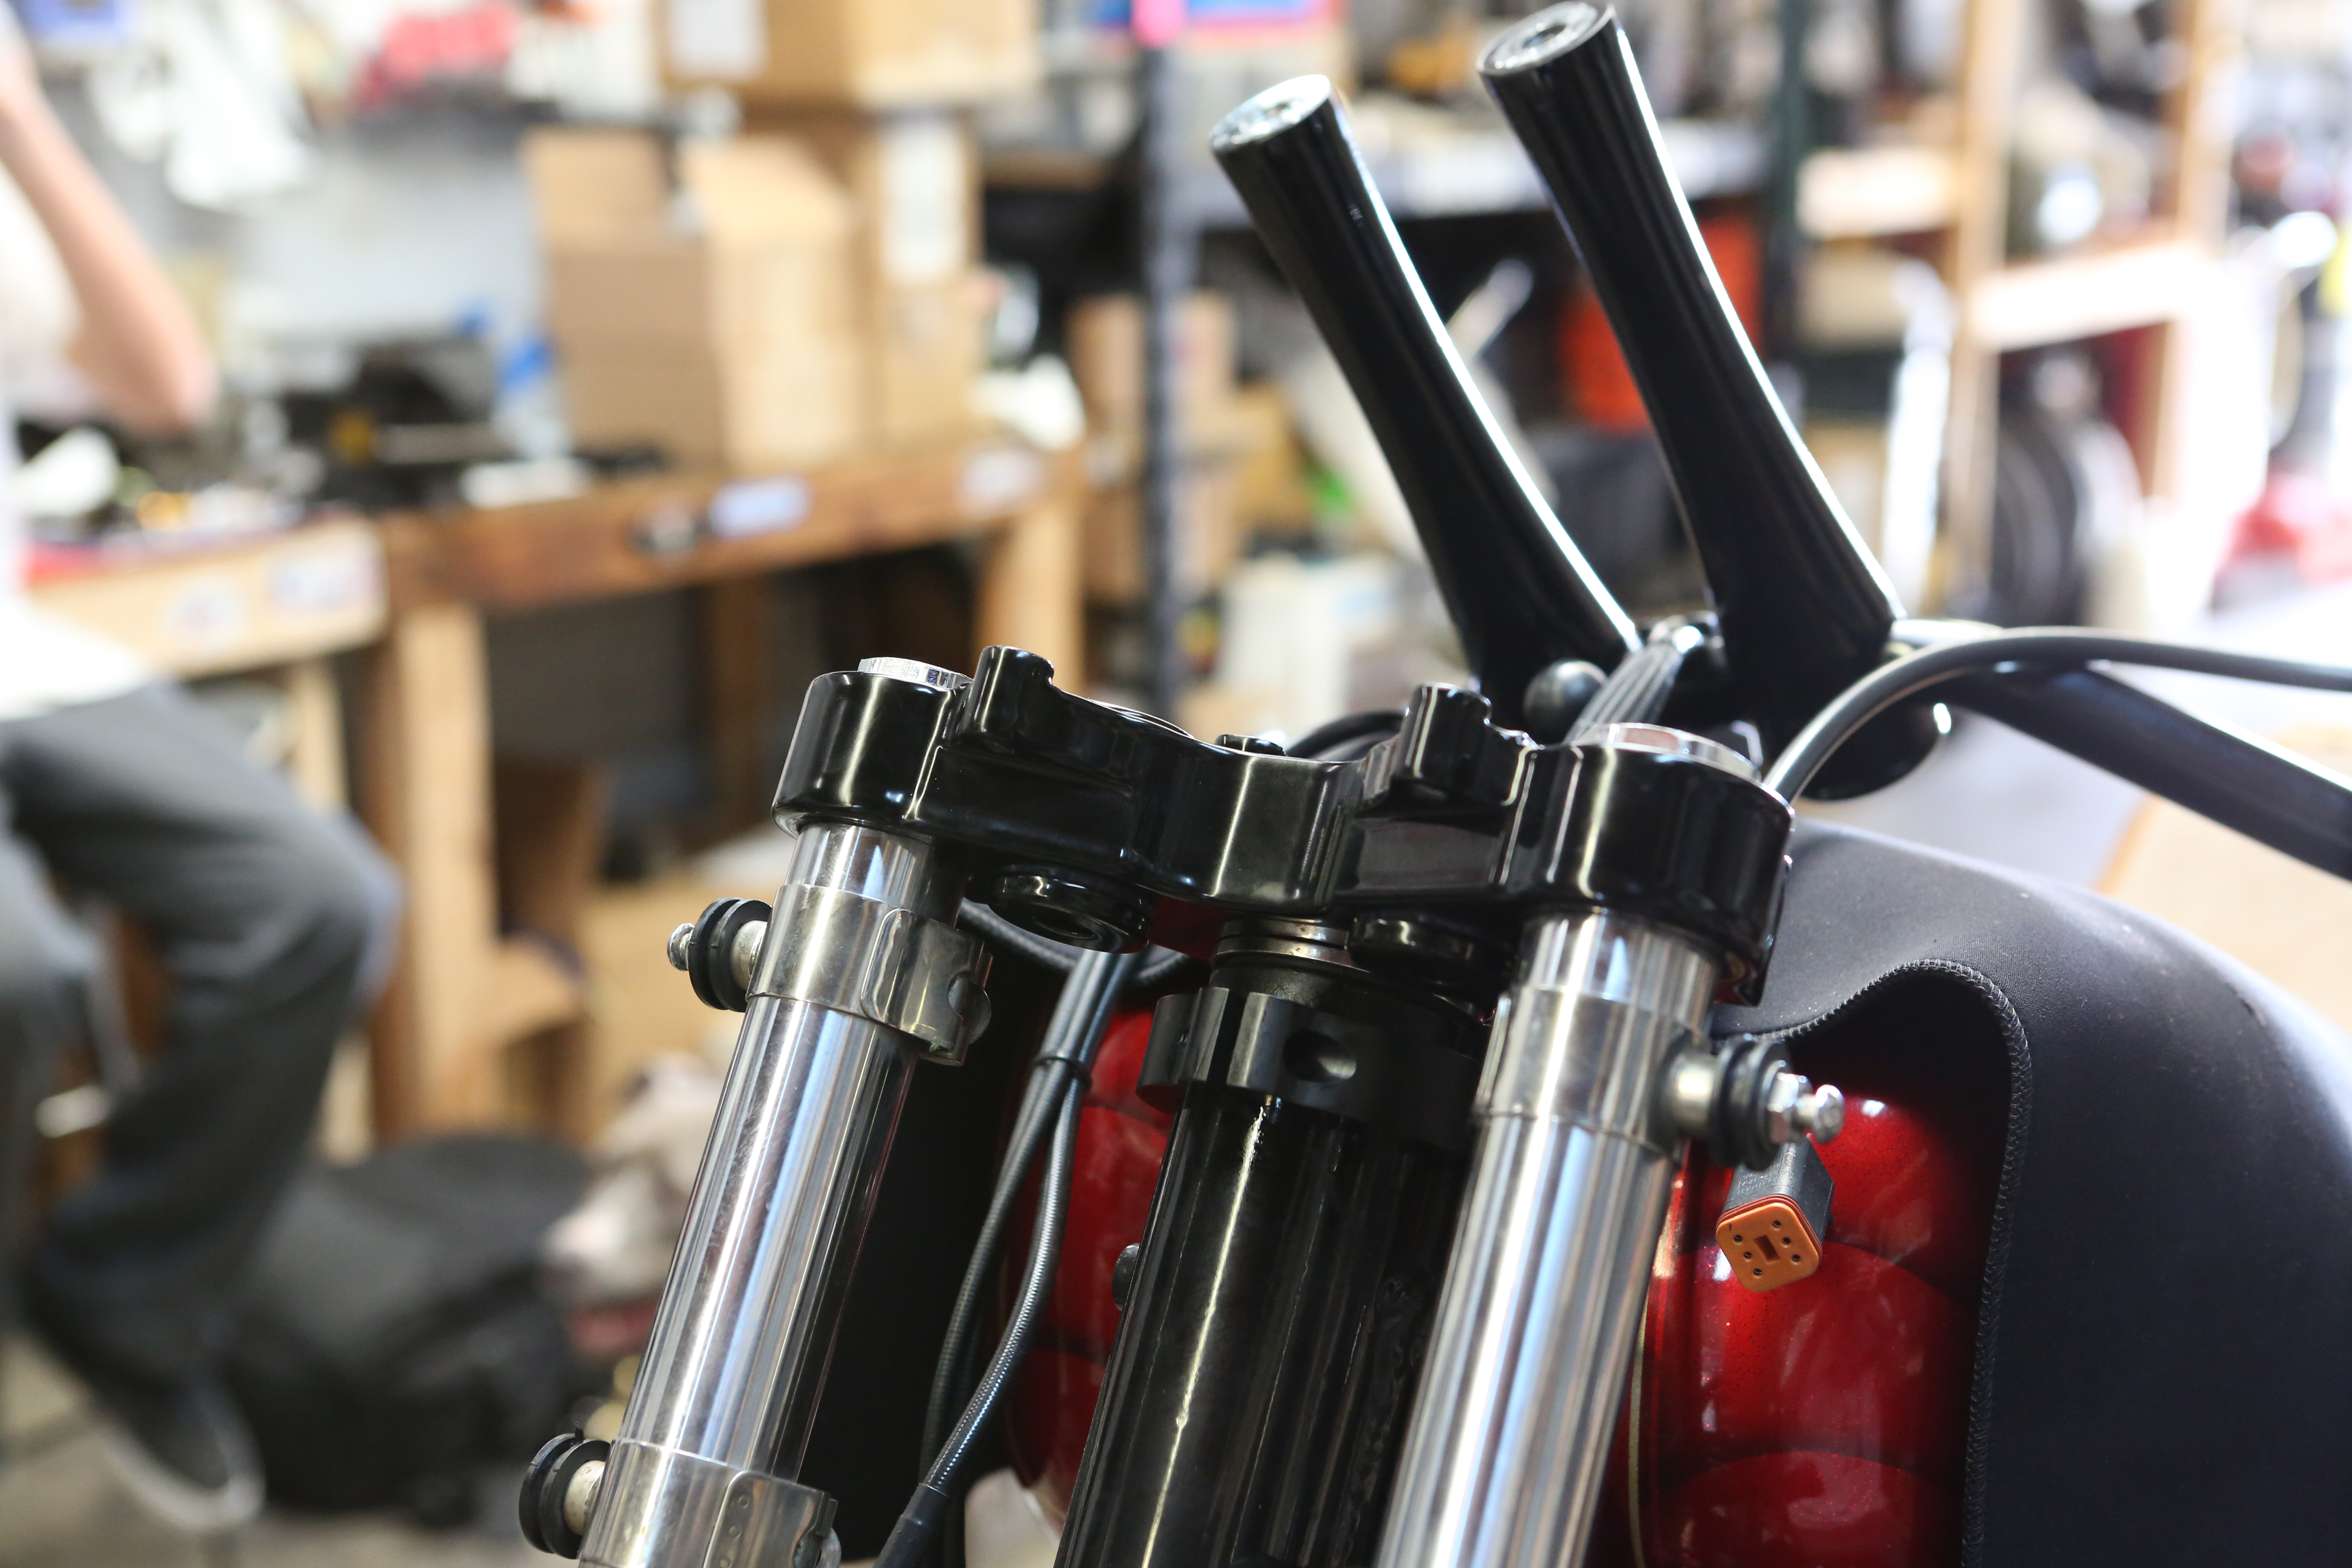
Pictured here is the top triple tree and frame clamp installed on the FXR chassis.
Words: Chip Kastelnik Photos: Mikey Van Senus
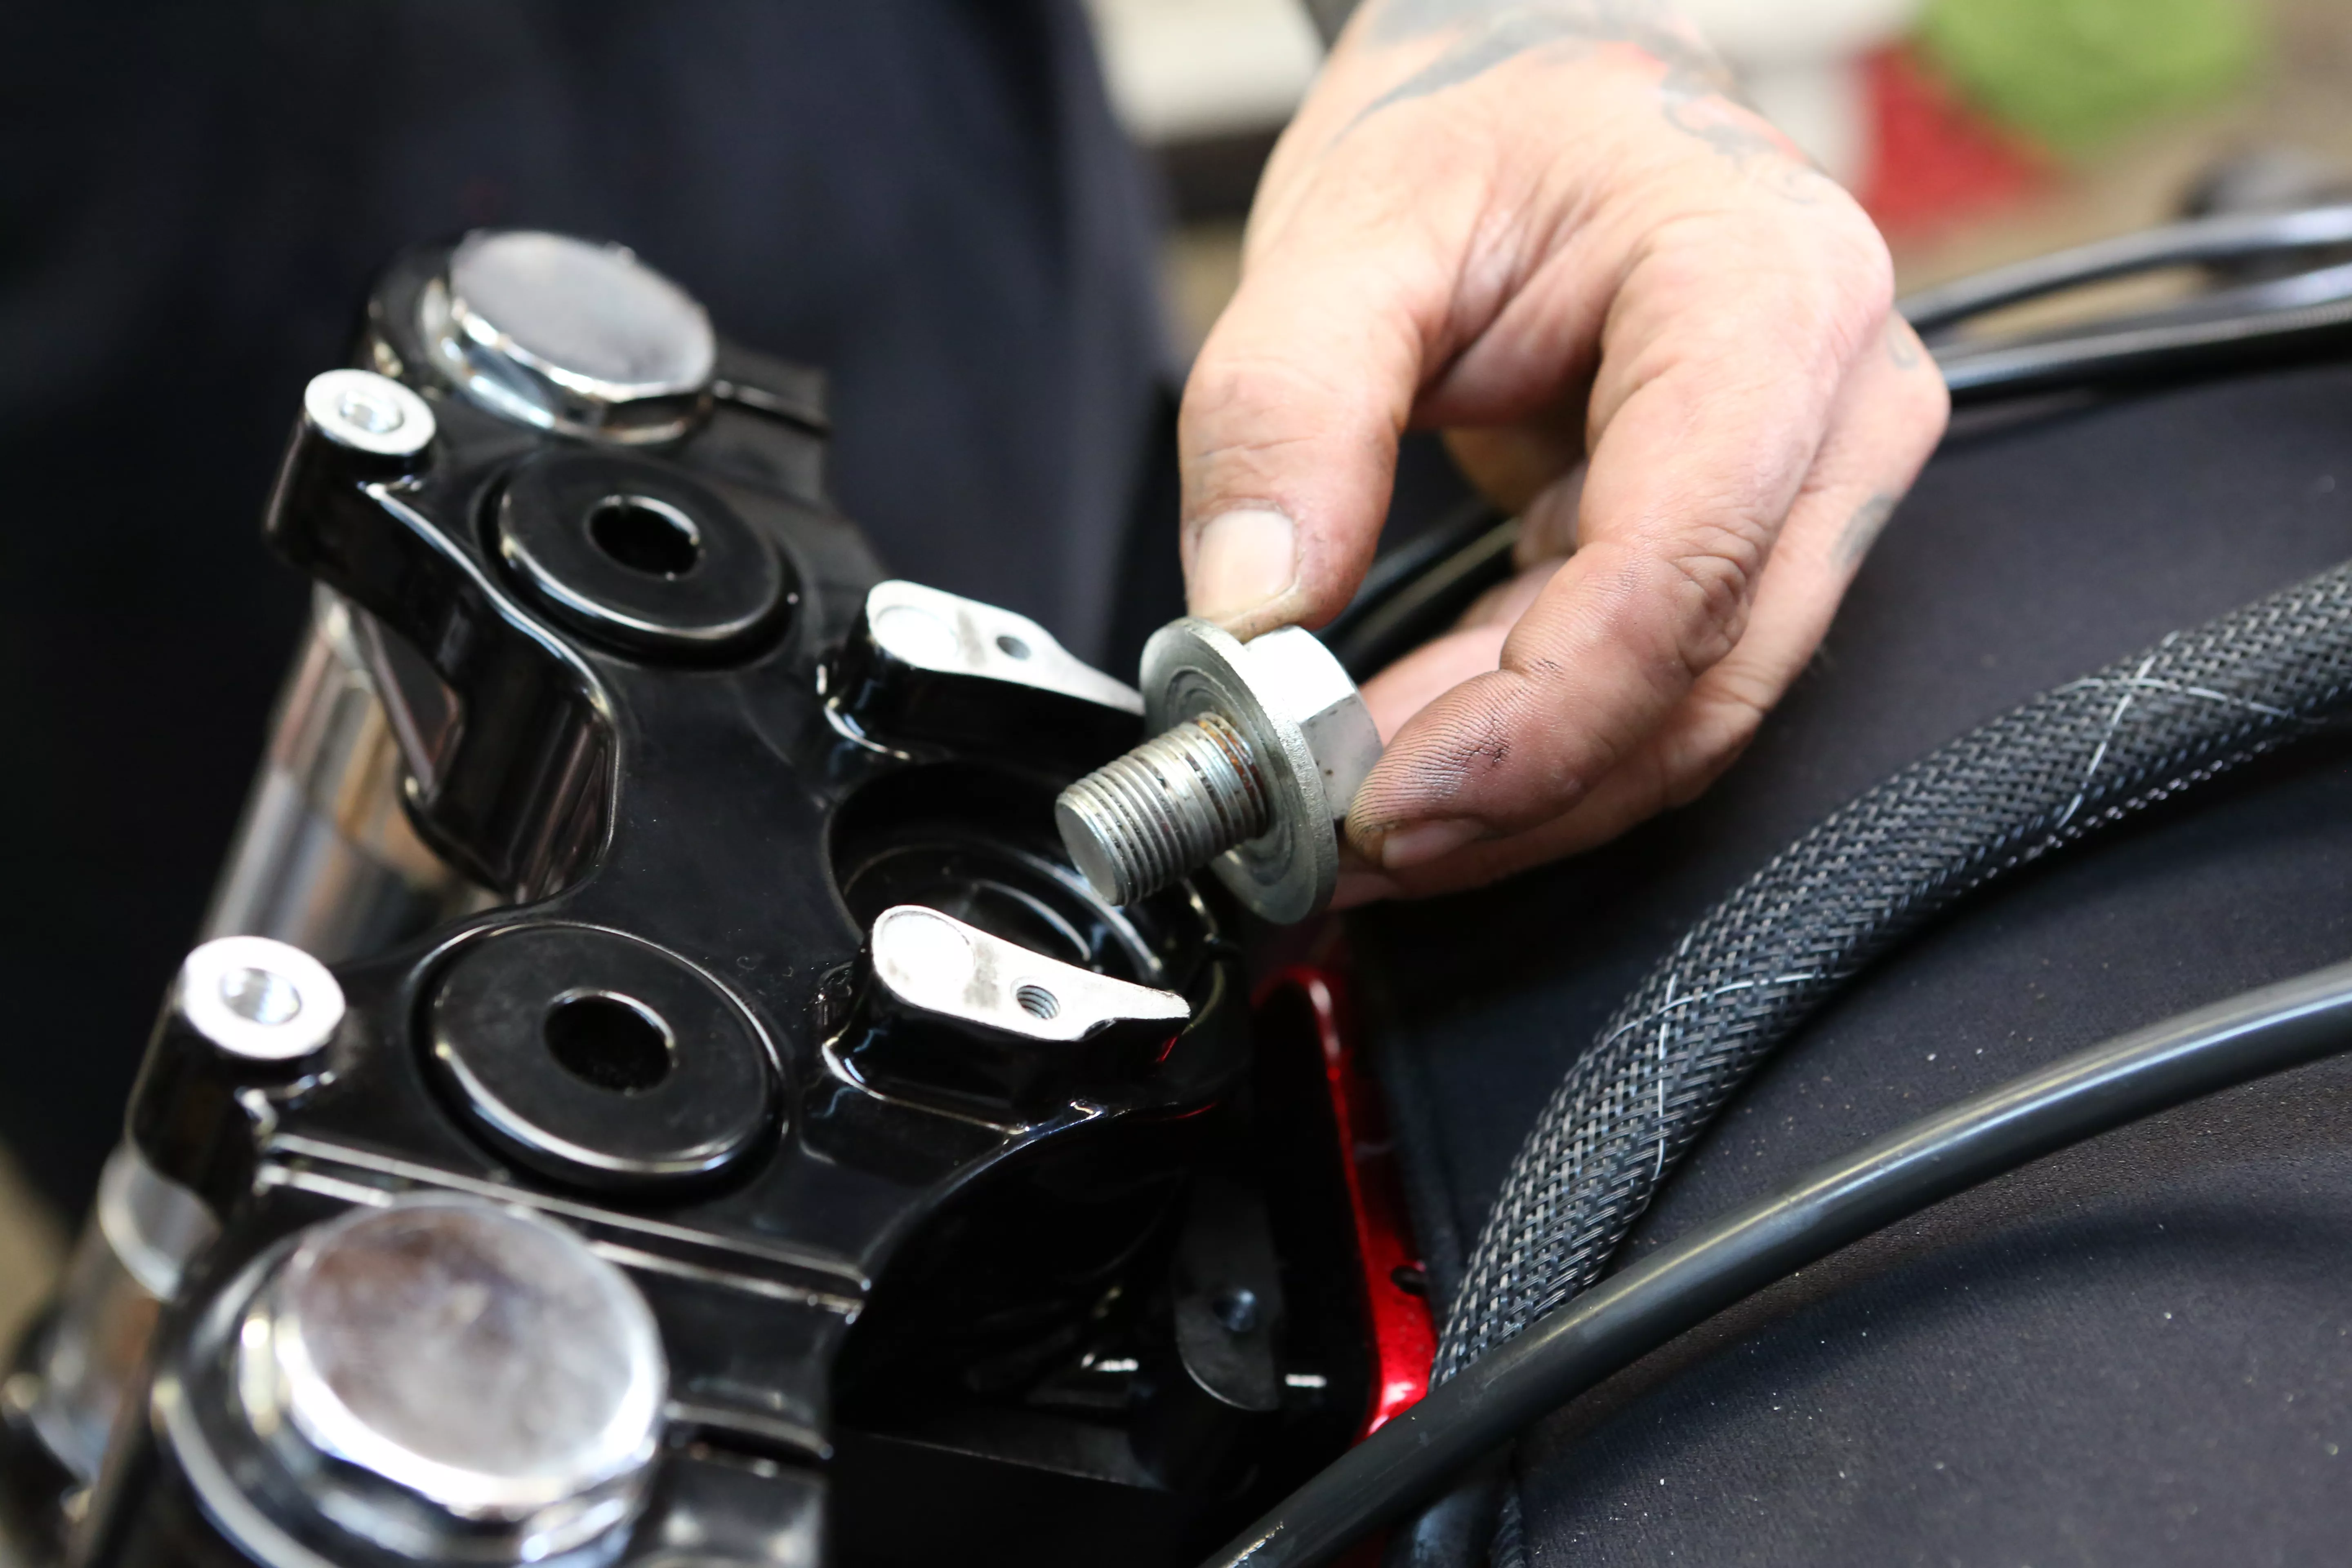
Install the OEM top triple-tree nut in the GPR triple tree.
Words: Chip Kastelnik Photos: Mikey Van Senus
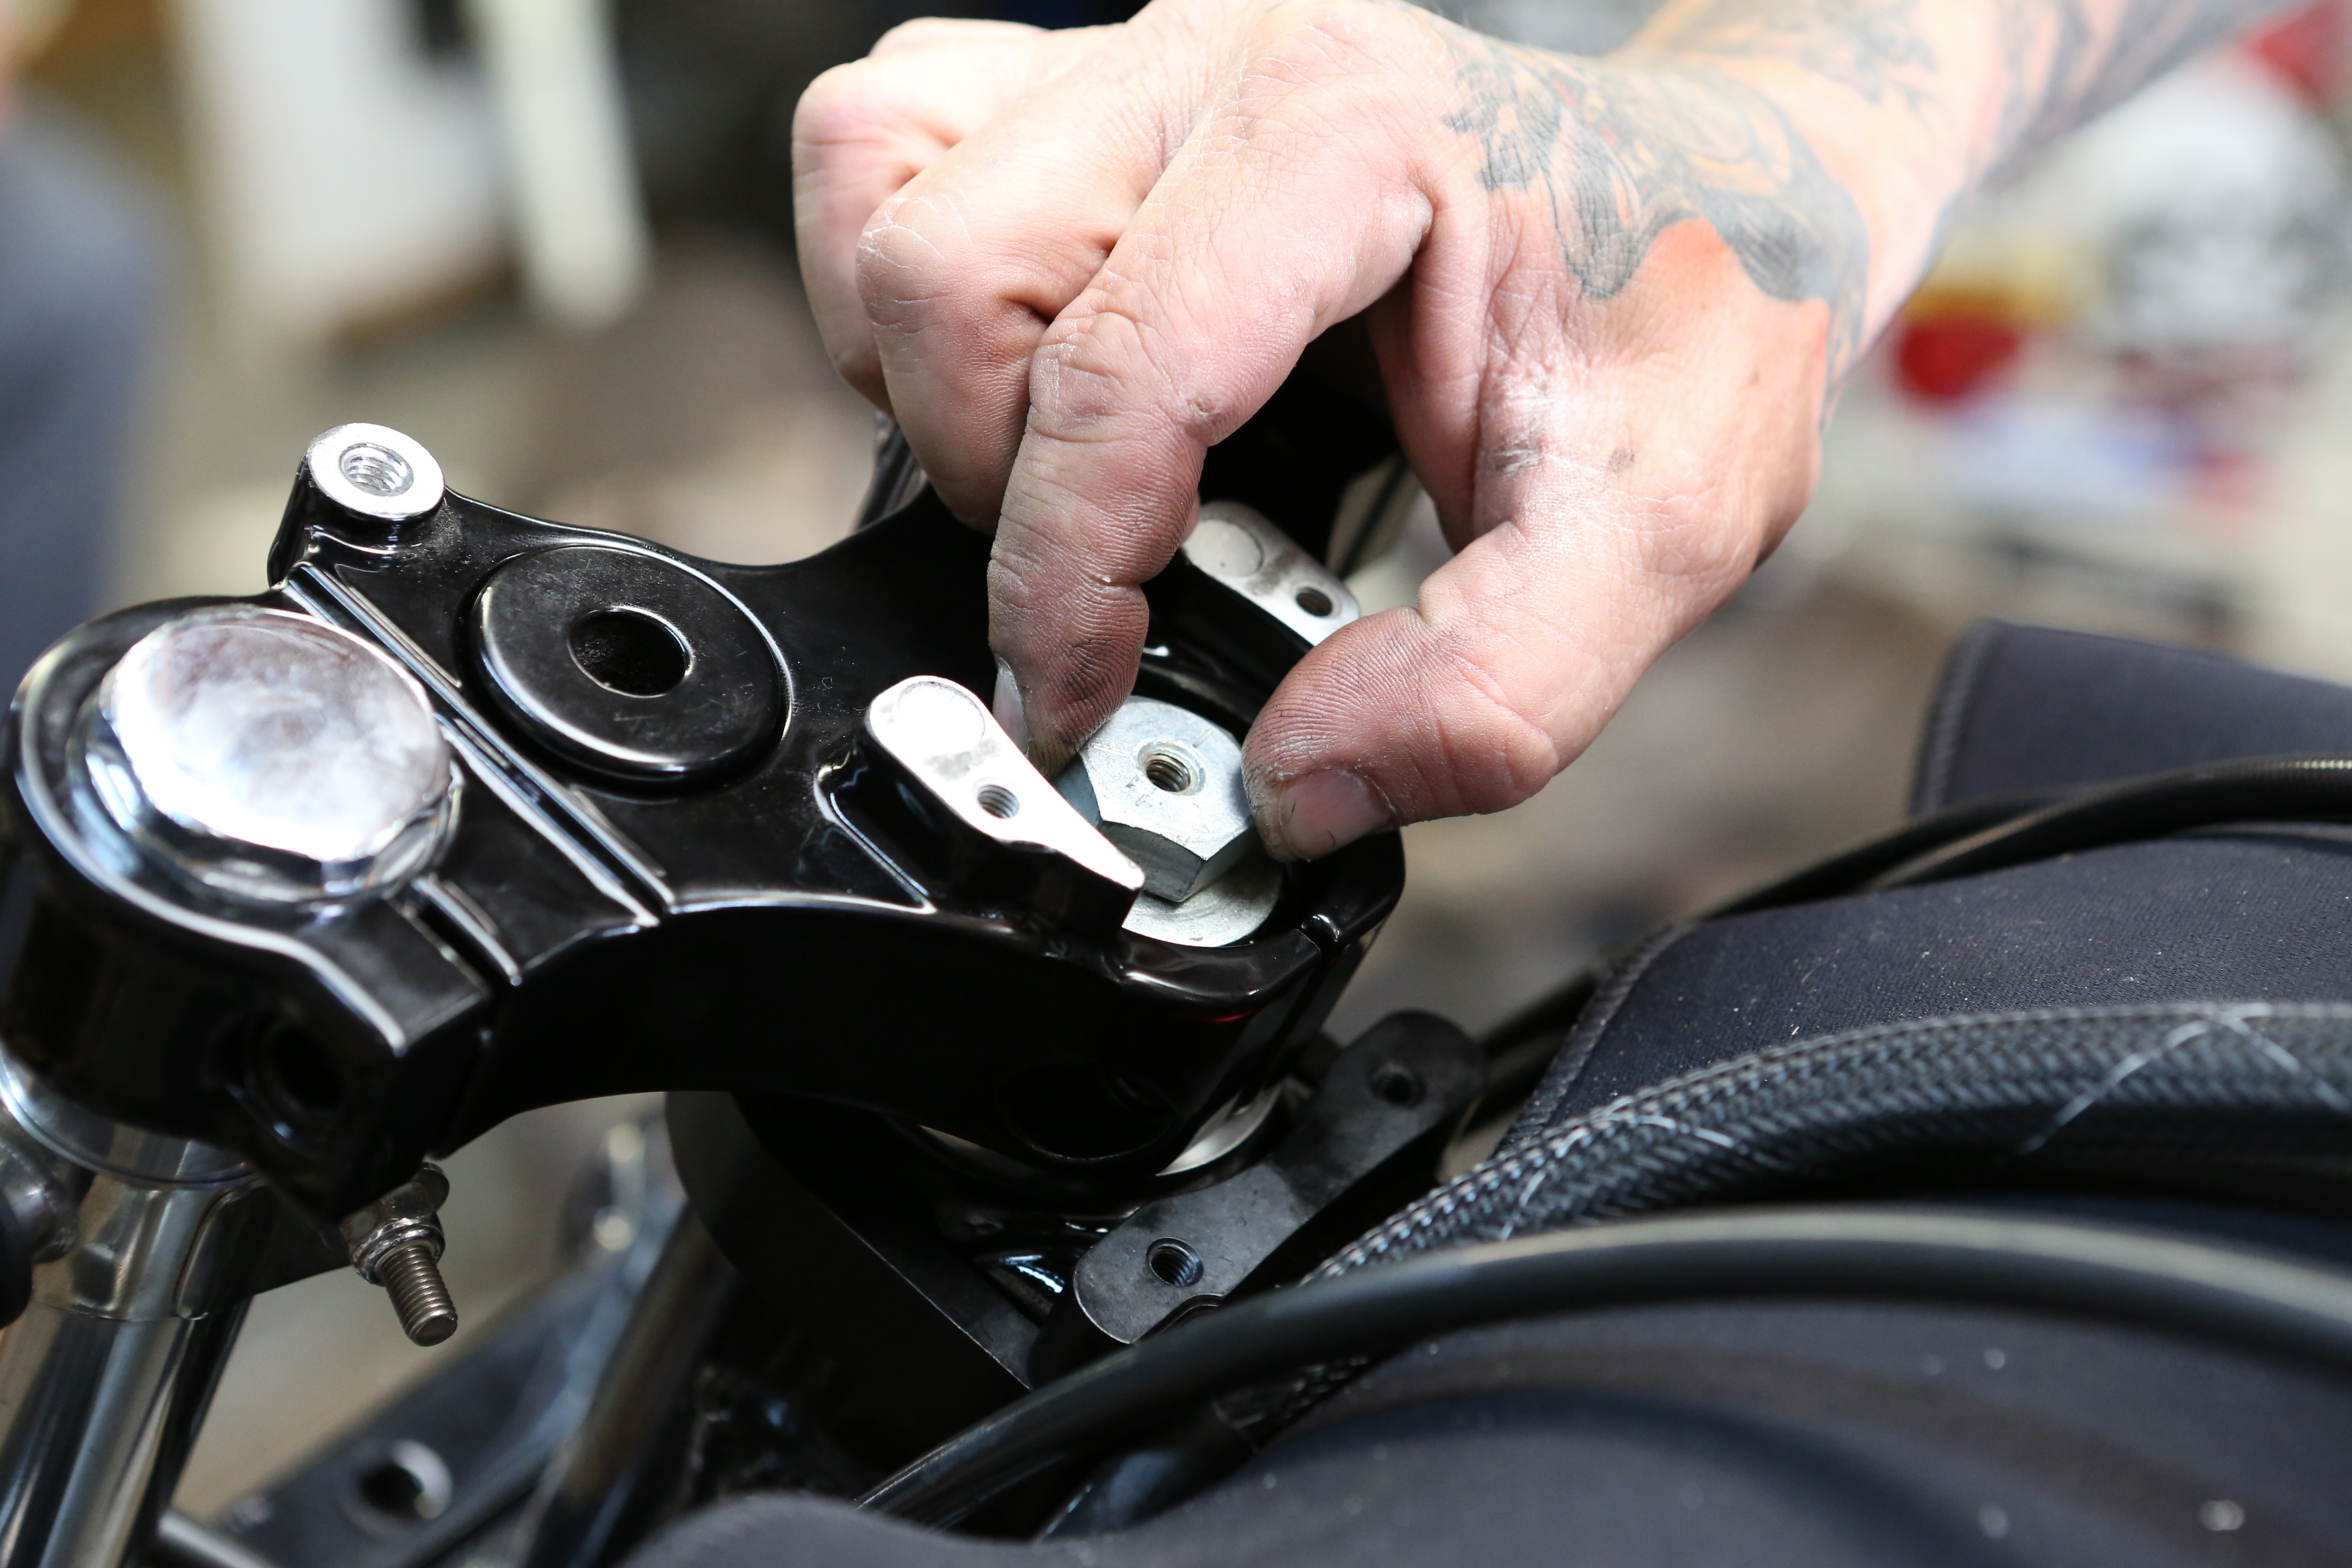
Finger tighten the bolt; we will be tightening later on when we do the fall-away procedure.
Words: Chip Kastelnik Photos: Mikey Van Senus
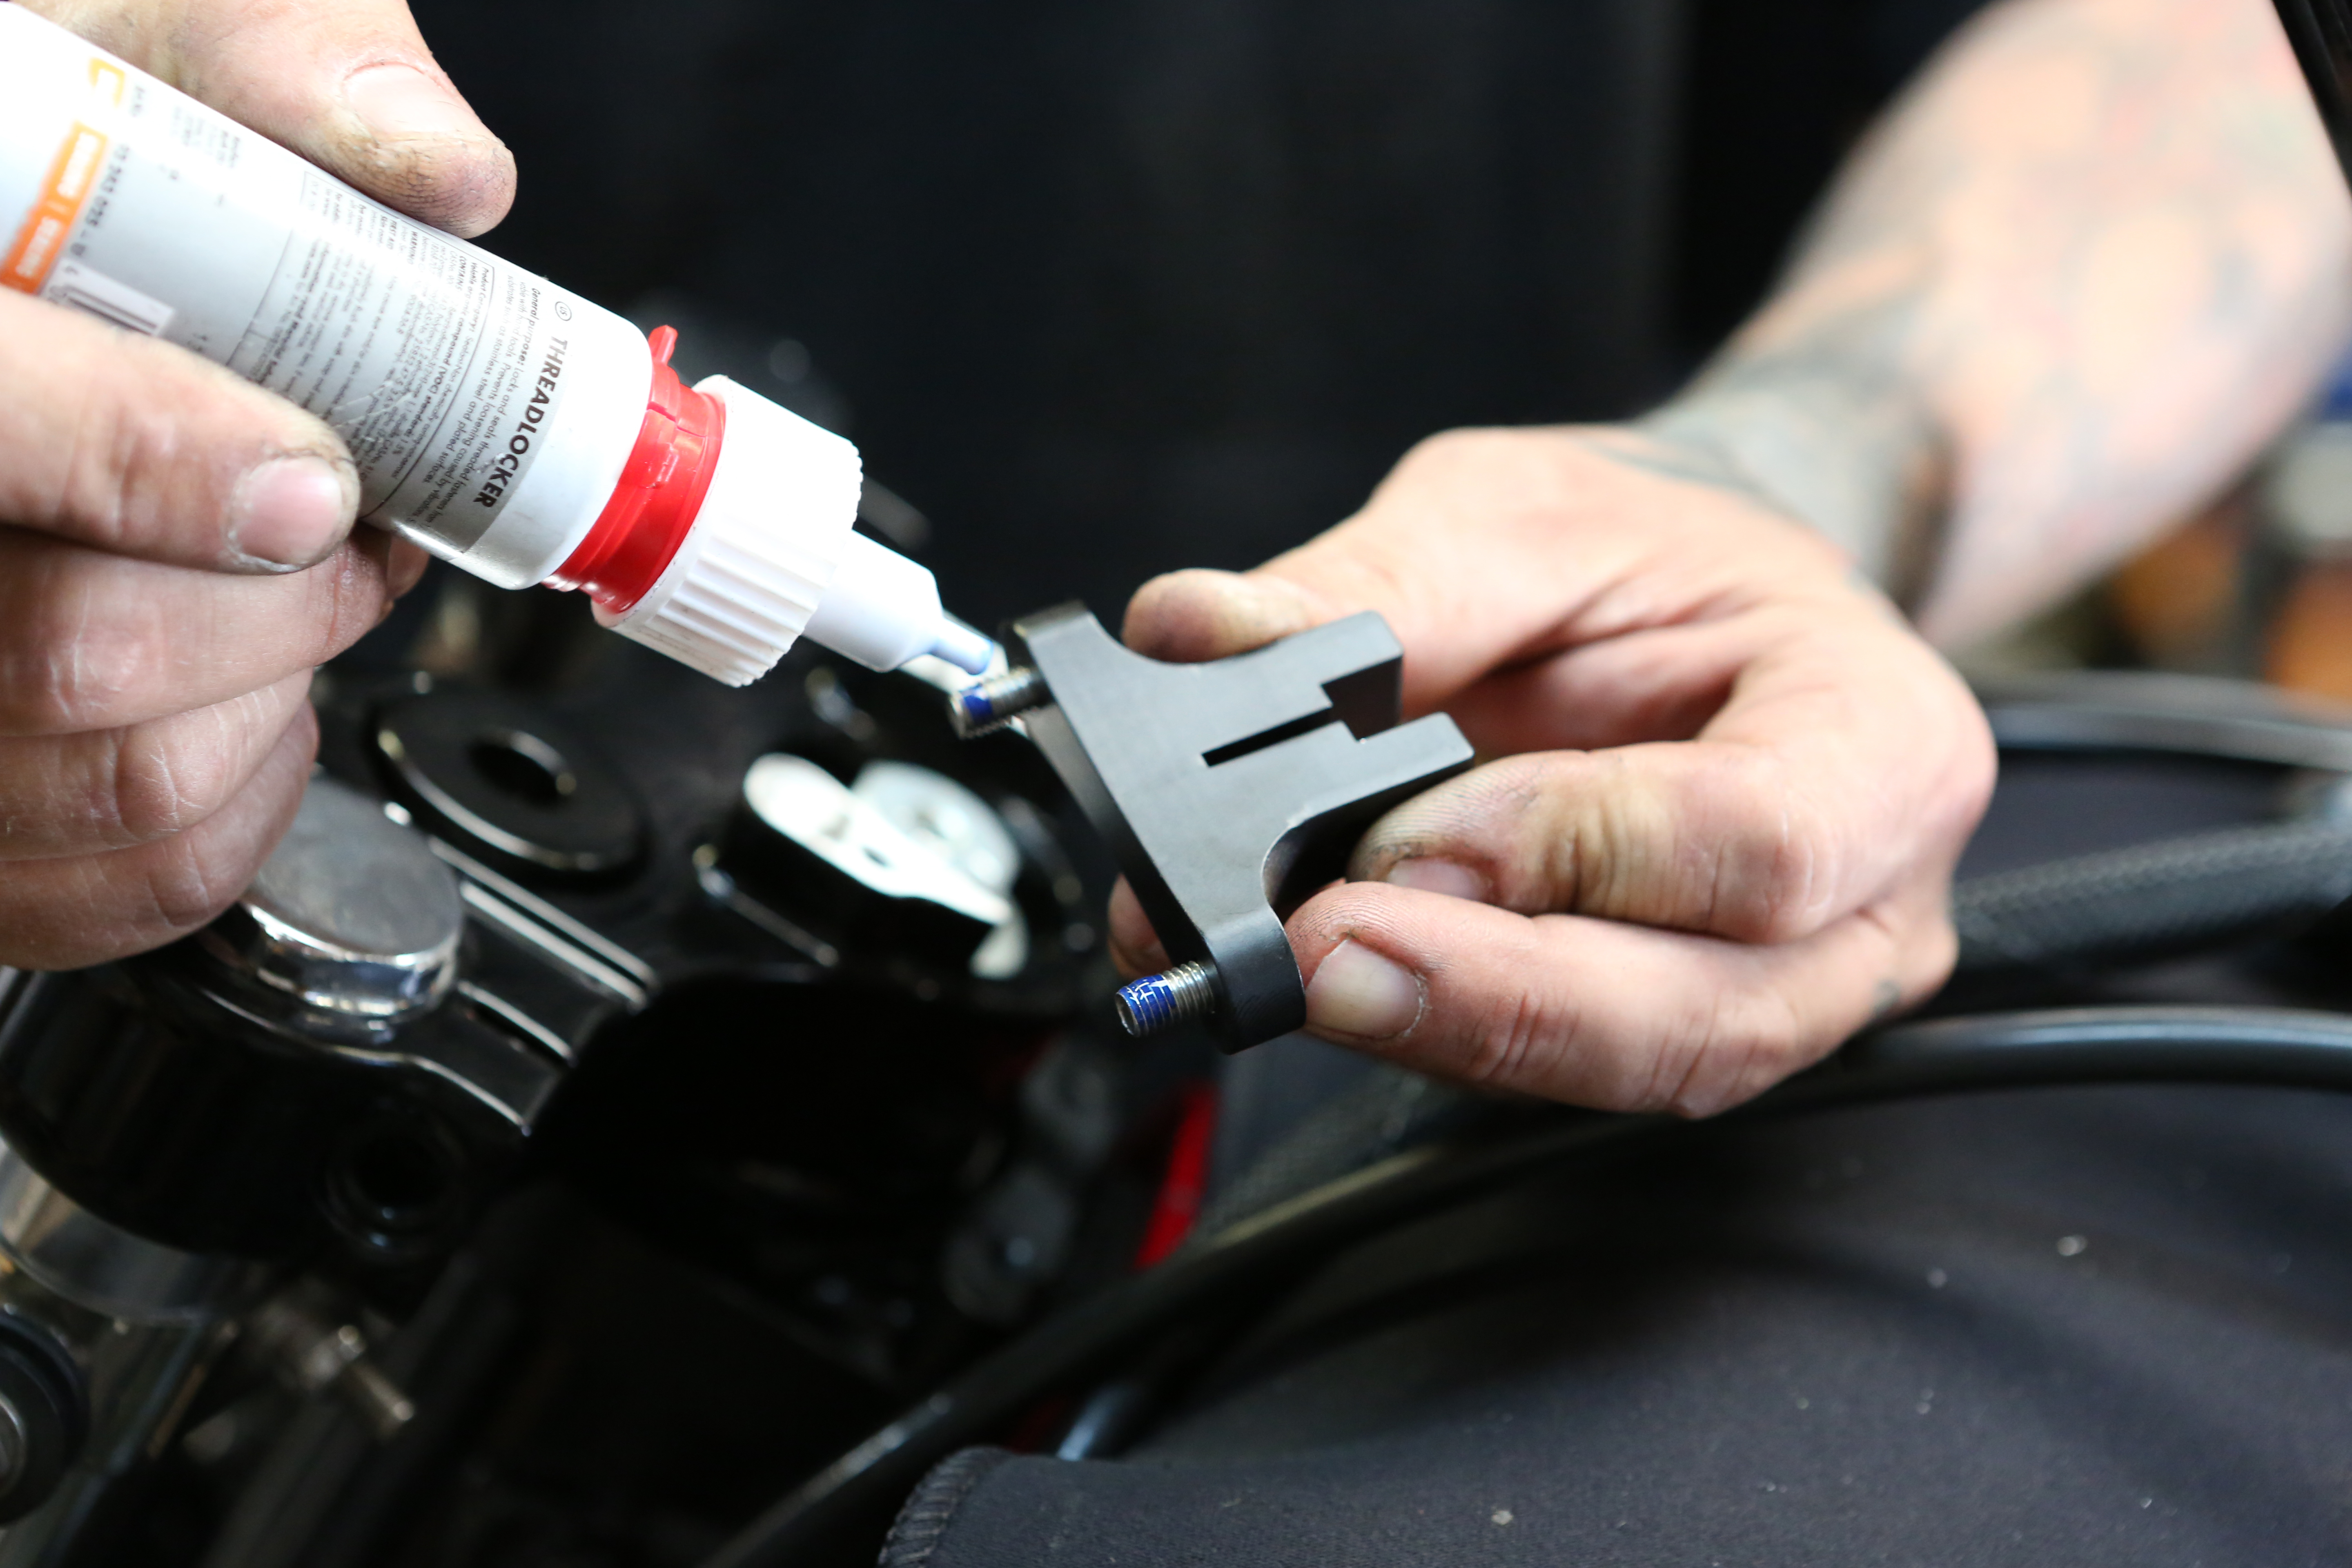
Place a few drops of blue Loctite onto the damper tab holder bracket screws.
Words: Chip Kastelnik Photos: Mikey Van Senus

Using a 5mm Allen wrench, install the damper tab holder into the frame clamp.
Words: Chip Kastelnik Photos: Mikey Van Senus
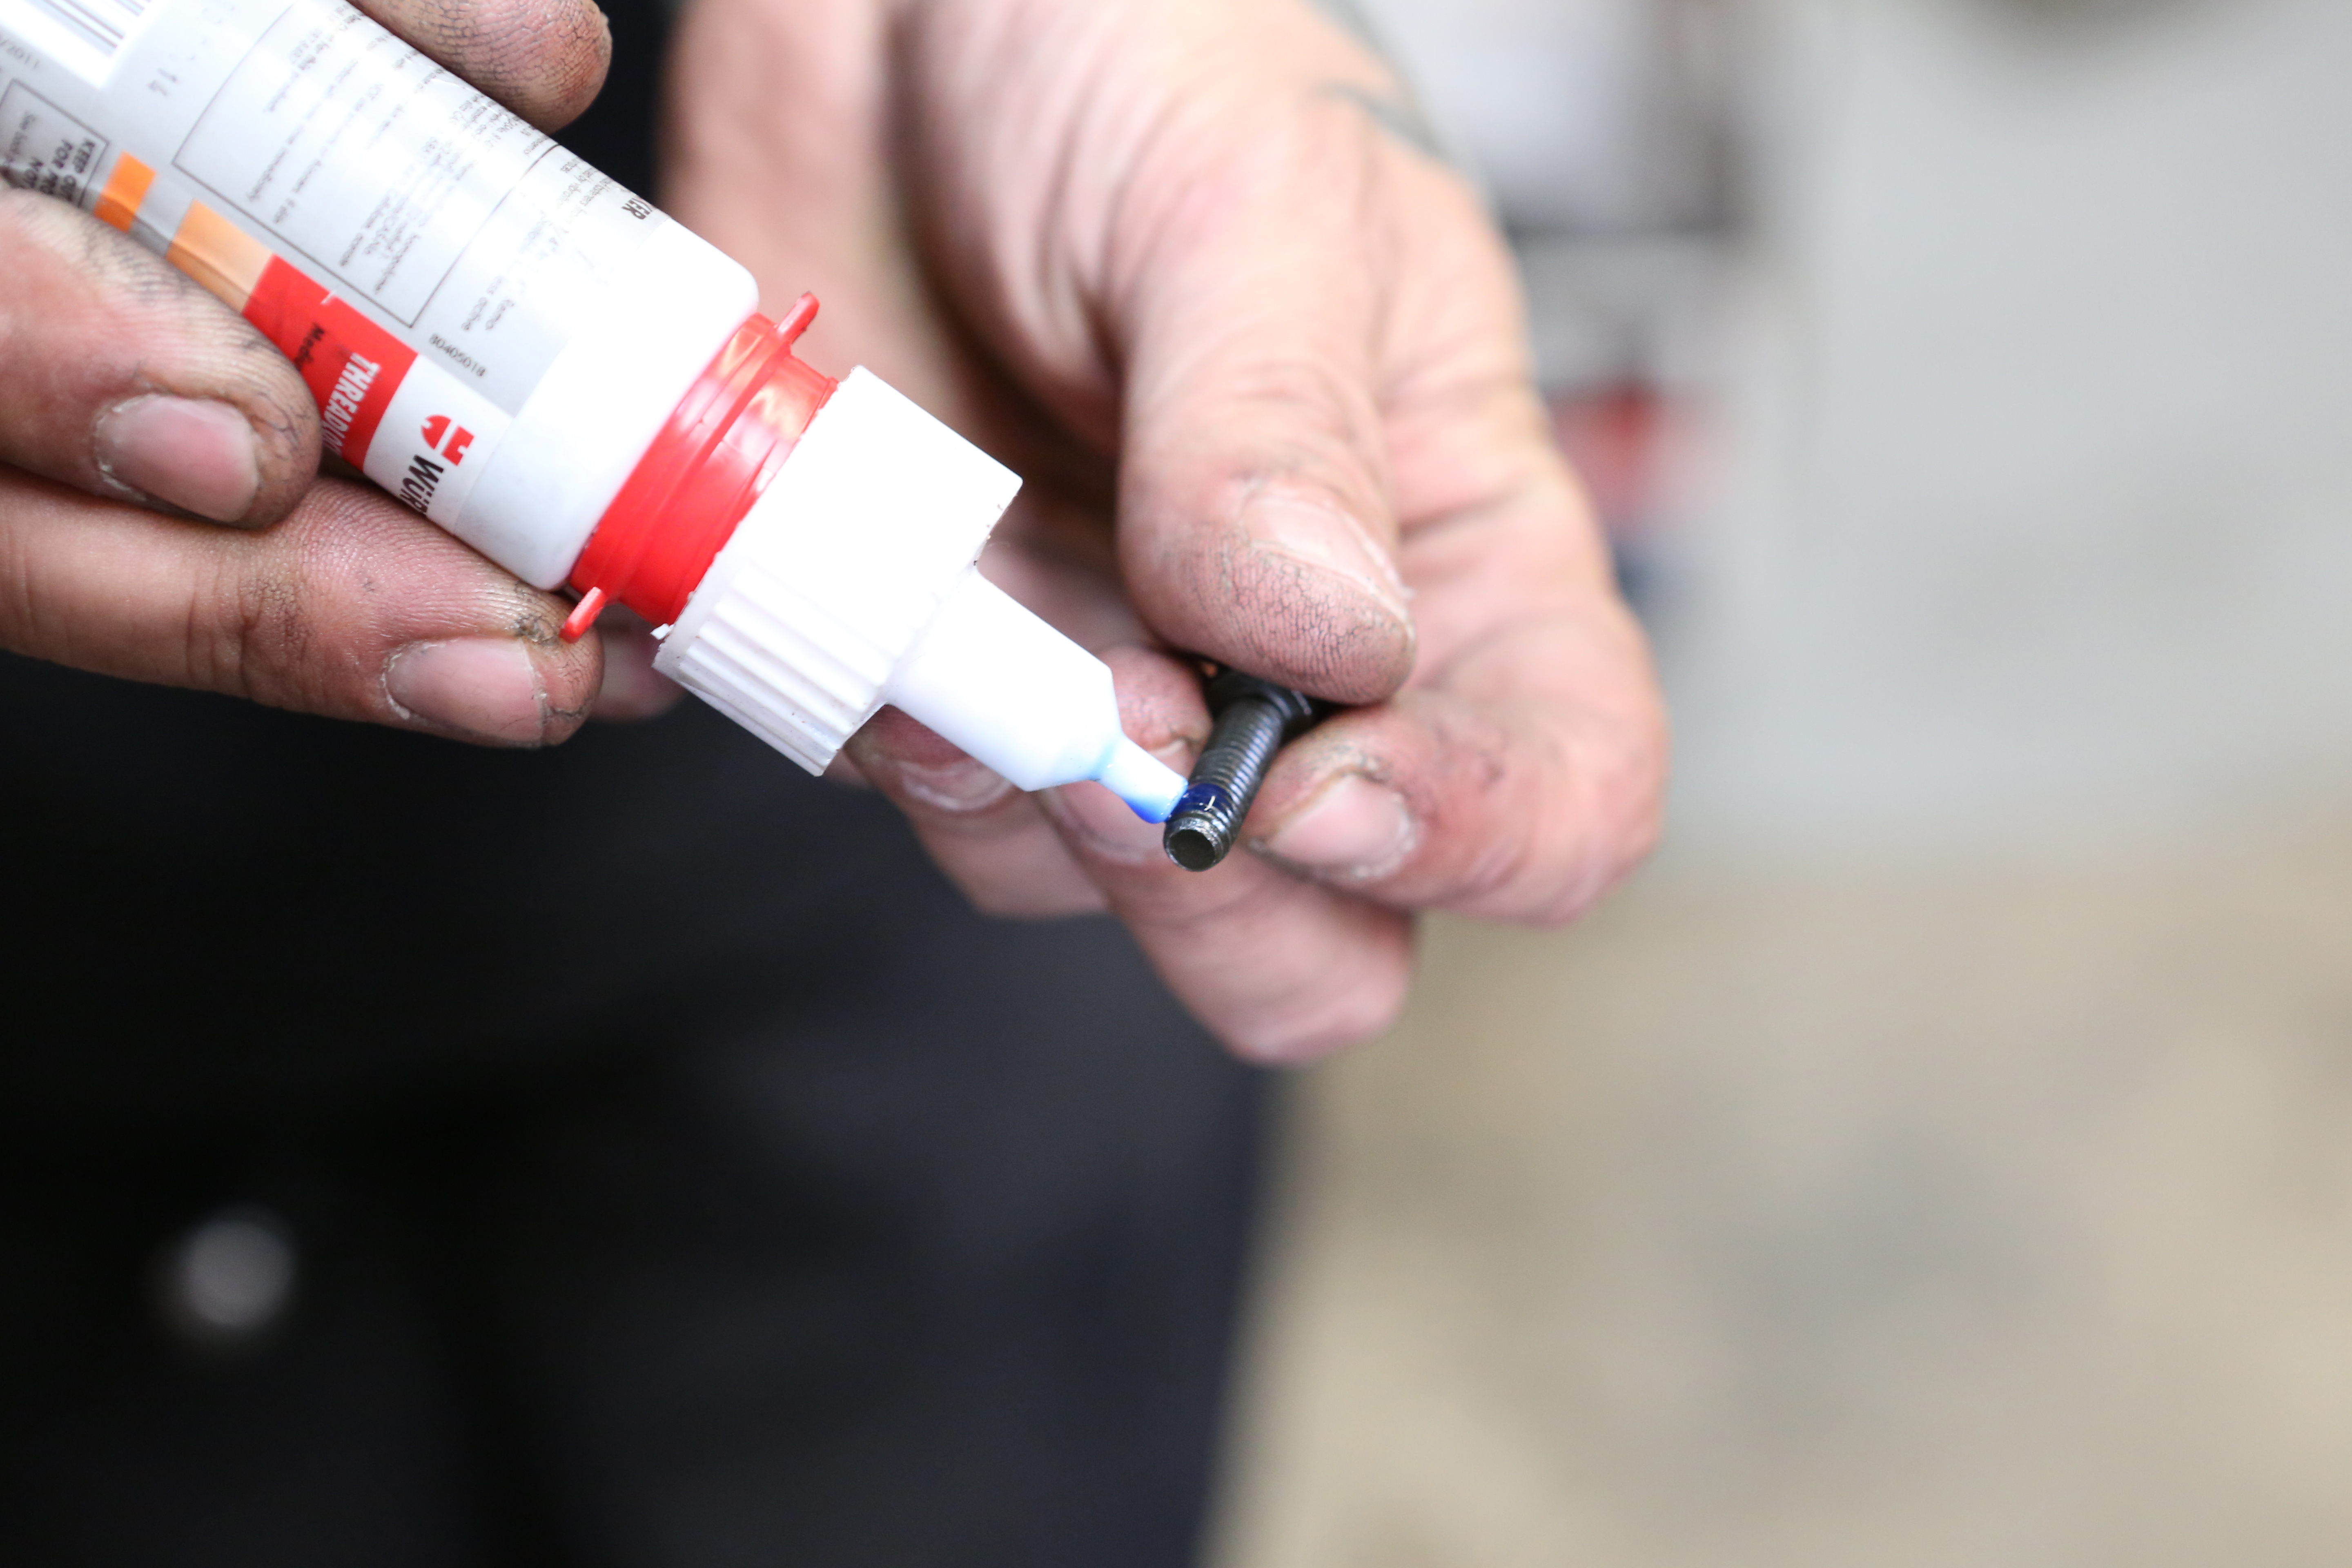
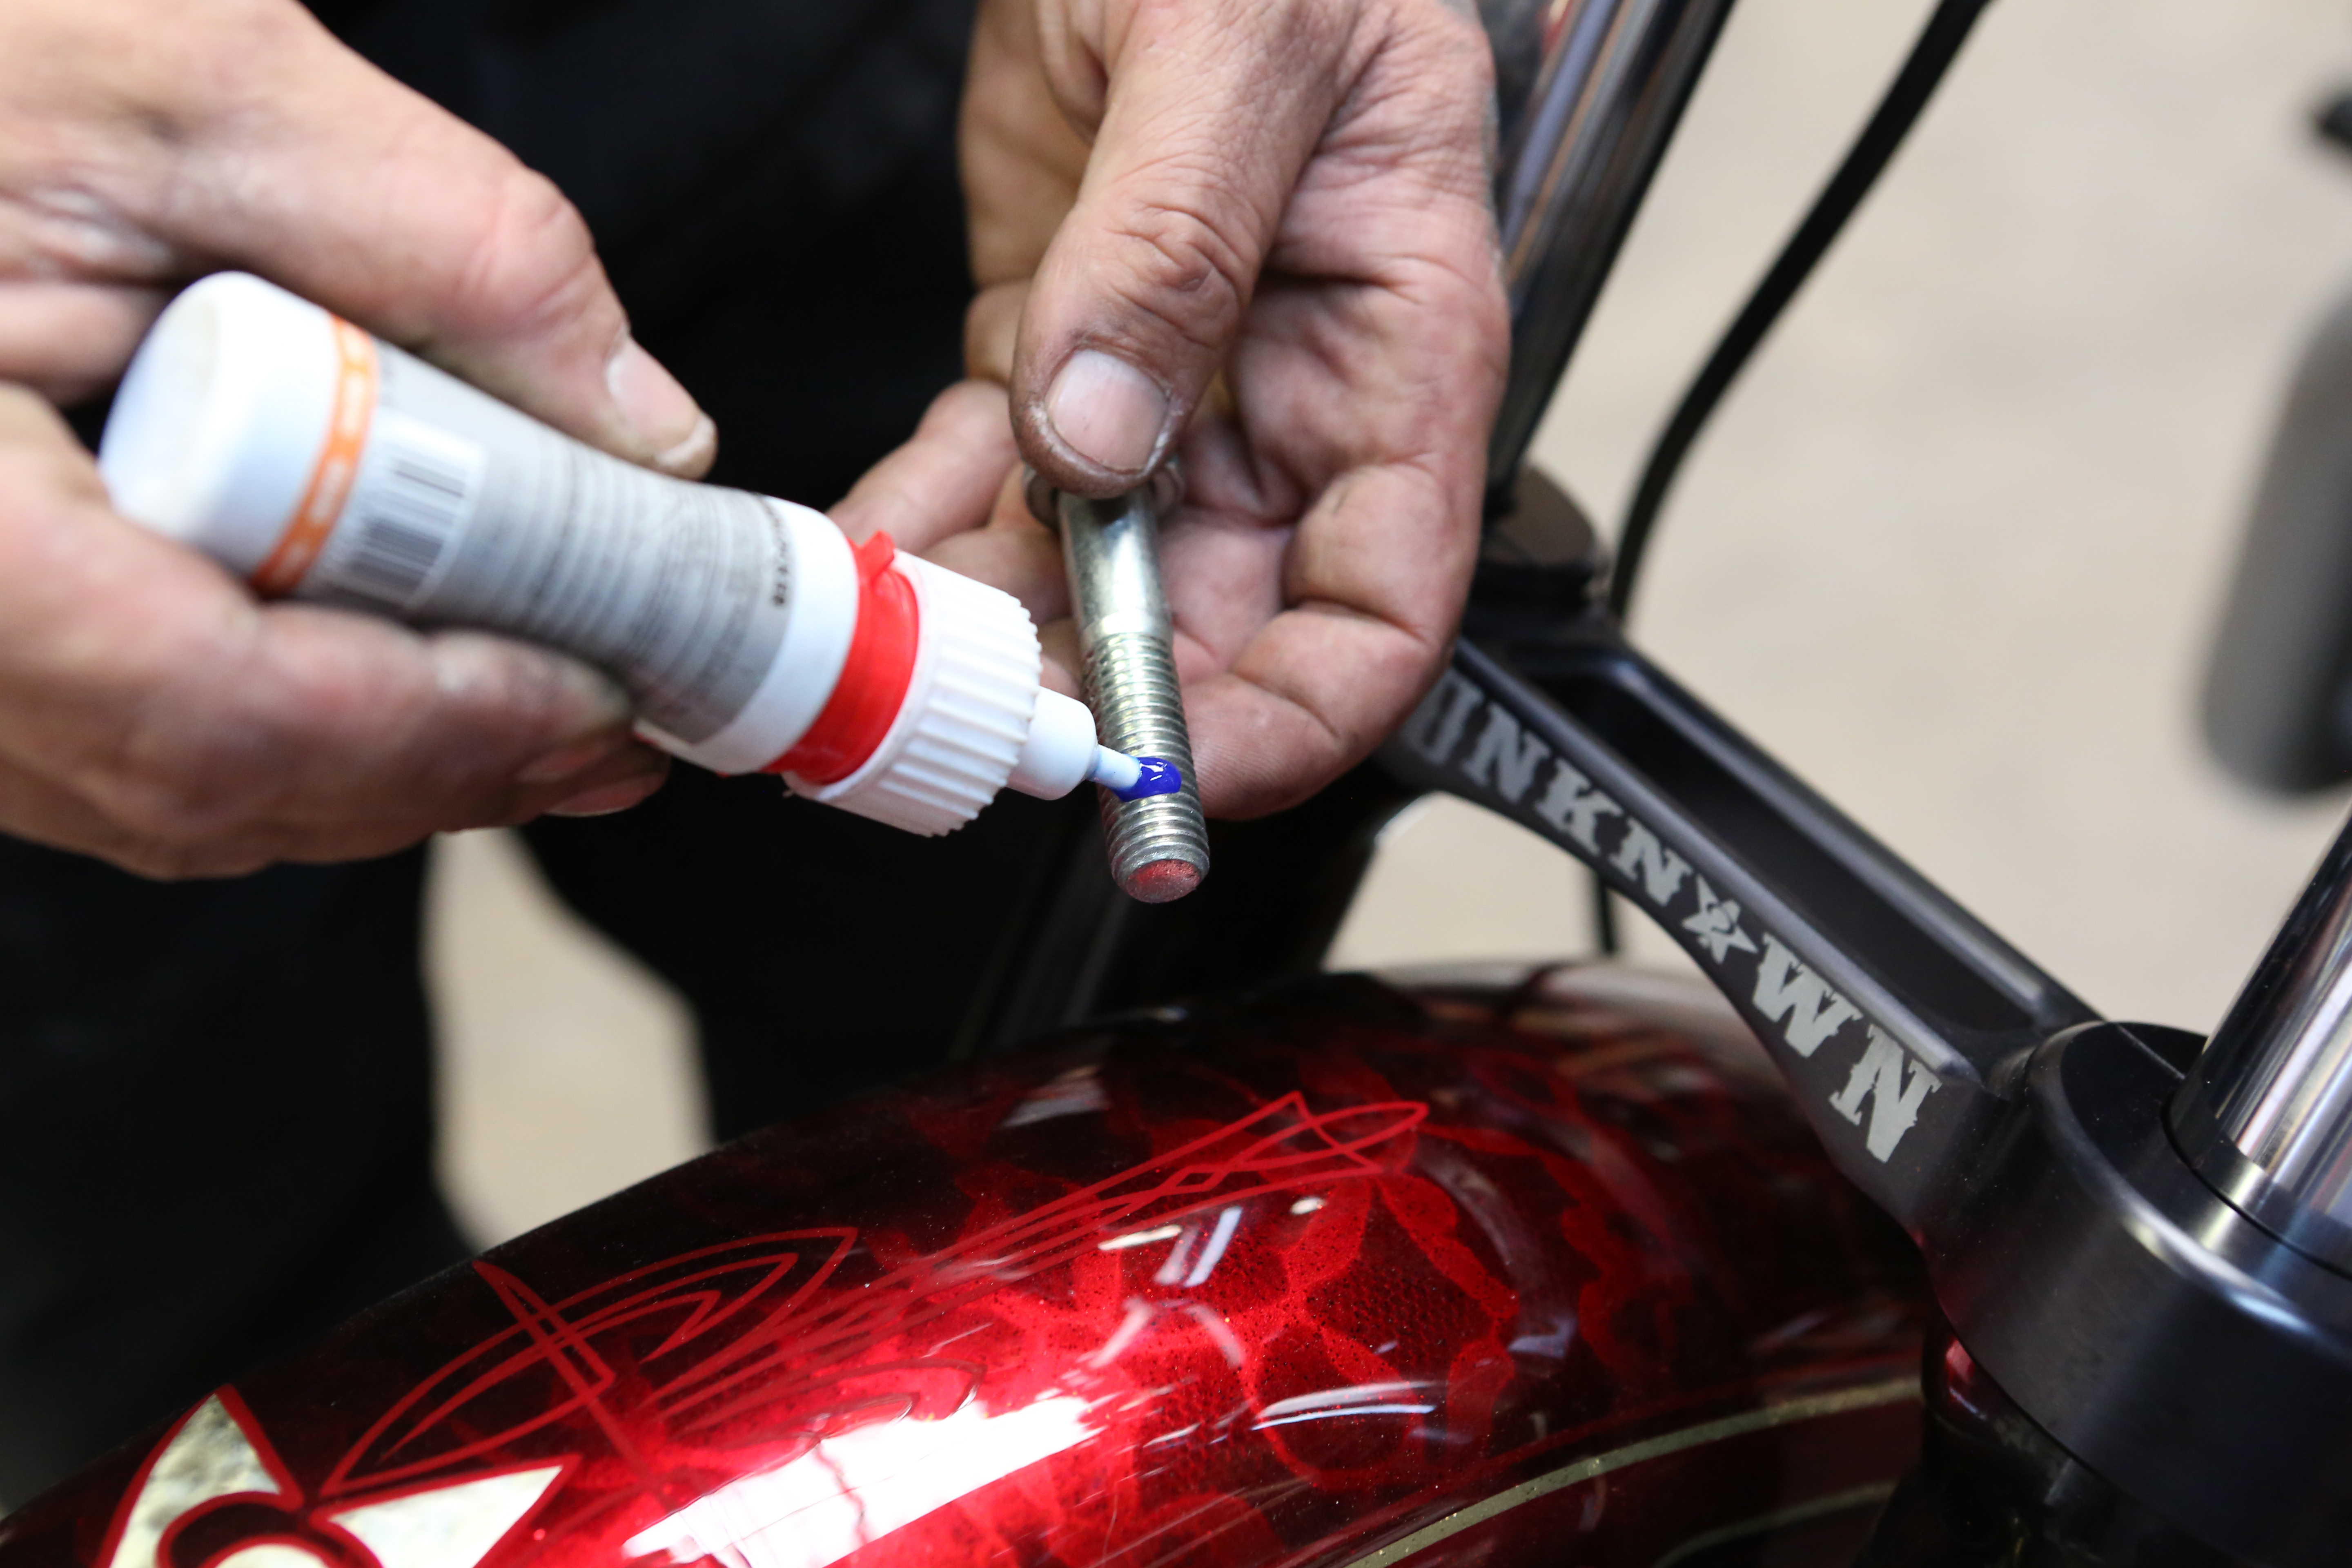
Remove the frame bracket pinch bolt from the front of the bike, and put a few drops of blue Loctite onto the bolt and reinsert.
Words: Chip Kastelnik Photos: Mikey Van Senus
RELATED | MORE TECH

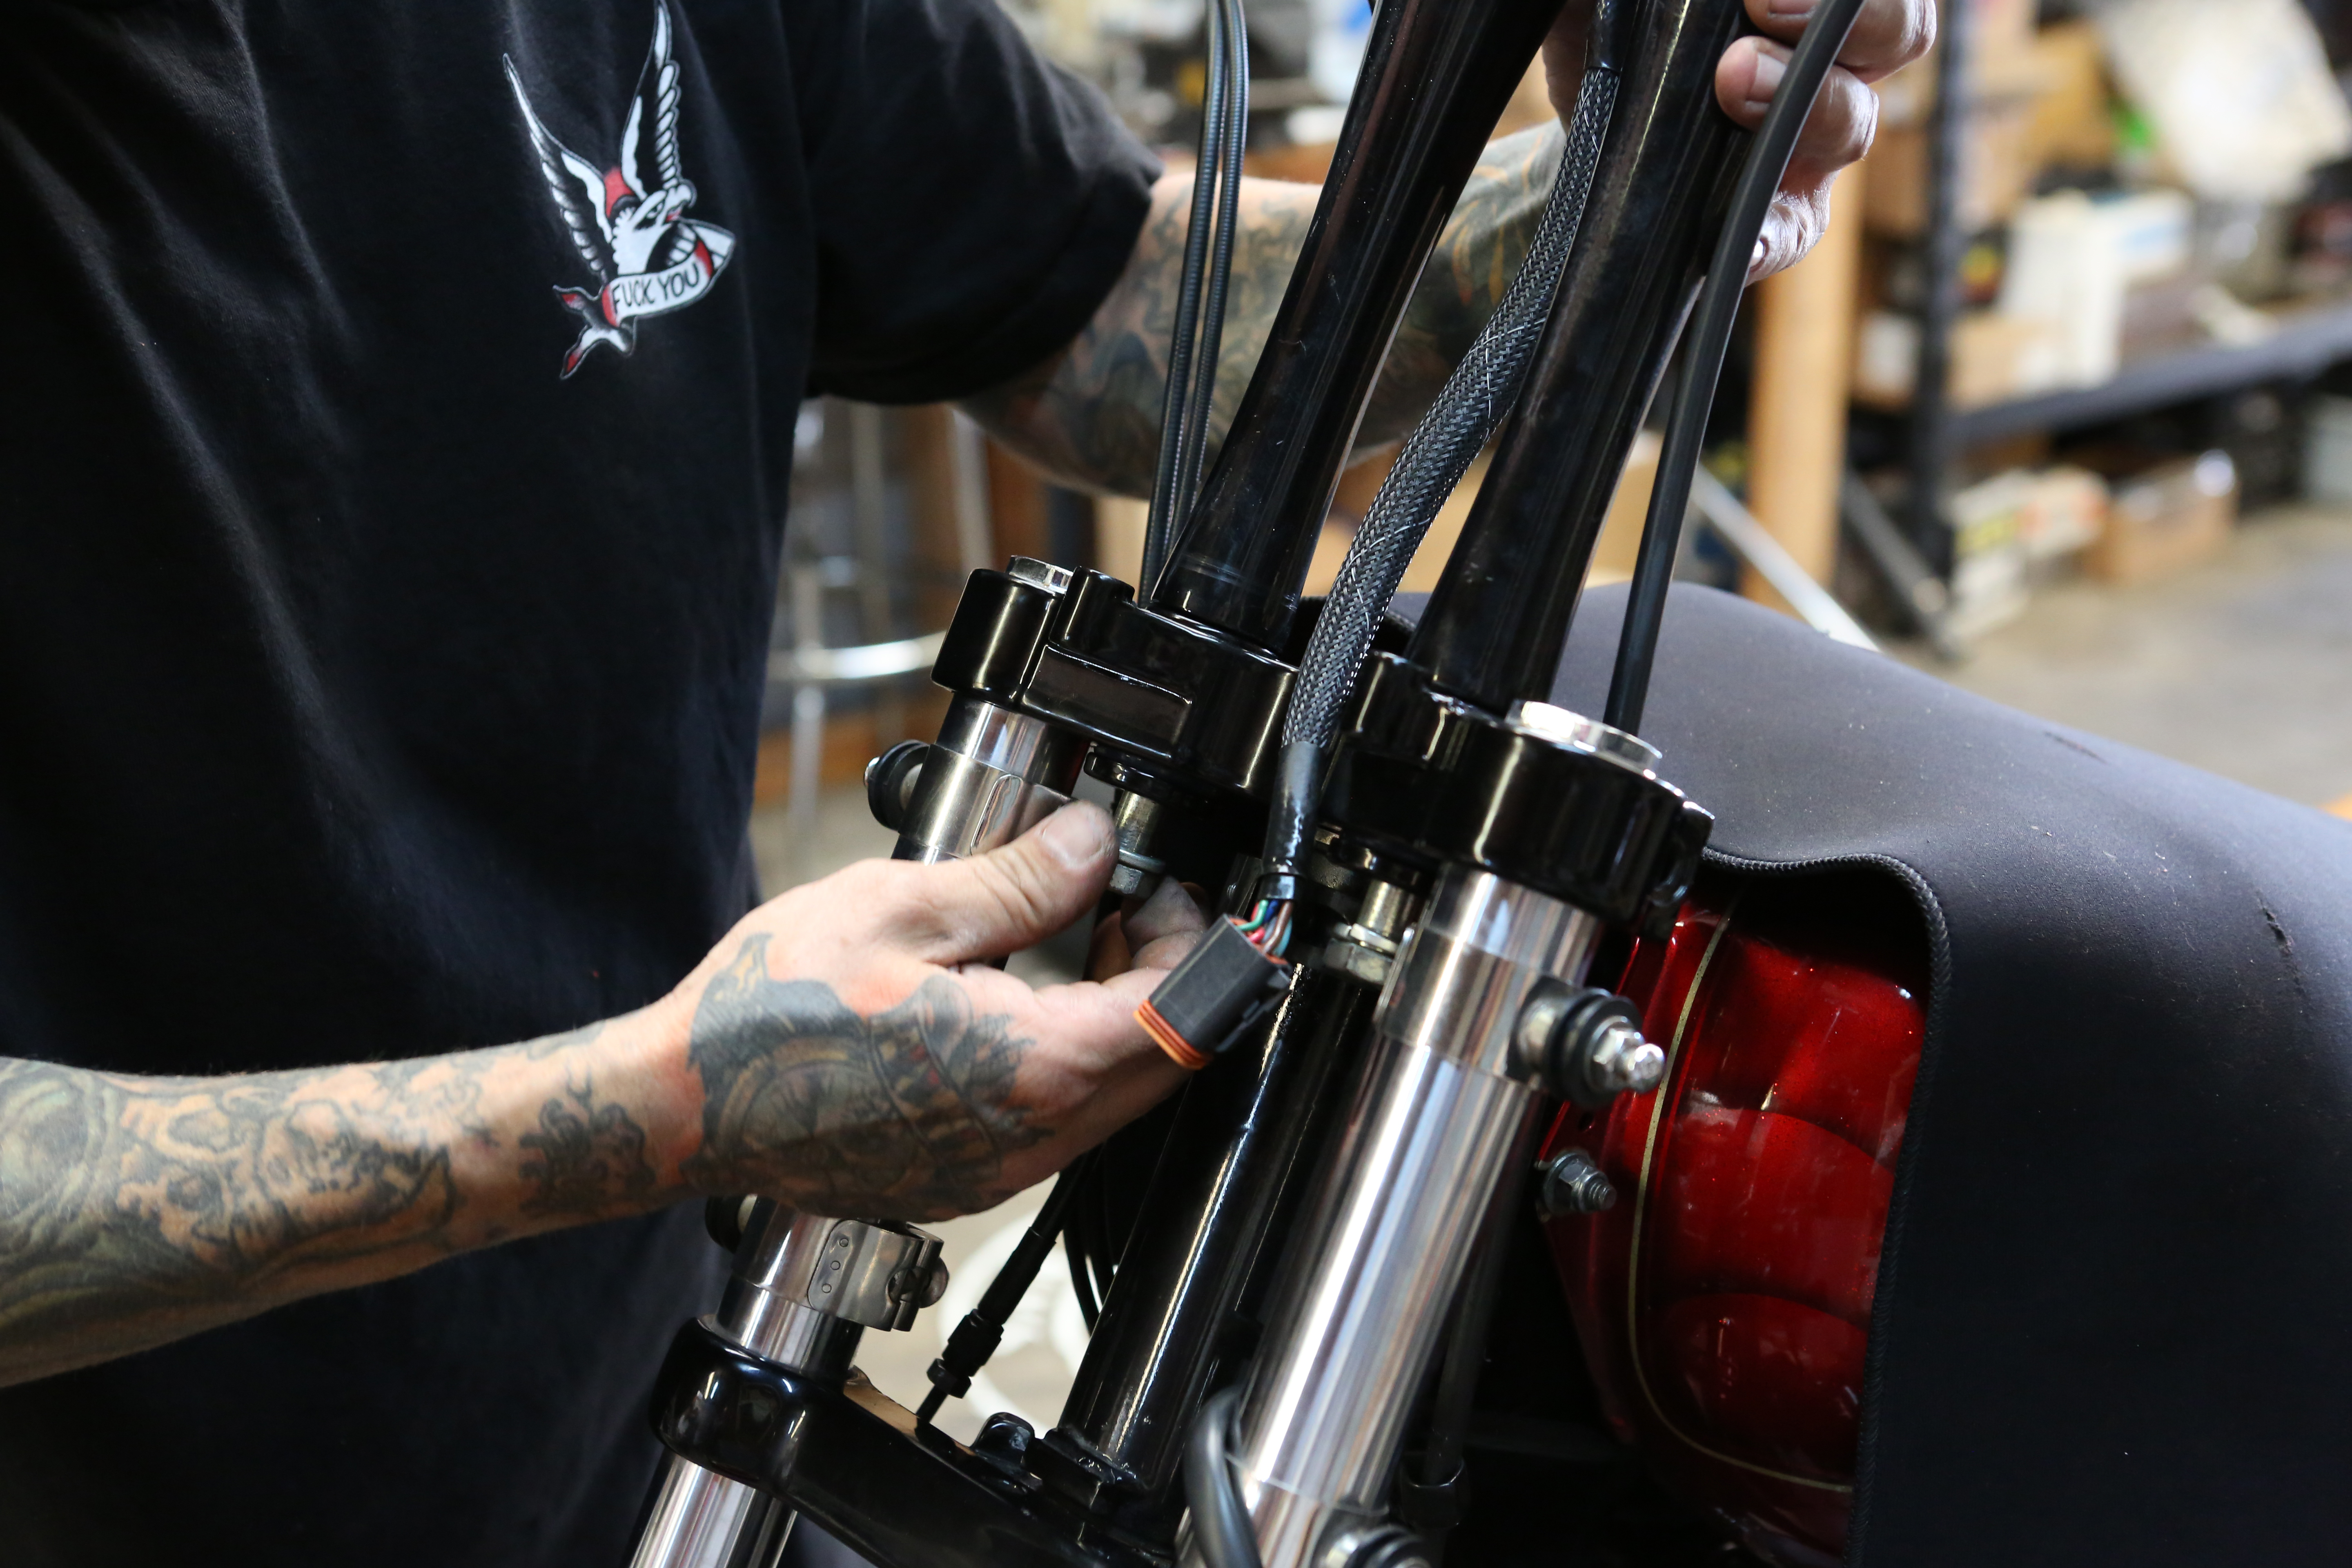
Place the handlebars onto the top triple tree.
Words: Chip Kastelnik Photos: Mikey Van Senus
Insert the riser bolts through the lower riser bushings and into the handlebars.
Words: Chip Kastelnik Photos: Mikey Van Senus
Once the bolts are snug, remove one bolt at a time, put some blue Loctite on the thread, and reinstall into the riser bushings.
Words: Chip Kastelnik Photos: Mikey Van Senus
Install the riser bolts and torque to factory specs.
Words: Chip Kastelnik Photos: Mikey Van Senus
Source:
Find custom FXRs and tons of other bikes for you to gawk at all day here.


