
Magura’s Hydraulic Motorcycle Clutch
After draining the transmission oil and slackening the clutch cable, Eric Bennett removed the transmission’s side cover.
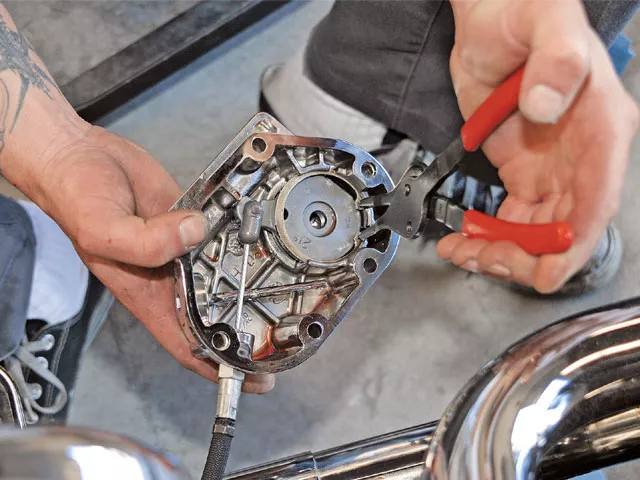
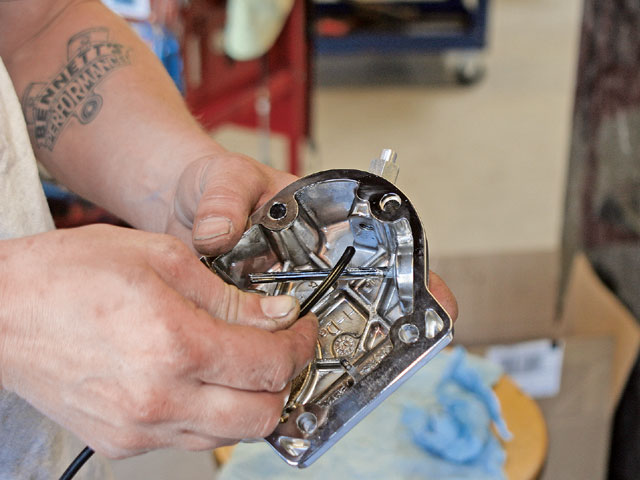
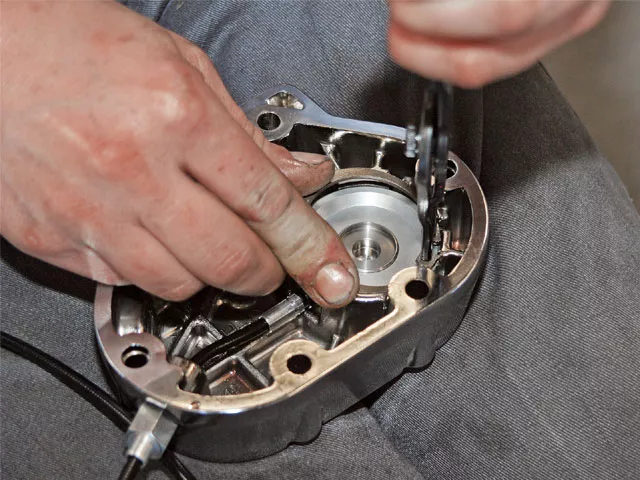
A pair of snap-ring pliers was then used to remove the internal snap ring, which secured the ball-and-ramp assembly.
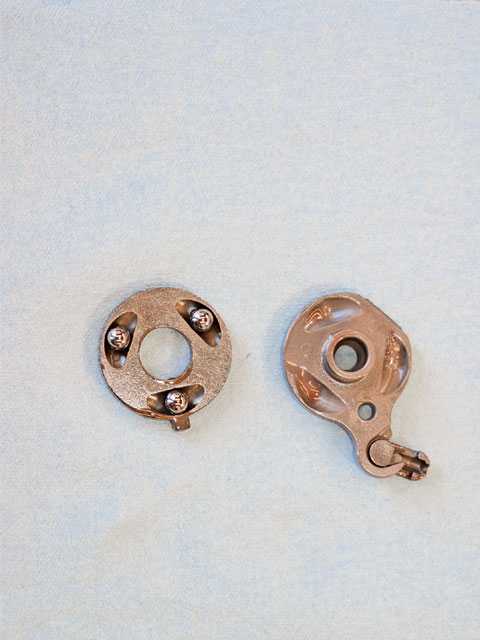
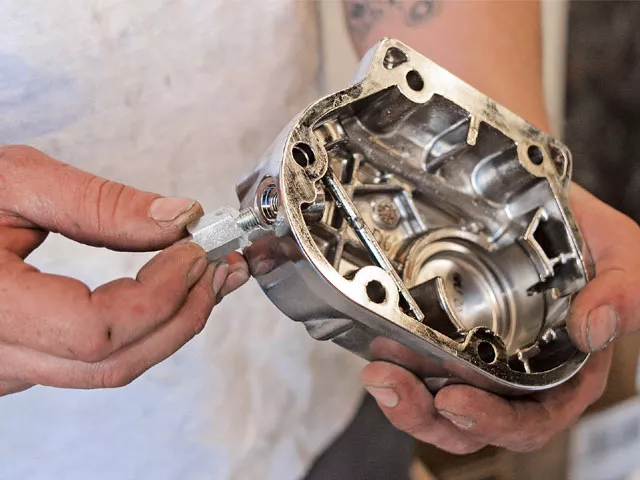
Here is a good look at the stock ball-and-ramp assembly, which will be replaced by Magura’s hydraulic slave cylinder.
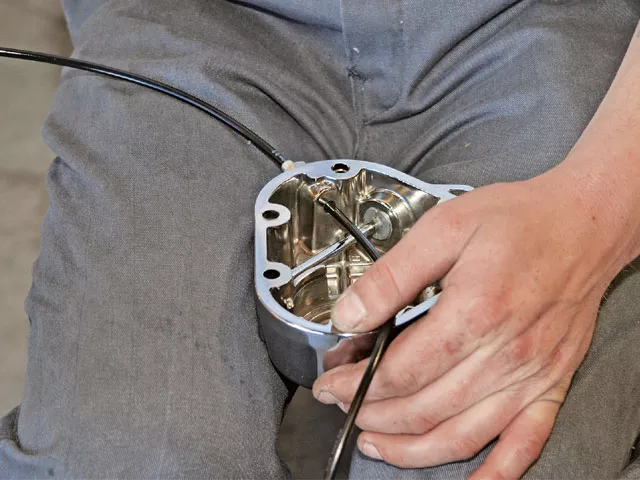
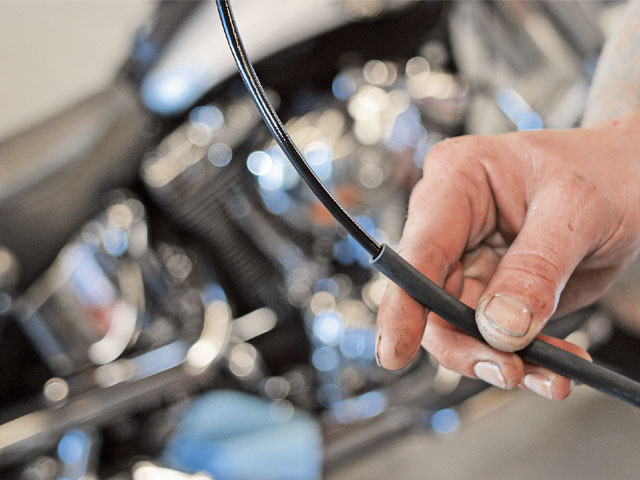
Routing the cut hose began from the inside of the side cover.
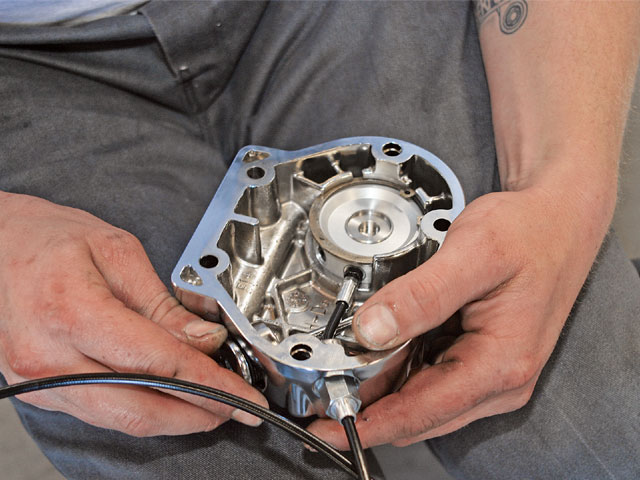
The hose was then pulled through until the slave cylinder was set in place…
…and secured with the stock snap ring.
When properly routed, the hydraulic hose would be on the inside of the transmission’s dipstick.
Next, pieces of protective hose were slipped over the hydraulic line.
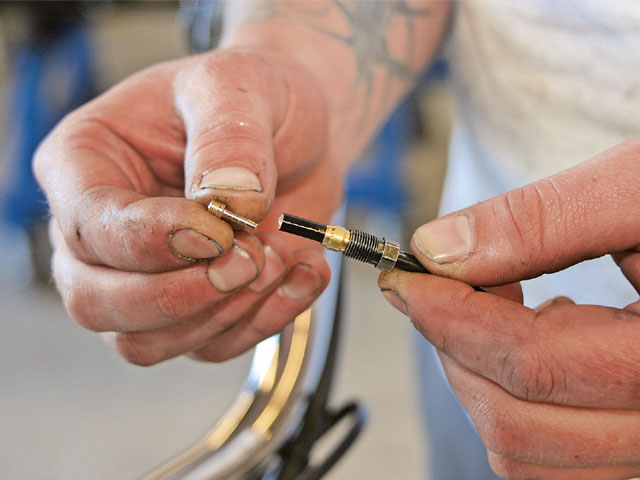
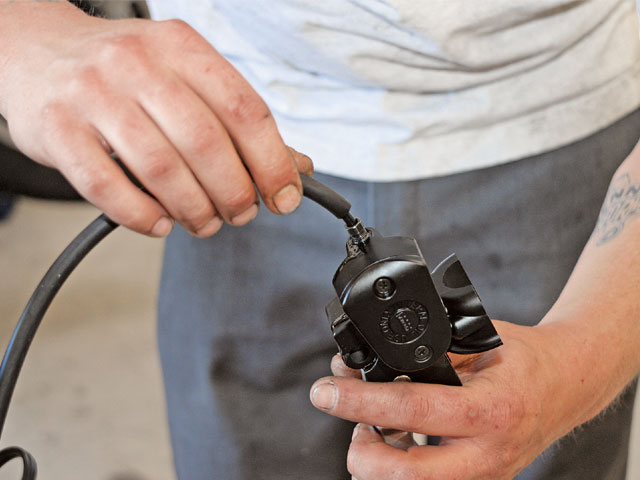
Prior to reattaching the trimmed hydraulic hose to the master cylinder, all of the pieces needed to be in place: (A) brass end fitting, (B) hose, (C) olive, and (D) retaining nut.
Once again following the instructions, Eric connected the hose to the master cylinder.
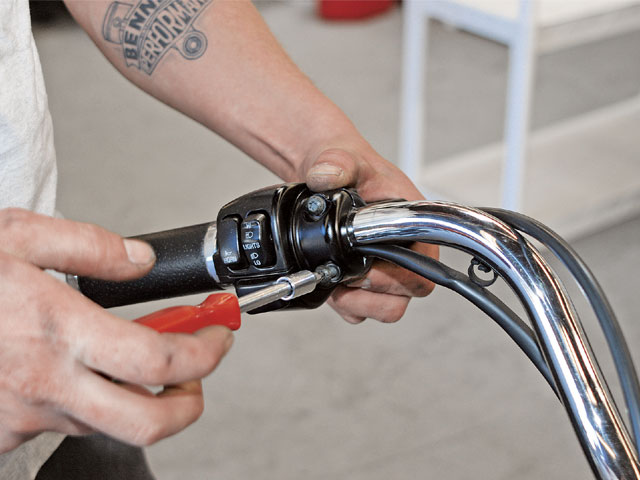
The clutch perch was then mounted to the handlebars, and the hydraulic line was secured with zip ties to the frame.
Eric then added 22 ounces of transmission oil to the transmission.

With the derby cover removed, the clutch was adjusted per factory spec.
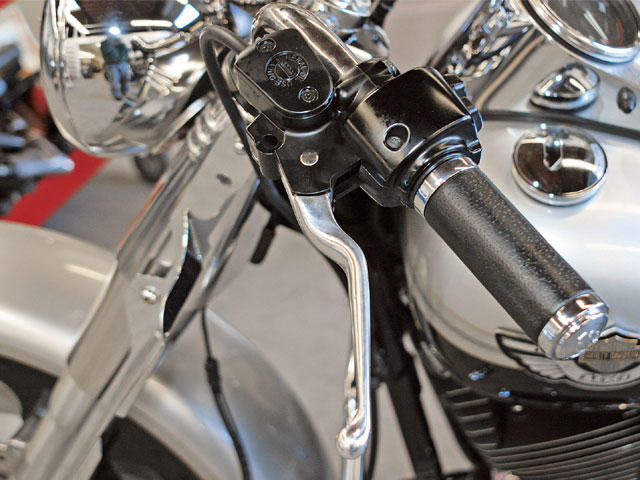
The look of the Magura unit blended quite well with the look of the stock Harley bars and controls.
Riding a motorcycle is one of those activities that’s far different from most other endeavors. While not necessarily difficult, it does require a certain amount of coordination and balance. We can’t think of too many other activities that require all four of your extremities to operate completely independently from one another as you control the various aspects of a complicated piece of machinery. Once you have become accustomed to riding a bike, the skills you learn on one are transferable to another. While the controls might have a different placement or feel from bike to bike, most of us can make ourselves right at home in no time as we ride an unfamiliar motorcycle.
Many of a bike’s controls have a similar feel to them, with the one exception being the clutch lever. Depending on a variety of factors, including friction materials, spring strength, and cable length and condition, the feel of a particular clutch can go from very light to incredibly hard and heavy. The amount of time it takes for the clutch to engage or disengage-and the point at which it does so-can also vary greatly. Another factor that can affect clutch operation is cable adjustment. Due to cable stretch and lubricity, a close watch is needed to be certain the clutch is able to operate at its maximum potential.
To address these concerns, some motorcycle manufacturers have been offering their bikes complete with hydraulic clutches. While this concept is not new, it is becoming increasingly popular these days. Most people convert to hydraulic clutches for the increased force they are able to exert on the clutch pushrod. This force translates into reduced effort at the clutch lever. One of our favorite aspects of a hydraulic clutch is the fact that it requires very little maintenance once it is set up. There are no cables to lubricate or adjust-and that’s just plain cool.
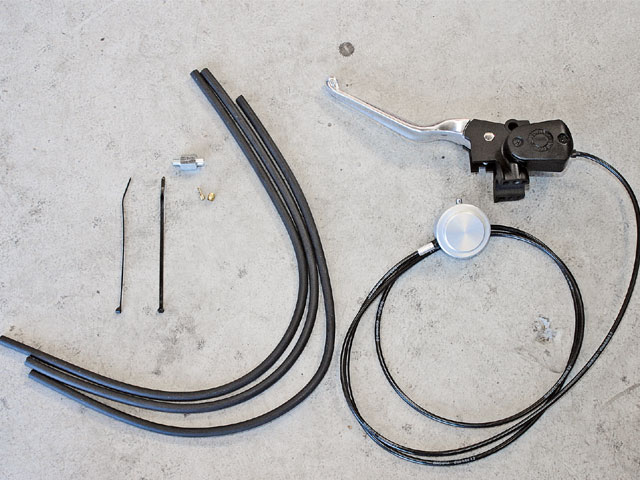
Recently we were checking out some press materials from Drag Specialties and came across a hydraulic clutch actuator made by the German firm Magura. One of the best features of Magura’s kit is that once you remove the transmission’s side cover, all you need to do is replace the OEM ball-and-ramp assembly with Magura’s hydraulic actuator, then install the master cylinder. Other than a few additional steps, that’s all there is to it. So it was off to Bennett’s Performance to install the kit on an ’03 Fat Boy. Magura’s Mainstreet hydraulic clutch kit comes with everything needed for installation. The kit is available in your choice of the black version seen here (part No. 0612-0038; MSRP: $369.95) or chrome (part No. 0612-0039; MSRP: $479.95)
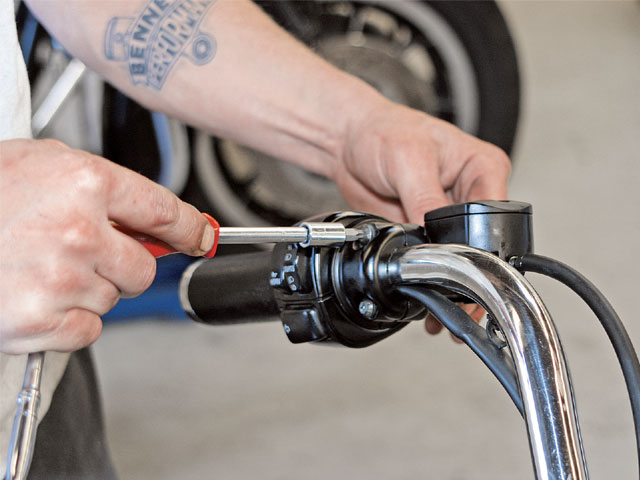
A few turns of a Torx driver, and the OEM clutch hand control was removed from the bars. Next, Eric unscrewed the clutch cable from the side cover and removed it completely.
Included in the kit is a hose guide; here, Eric screws it in place in the side cover.
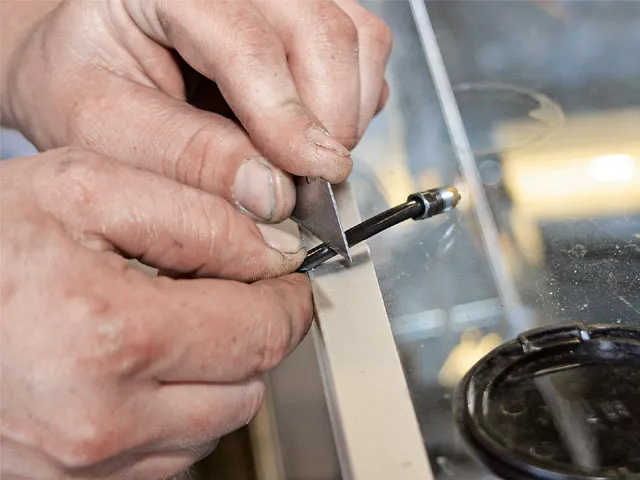
Magura ships the kit assembled from the master cylinder to the slave cylinder. In this form it is pre-bled. In order to connect the components to the bike, the hose must be cut without spilling any of the fluid after cutting. The hose was then routed from the transmission to the bars before being trimmed to length and reconnected to the master cylinder. The easy-to-follow installation manual provides very detailed instructions on this procedure.


