
The Big Cover Up! | Custom Seat Covering By Duane Ballard
01. This type of seat covering can be done at home if you have a heavy-duty sewing machine, patience, and a bit of sewing experience.
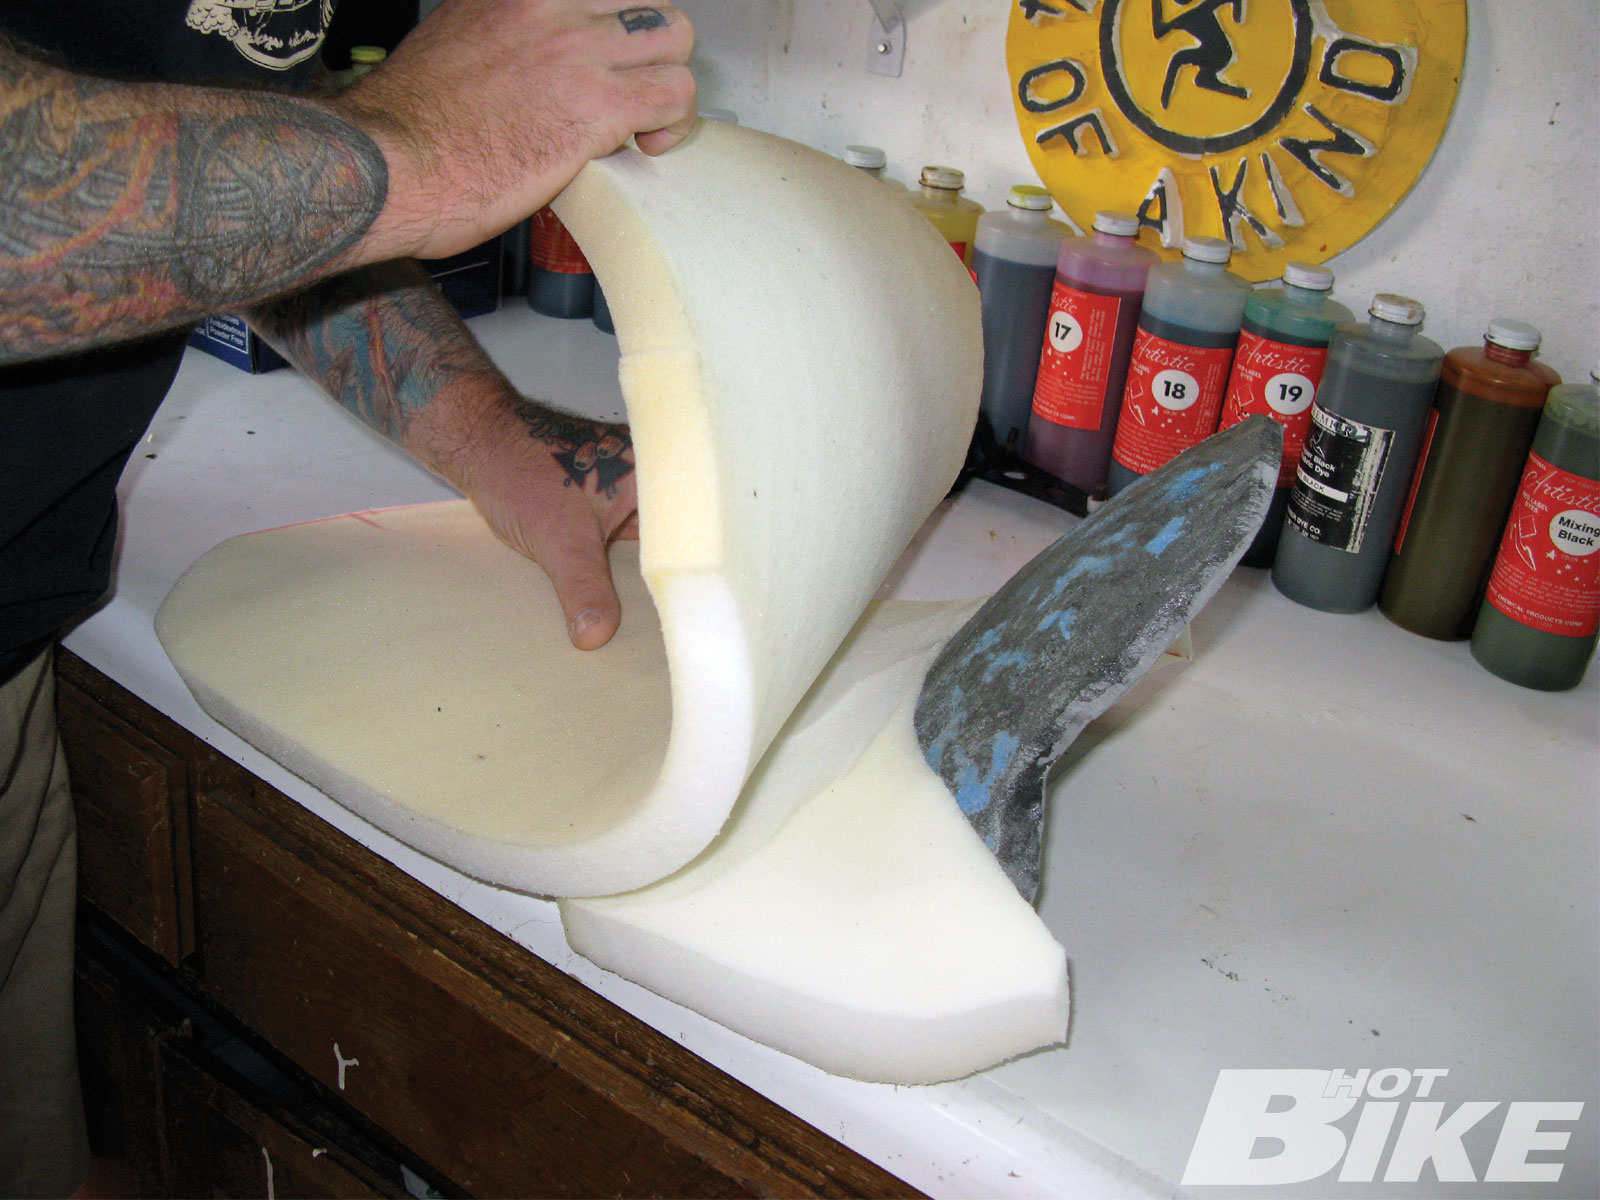
02. Duane decided to replace the cheap foam we used when we covered it with the Mexi-blanket with foam that he has found to work better on motorcycle seats. It is a closed-cell foam used in marine seating applications, but it works on bikes as well.

03. Once applied, the sides of the foam were shaved down to achieve a better profile. Remember, if there are any large funky spots in the foam, it will most likely show through the leather.

04. Duane then measured the surface area of the seat and made patterns out of heavy stock paper.
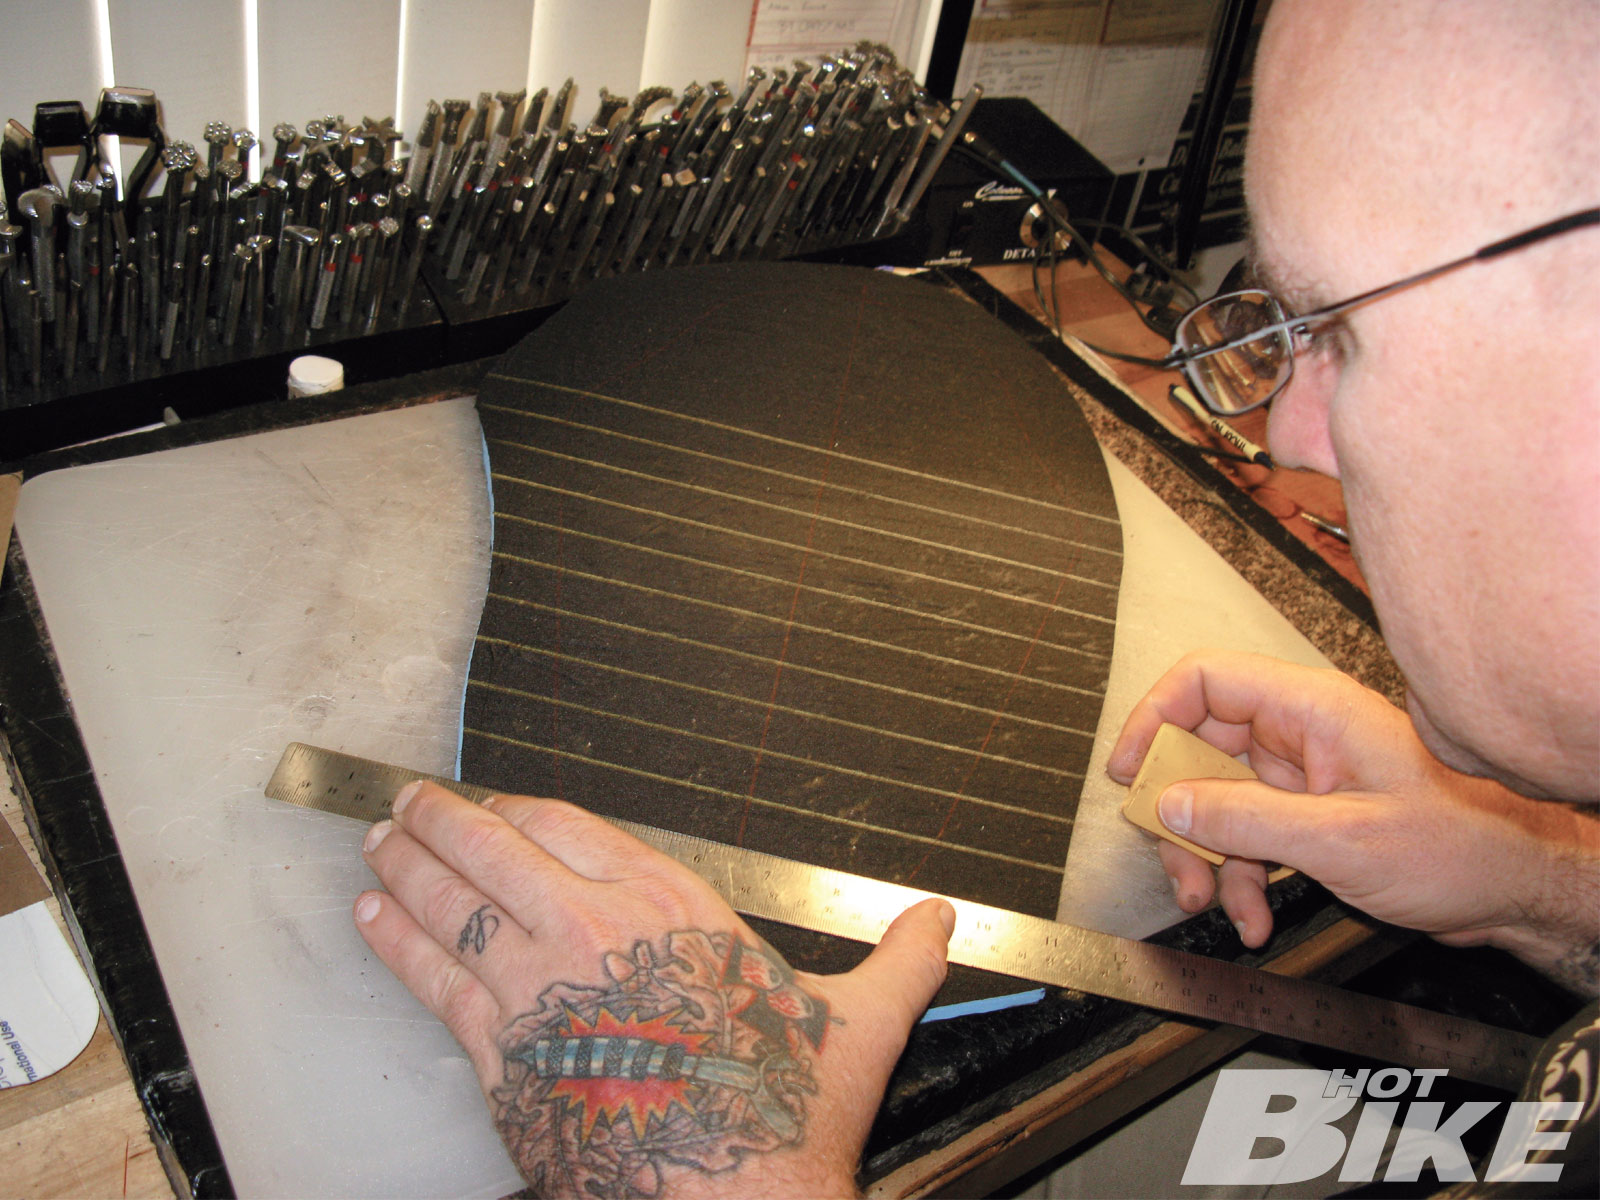
05. The pattern for the top of the seat was set onto the top material and pleats were sketched into the underside.
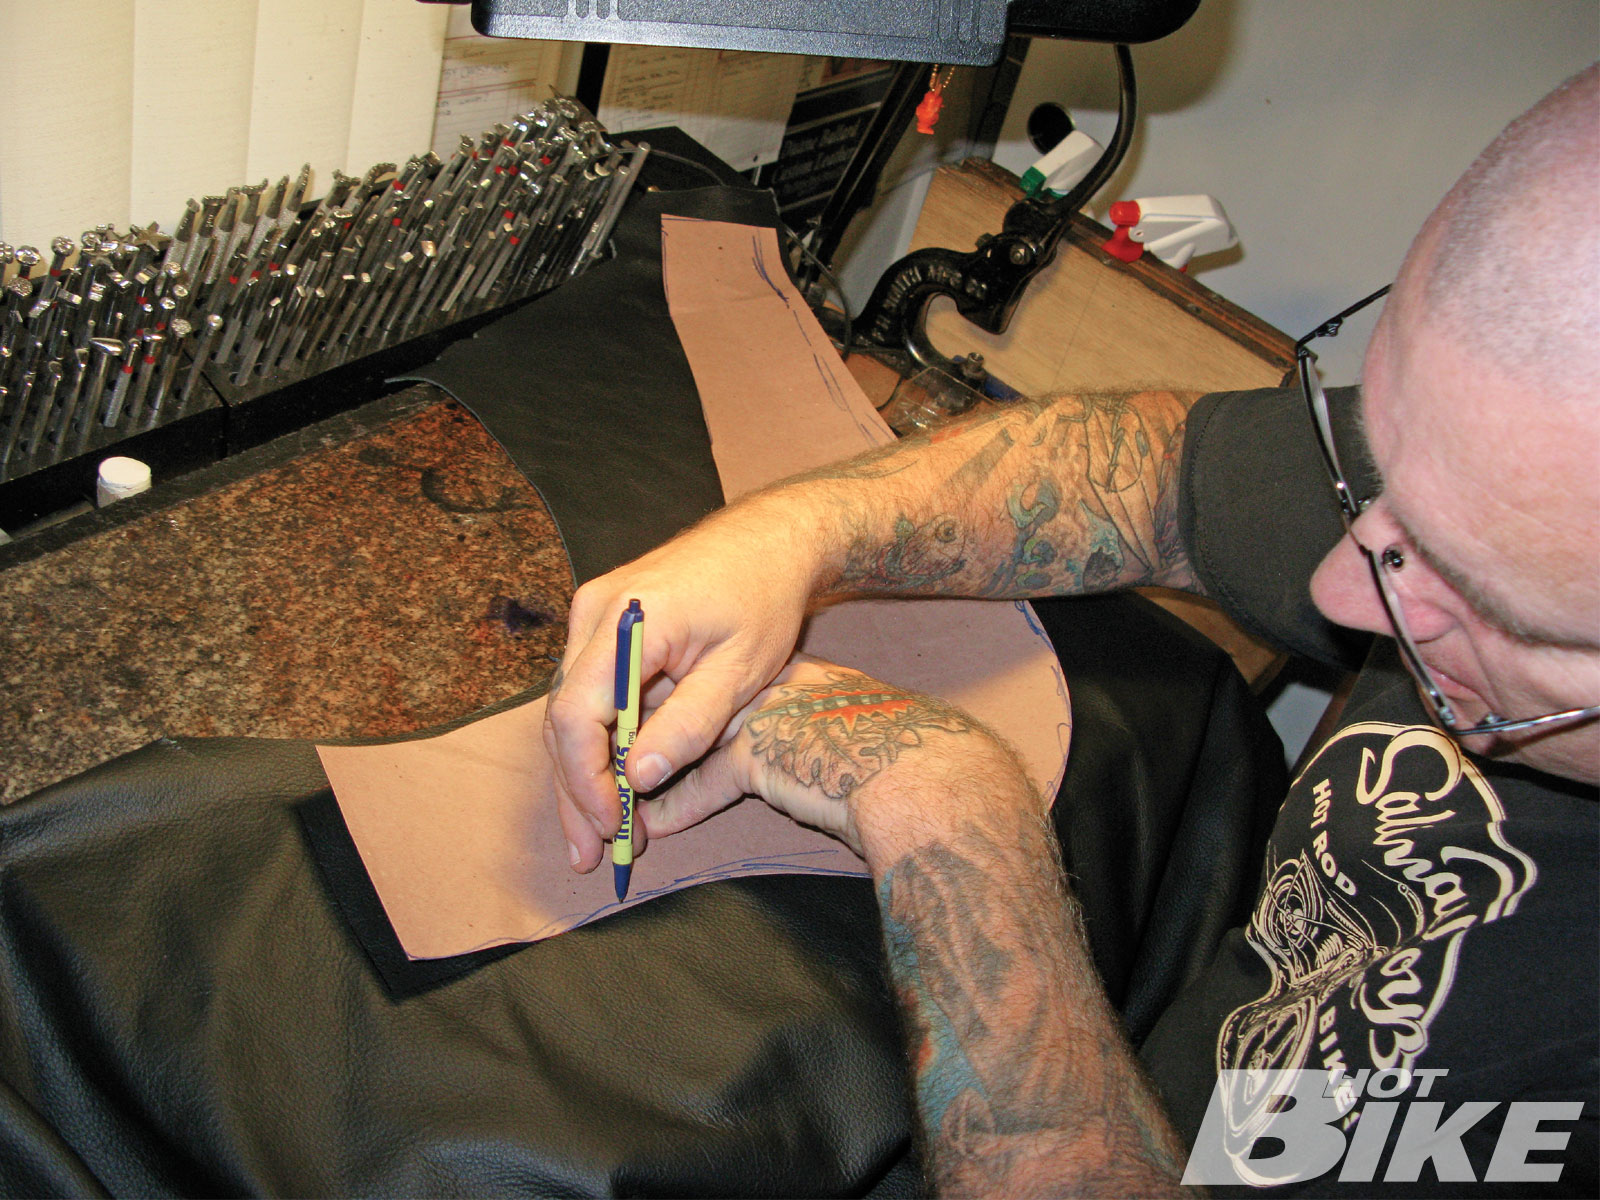
06. The sides of the seat were also cut out from Duane’s patterns. These are a bit trickier to make than the top of the seat because the sides and back of the seat have multiple angles.
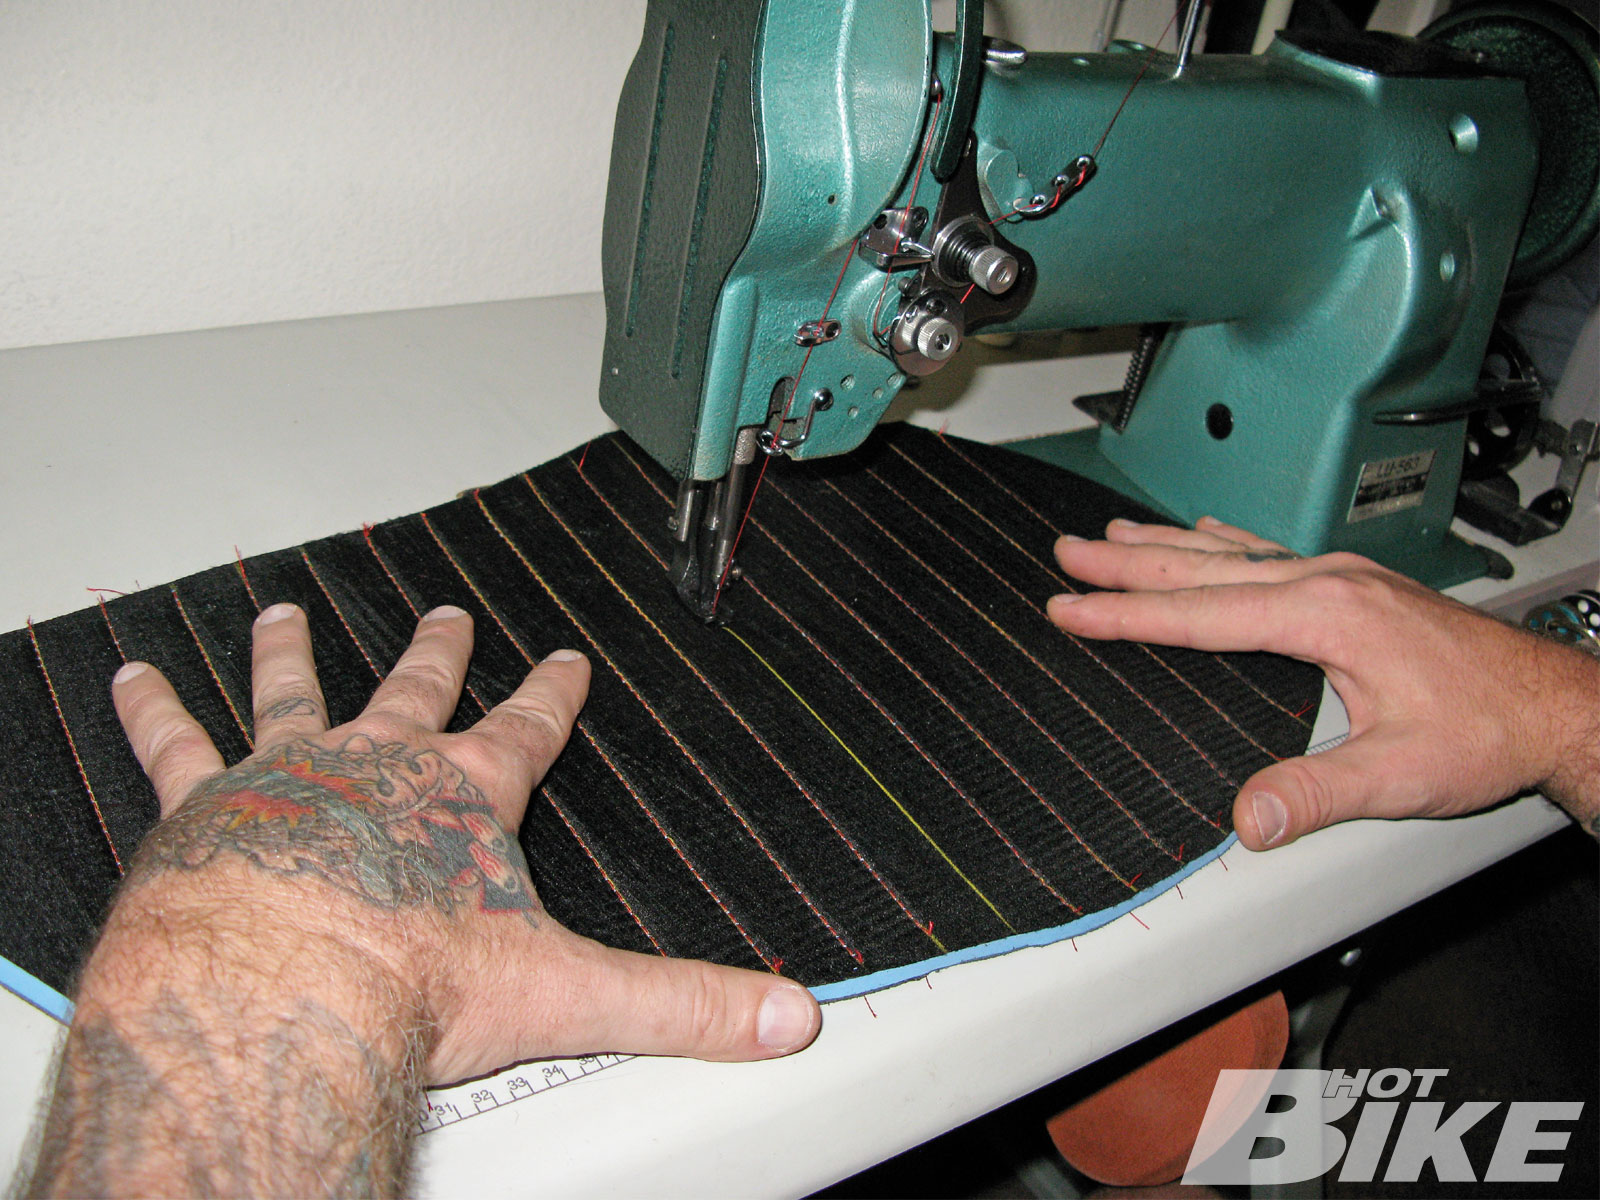
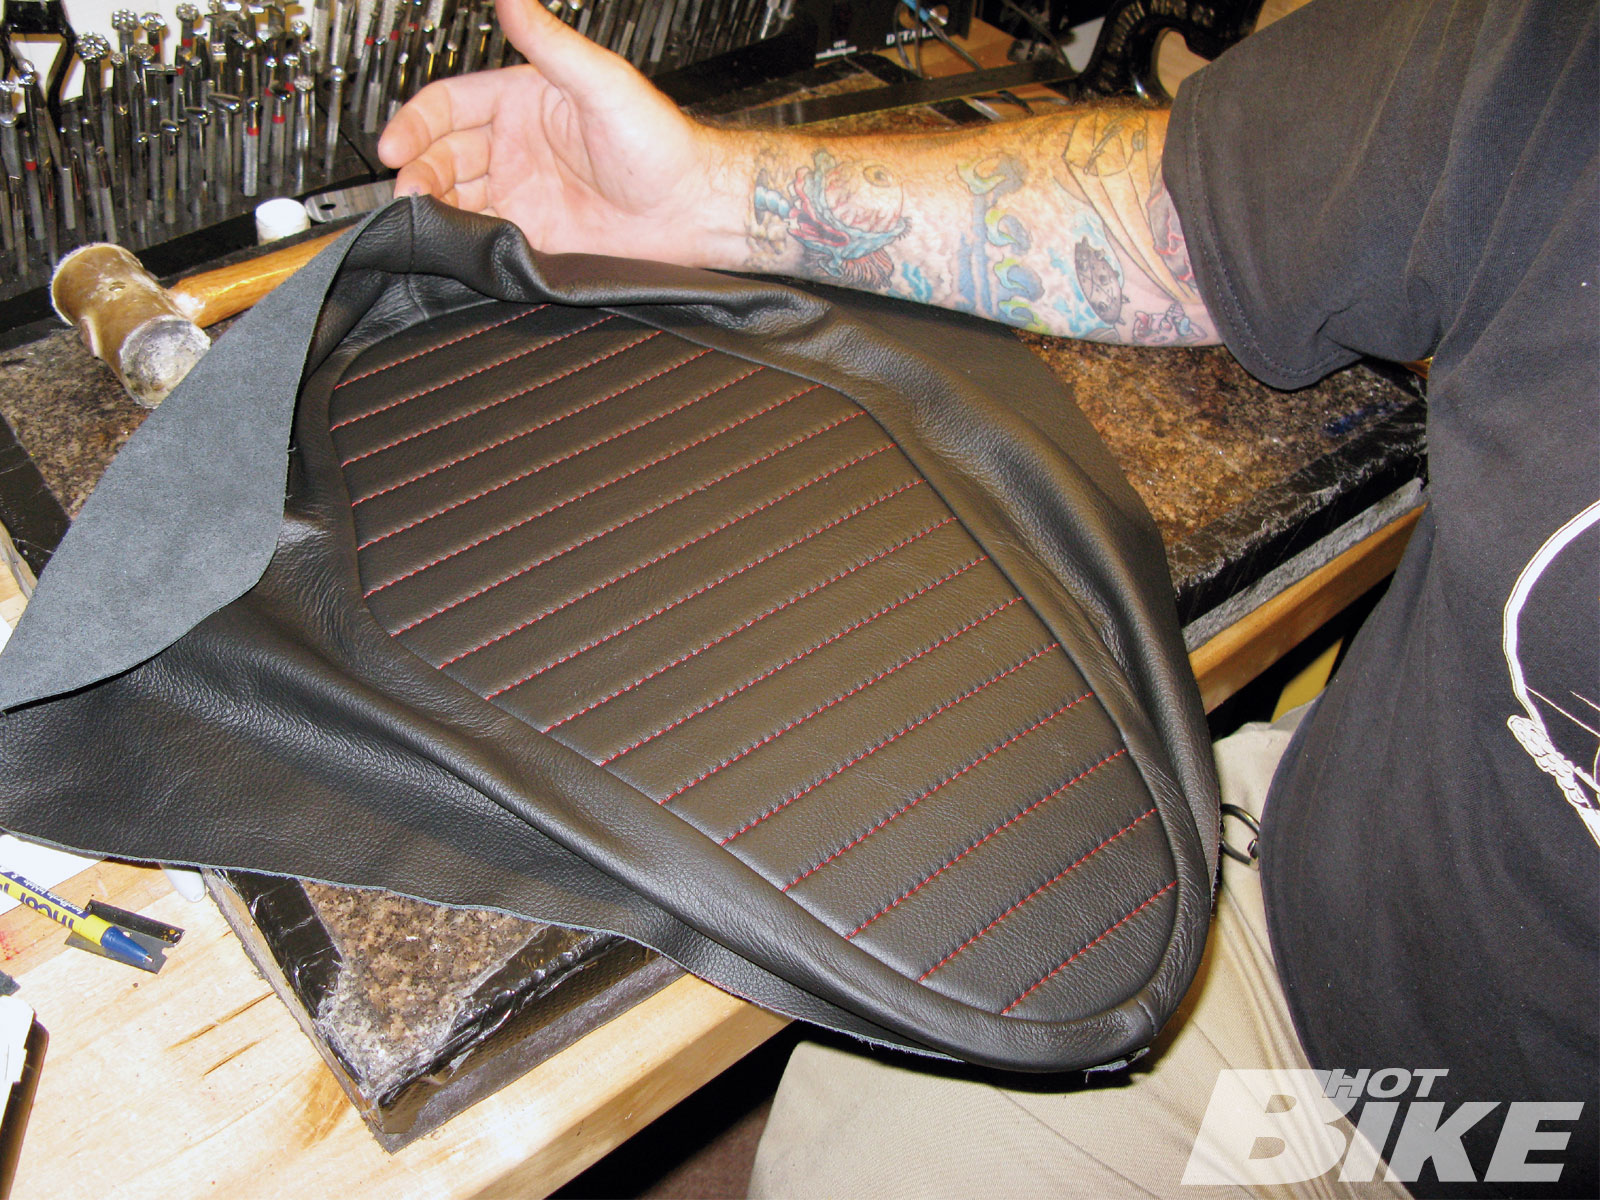
07. Duane sewed the pleats into the top of the seat. This takes a steady hand and good measurements to do well, so taking the time to properly map out how the pleats are to be laid out is crucial.

08. The side panels are sewn onto the top of the seat using care to keep the material in the sewing machine in a uniform line. Any sort of bunching or crooked stitching will make the seat look like dootie.
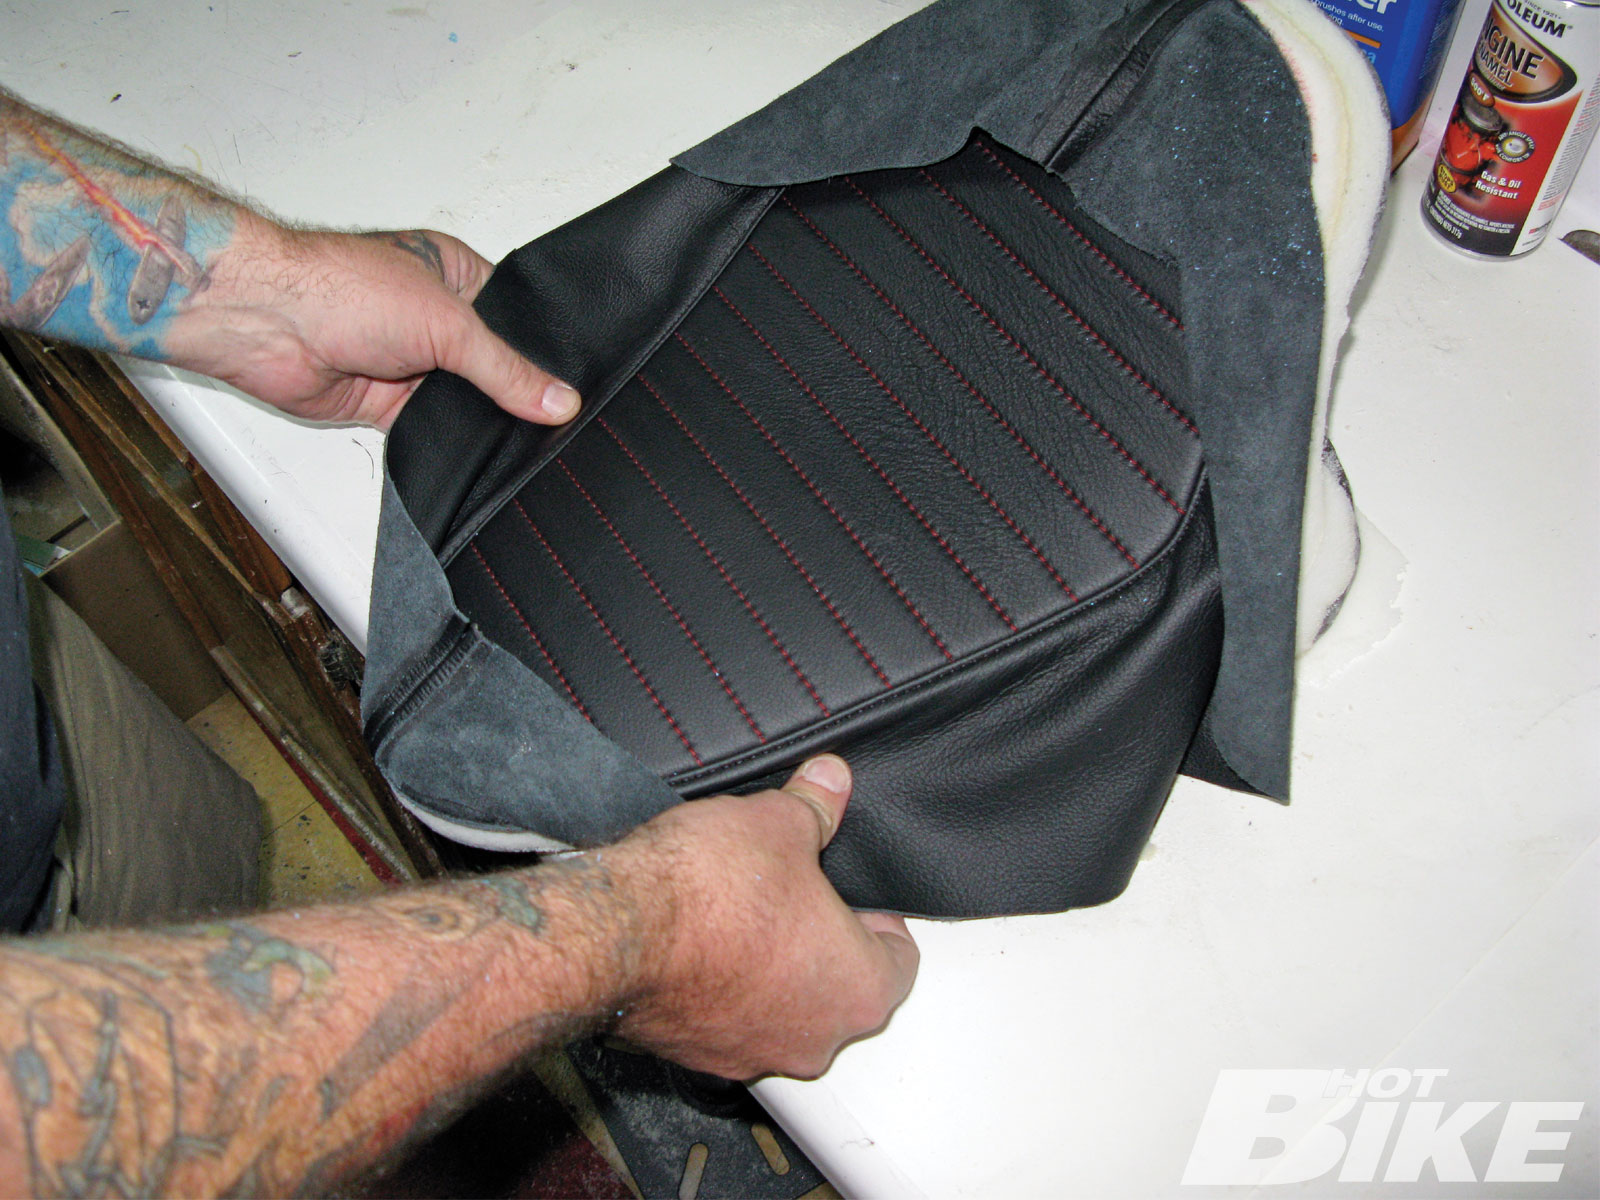
09. Once the seat cover was fully sewn together, Duane turned it right-side out and checked how all the panels lined up.
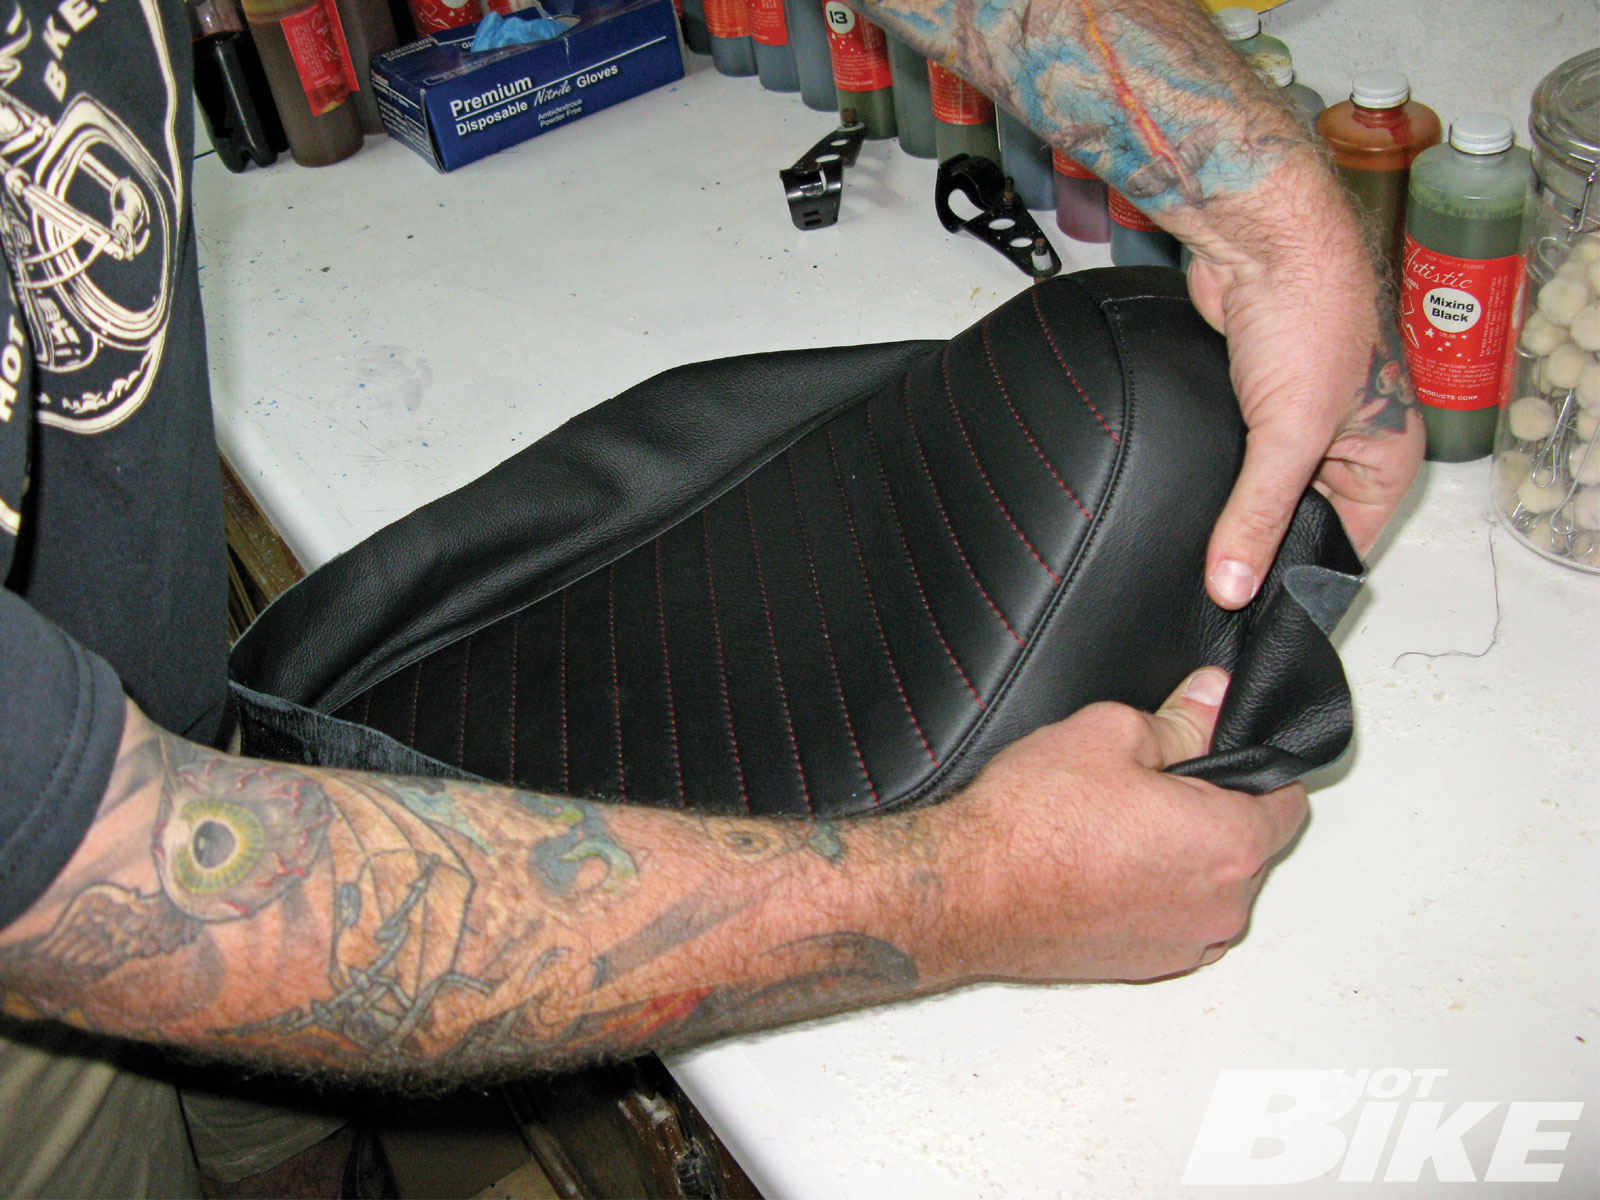
10. The seams and pleats checked out to be arrow-straight, so Duane stretched the seat cover over the pan and adjusted it so the foam laid nicely with the seams of the leather.
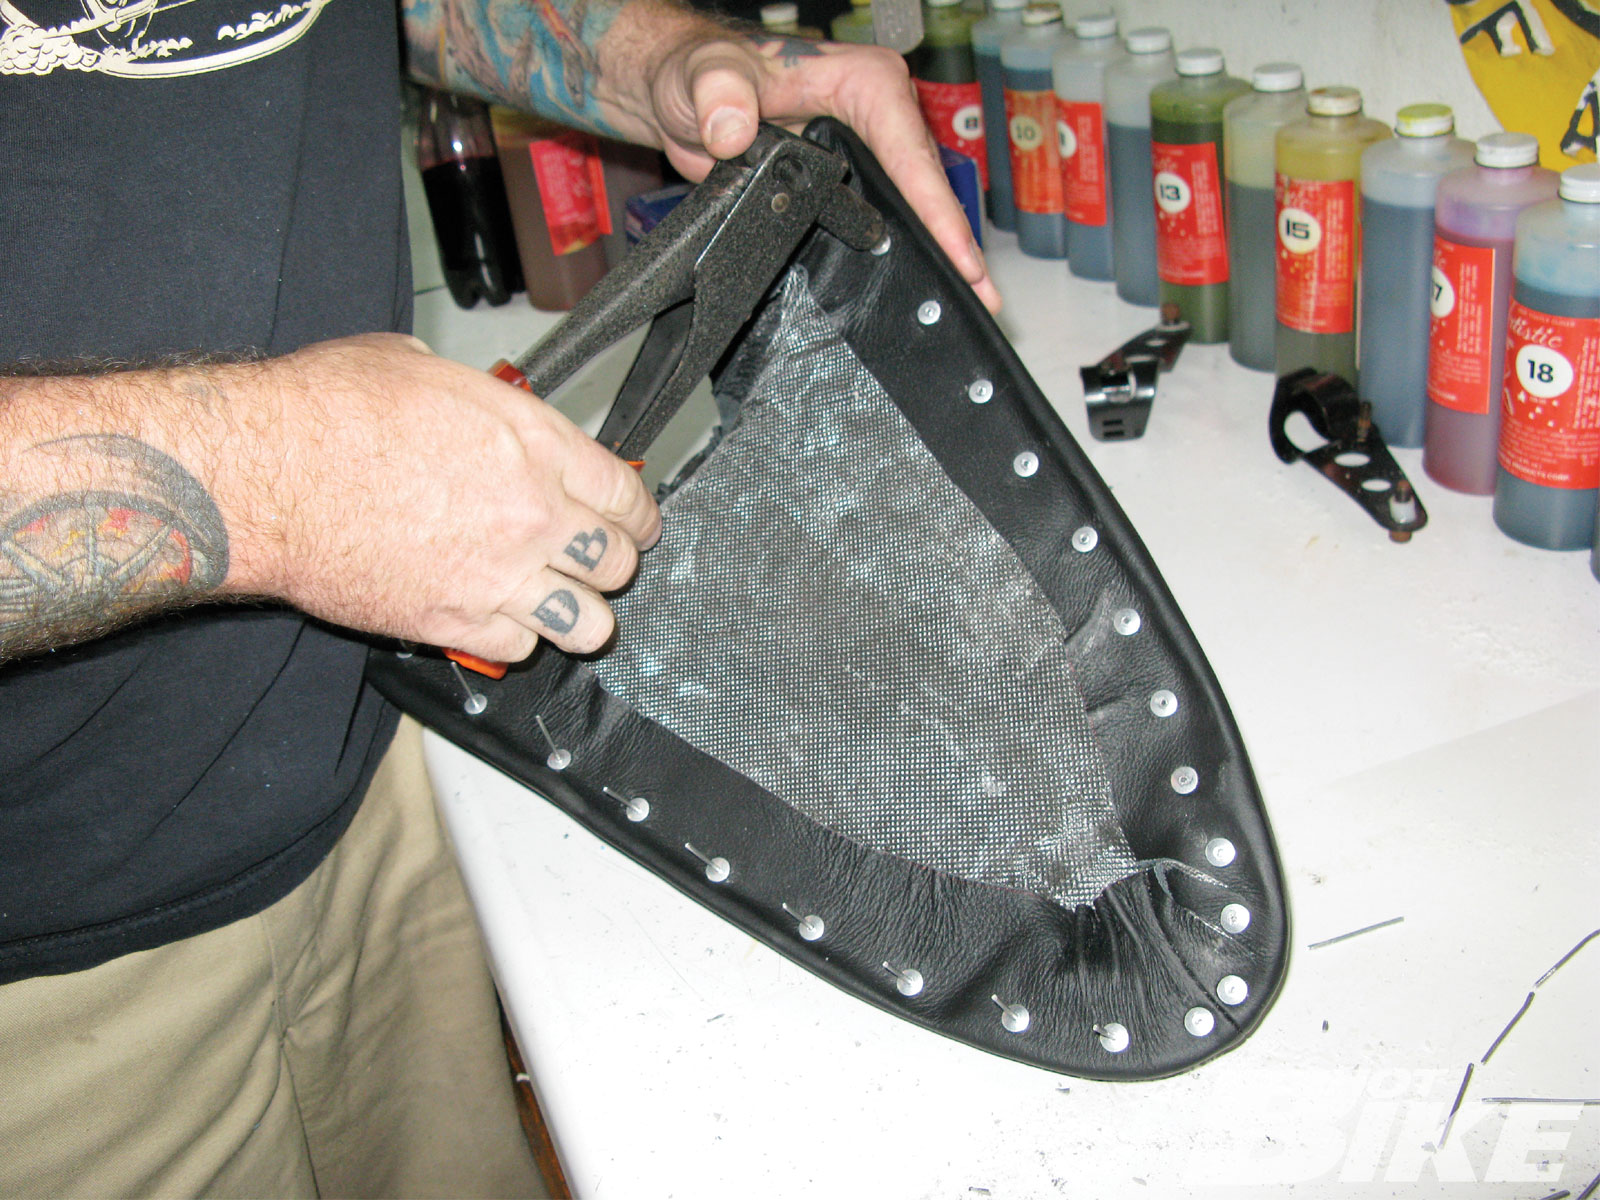
11. Once the seat cover was properly aligned, Duane attached it to the seat pan with high-quality rivets. He started at the nose of the seat and worked his way to the back keeping the cover stretched securely at all times to inhibit any cover material wrinkles.
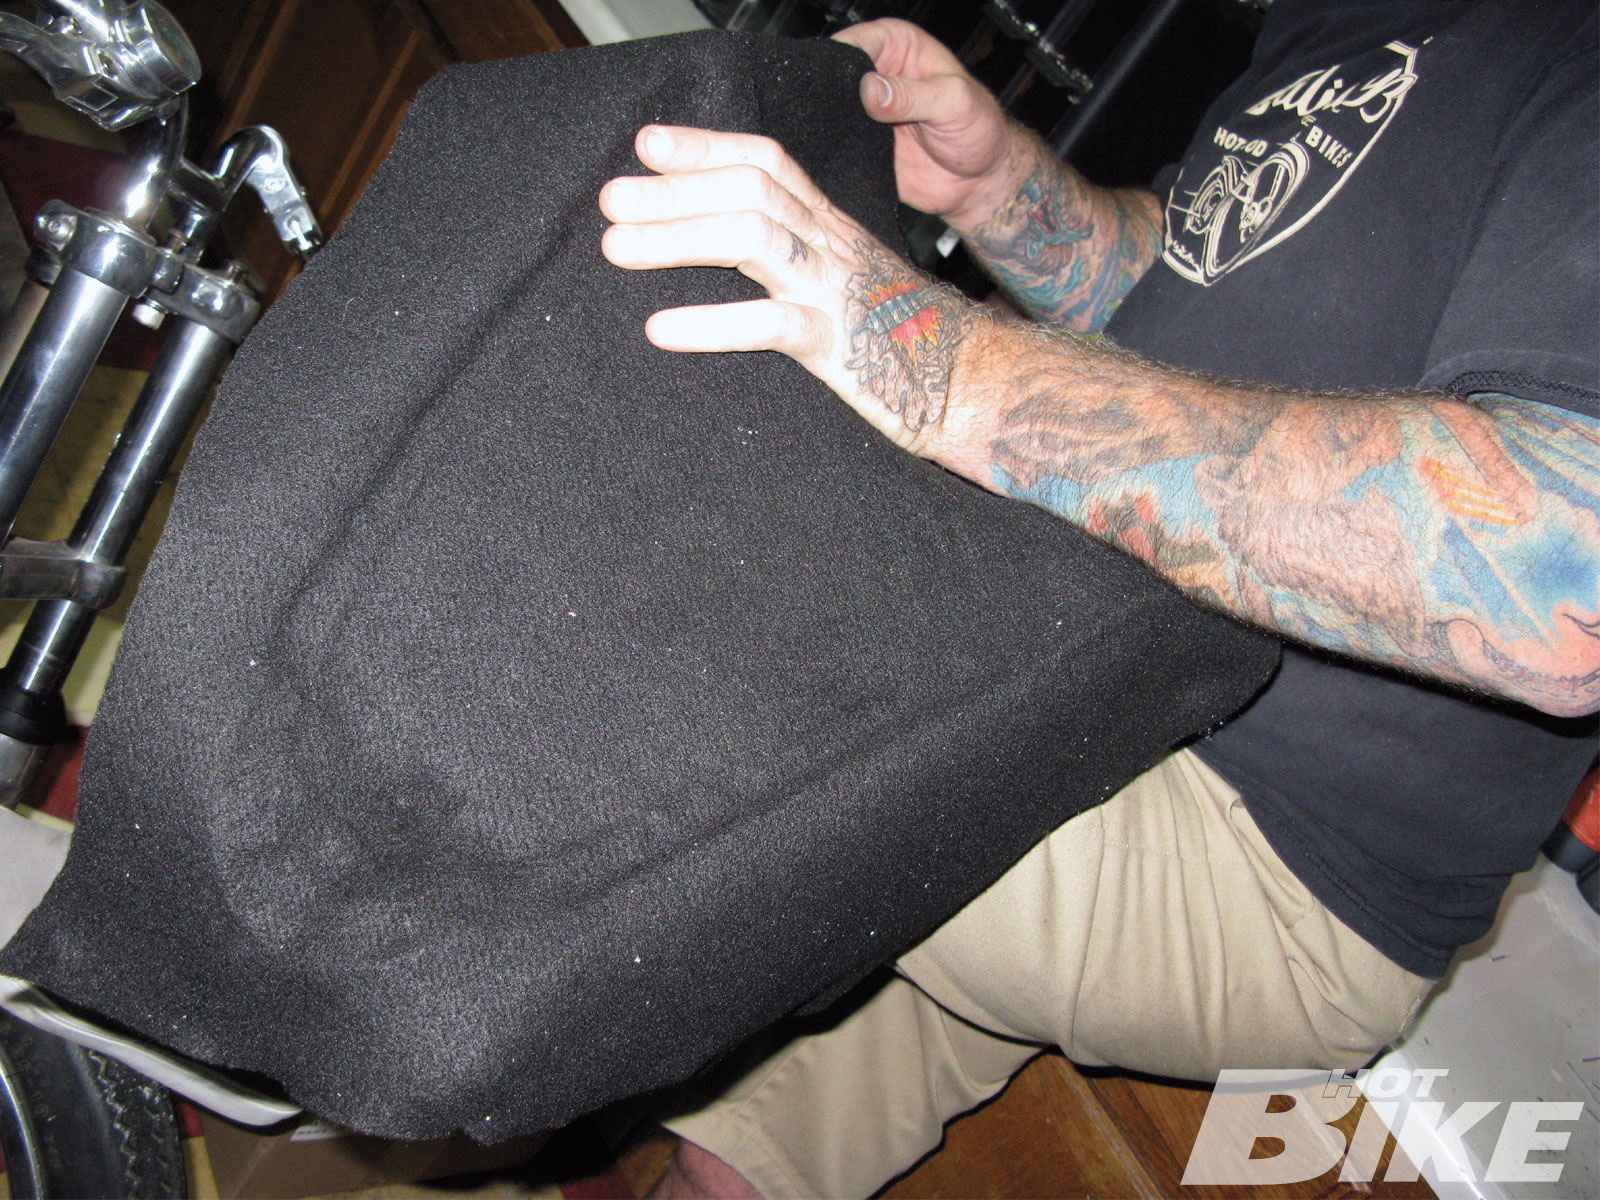
12. Once the seat cover was secured to the seat pan, Duane took a piece of felt-like material and glued it to the bottom of the seat to cover the attachment rivets and to finish off the look of the seat. This is where the pros go the extra mile to make the seat look good even when off of the bike.
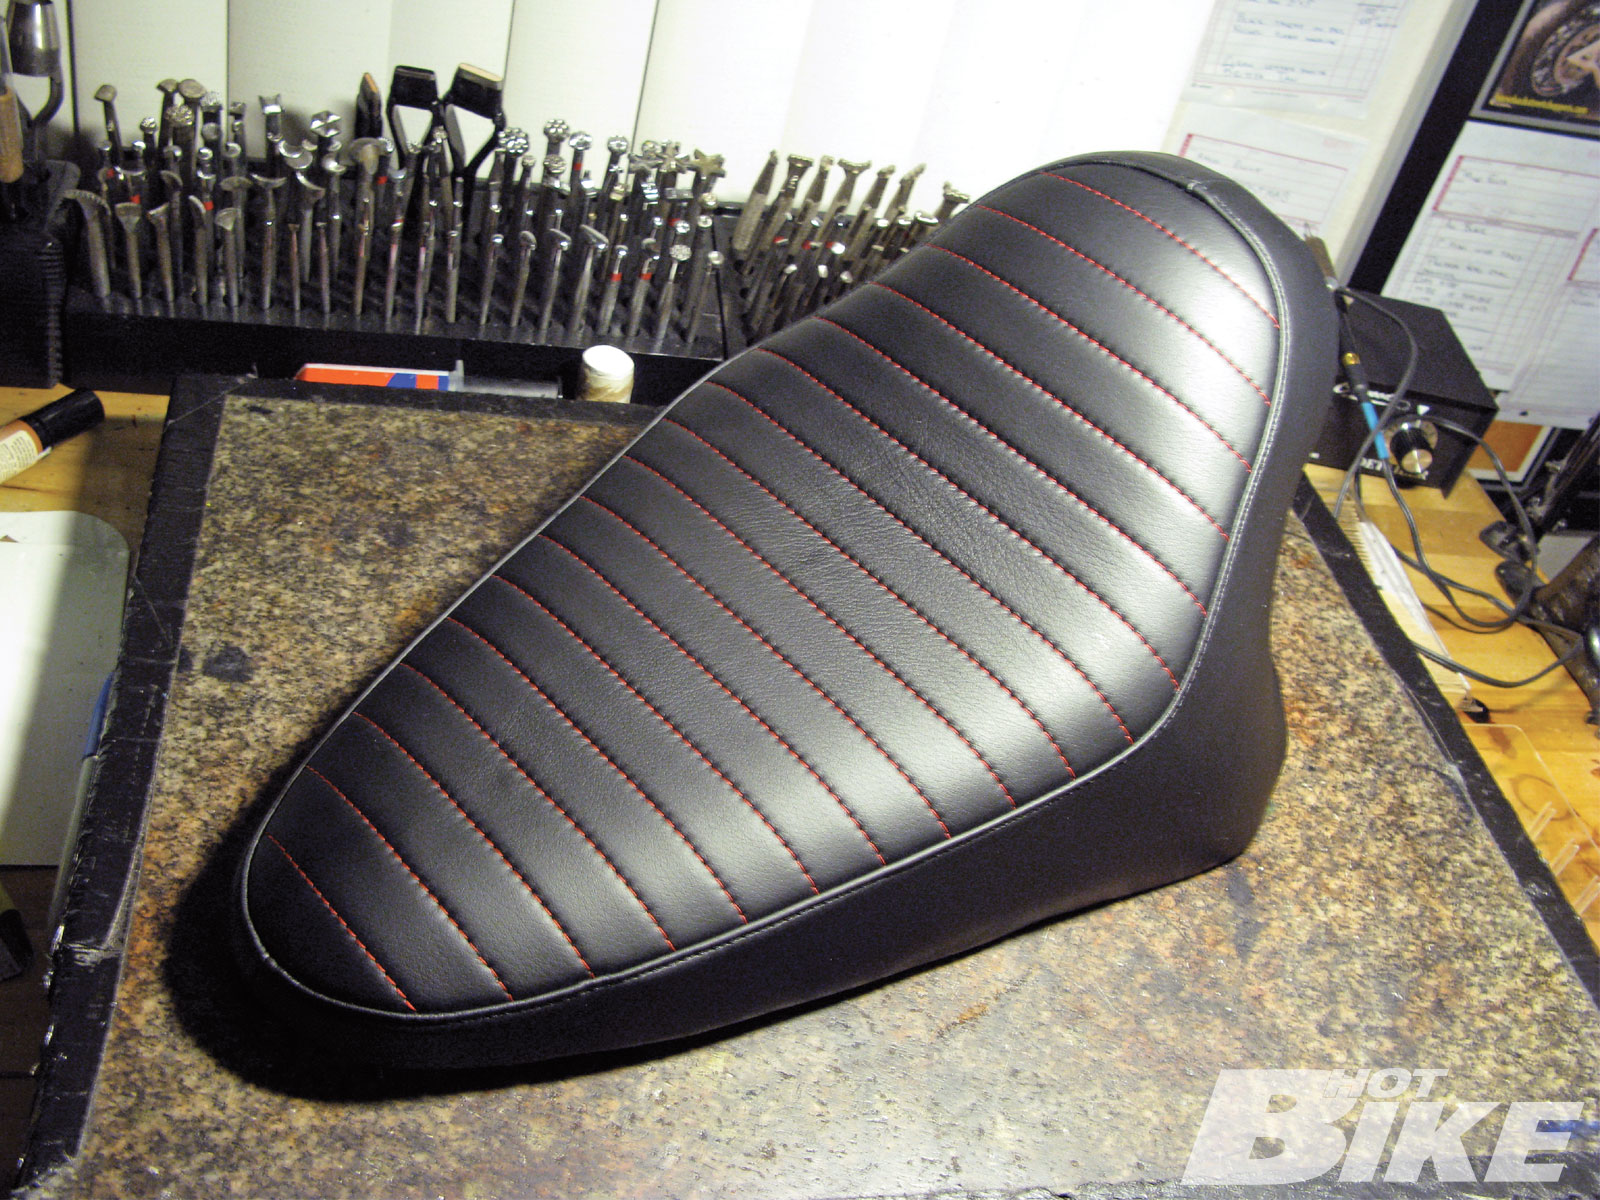
13. Once finished, the seat looked amazing. Who would believe that this seat started off as of two cans of clay, was formed on the bike in a garage, and came out looking this amazing.
Last month we installed a Mexican blanket on our DIY Insta Pan seat kit by Stampede on our project Softail. Though it worked well, it only took a few rain showers to show us that we needed to find an alternative material in which to keep our booties dry.
After searching for the best material, we decided on a leather cover for our seat. With that said, we gave Duane Ballard a call and forced our soggy seat upon him. Duane is a master of both tooled and sewn leather, and he assured us that our seat would be in trusted hands.
Once we arrived at Duane Ballard Custom Leather, Duane showed us the many styles of seats he had done in the past and different types of leathers, as well as the many colors to choose from. Wanting more of a racy look, we opted for a pleated “hot rod” design rather than the more classic laced and tooled leather seat that Duane is better known for.
Once the final idea was sketched out and both parties approved of the style, within a few short hours, Duane the leather master had our DIY seat pan looking like it belonged on a $50,000 custom.
Sources
Duane Ballard Custom Leather
(603) 781-7505 | dbcustomleather.com


